Every now and then when I’m walking dogs, I will just stop, ask them to sit for about 30 seconds and then I will say “walk on”. That is there cue to start walking again. I do this for a couple of reasons: 1. They’re super focused when they’re on the walk and I like to know I can get their attention any time I need it. 2. It’s good to continue to incorporate training into their daily routines. Just as we need to continue to refine our skills, so must dogs.
This always reminds me how important it is for me to pause and reflect on the past week and then think about the next one as I “walk on”.
Paws | Week of 1.18-1.24
• called my Grandpa in England.
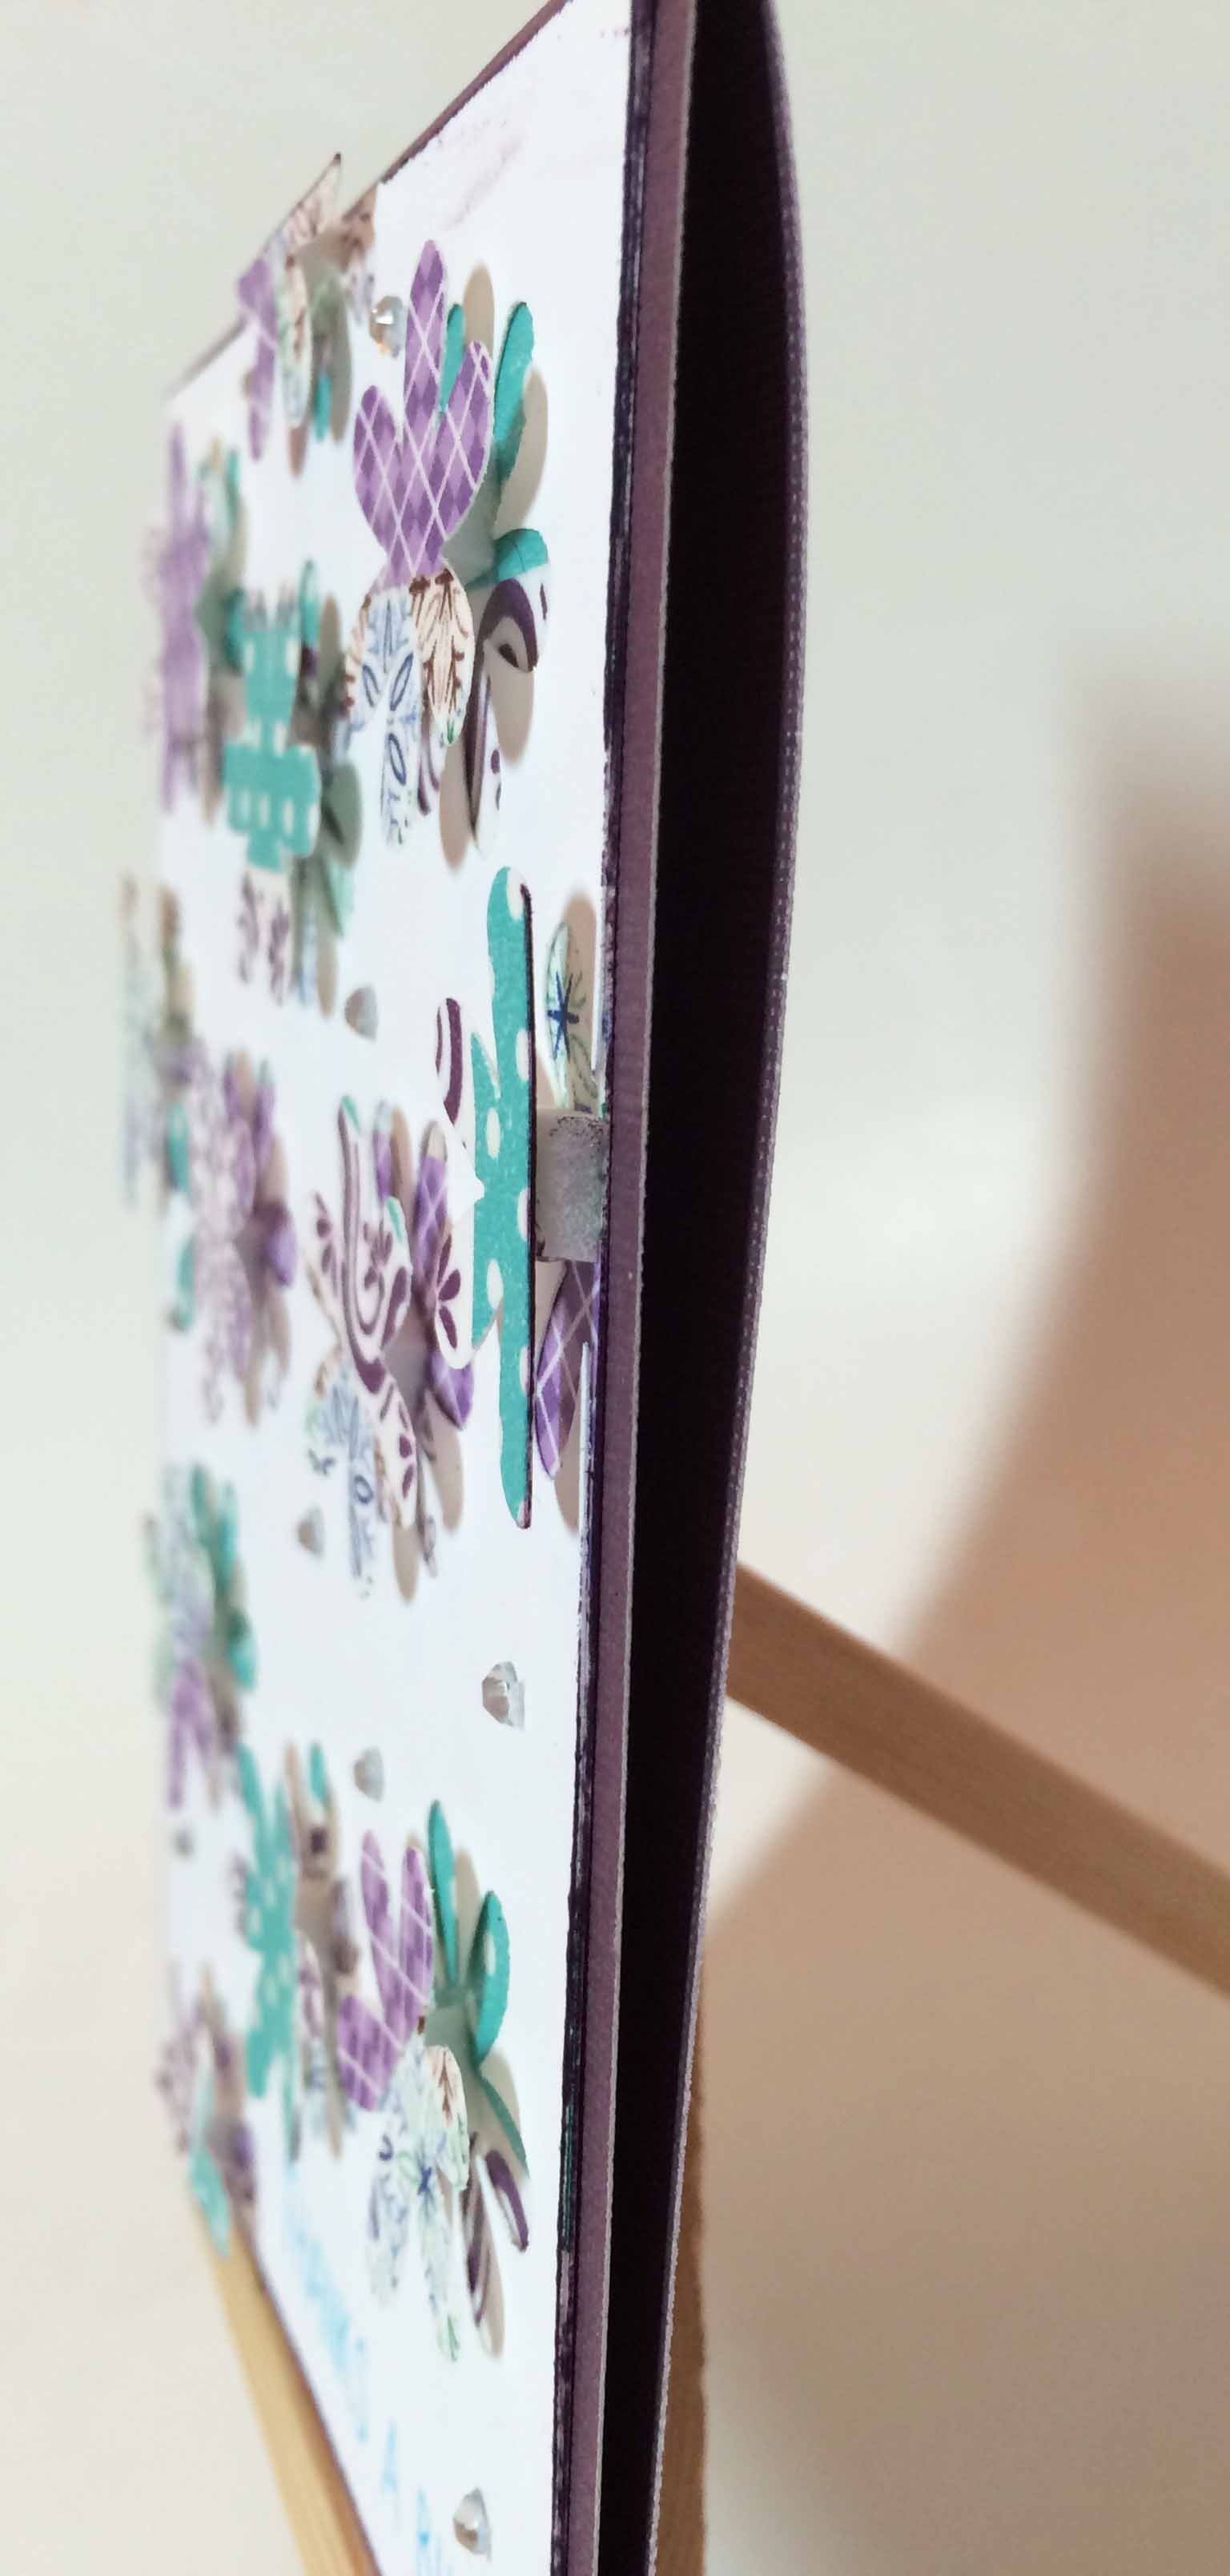
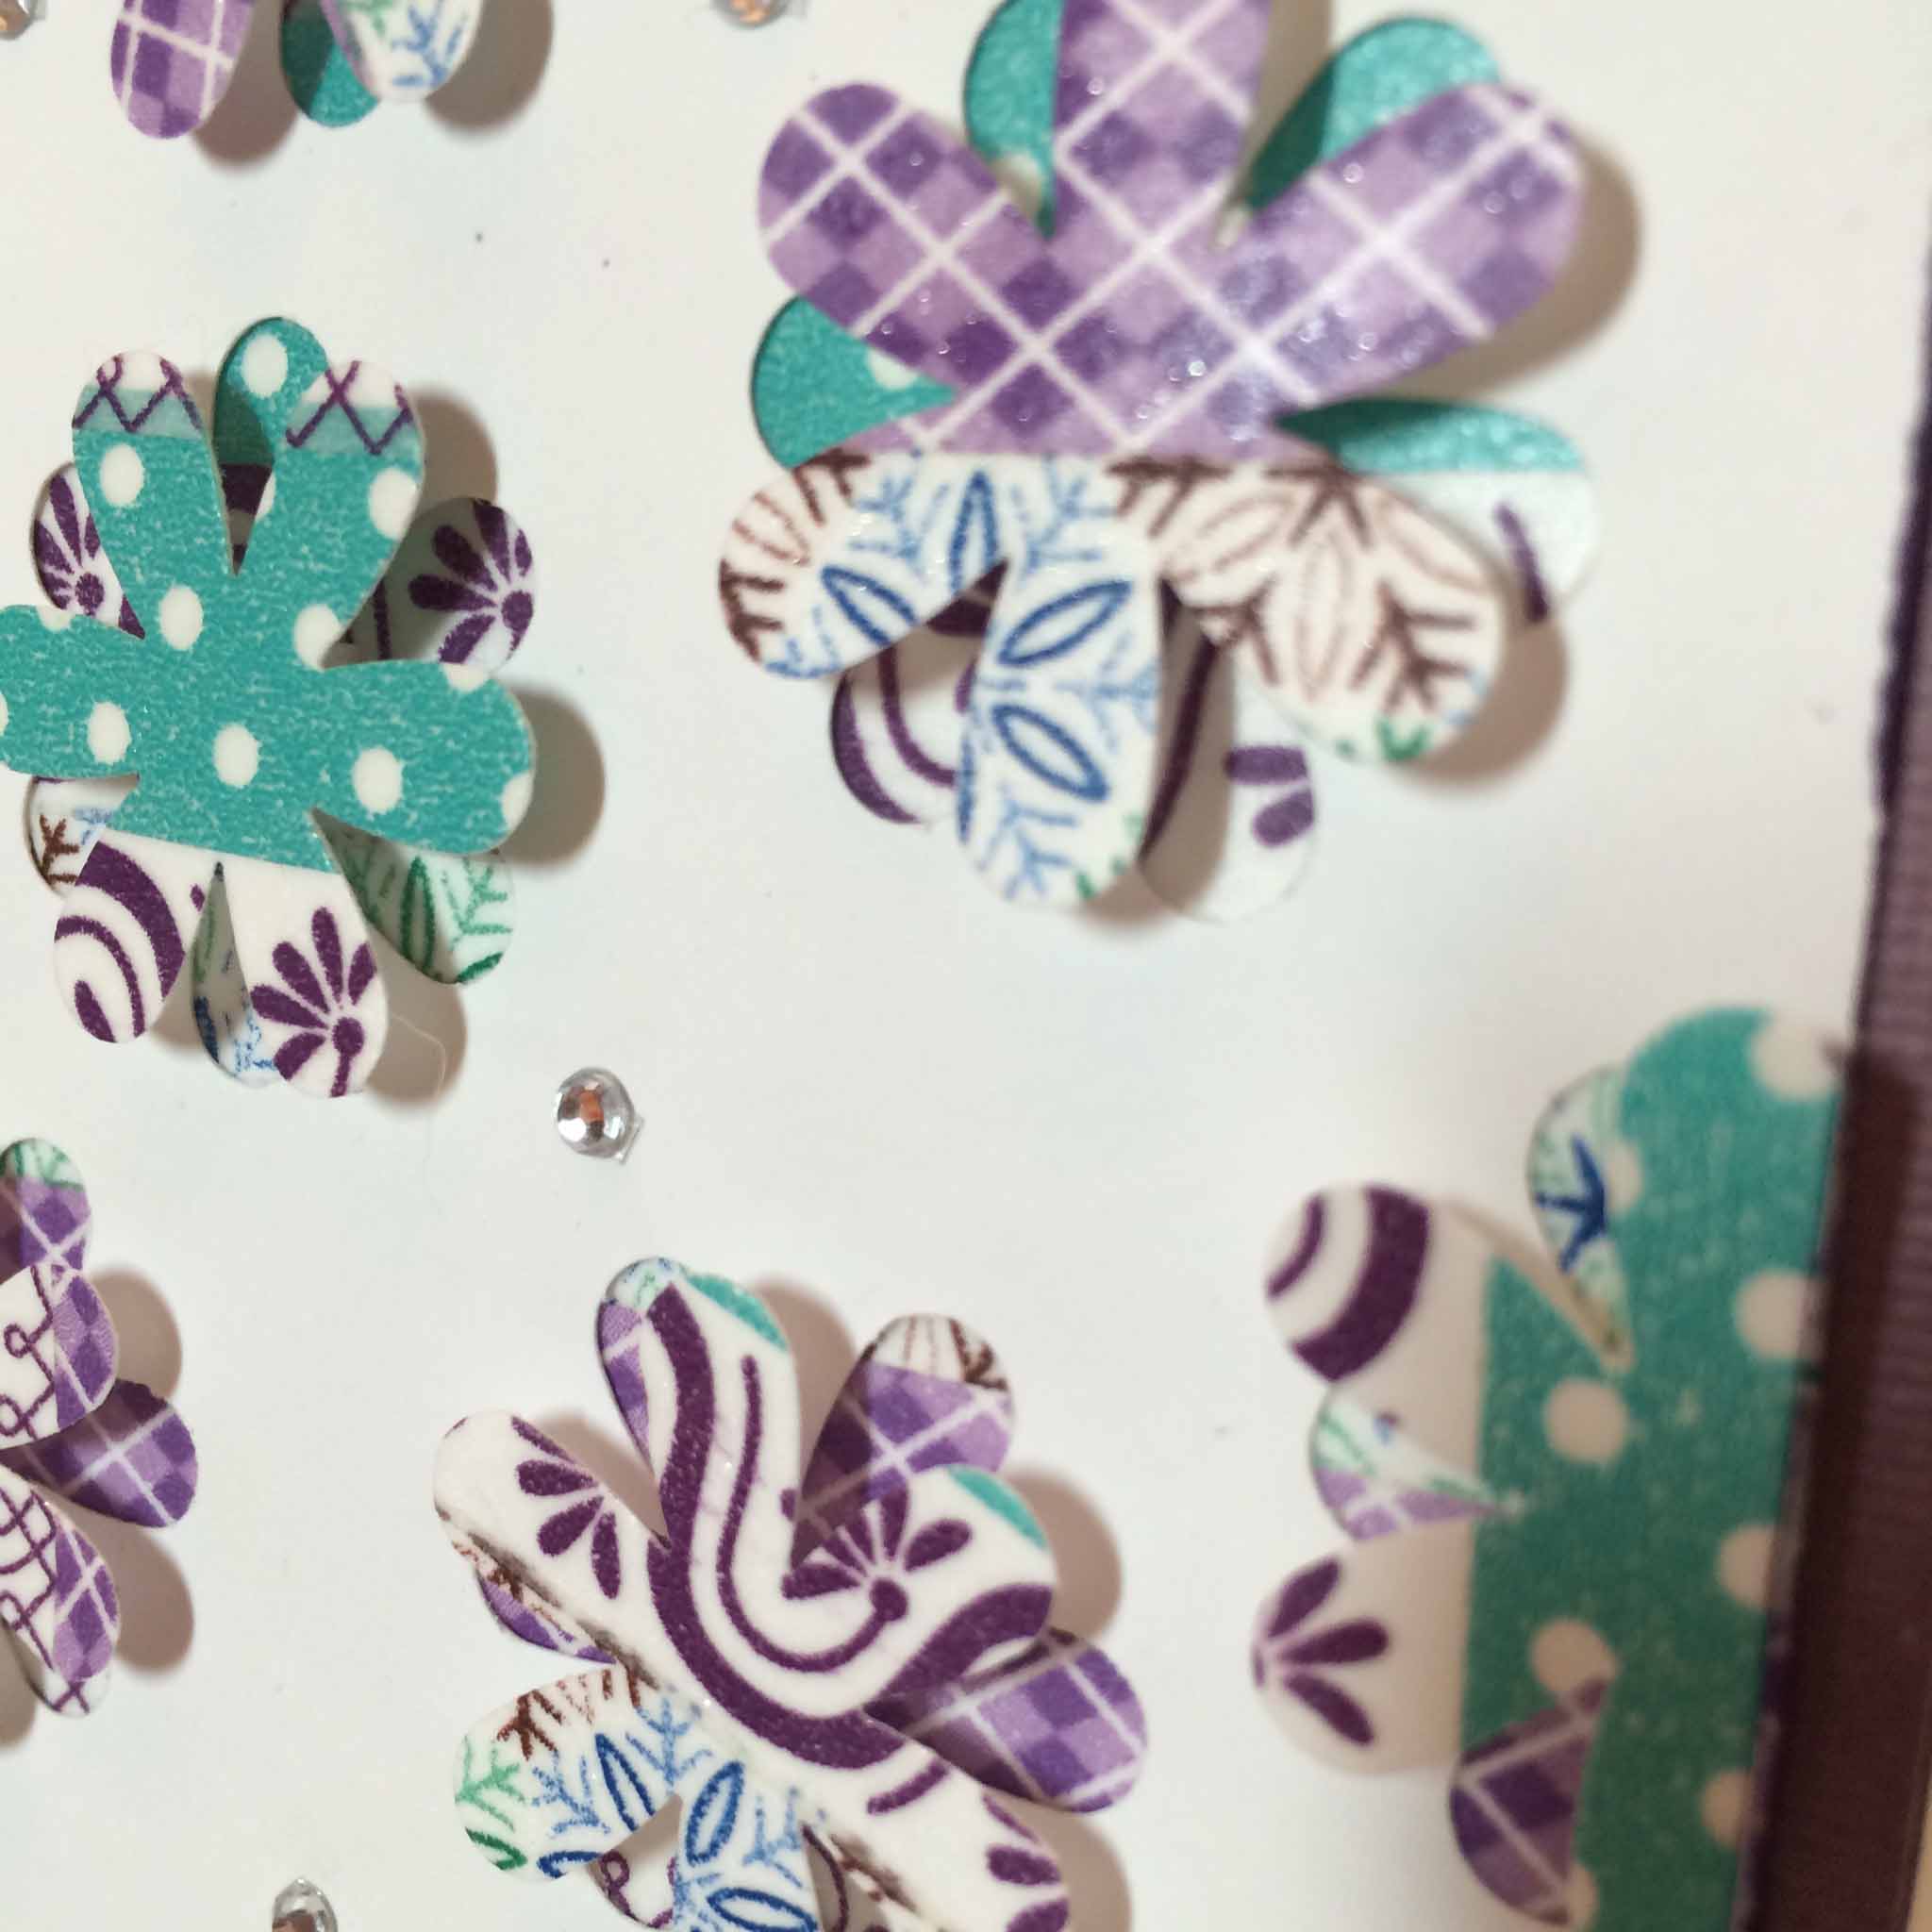
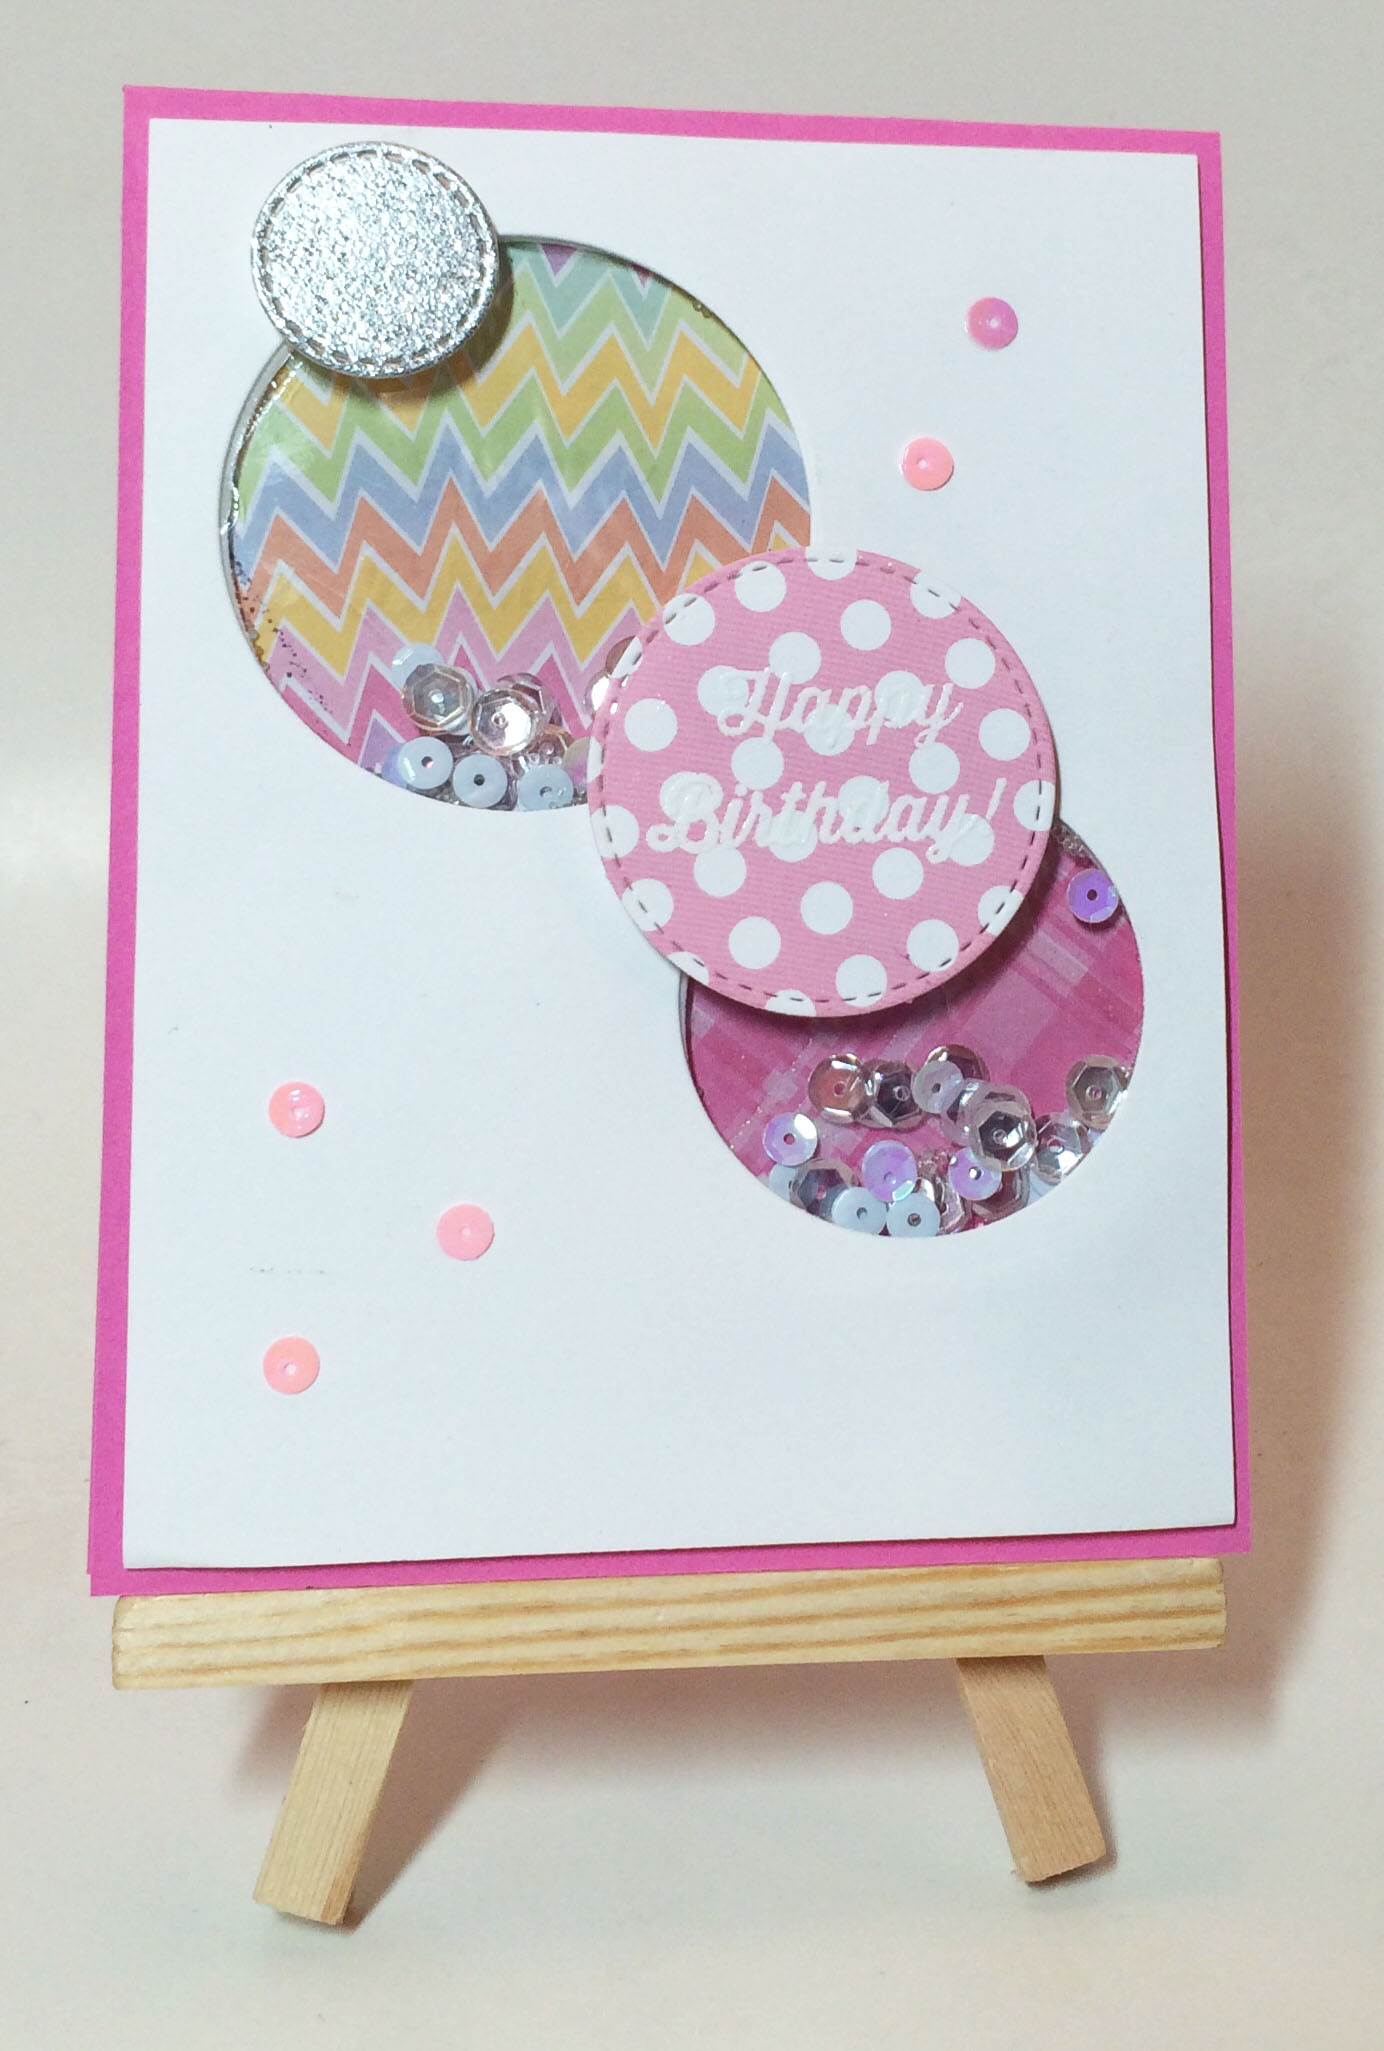
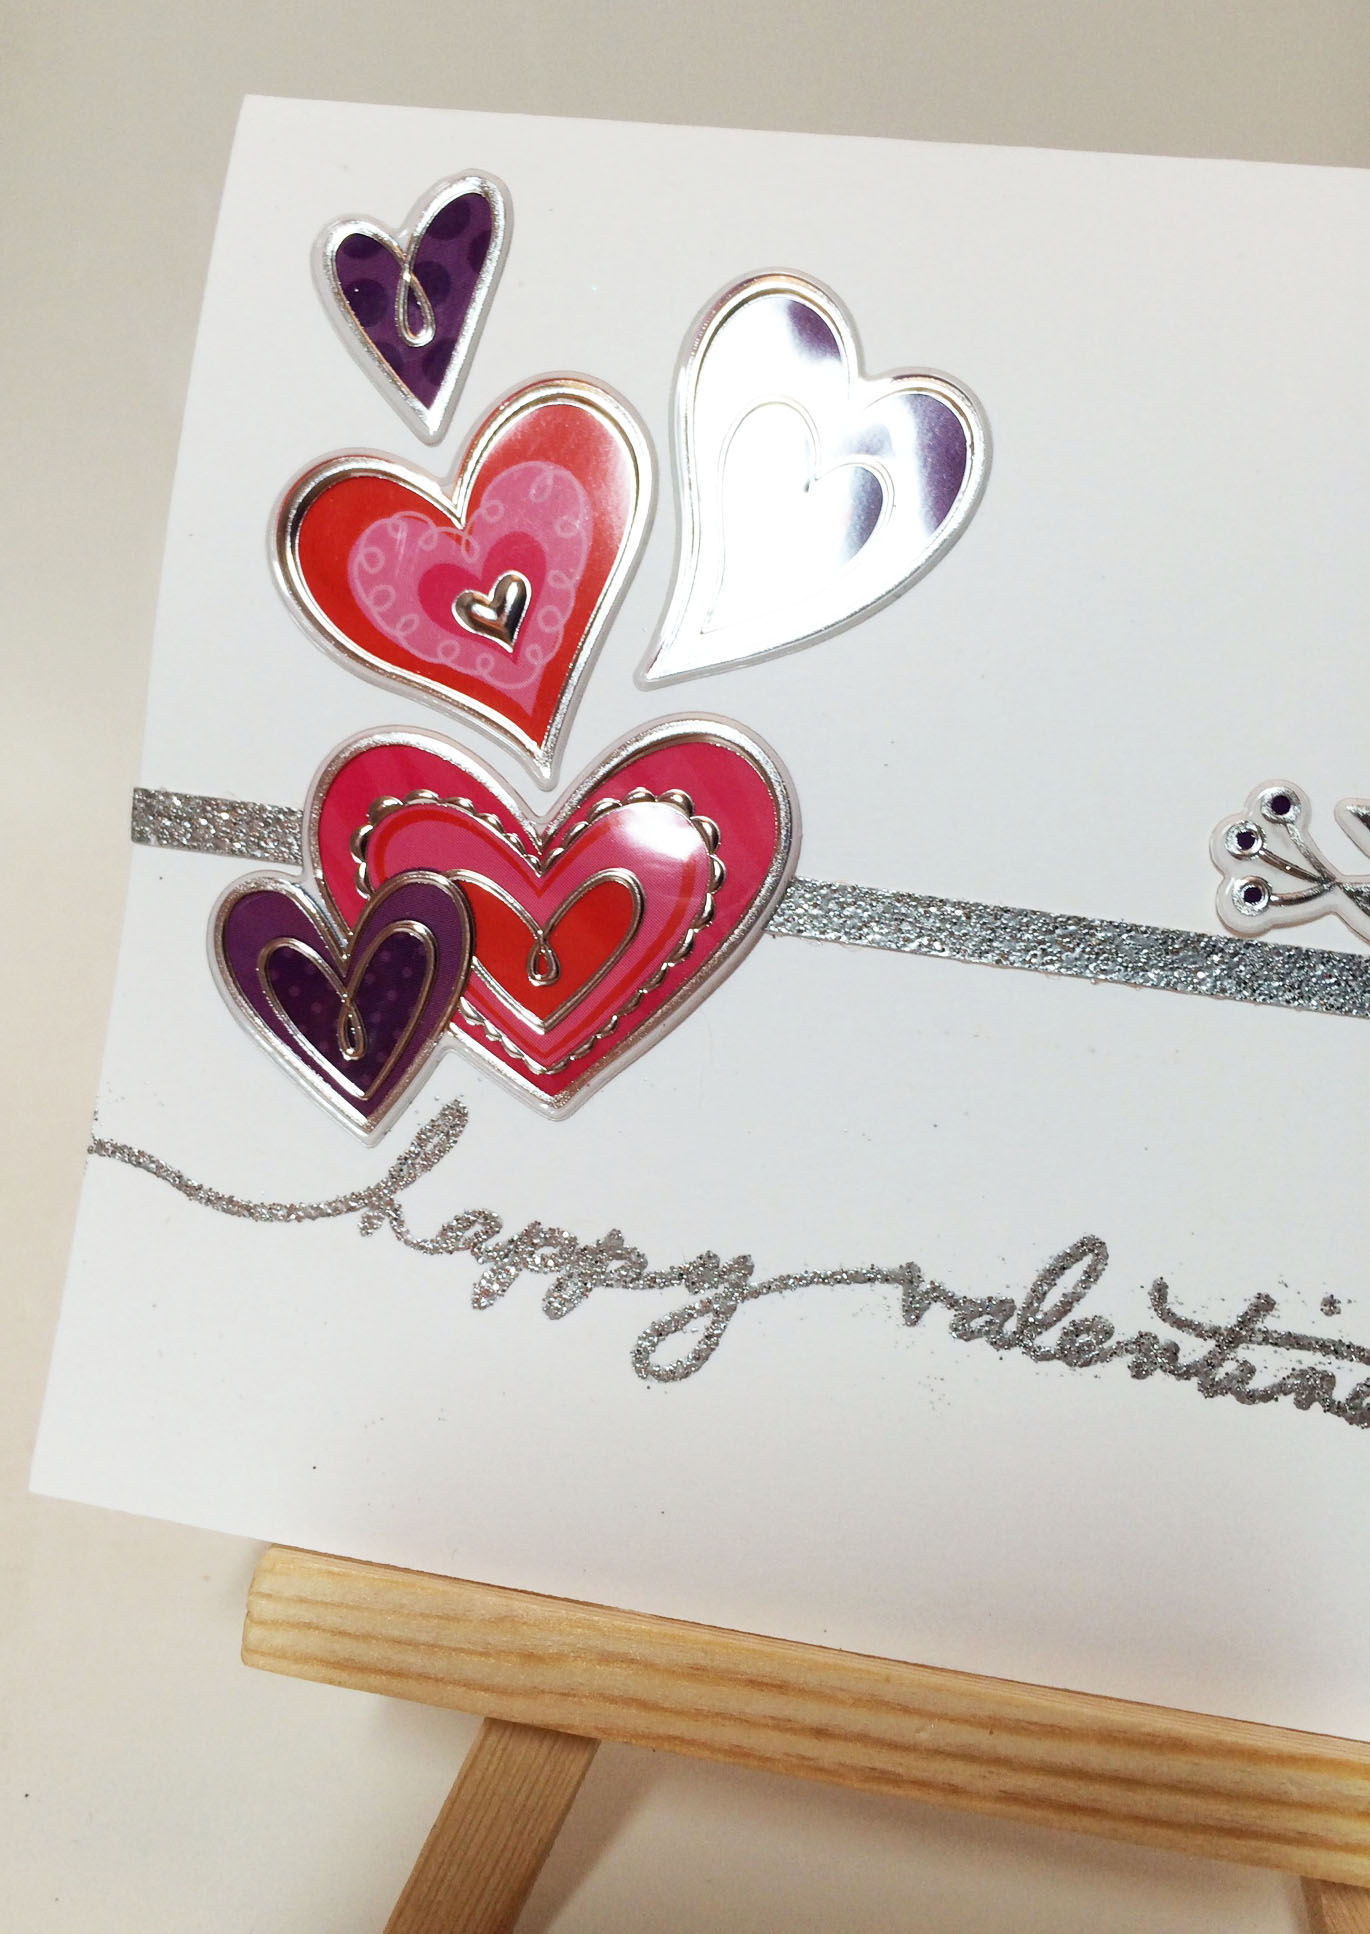
• started prepping my wall tree for Valentine’s Day.
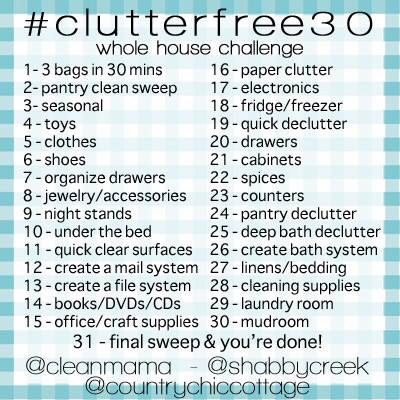 • still working on the #clutterfree30 challenge on Instagram with @cleanmama. It’s a great exercise – one I’m sure I’ll repeat.
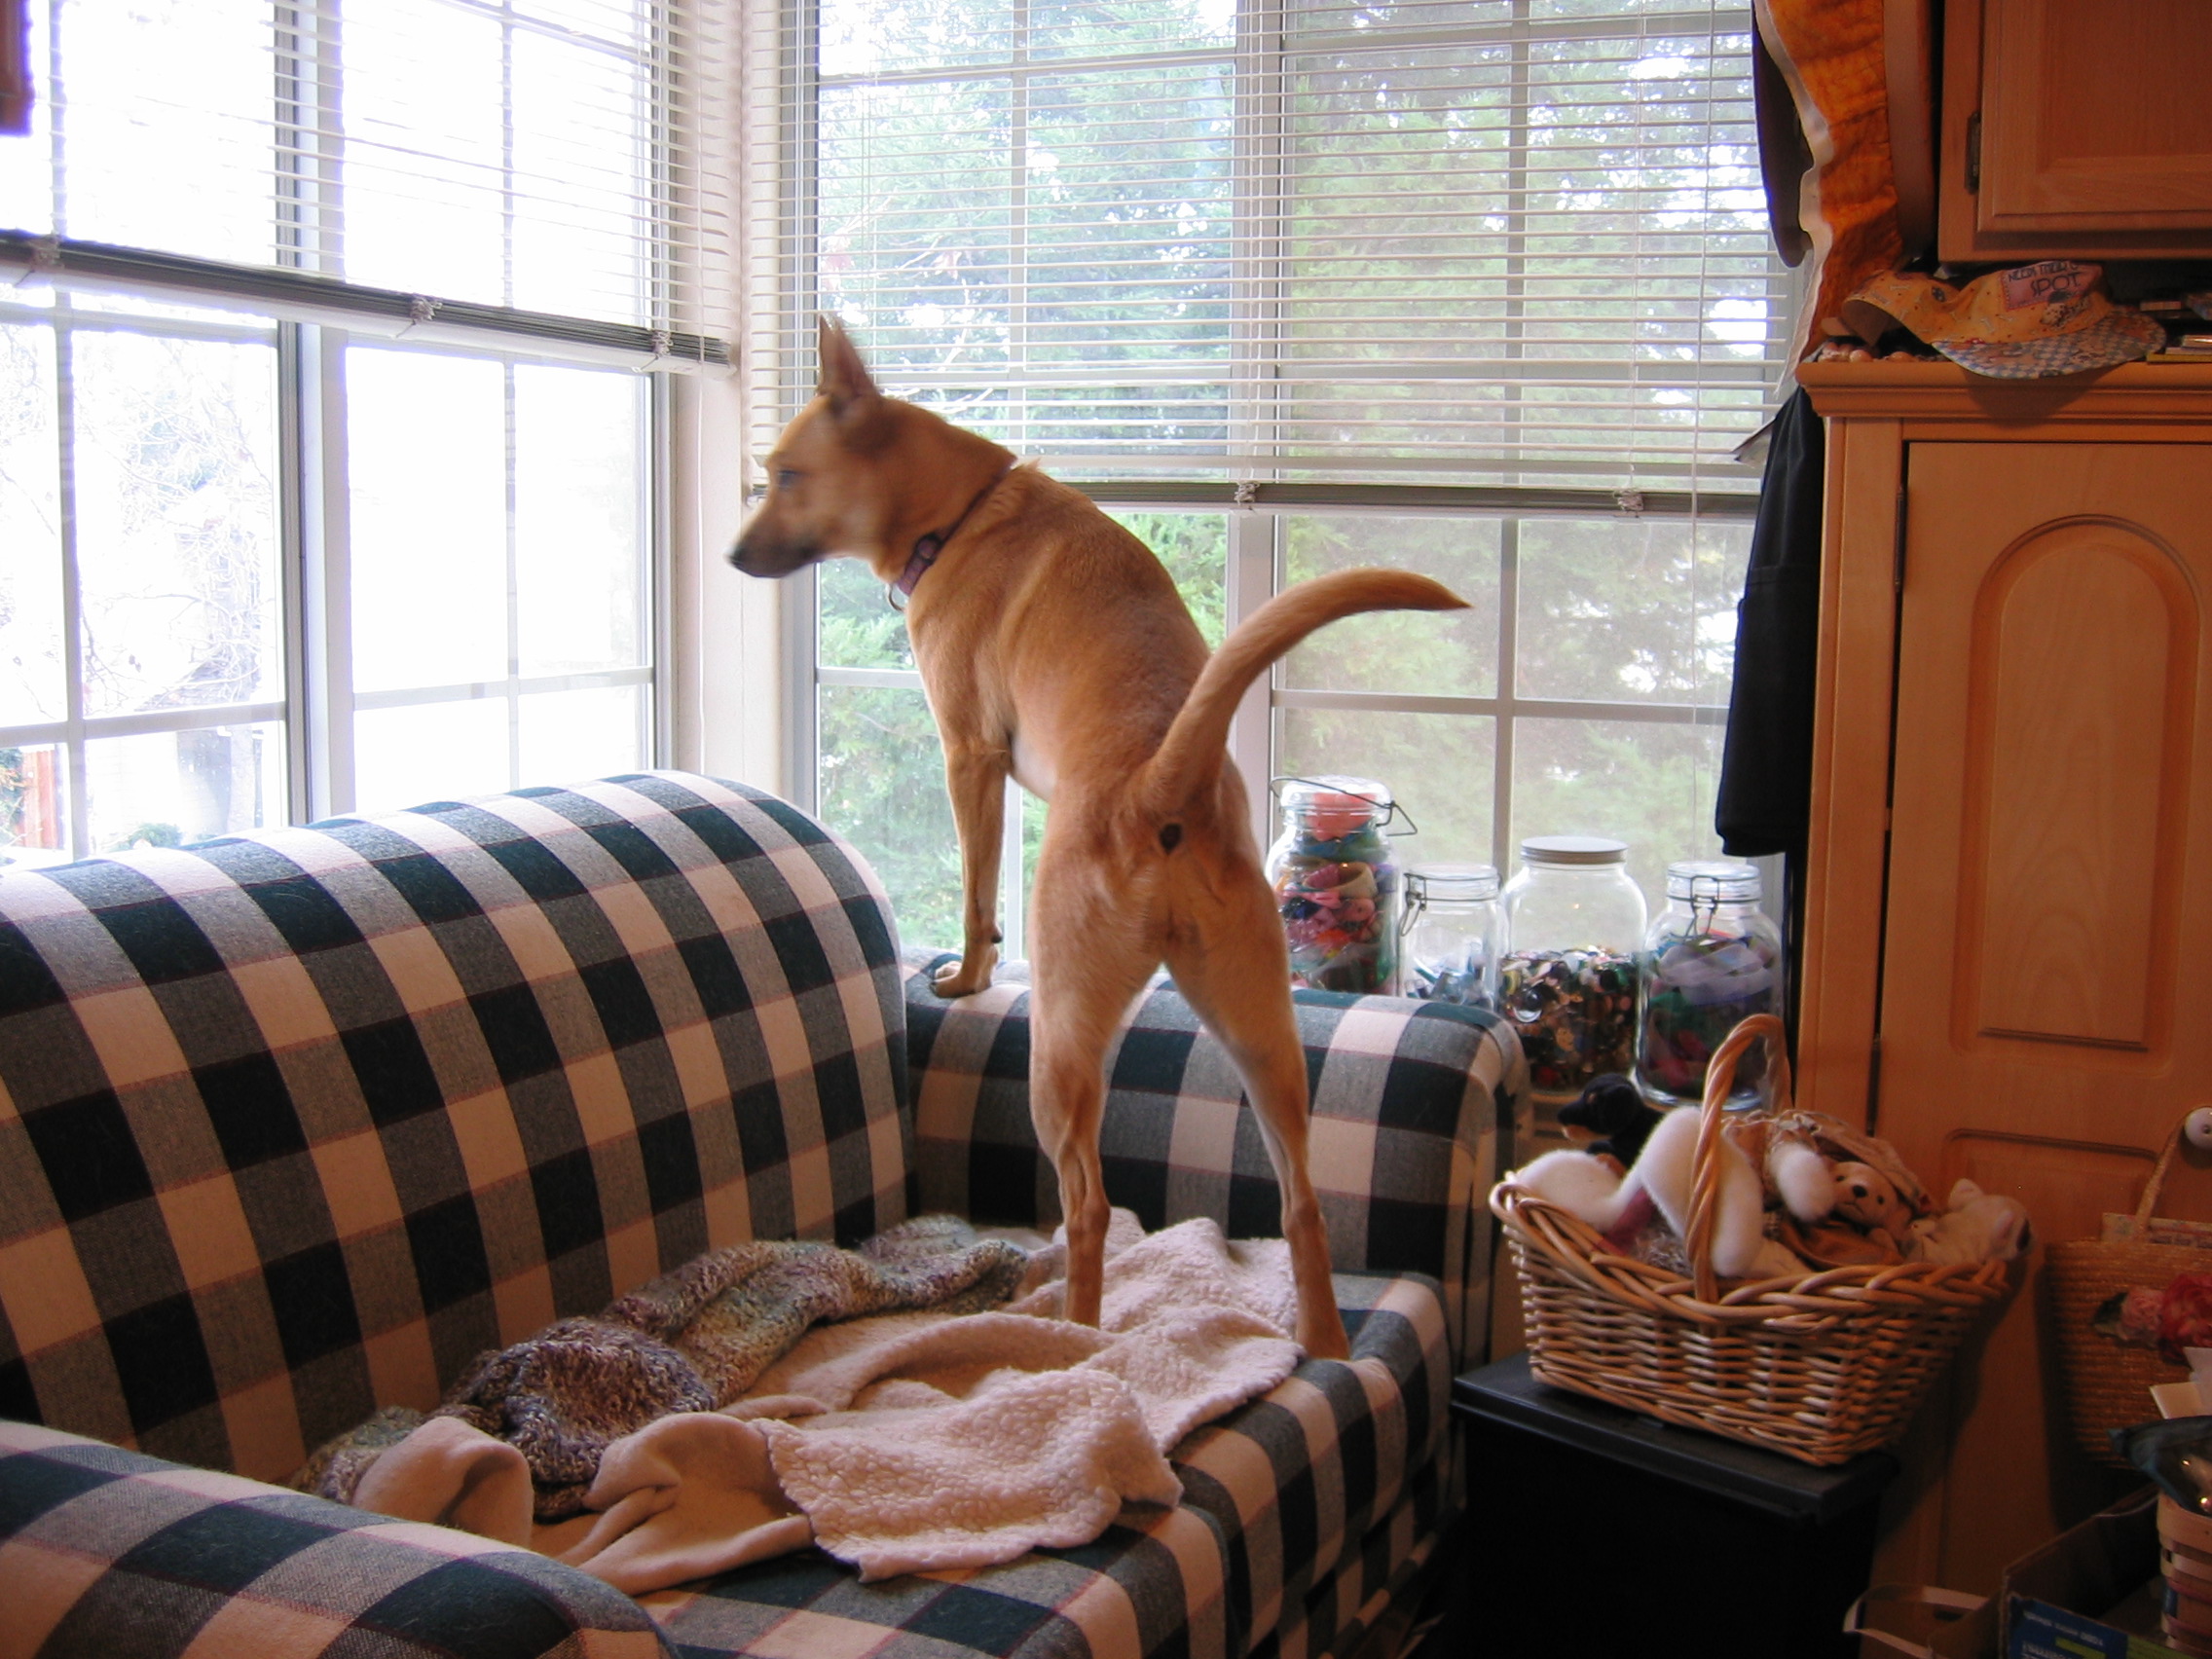
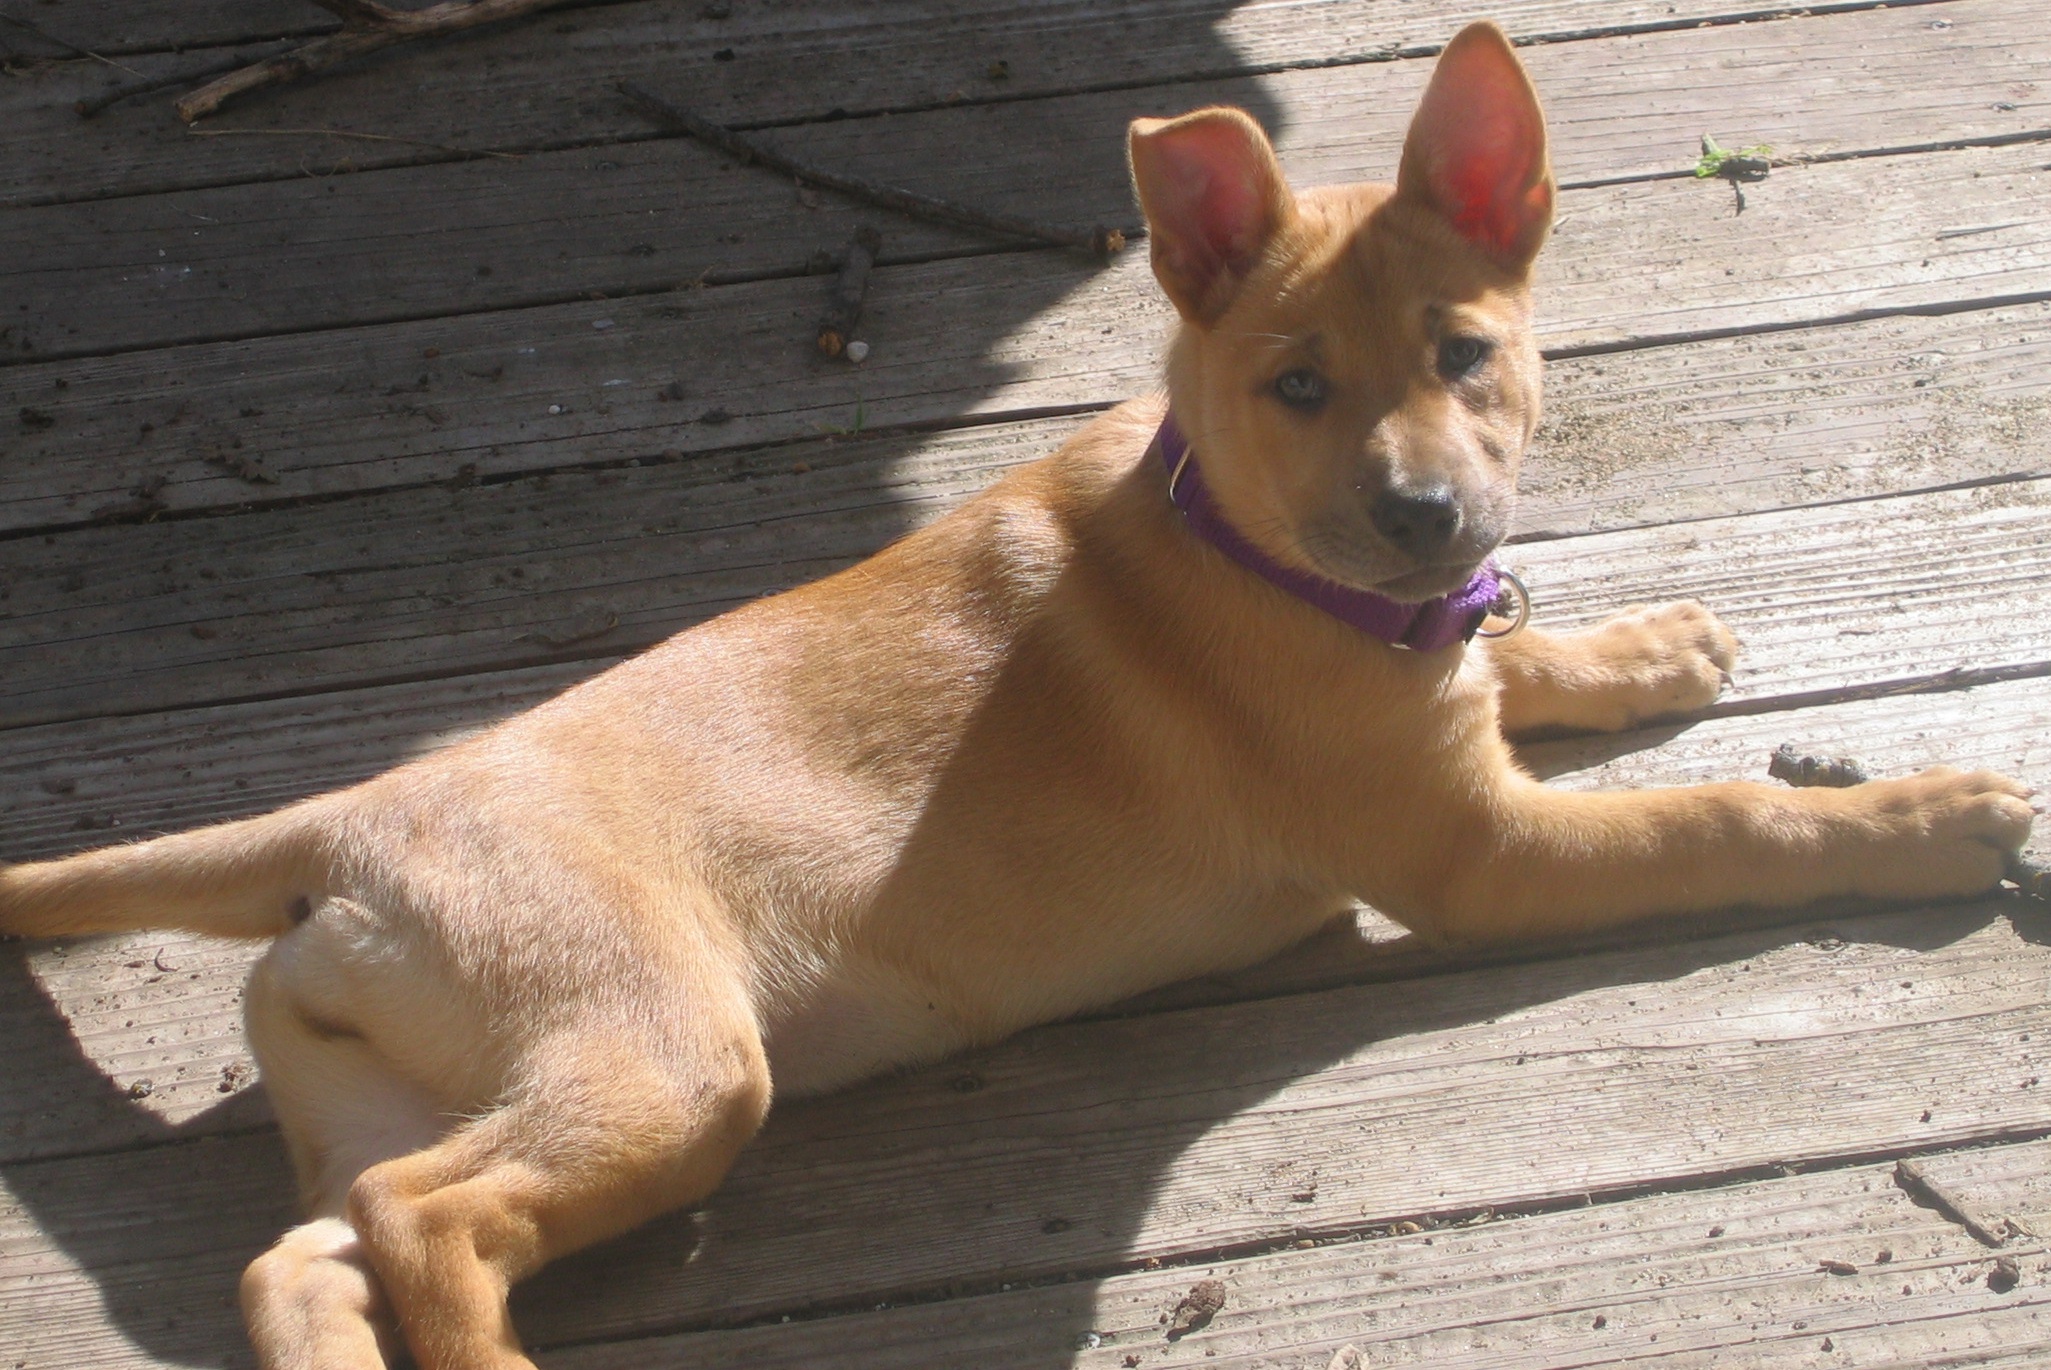
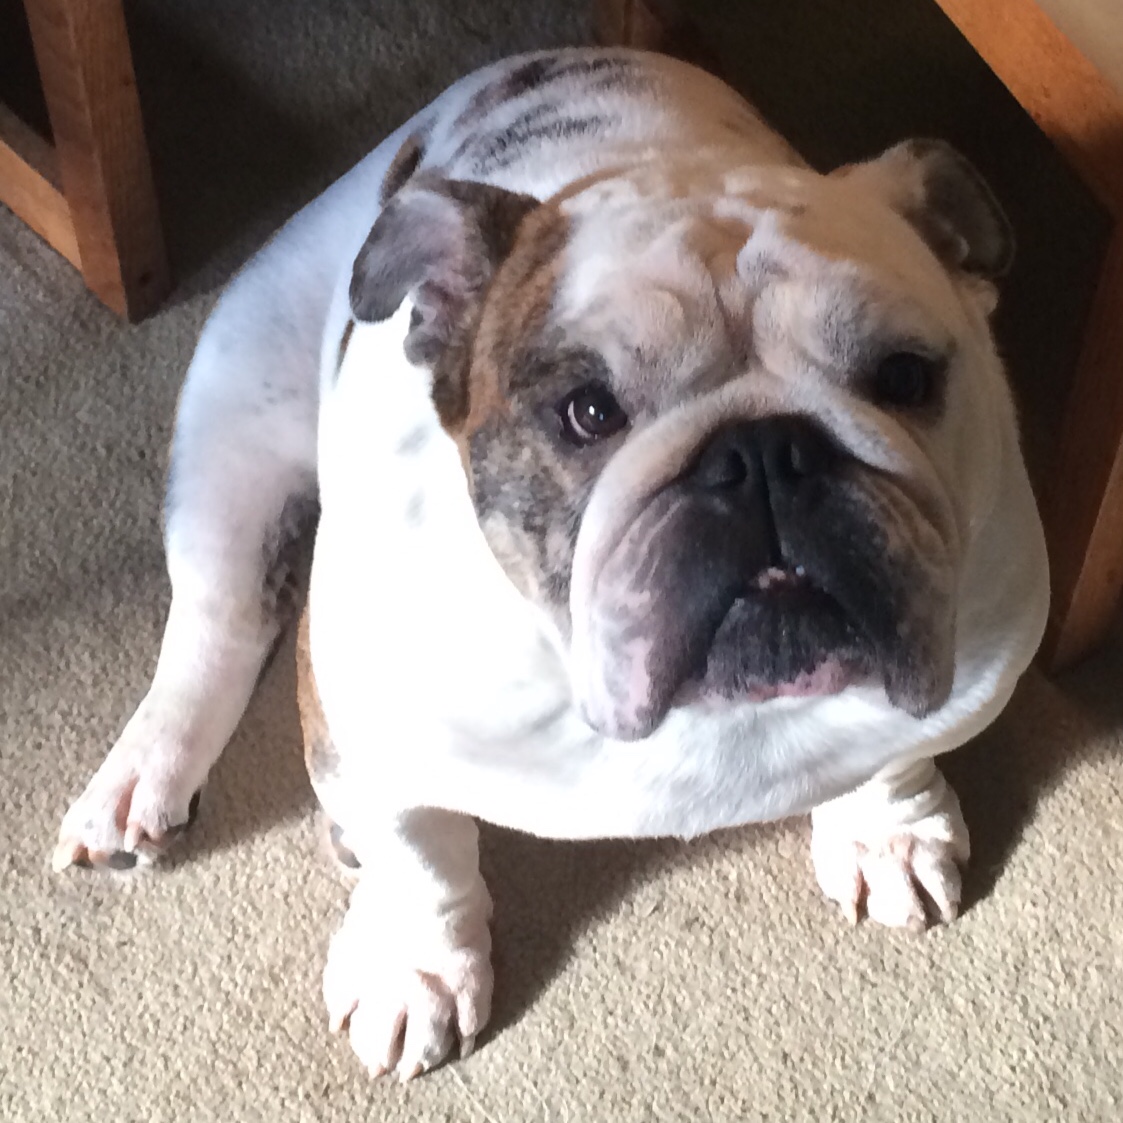
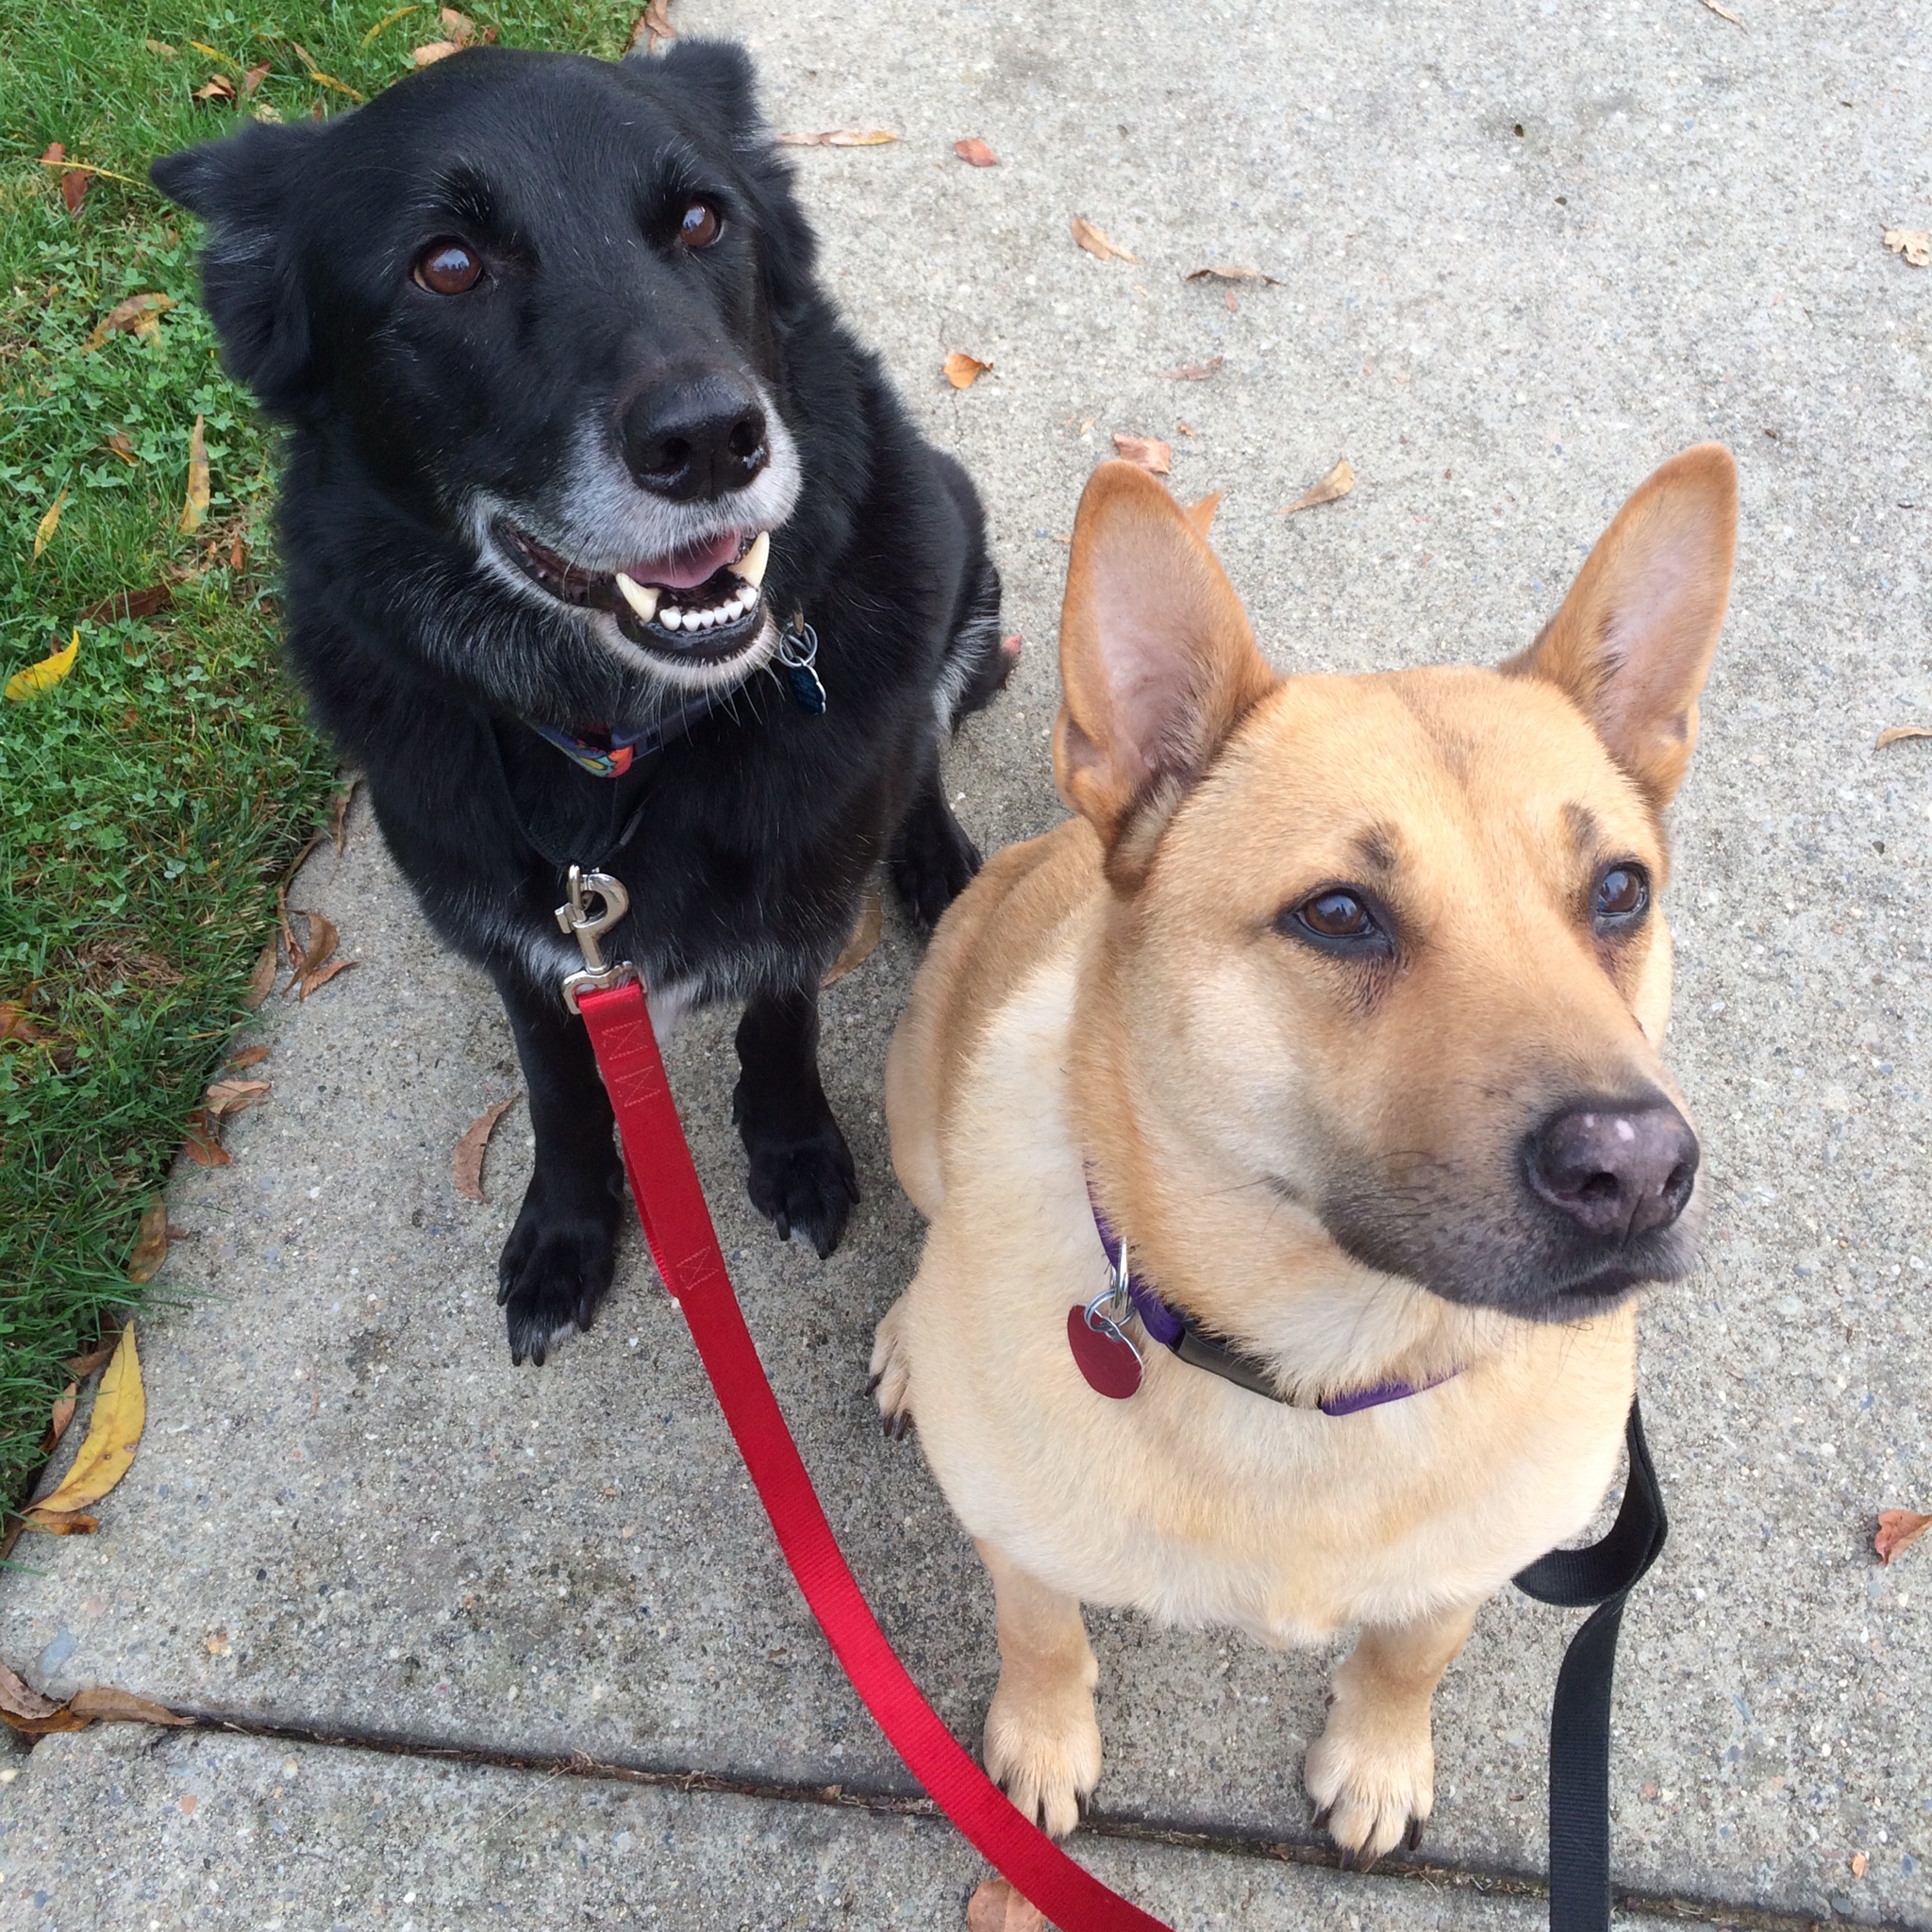
 • took care of these two handsome boys.
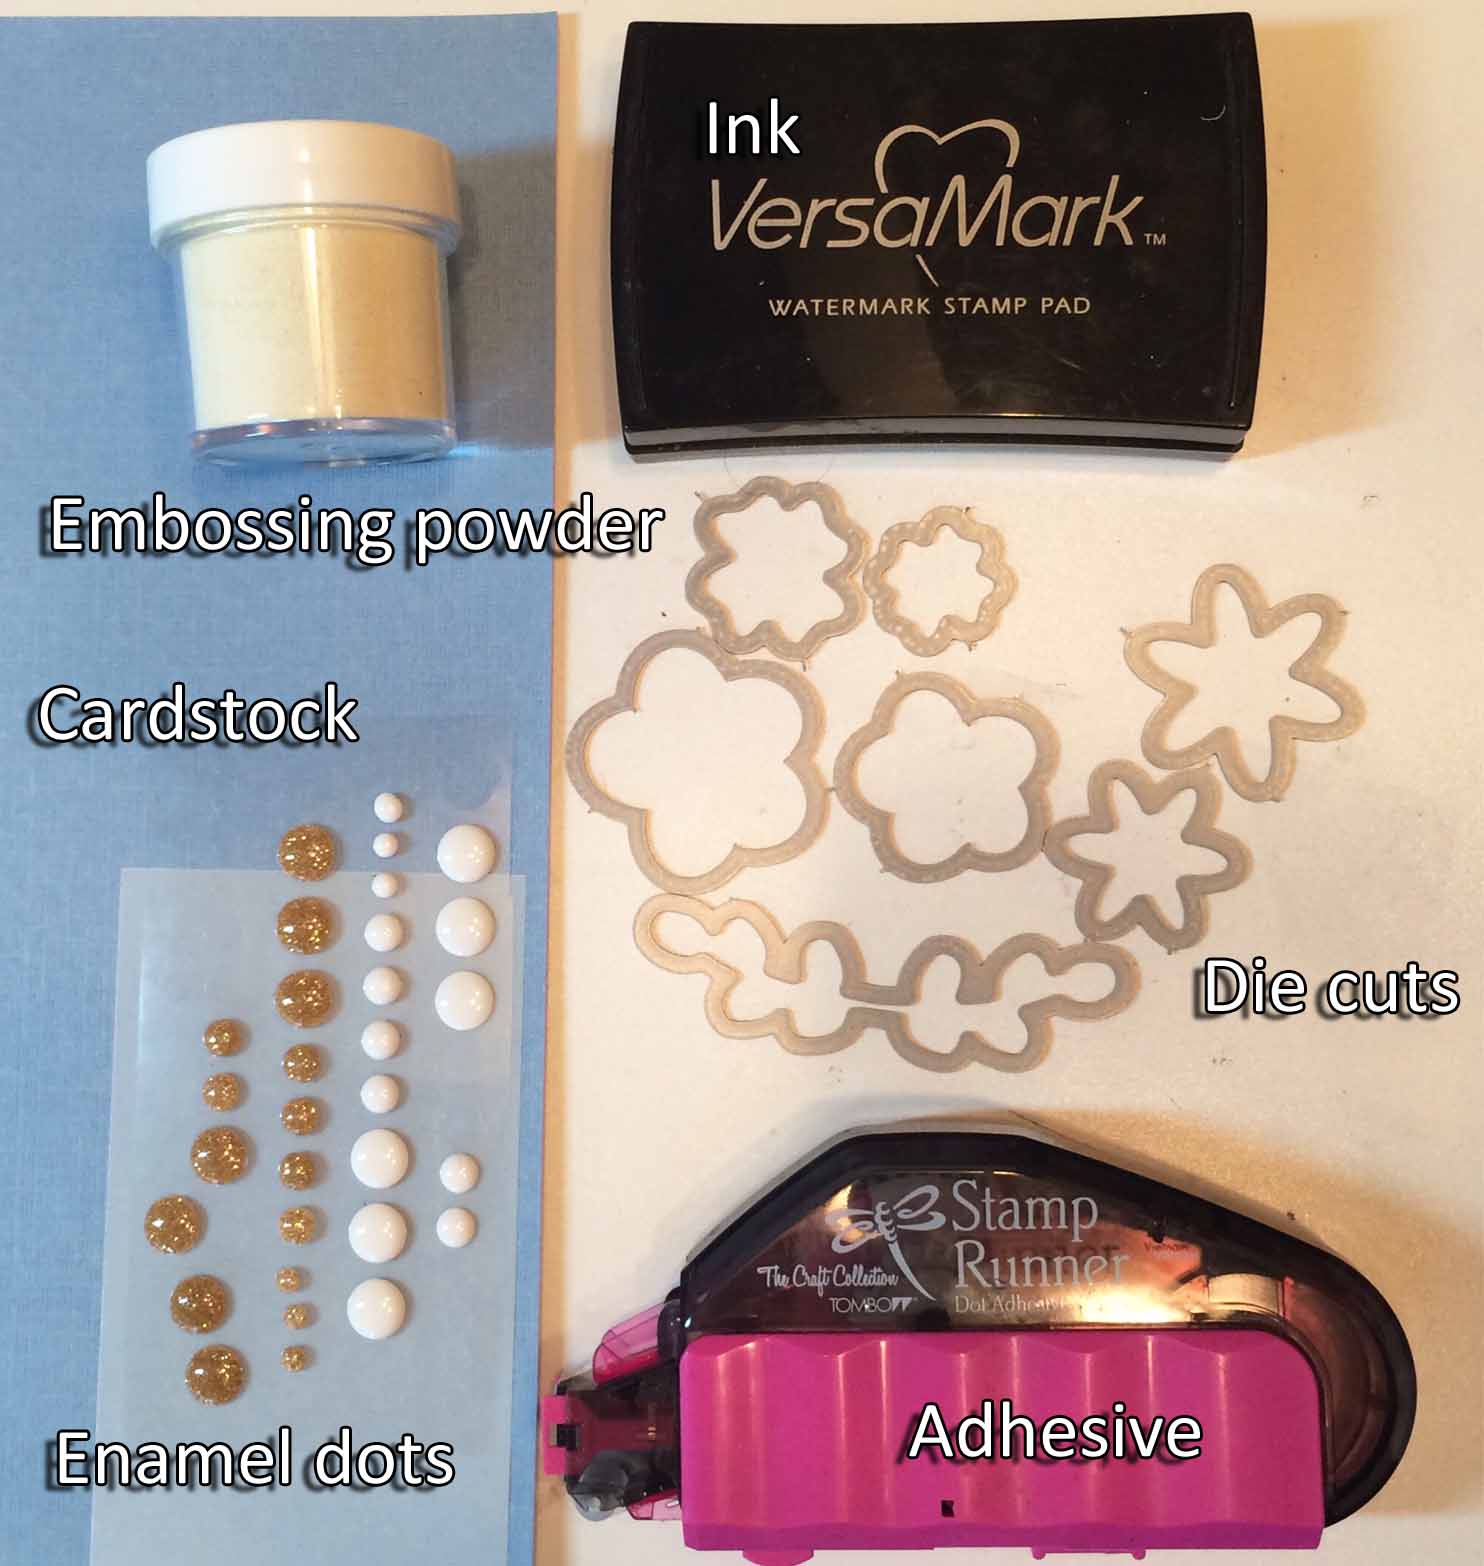
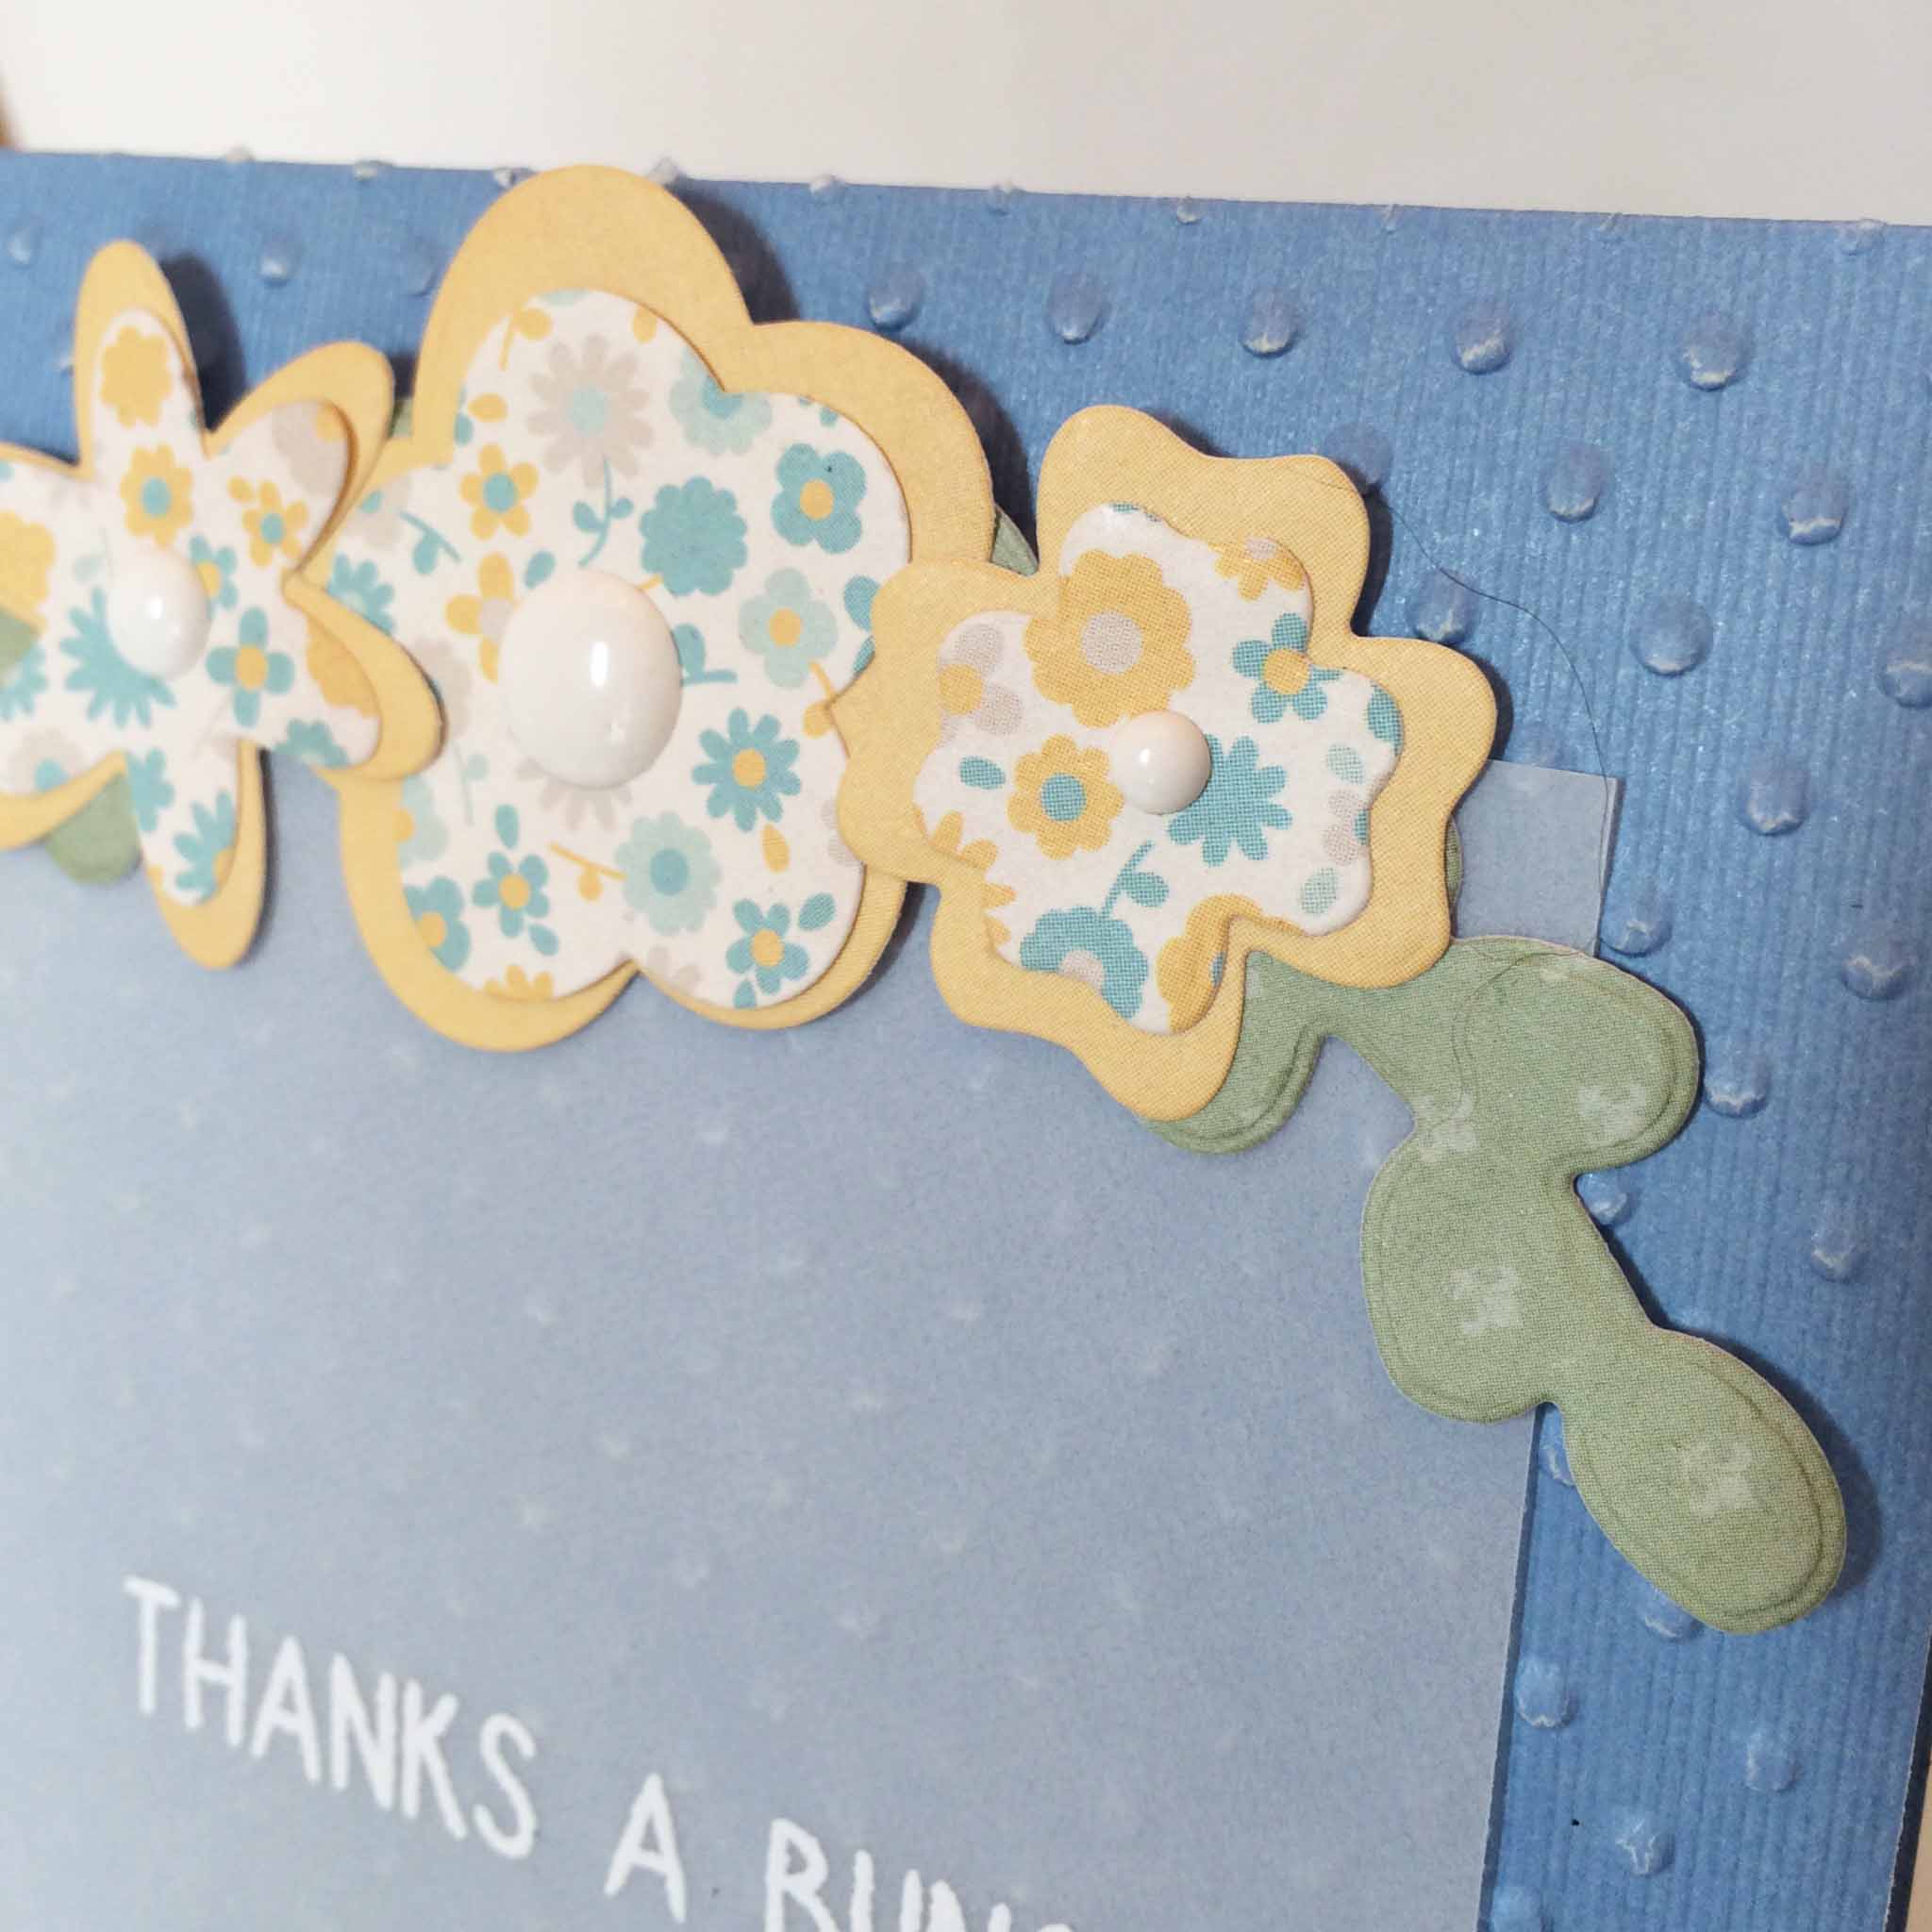
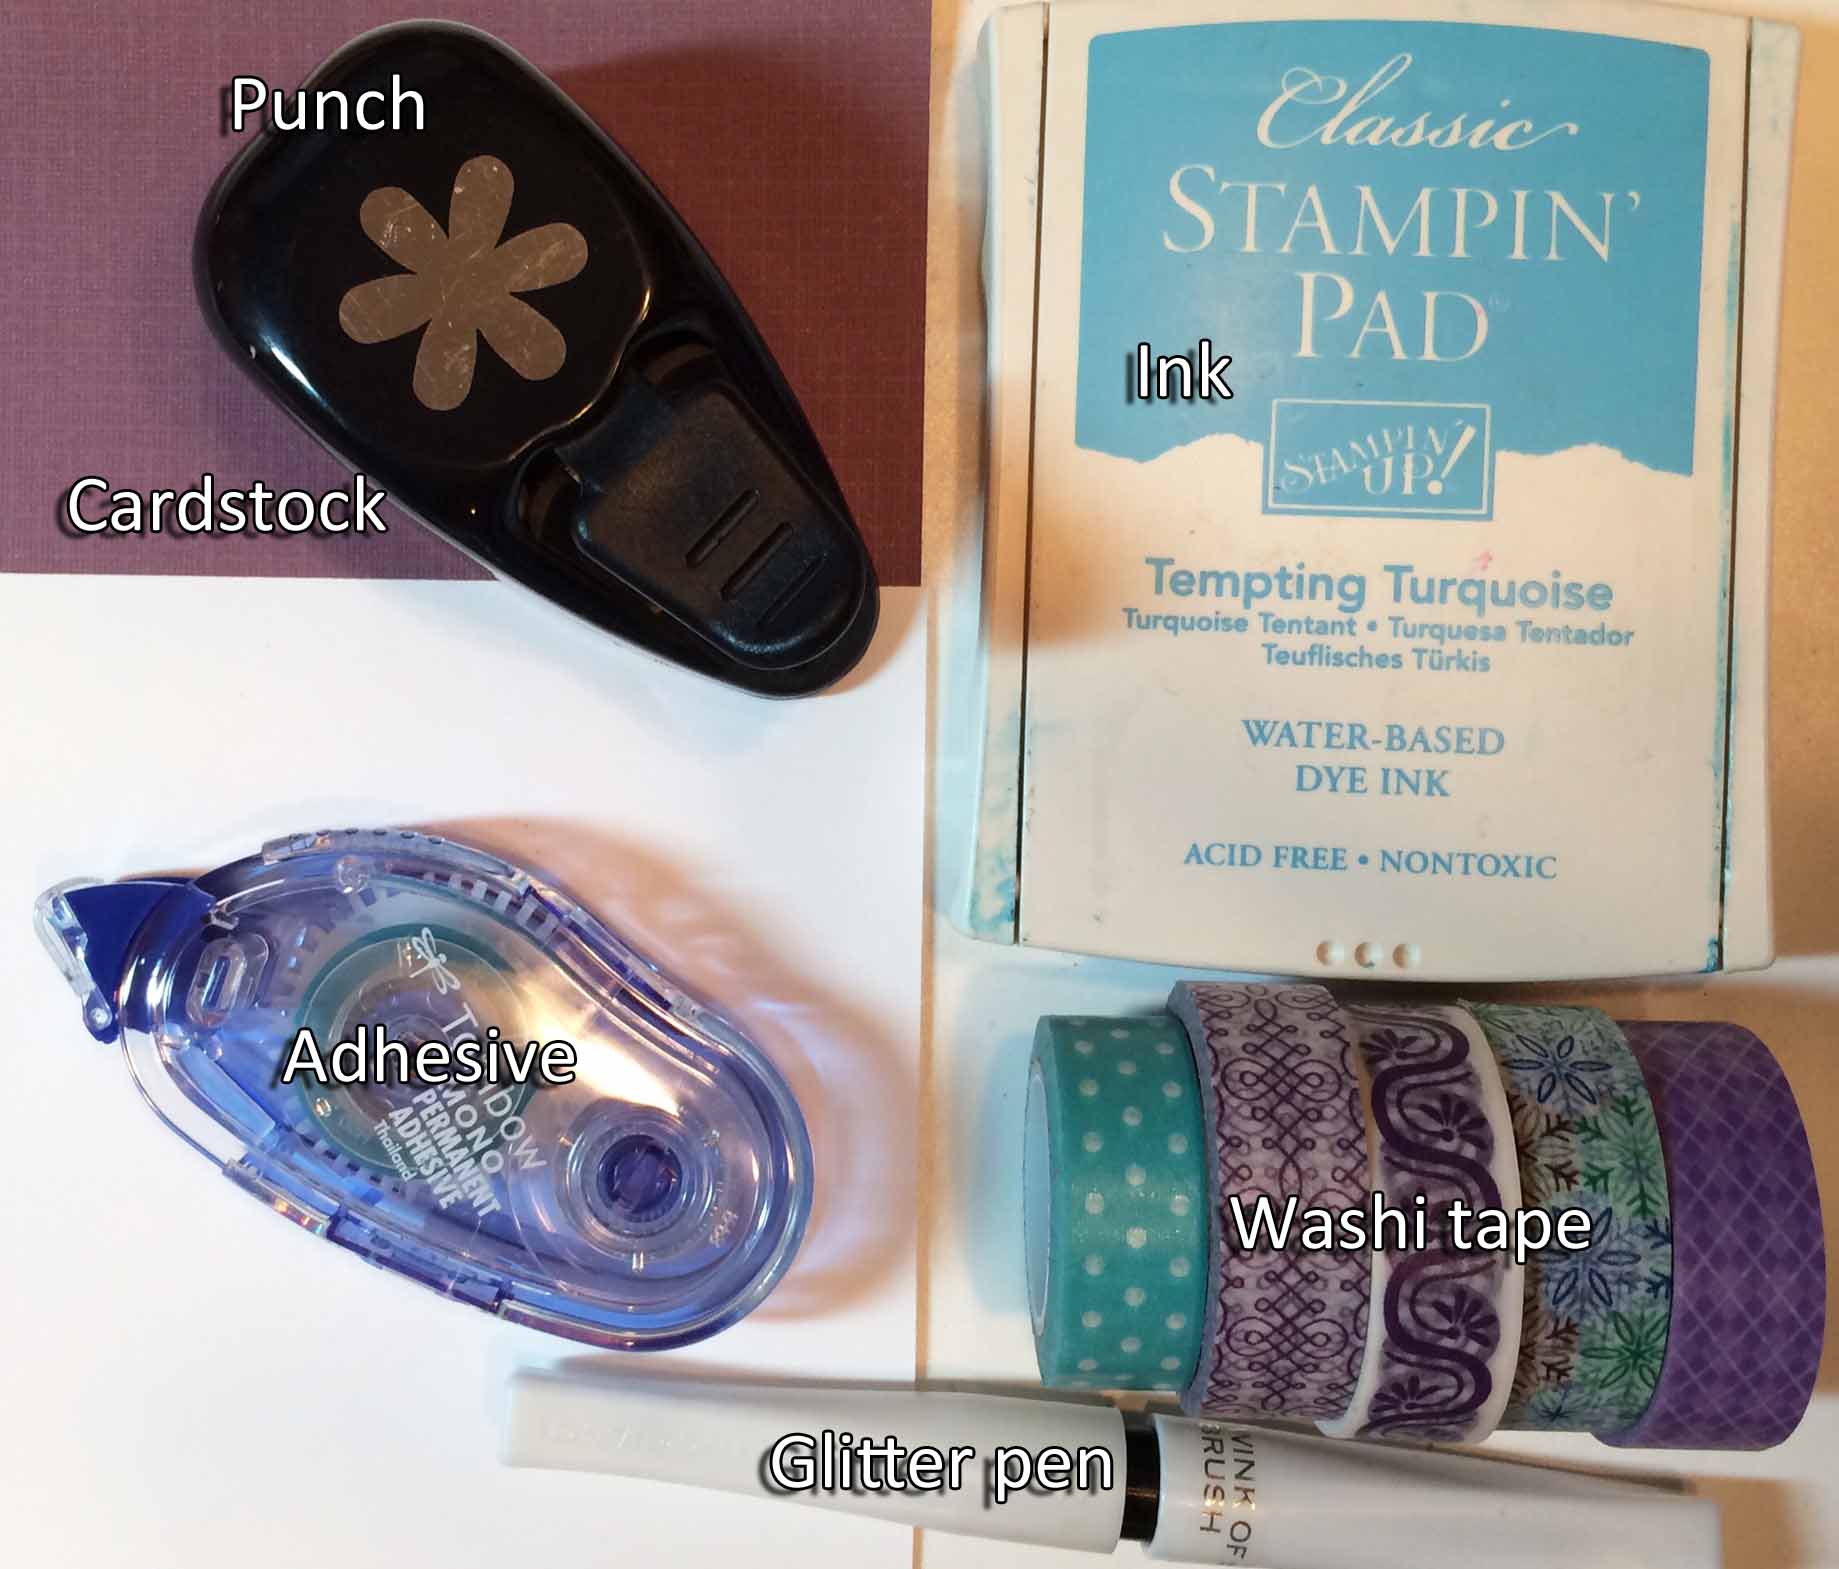
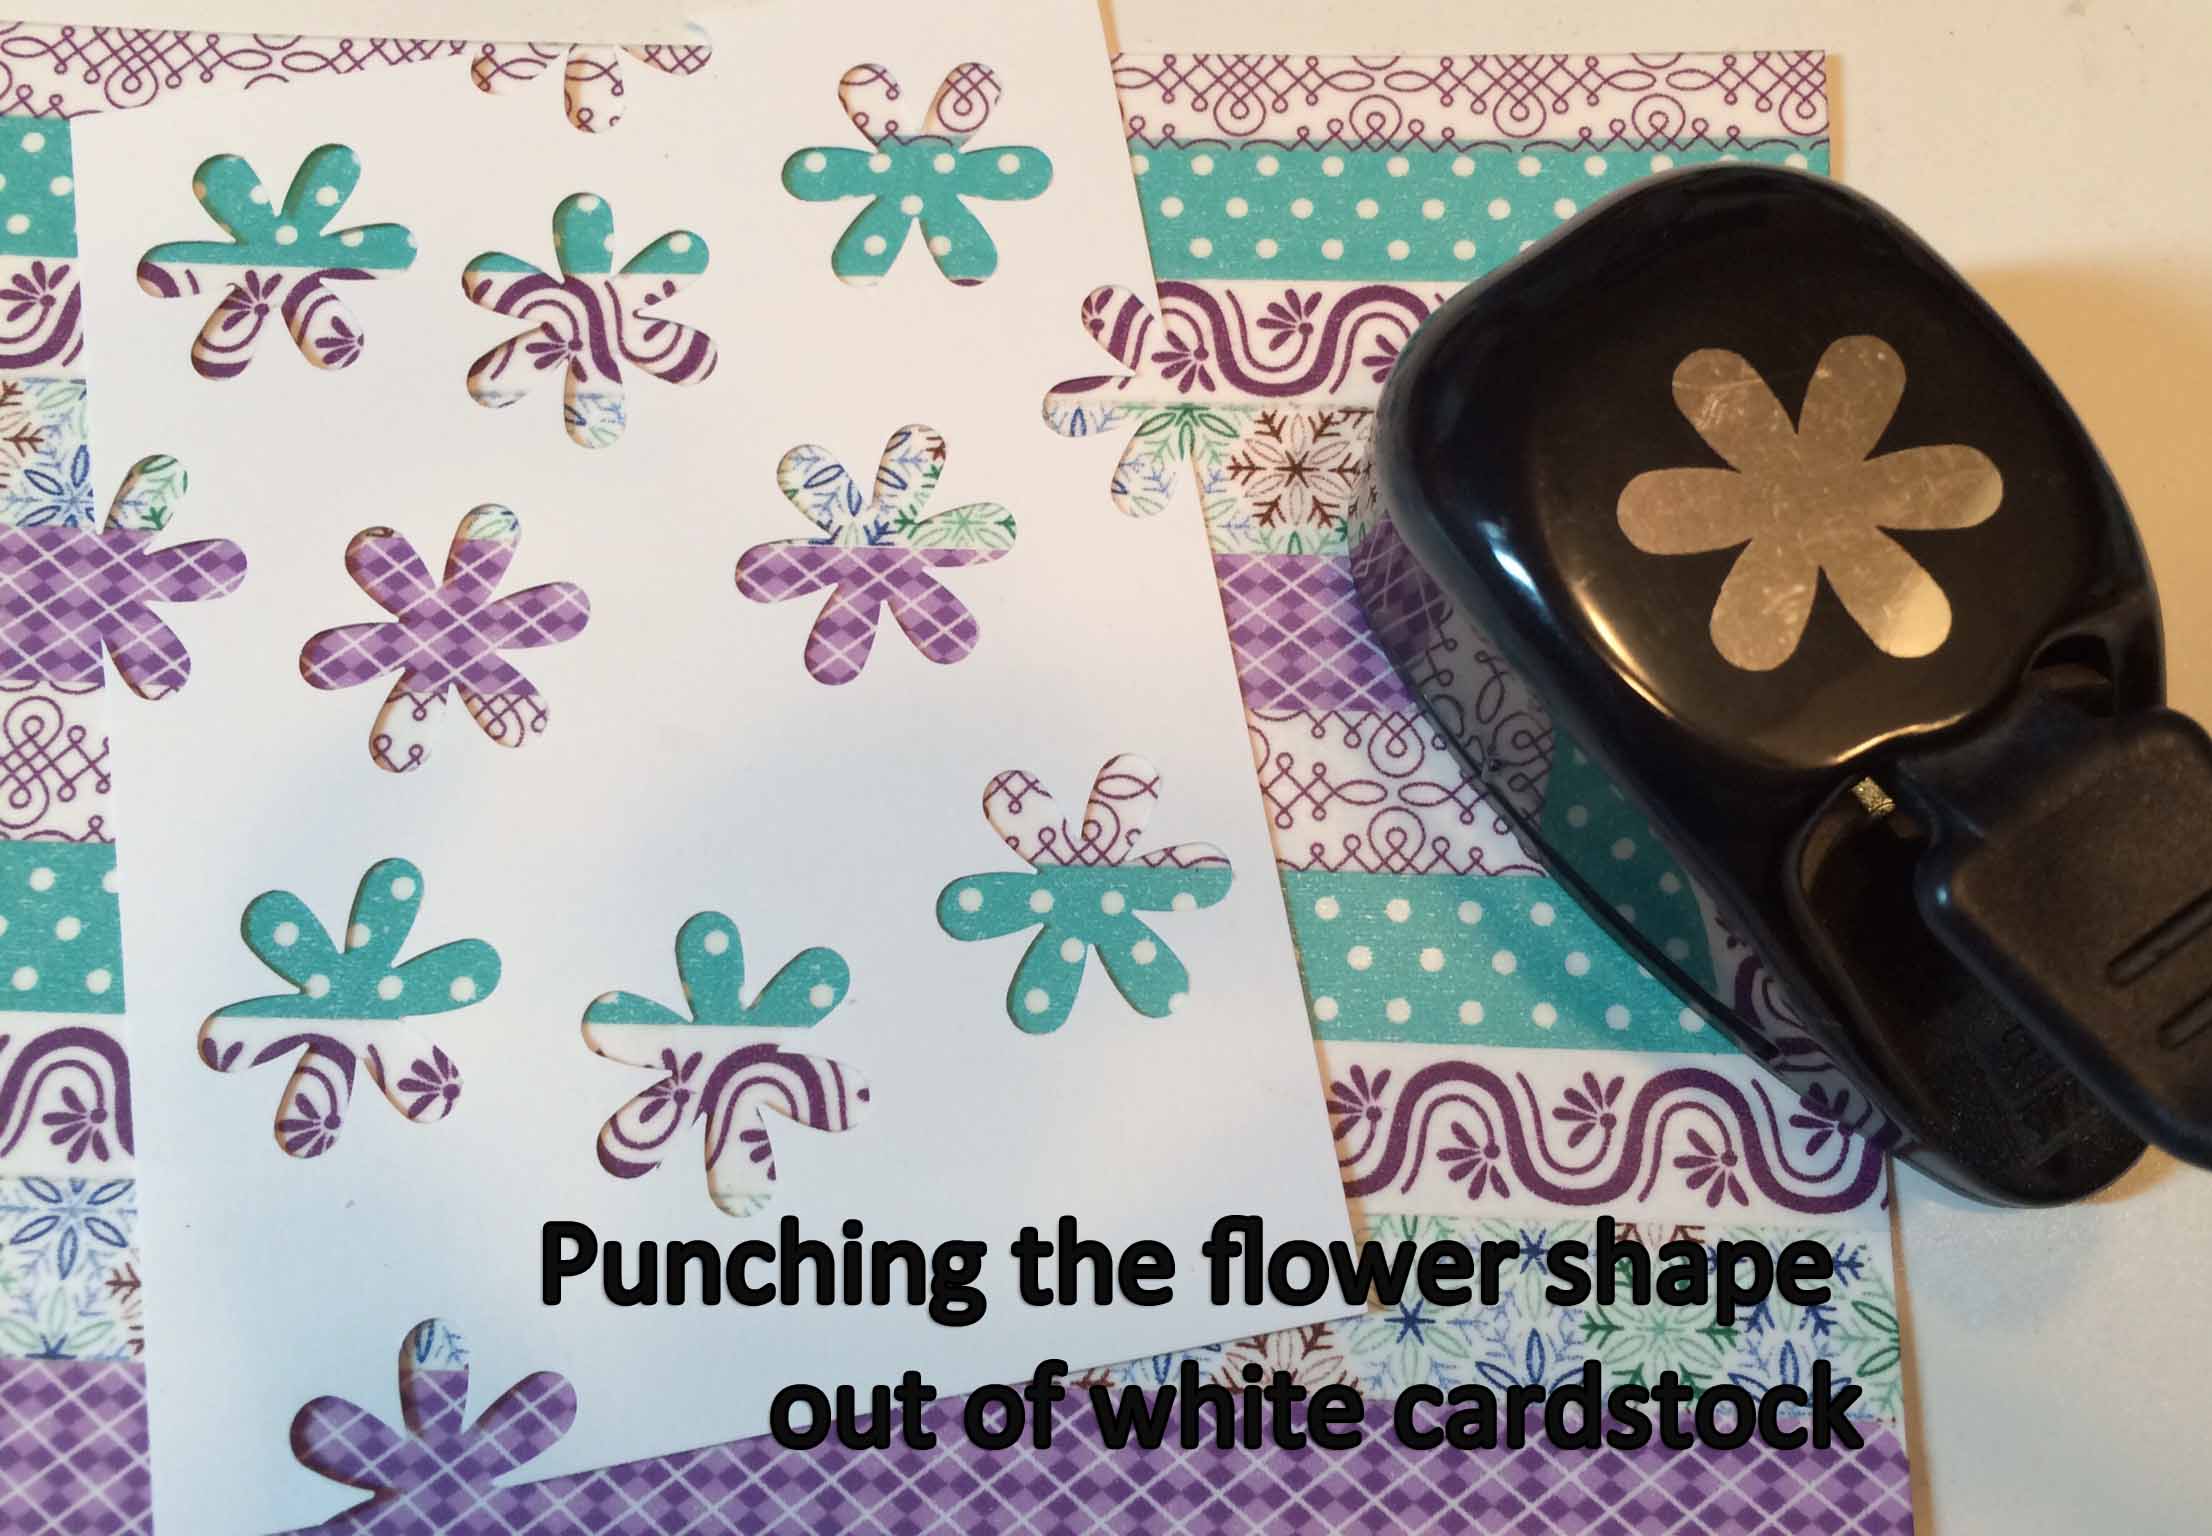
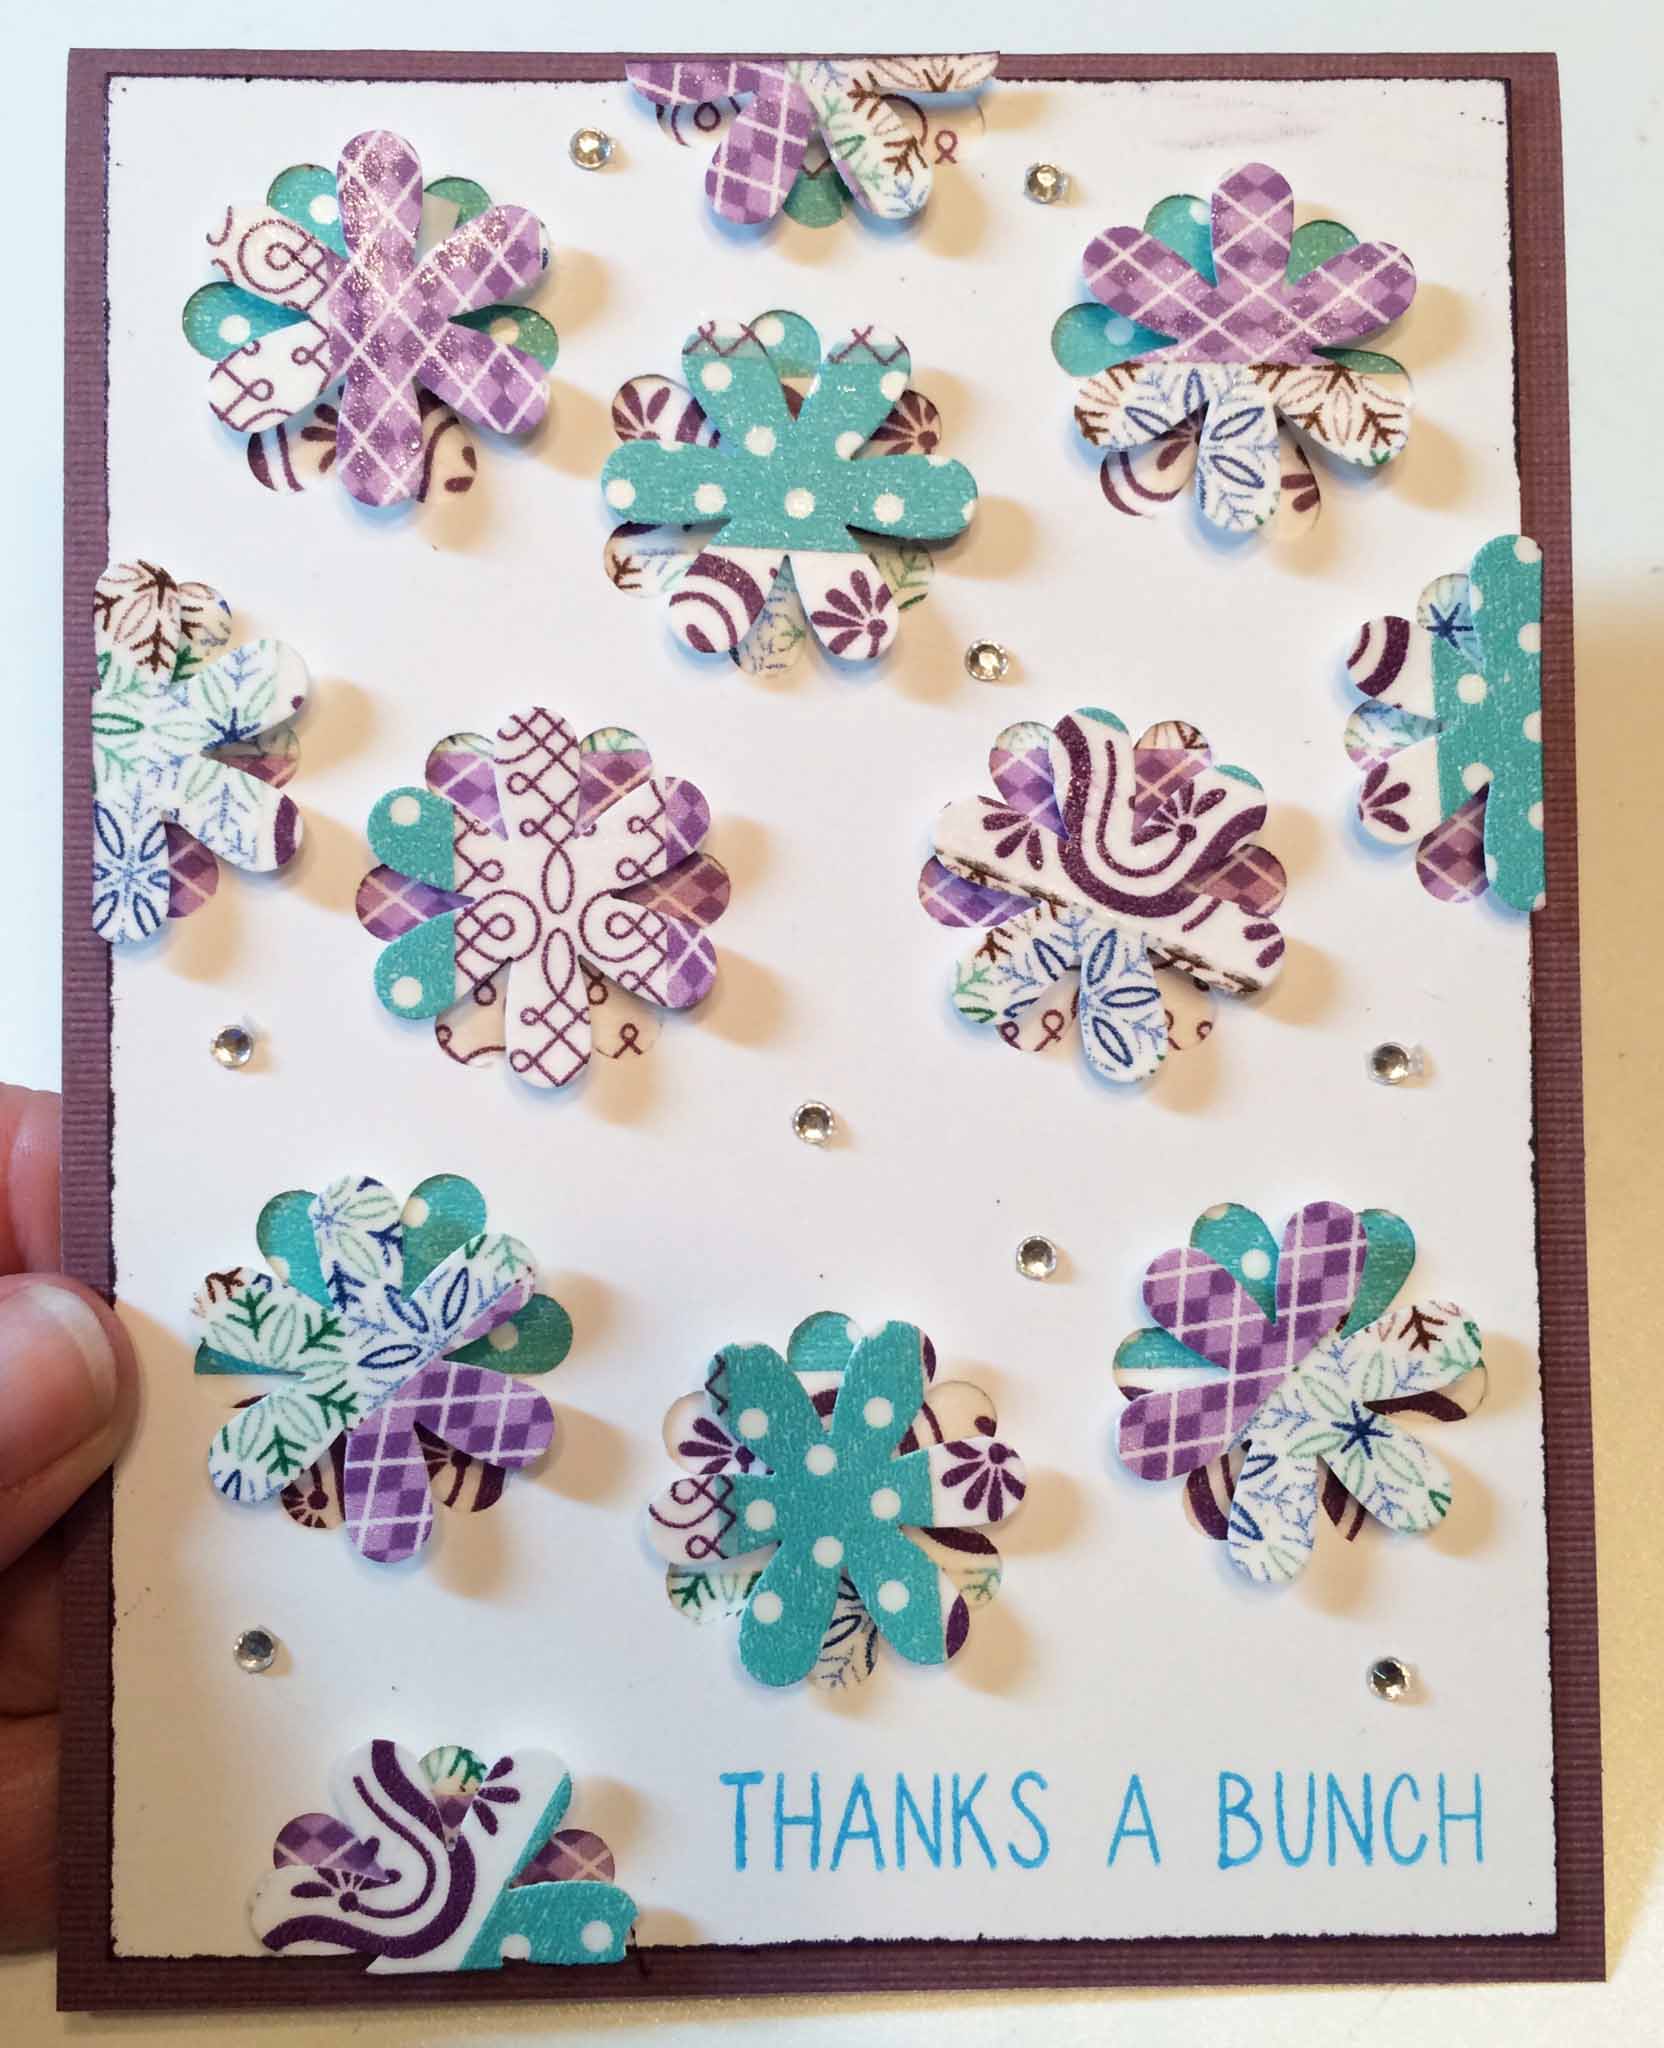
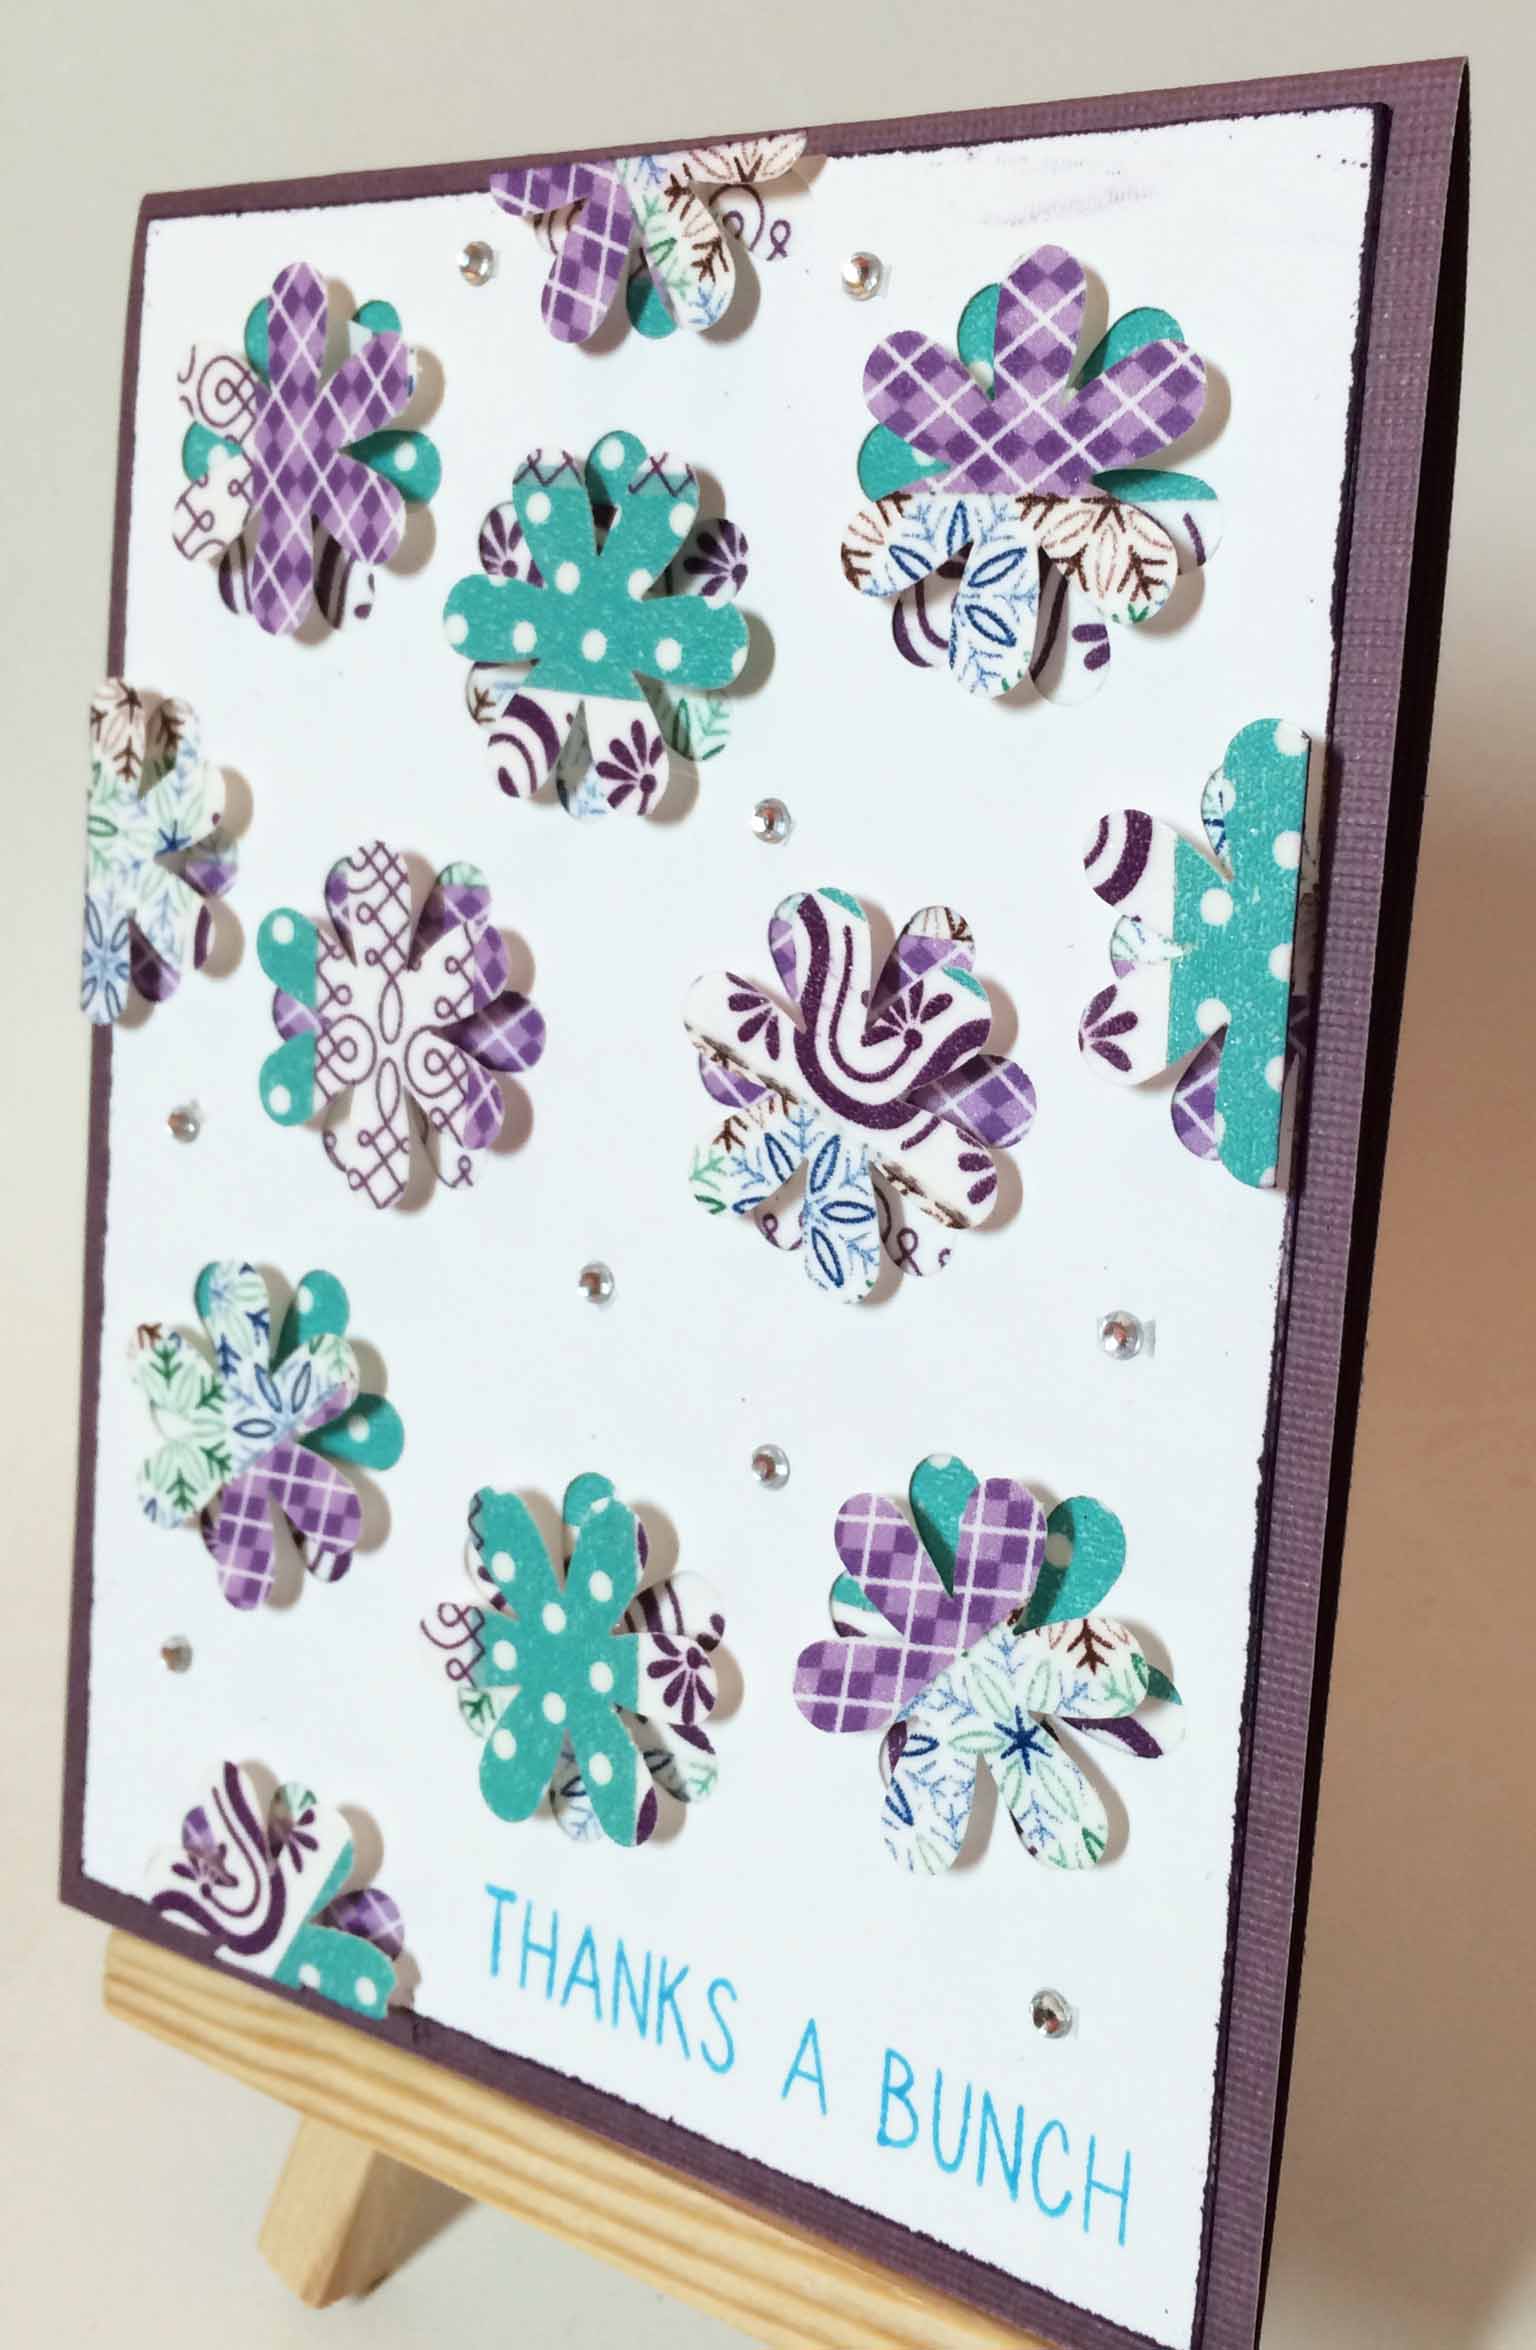
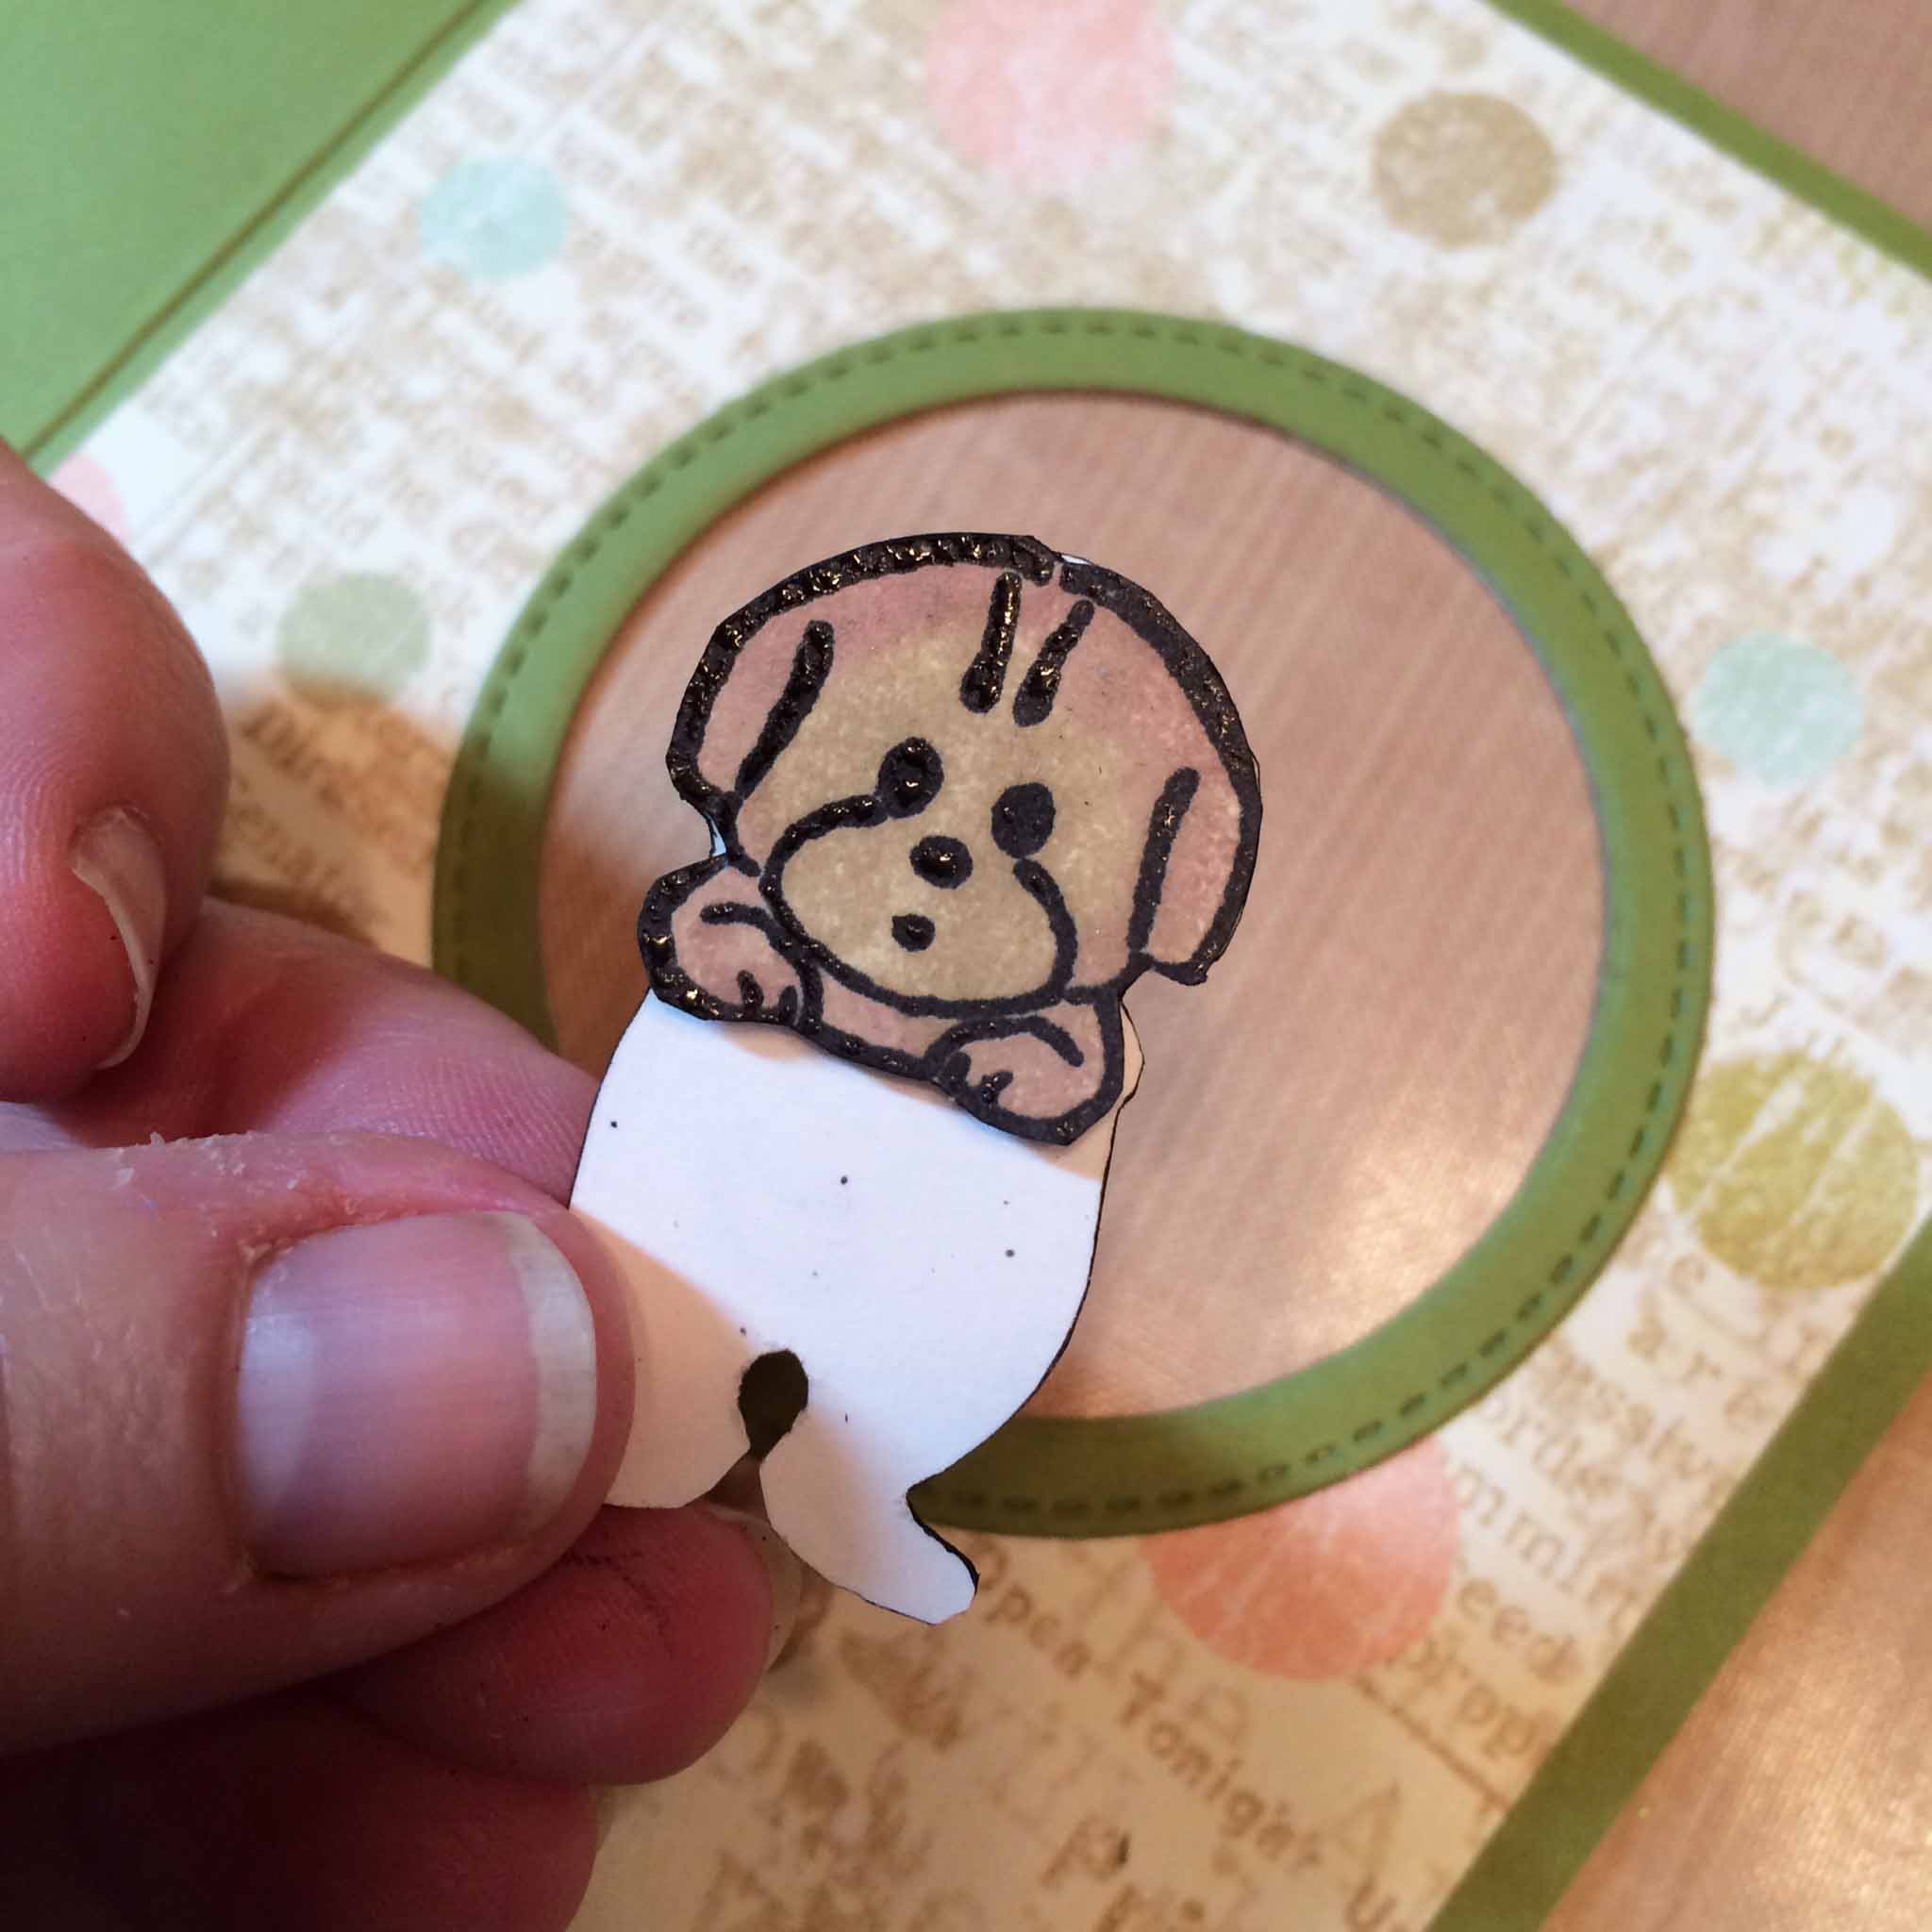
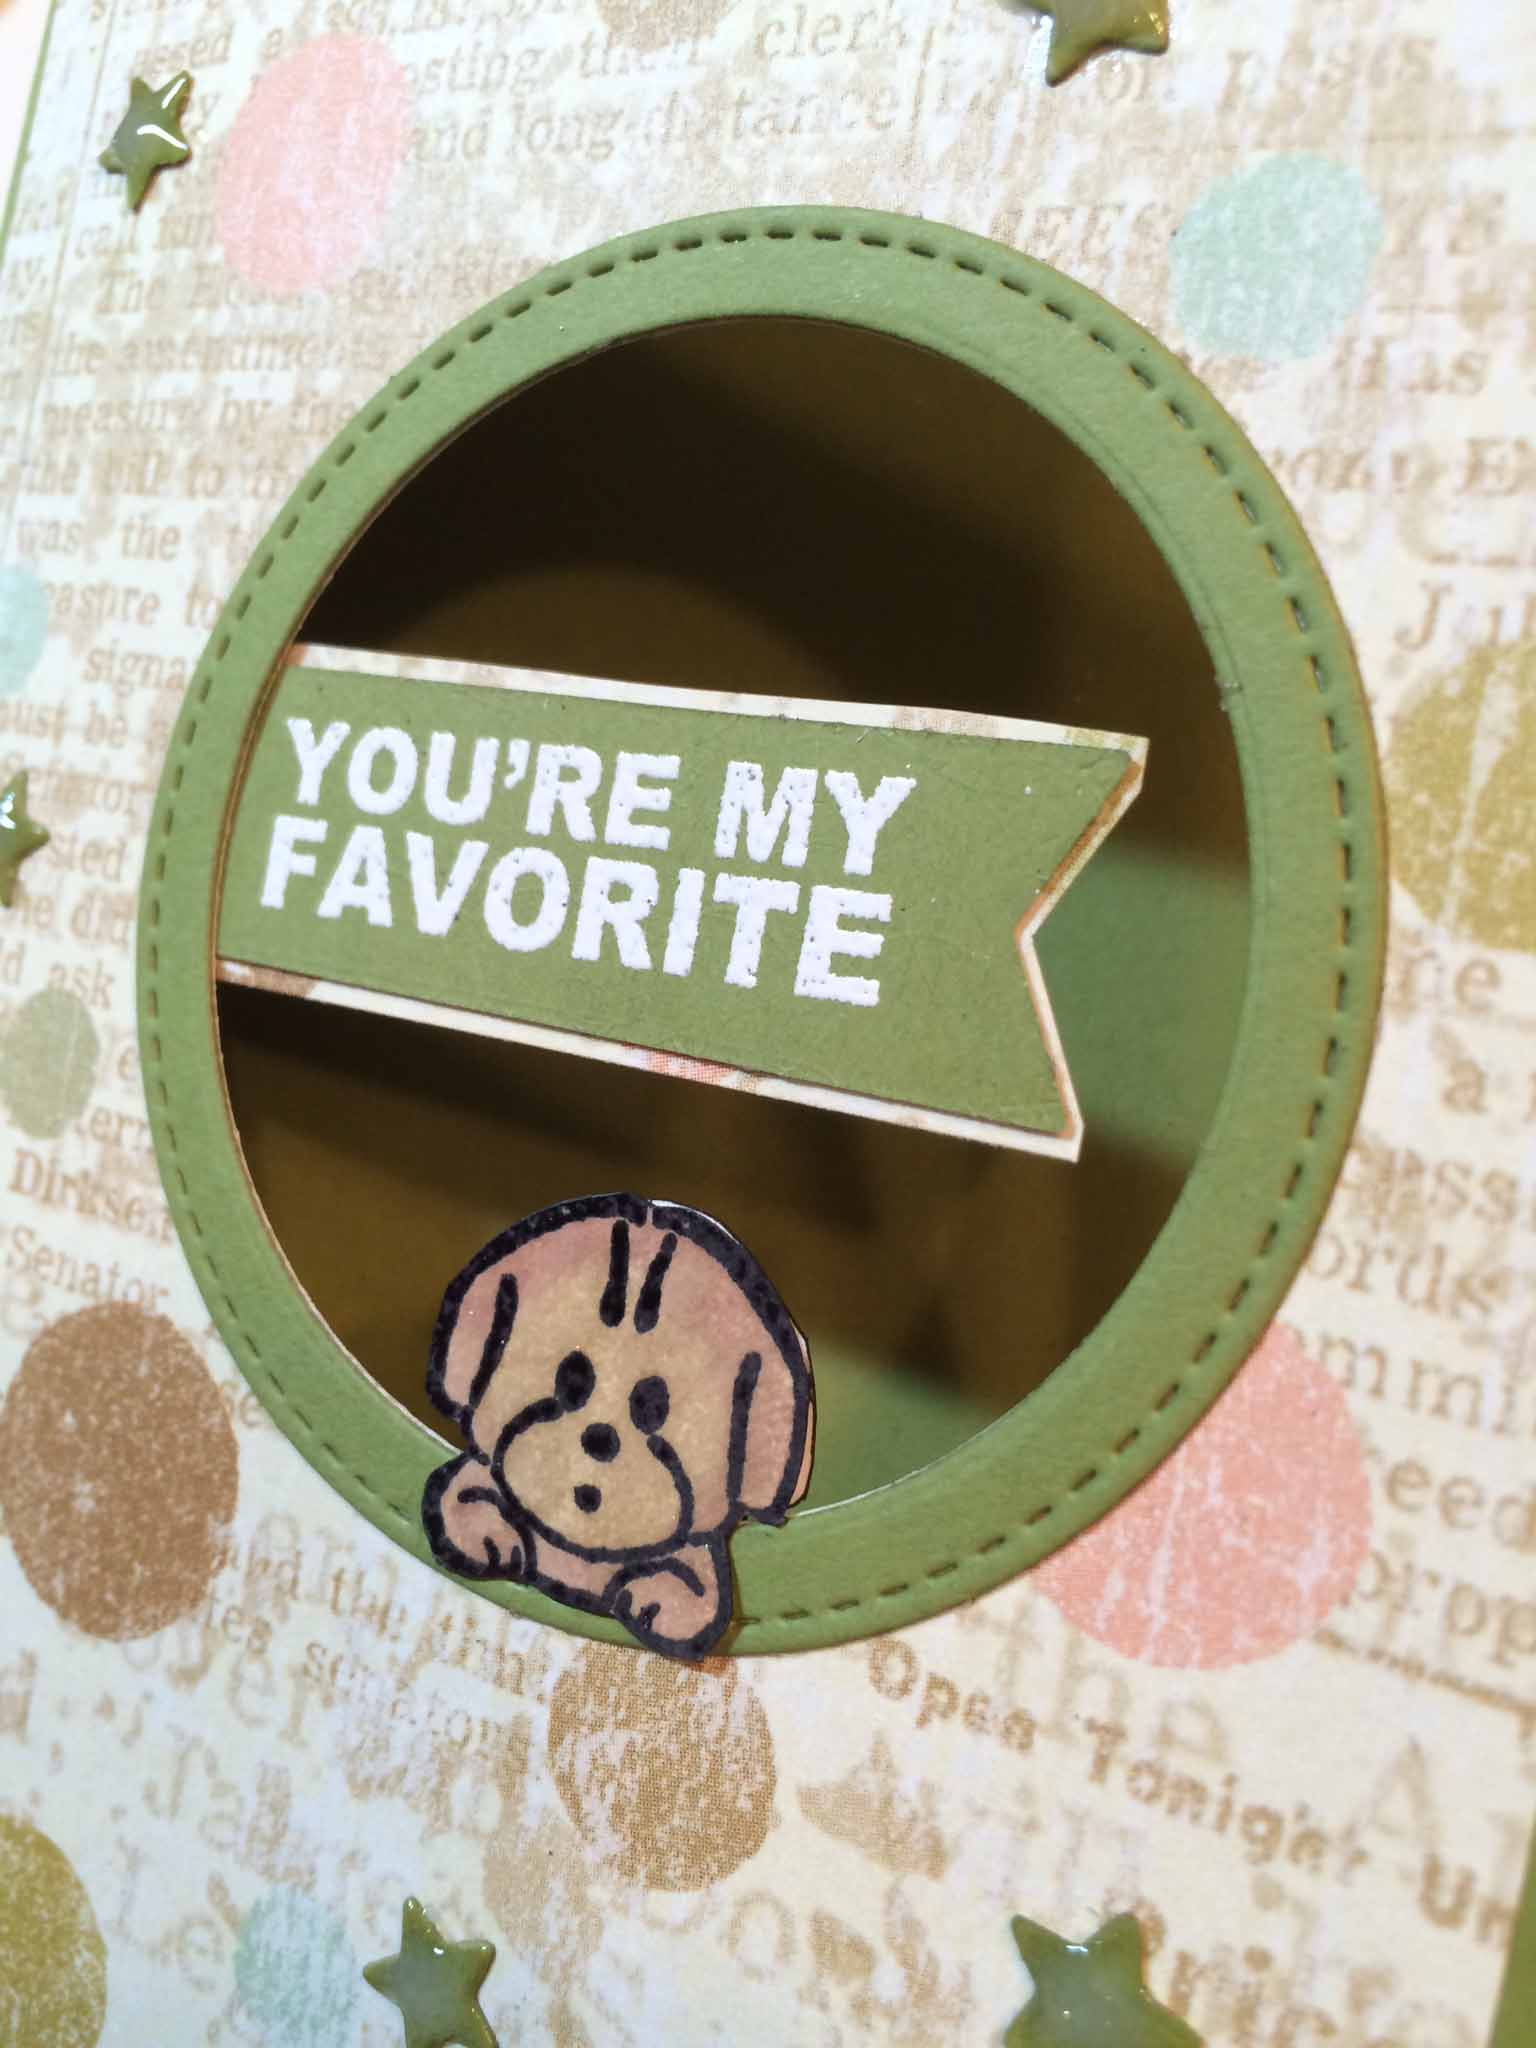
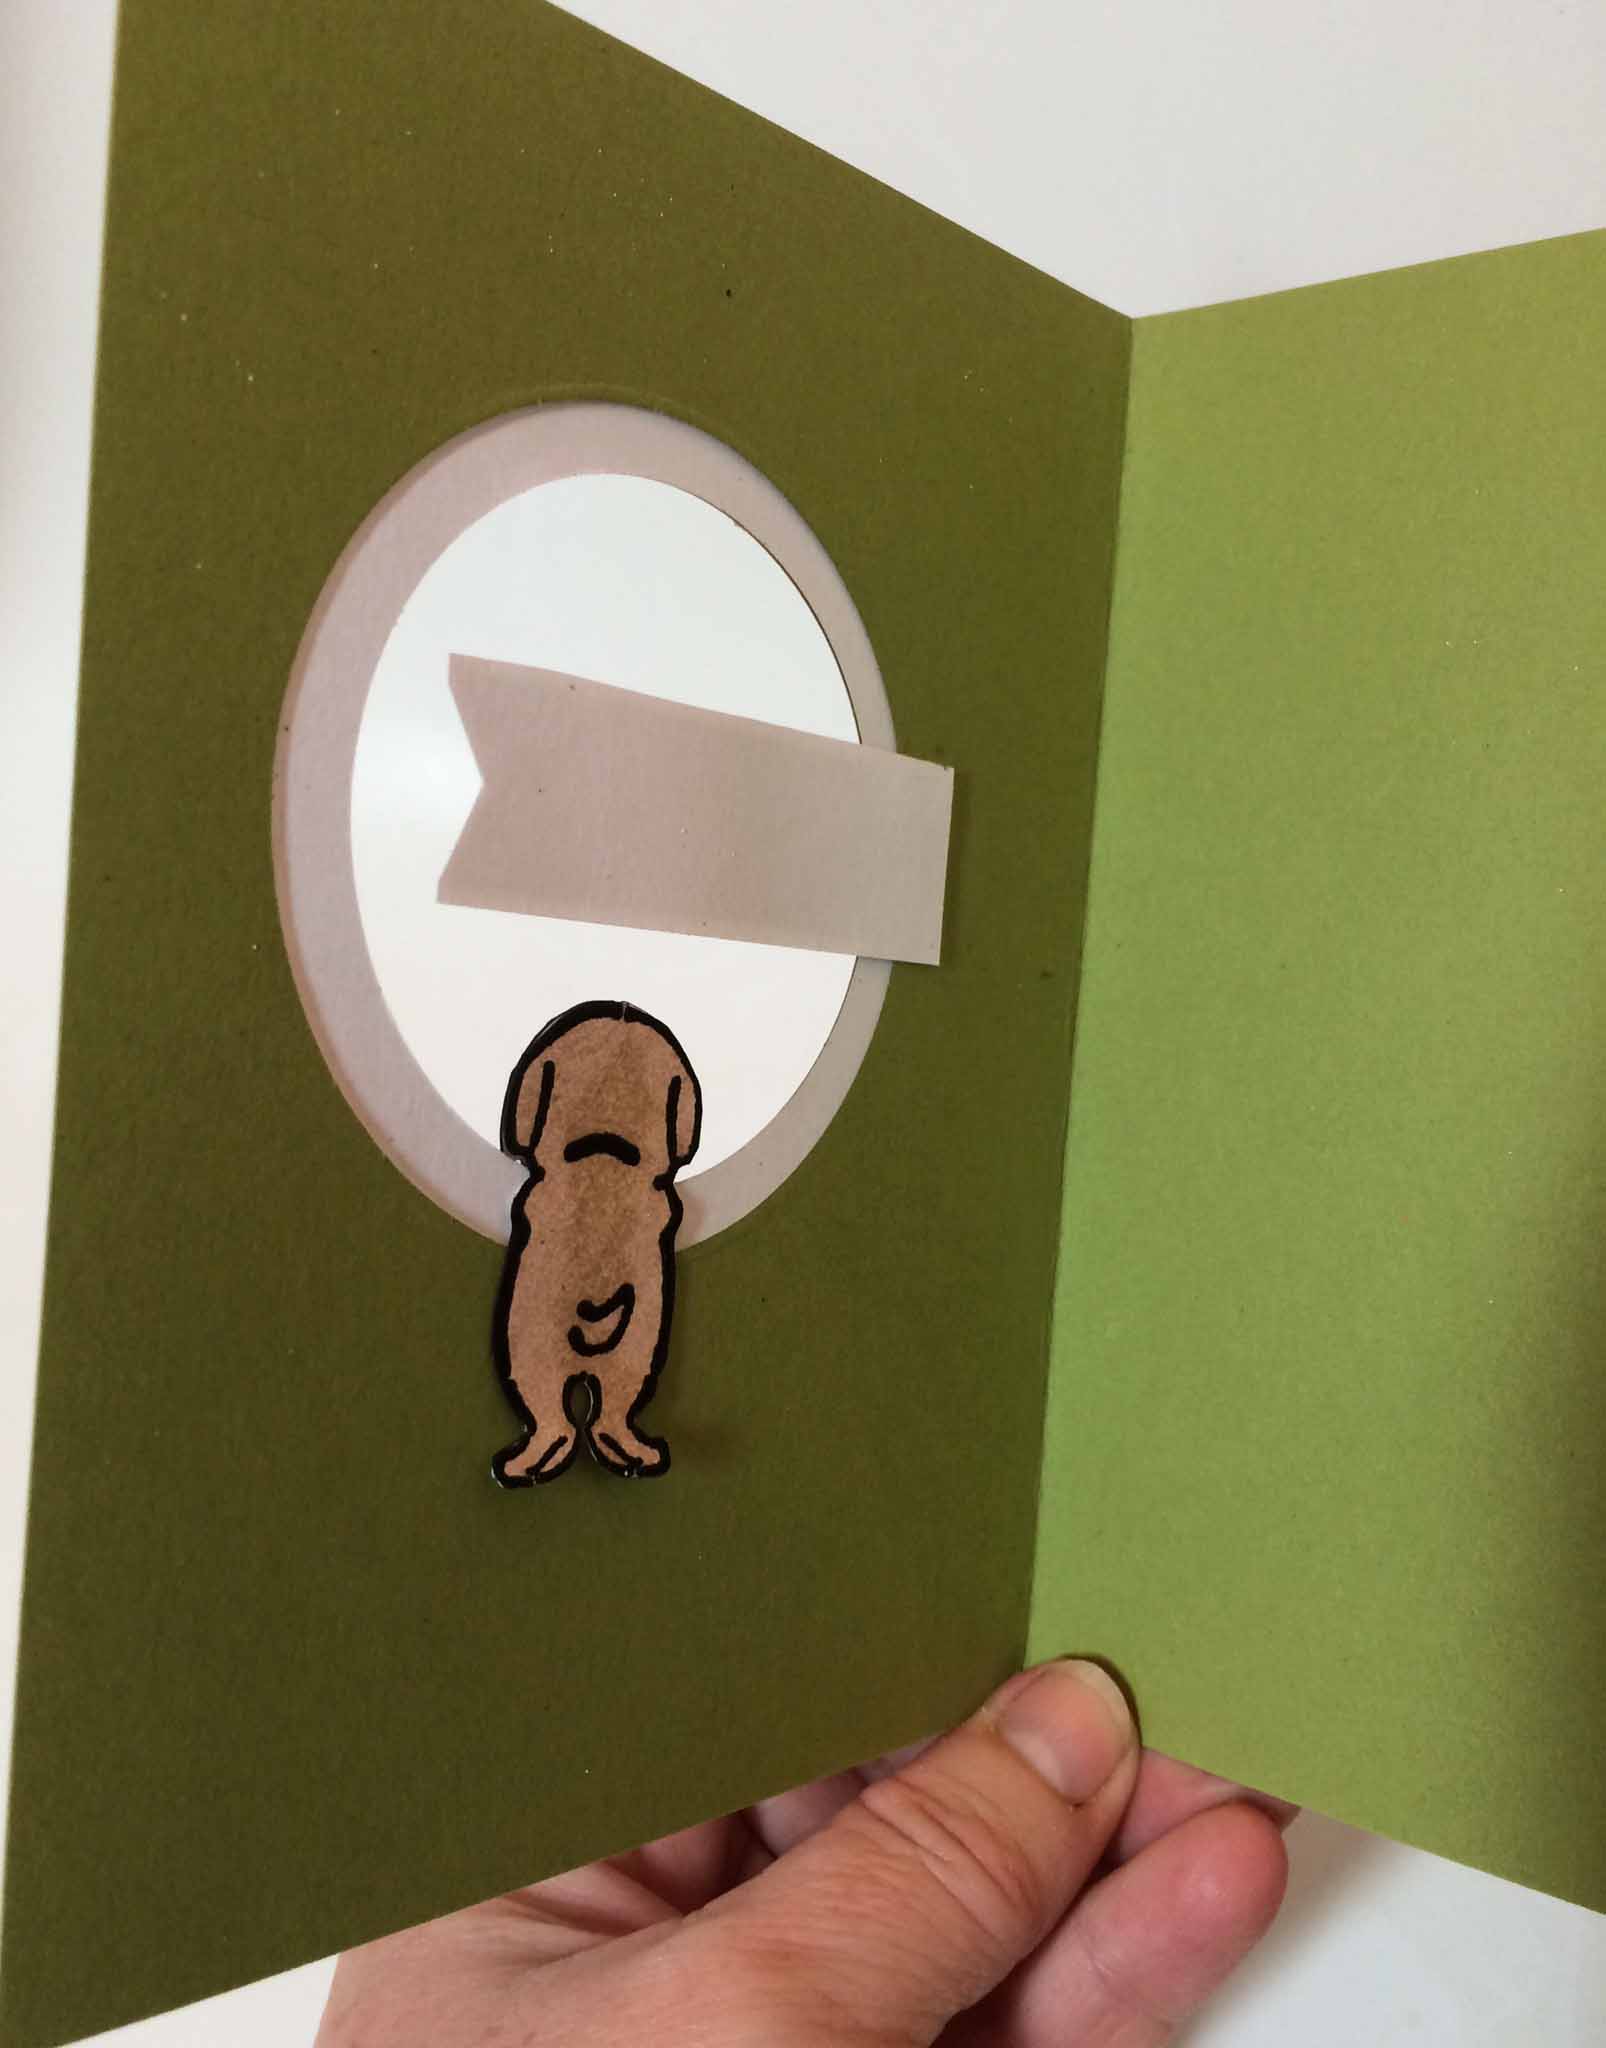
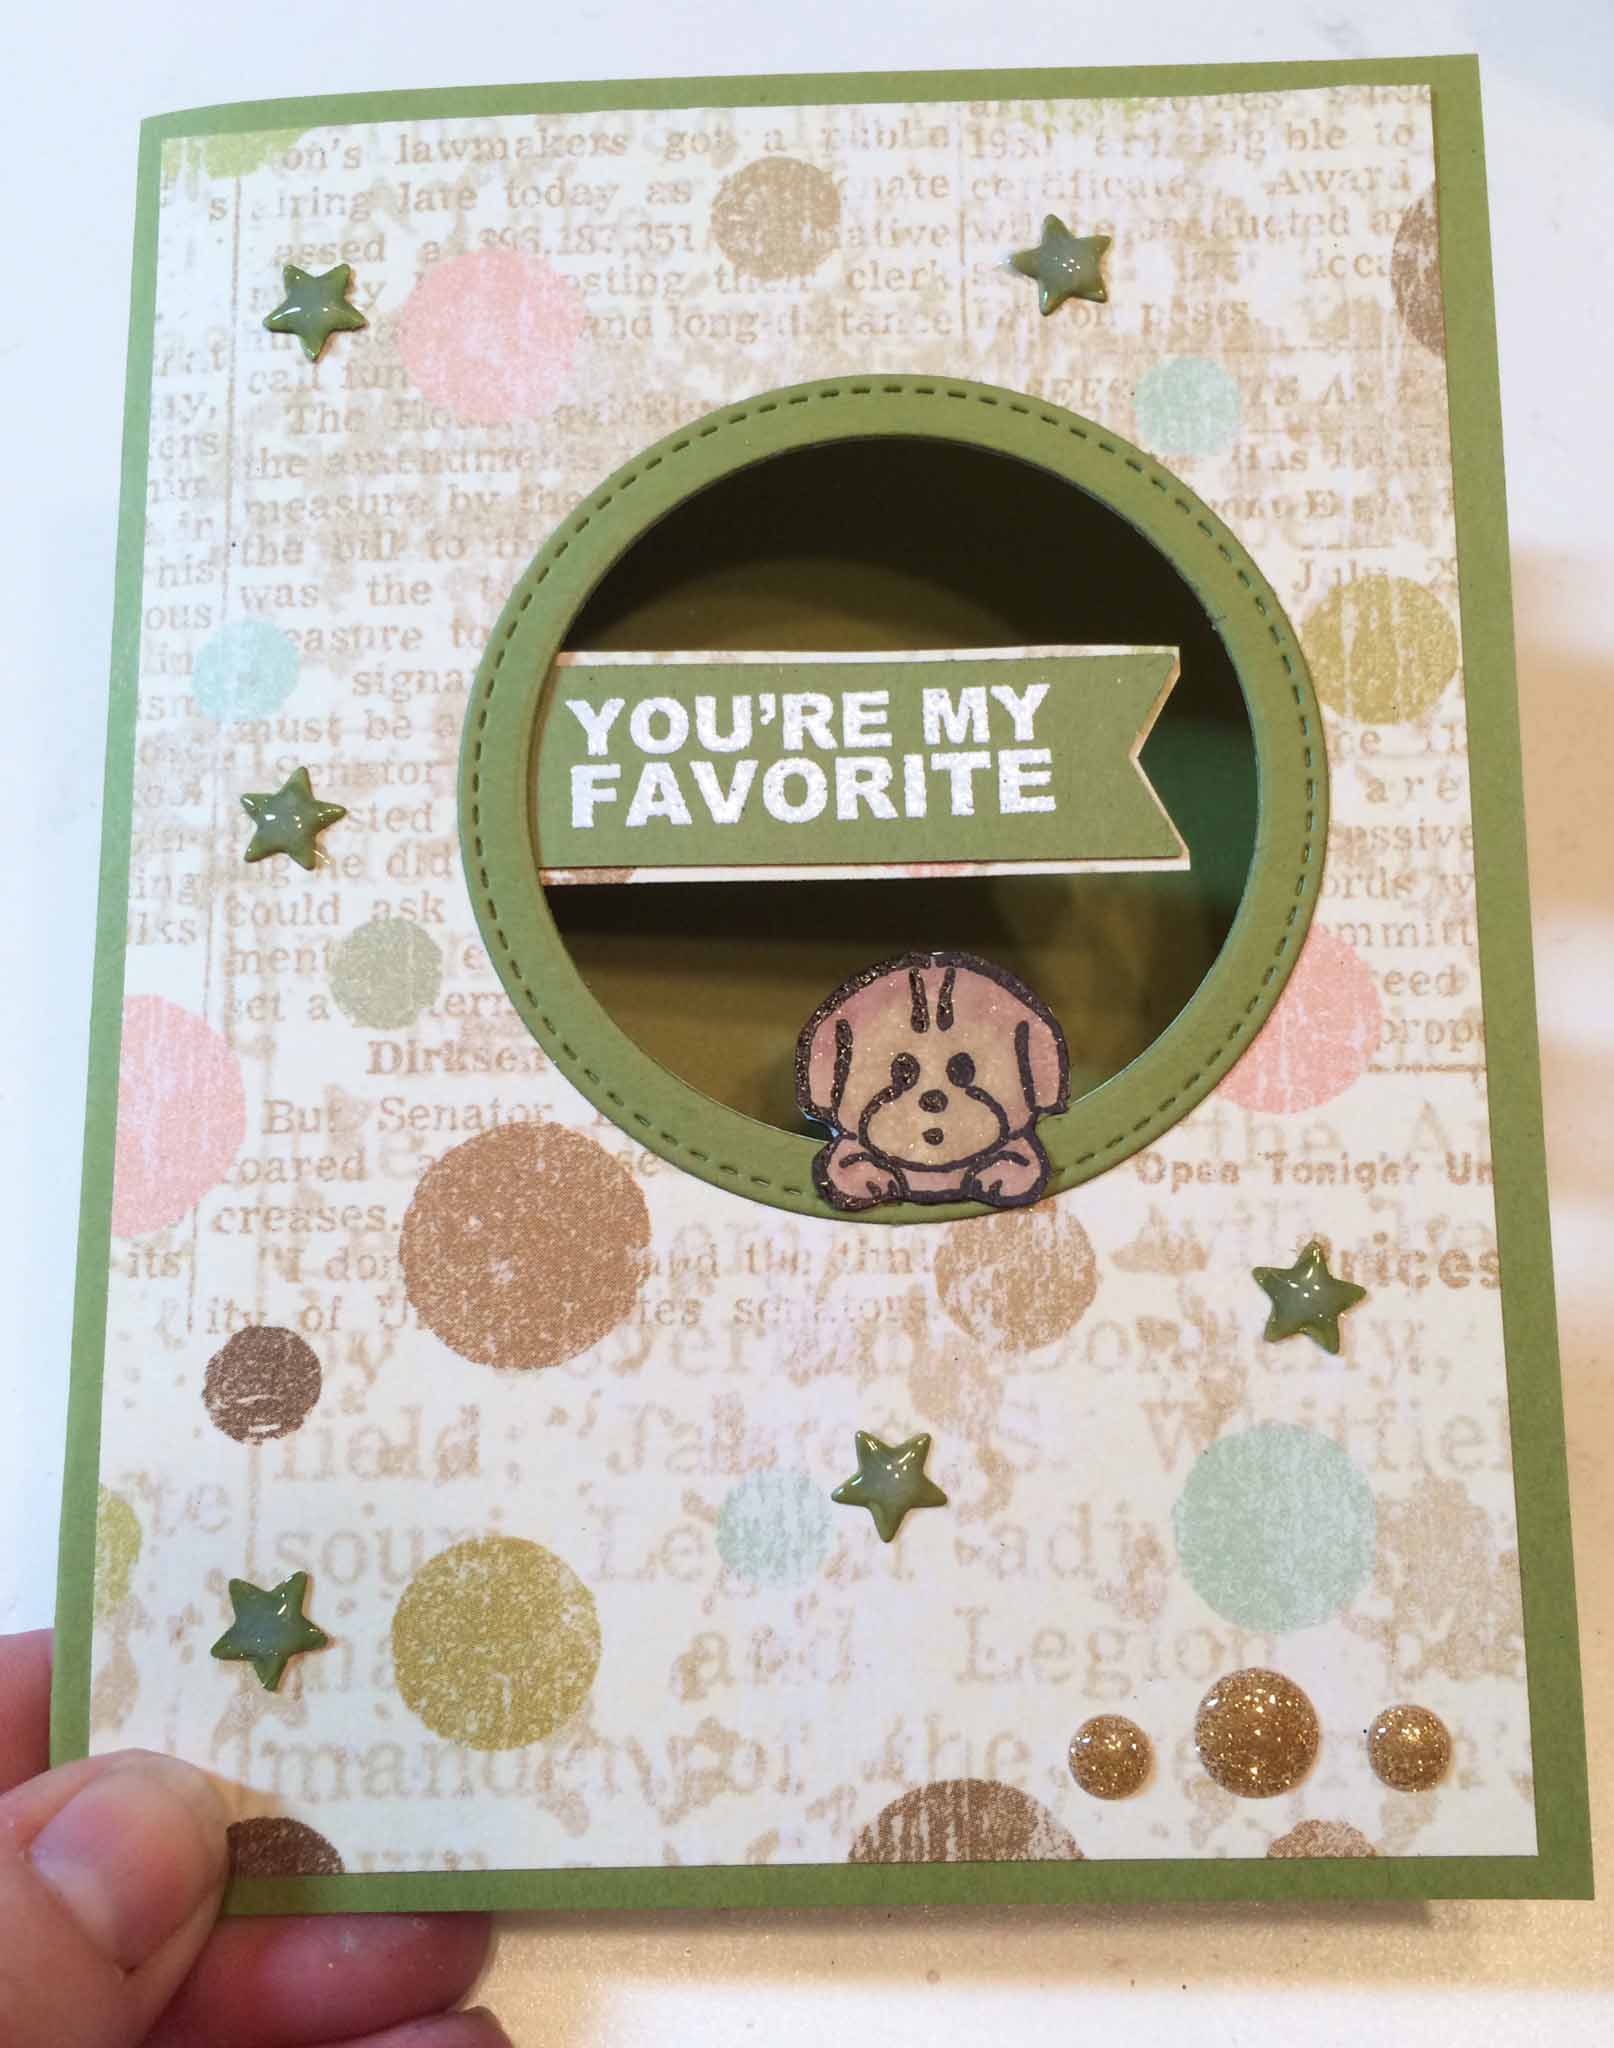
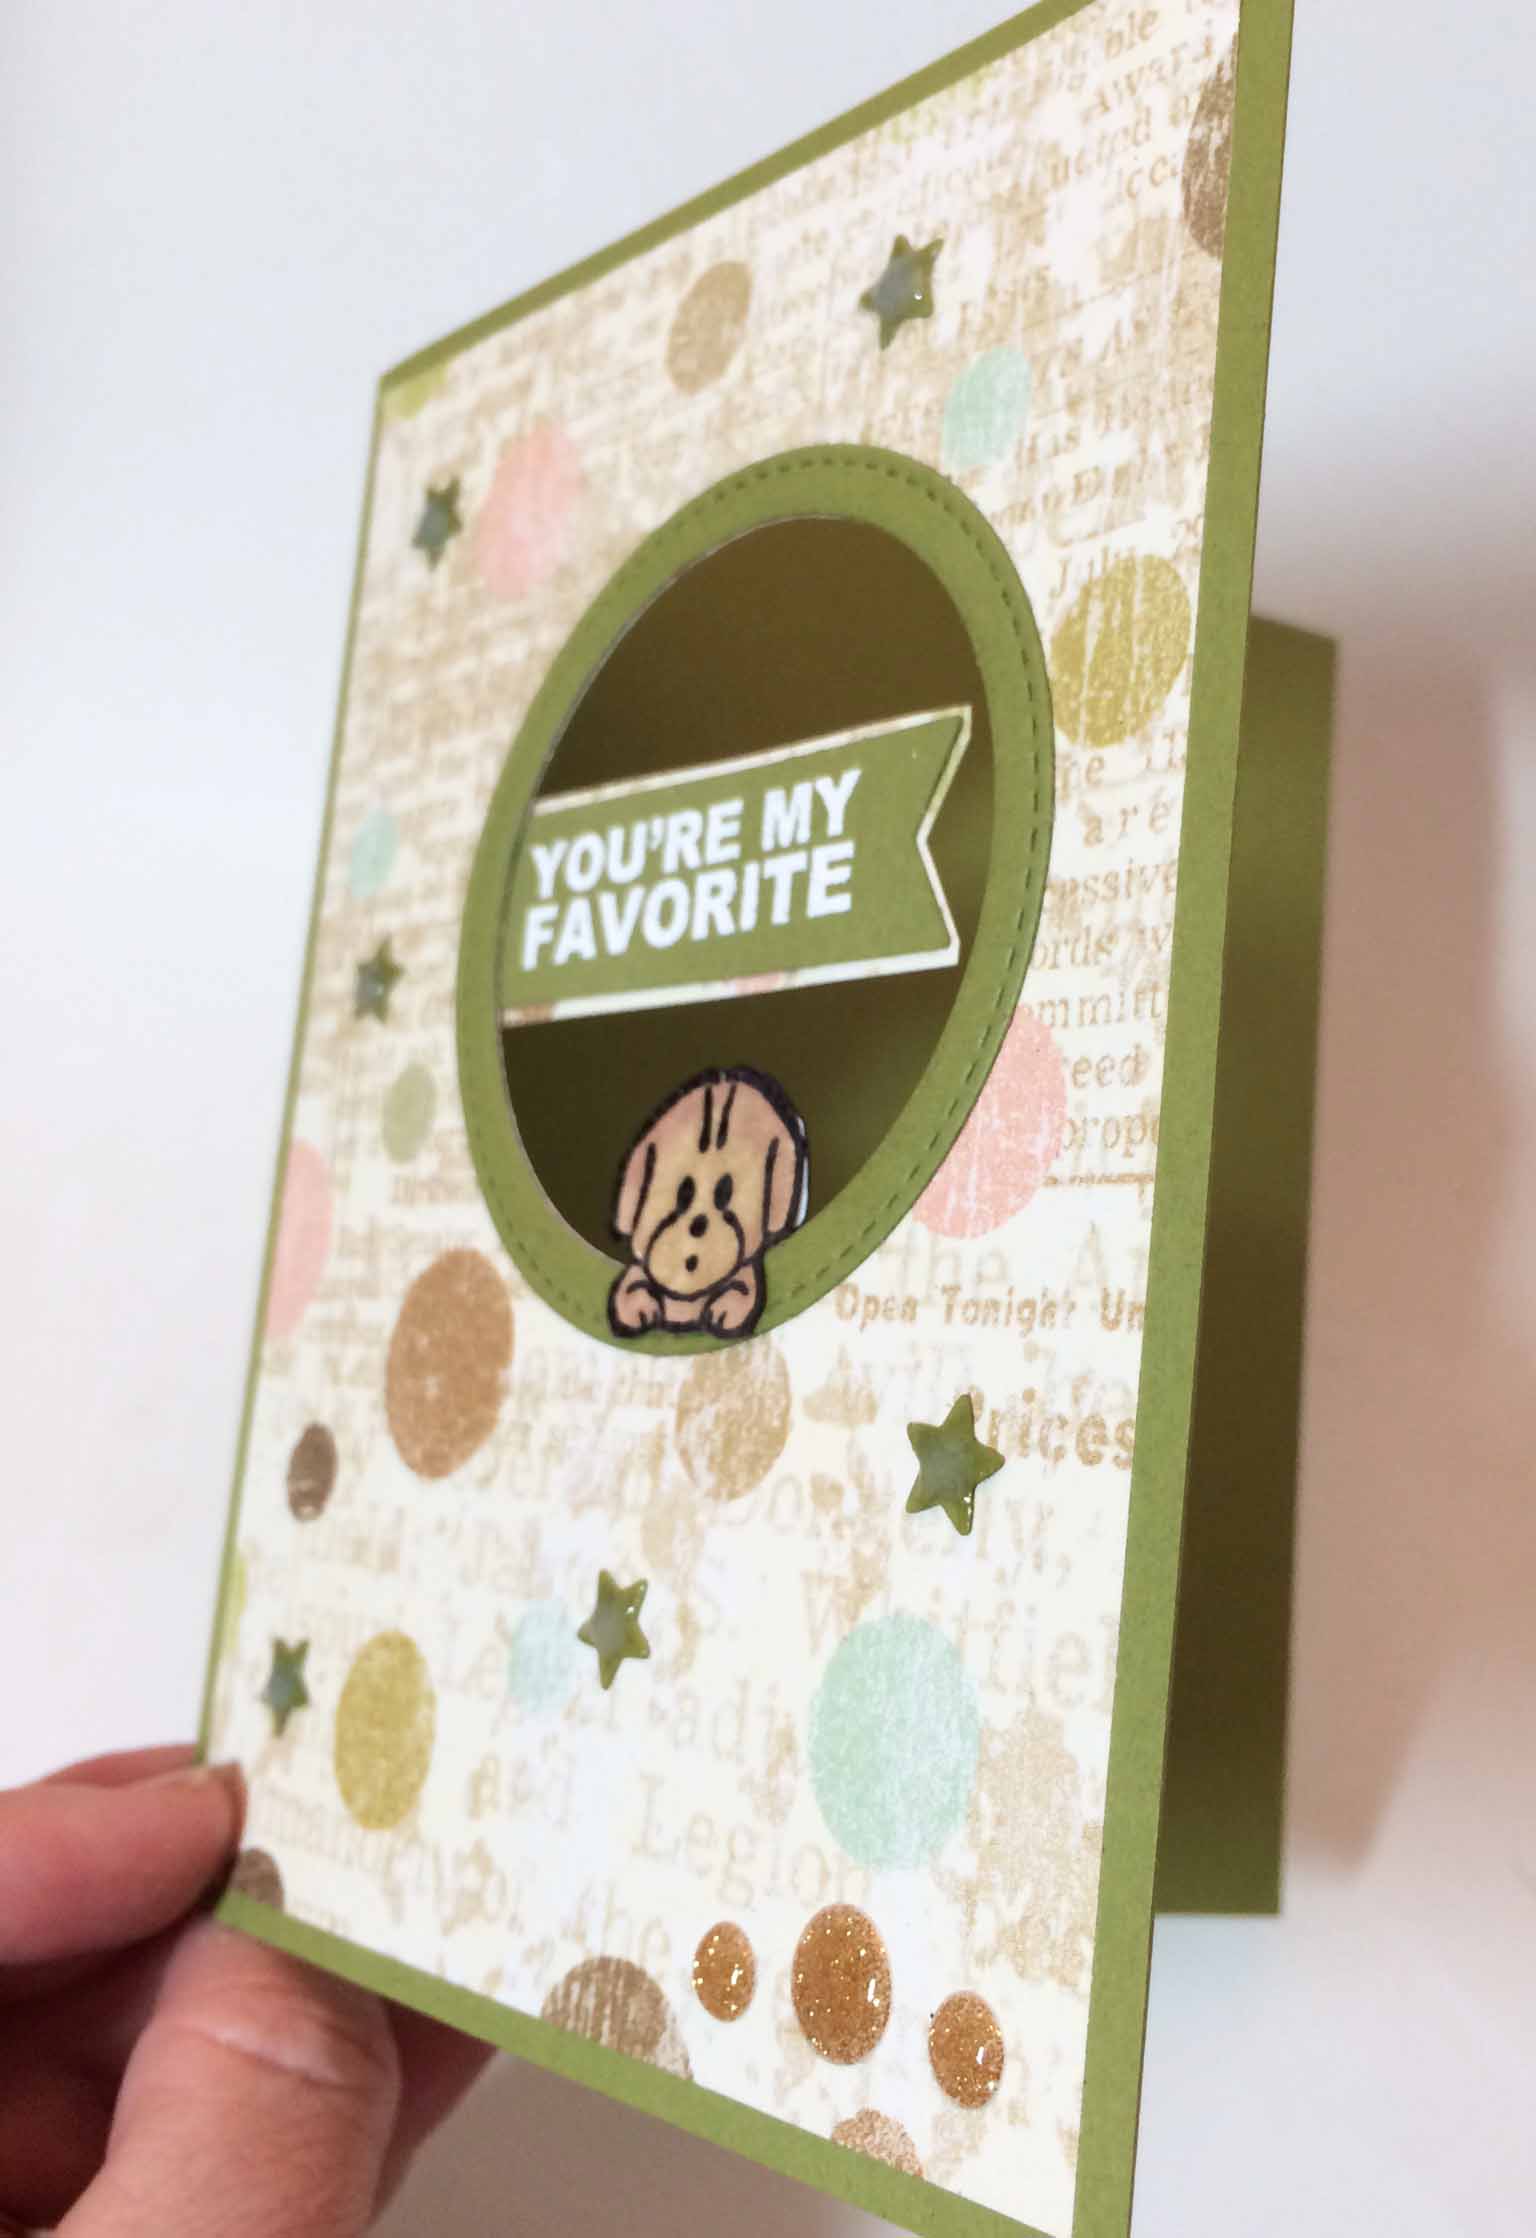
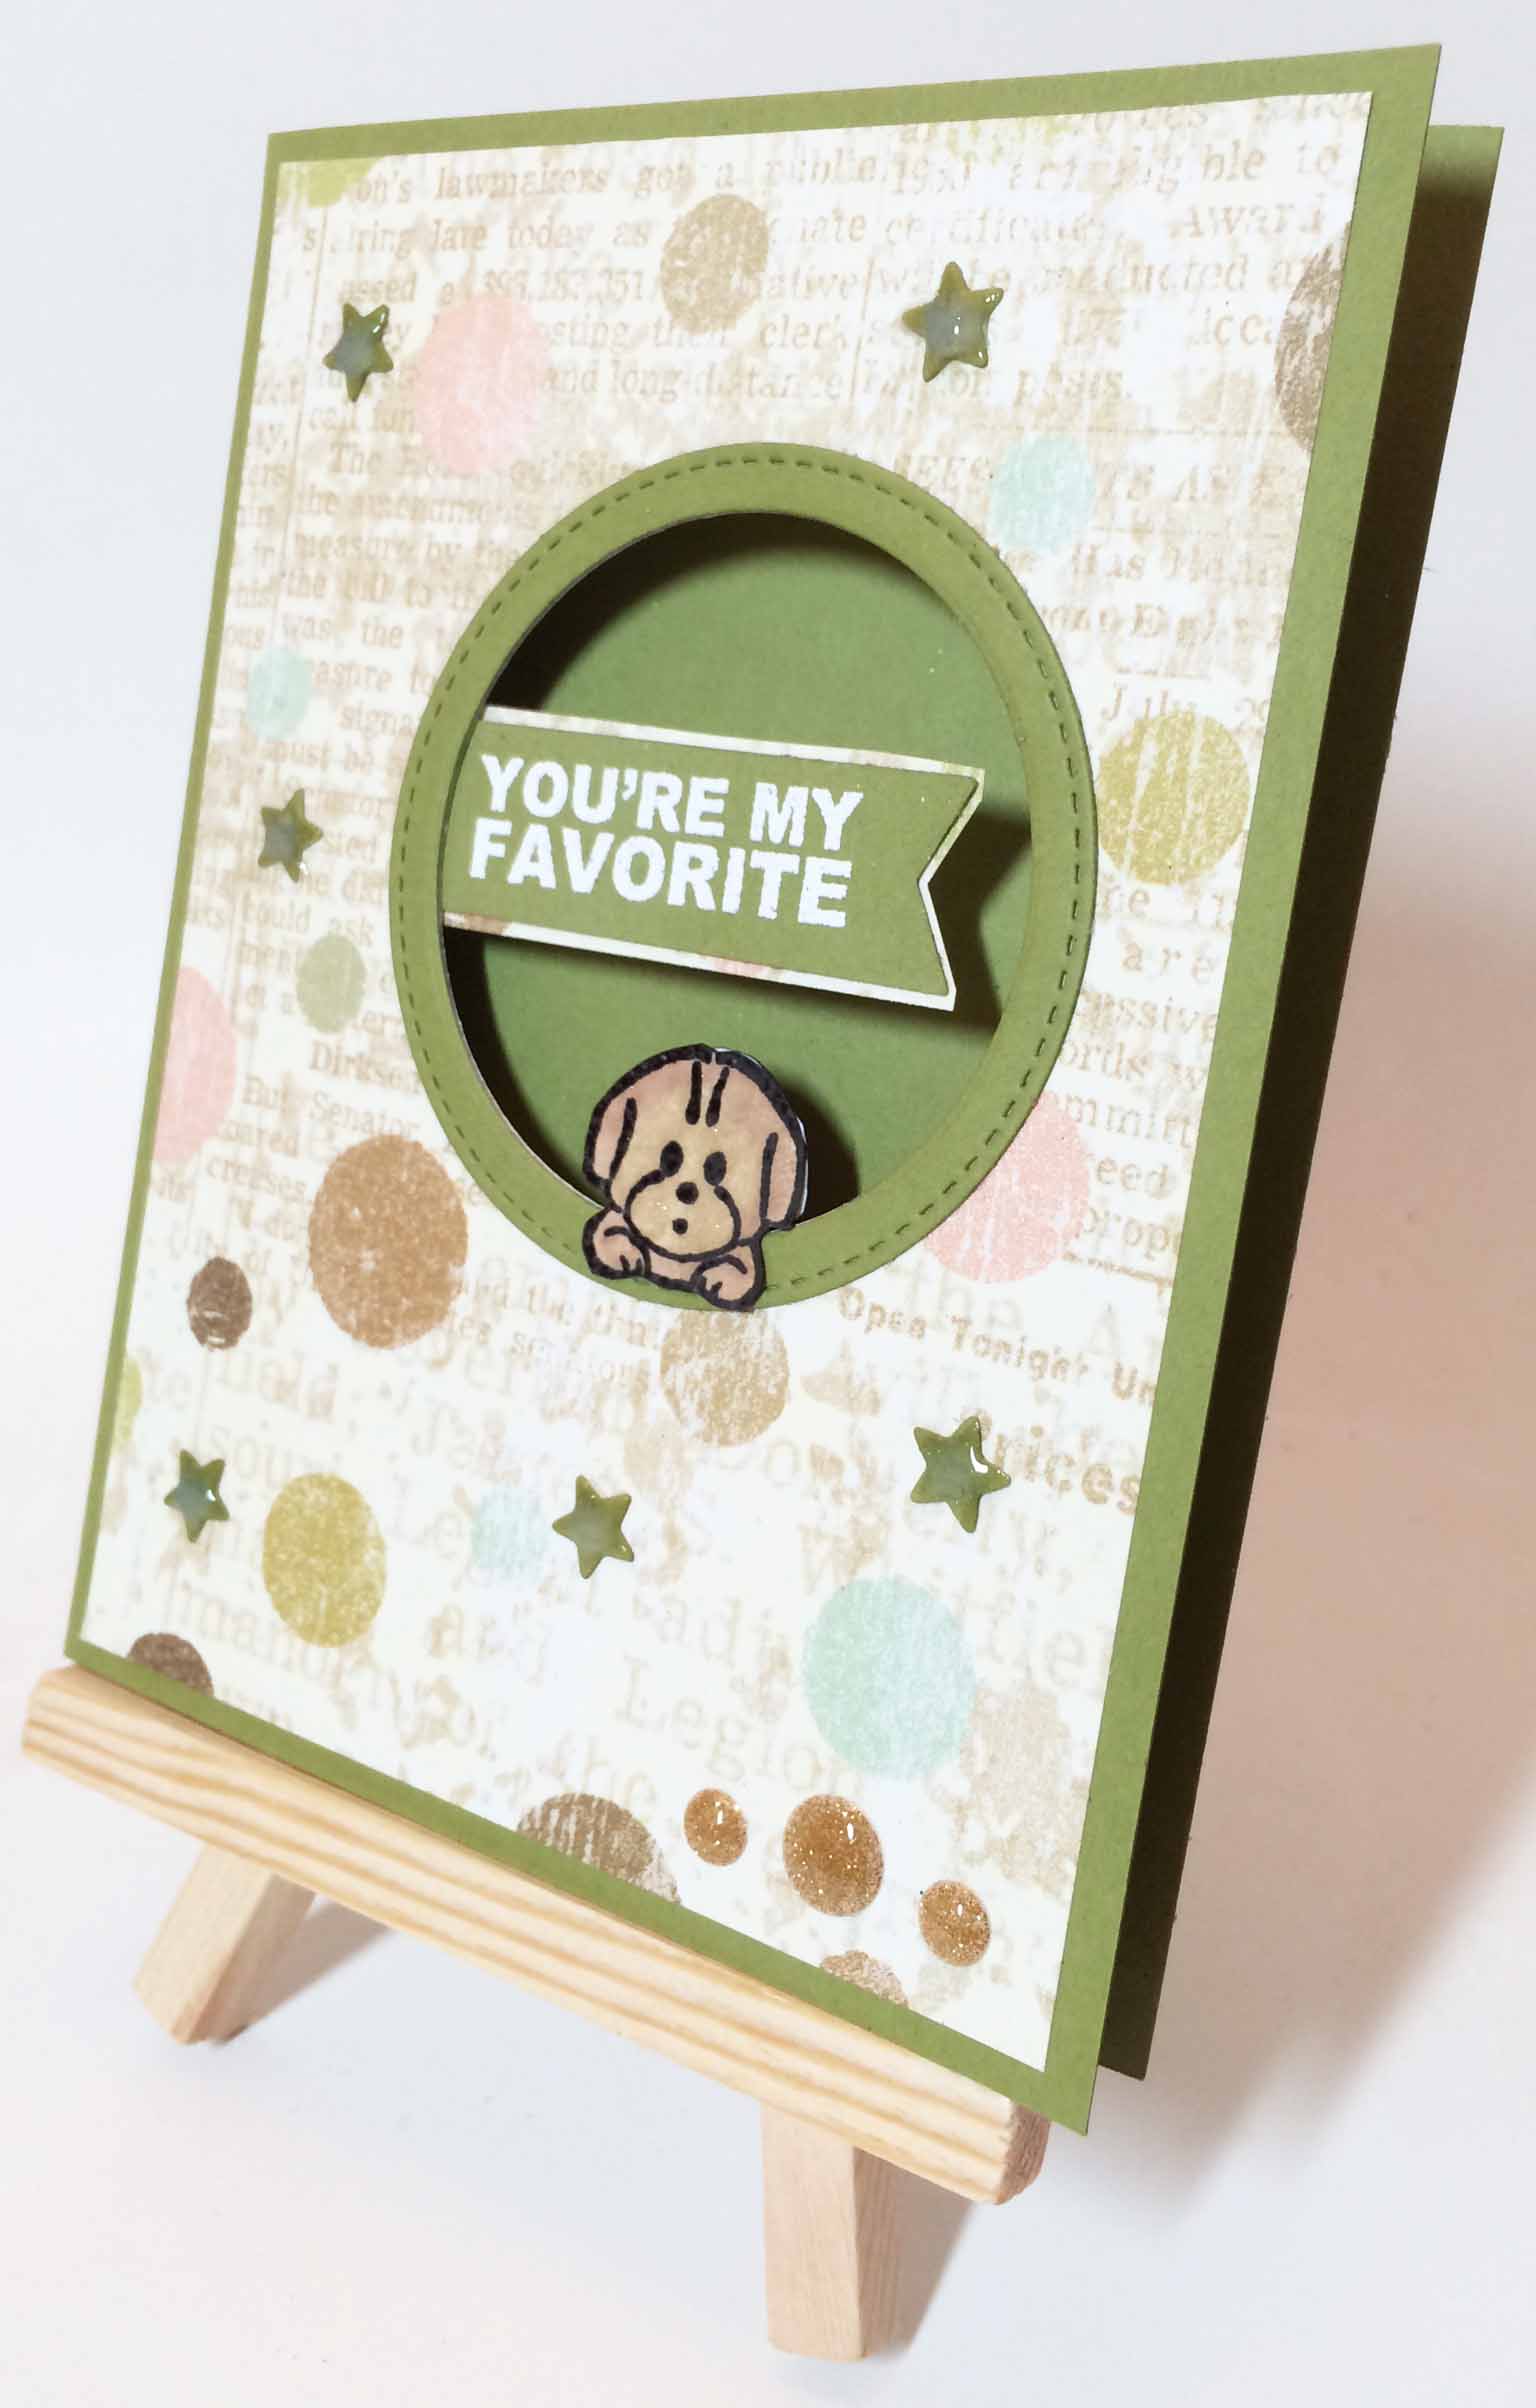
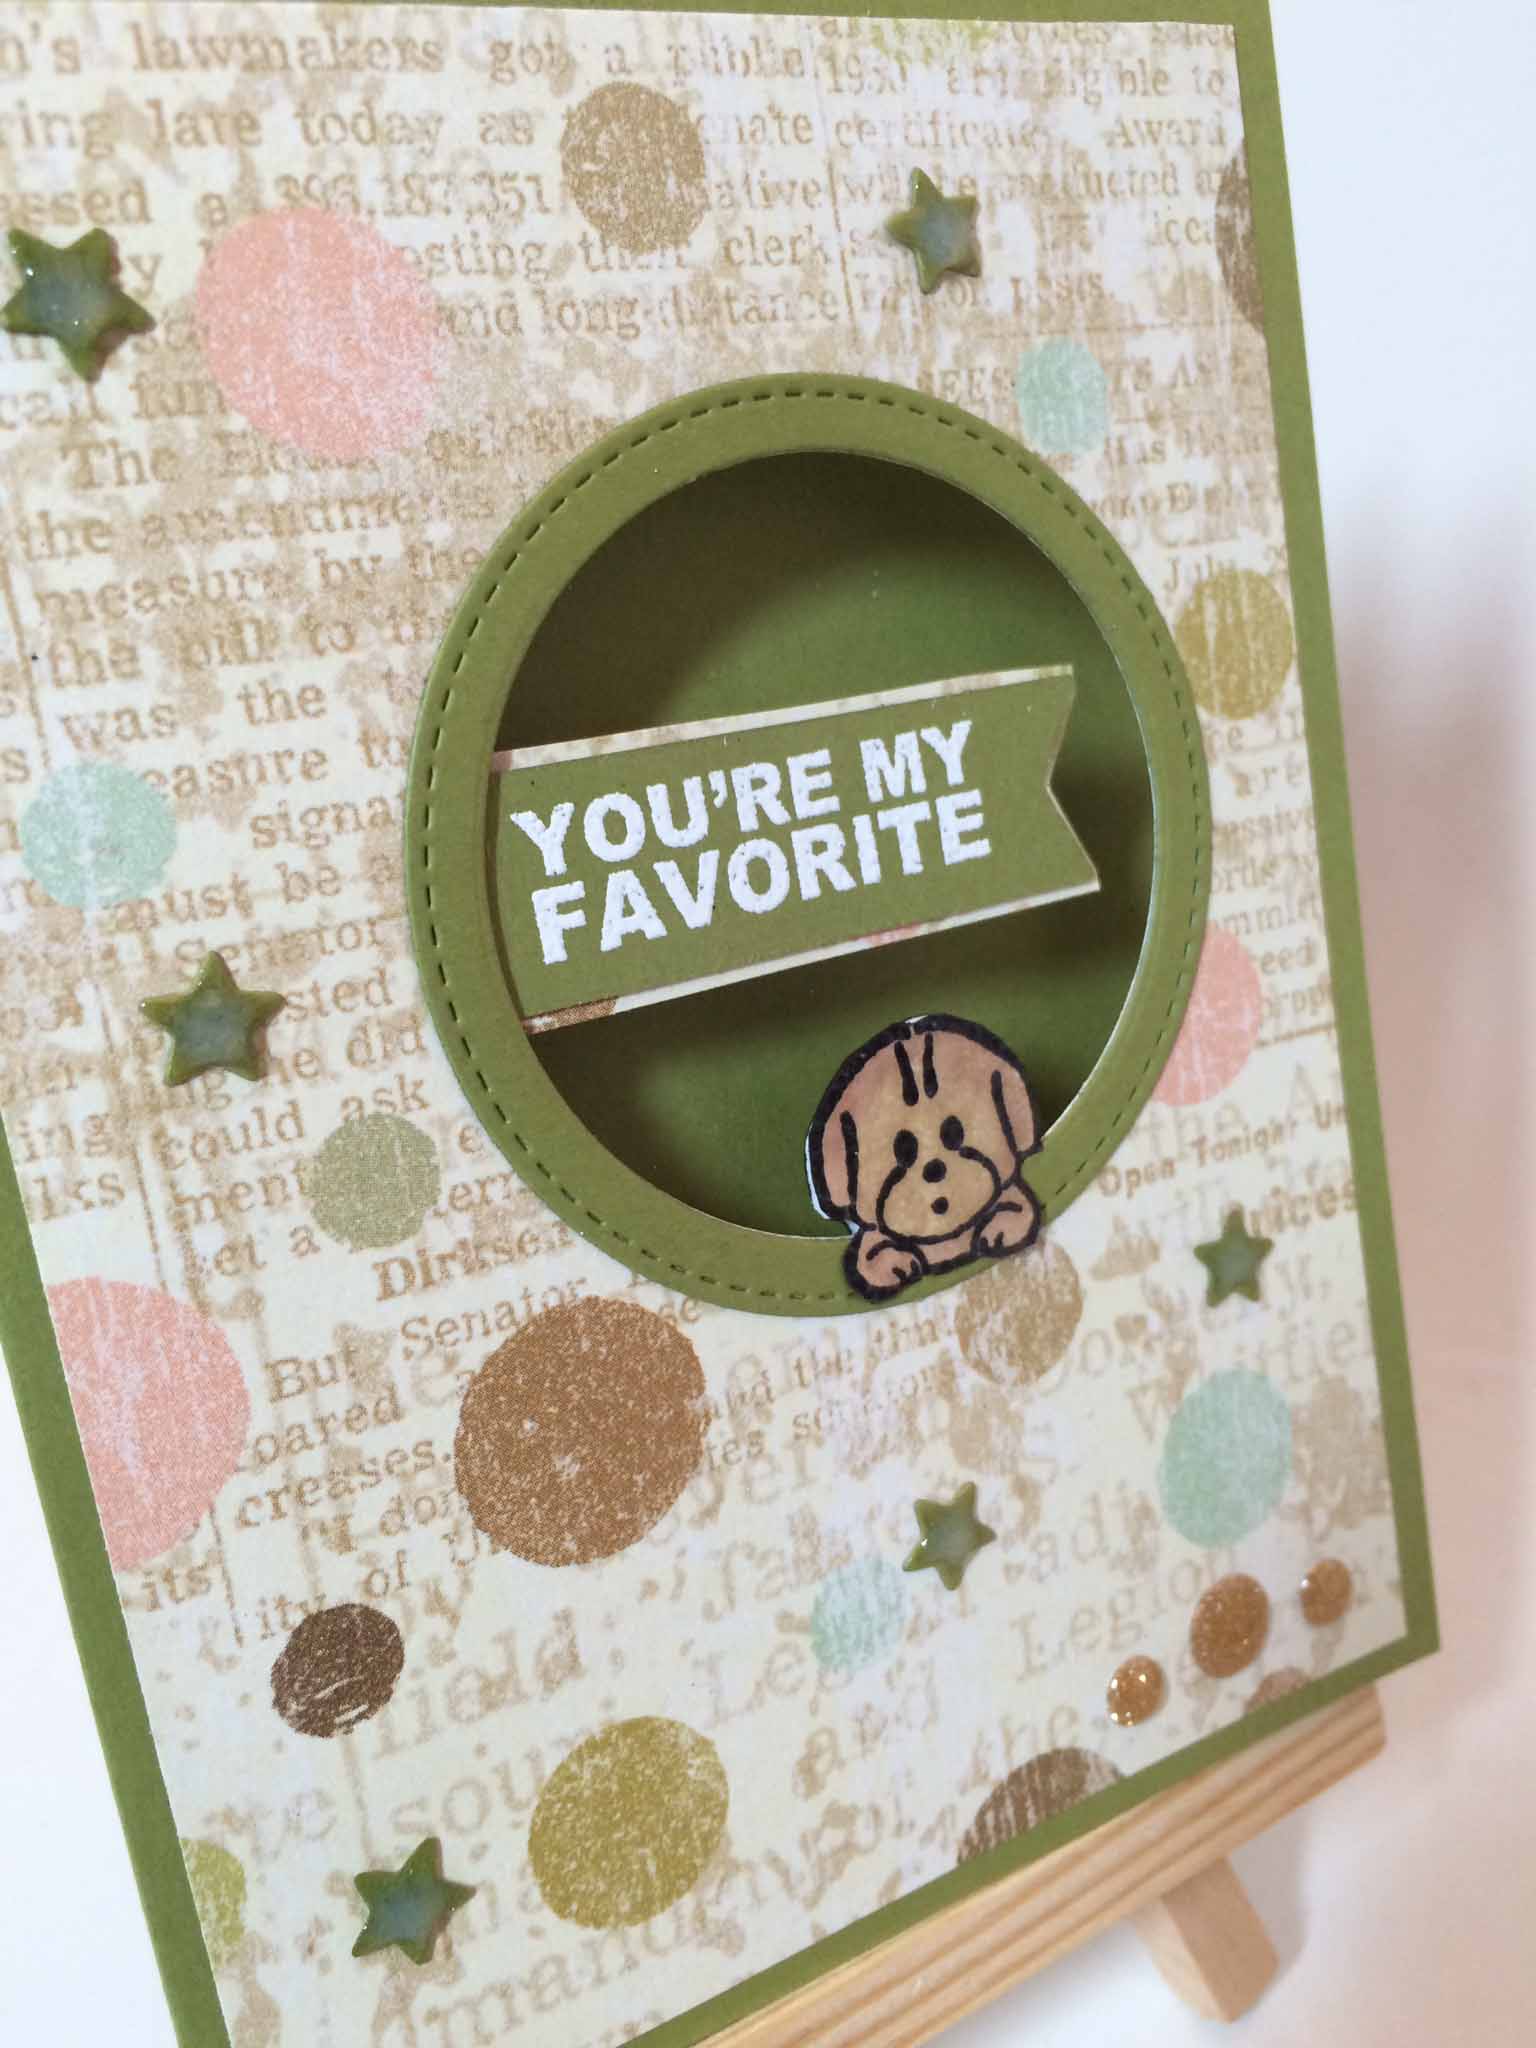
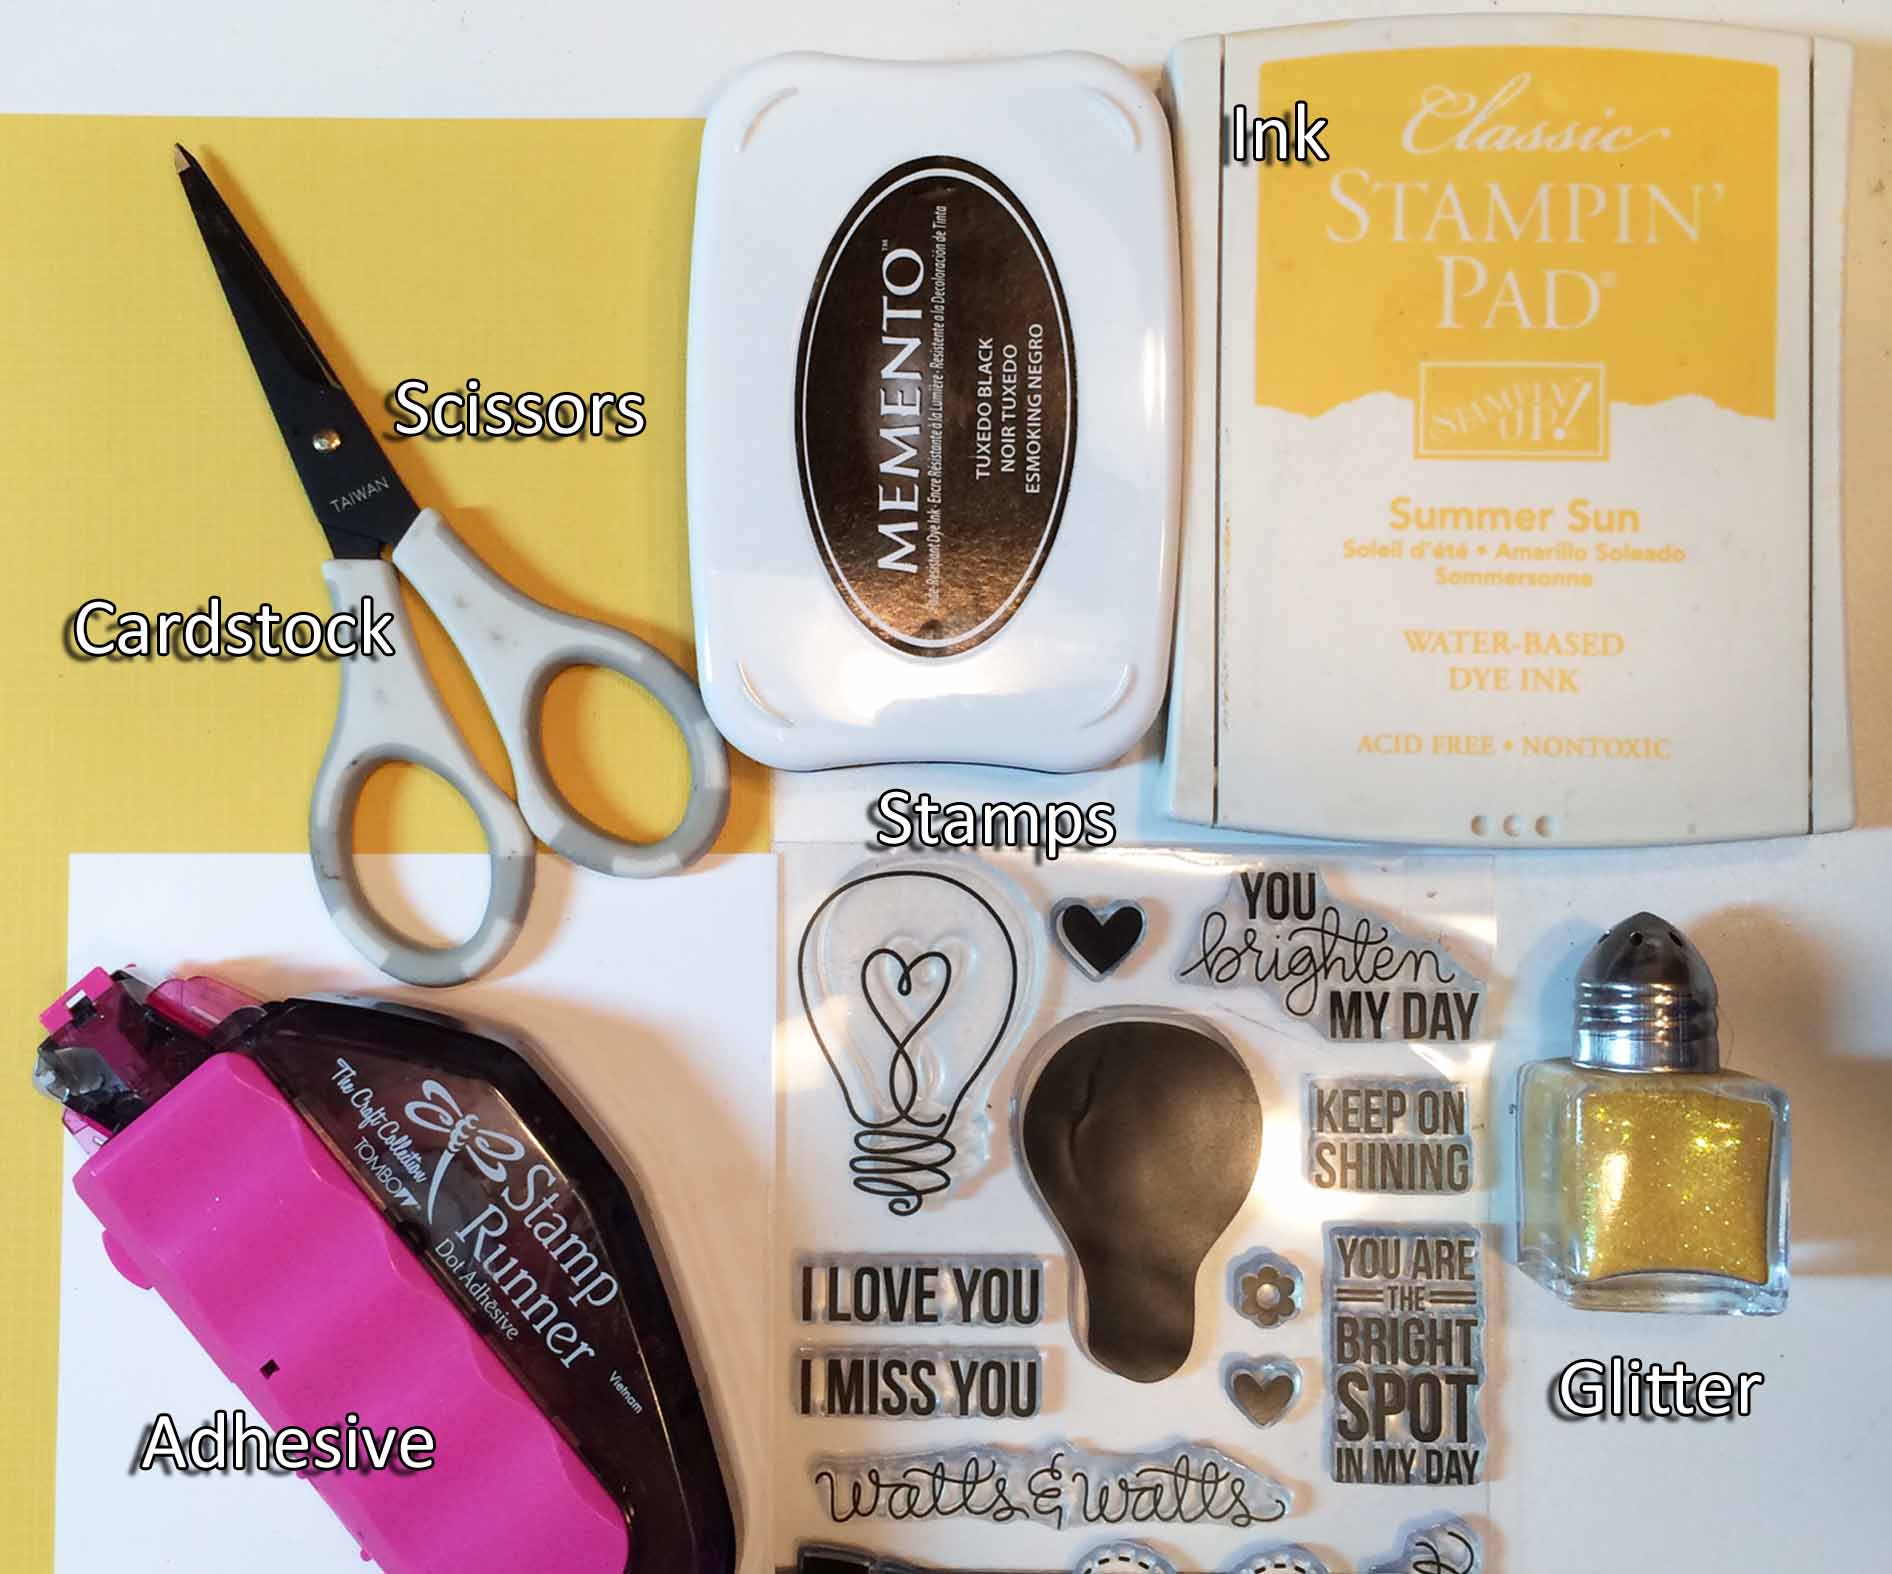
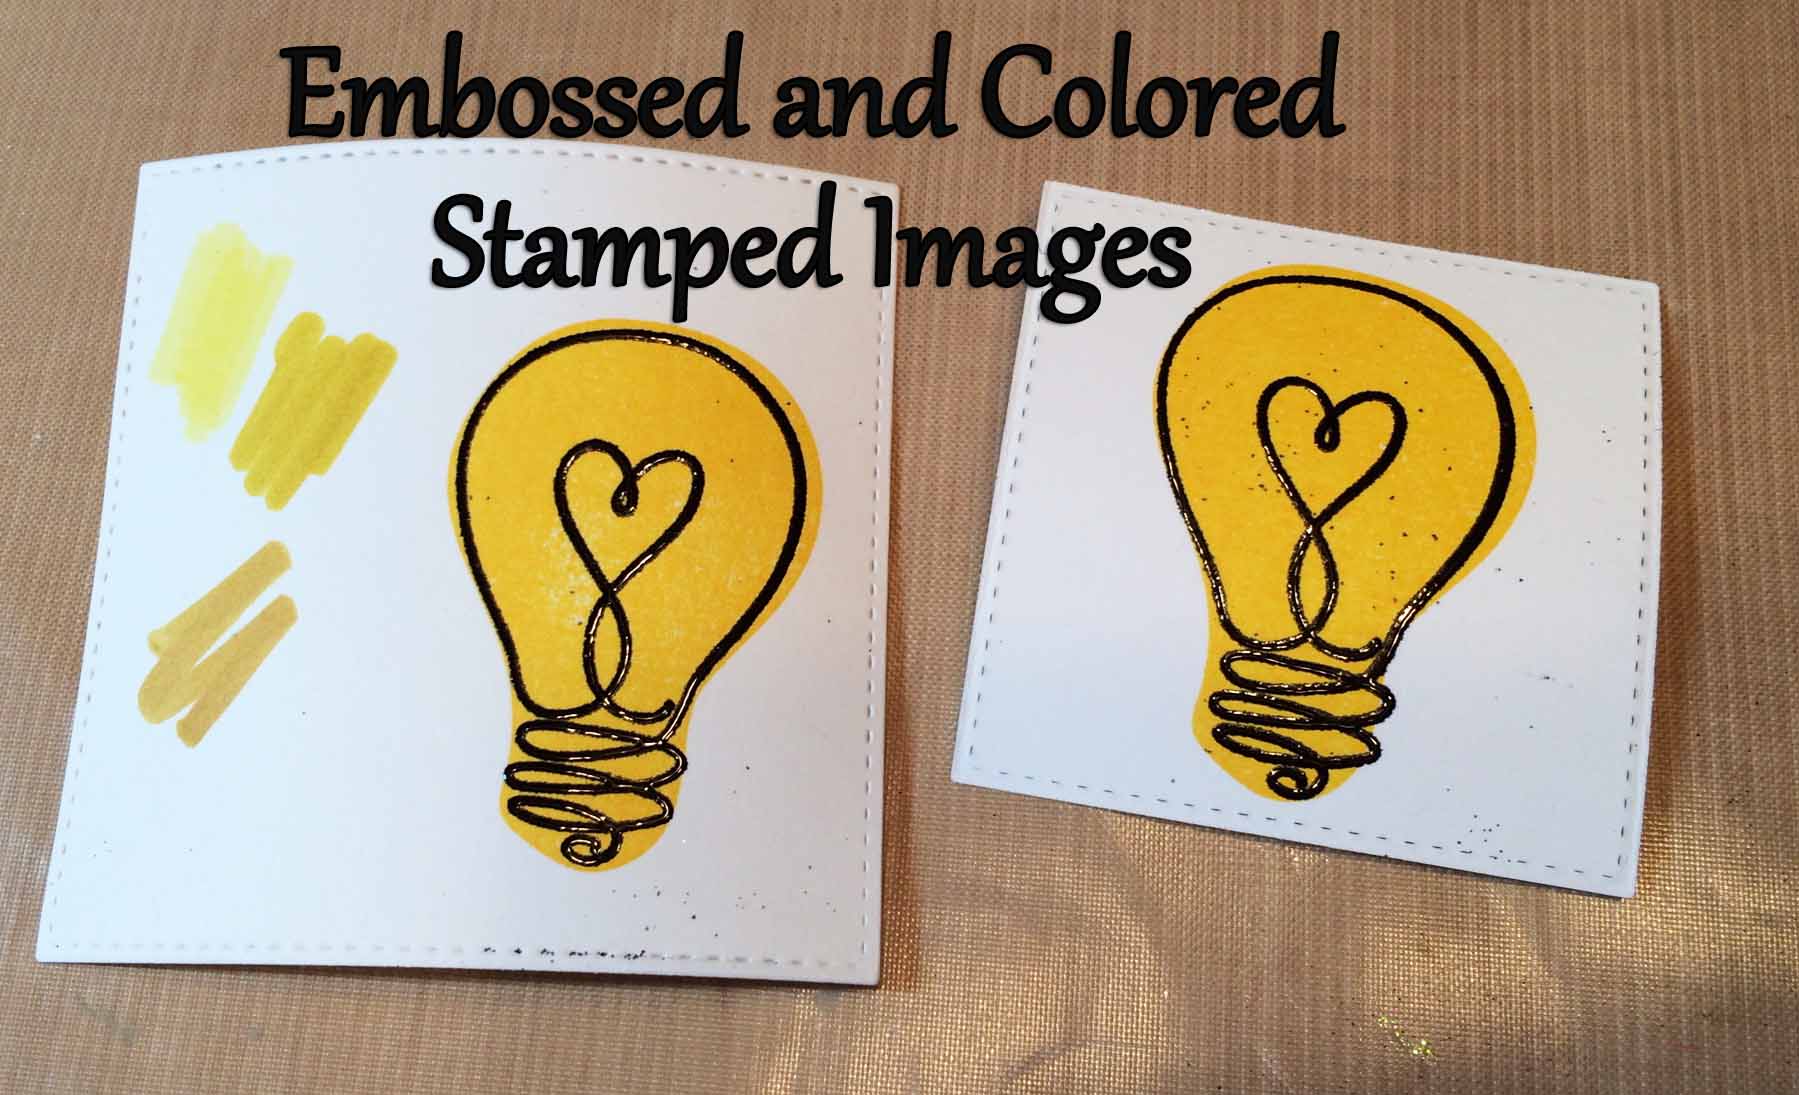
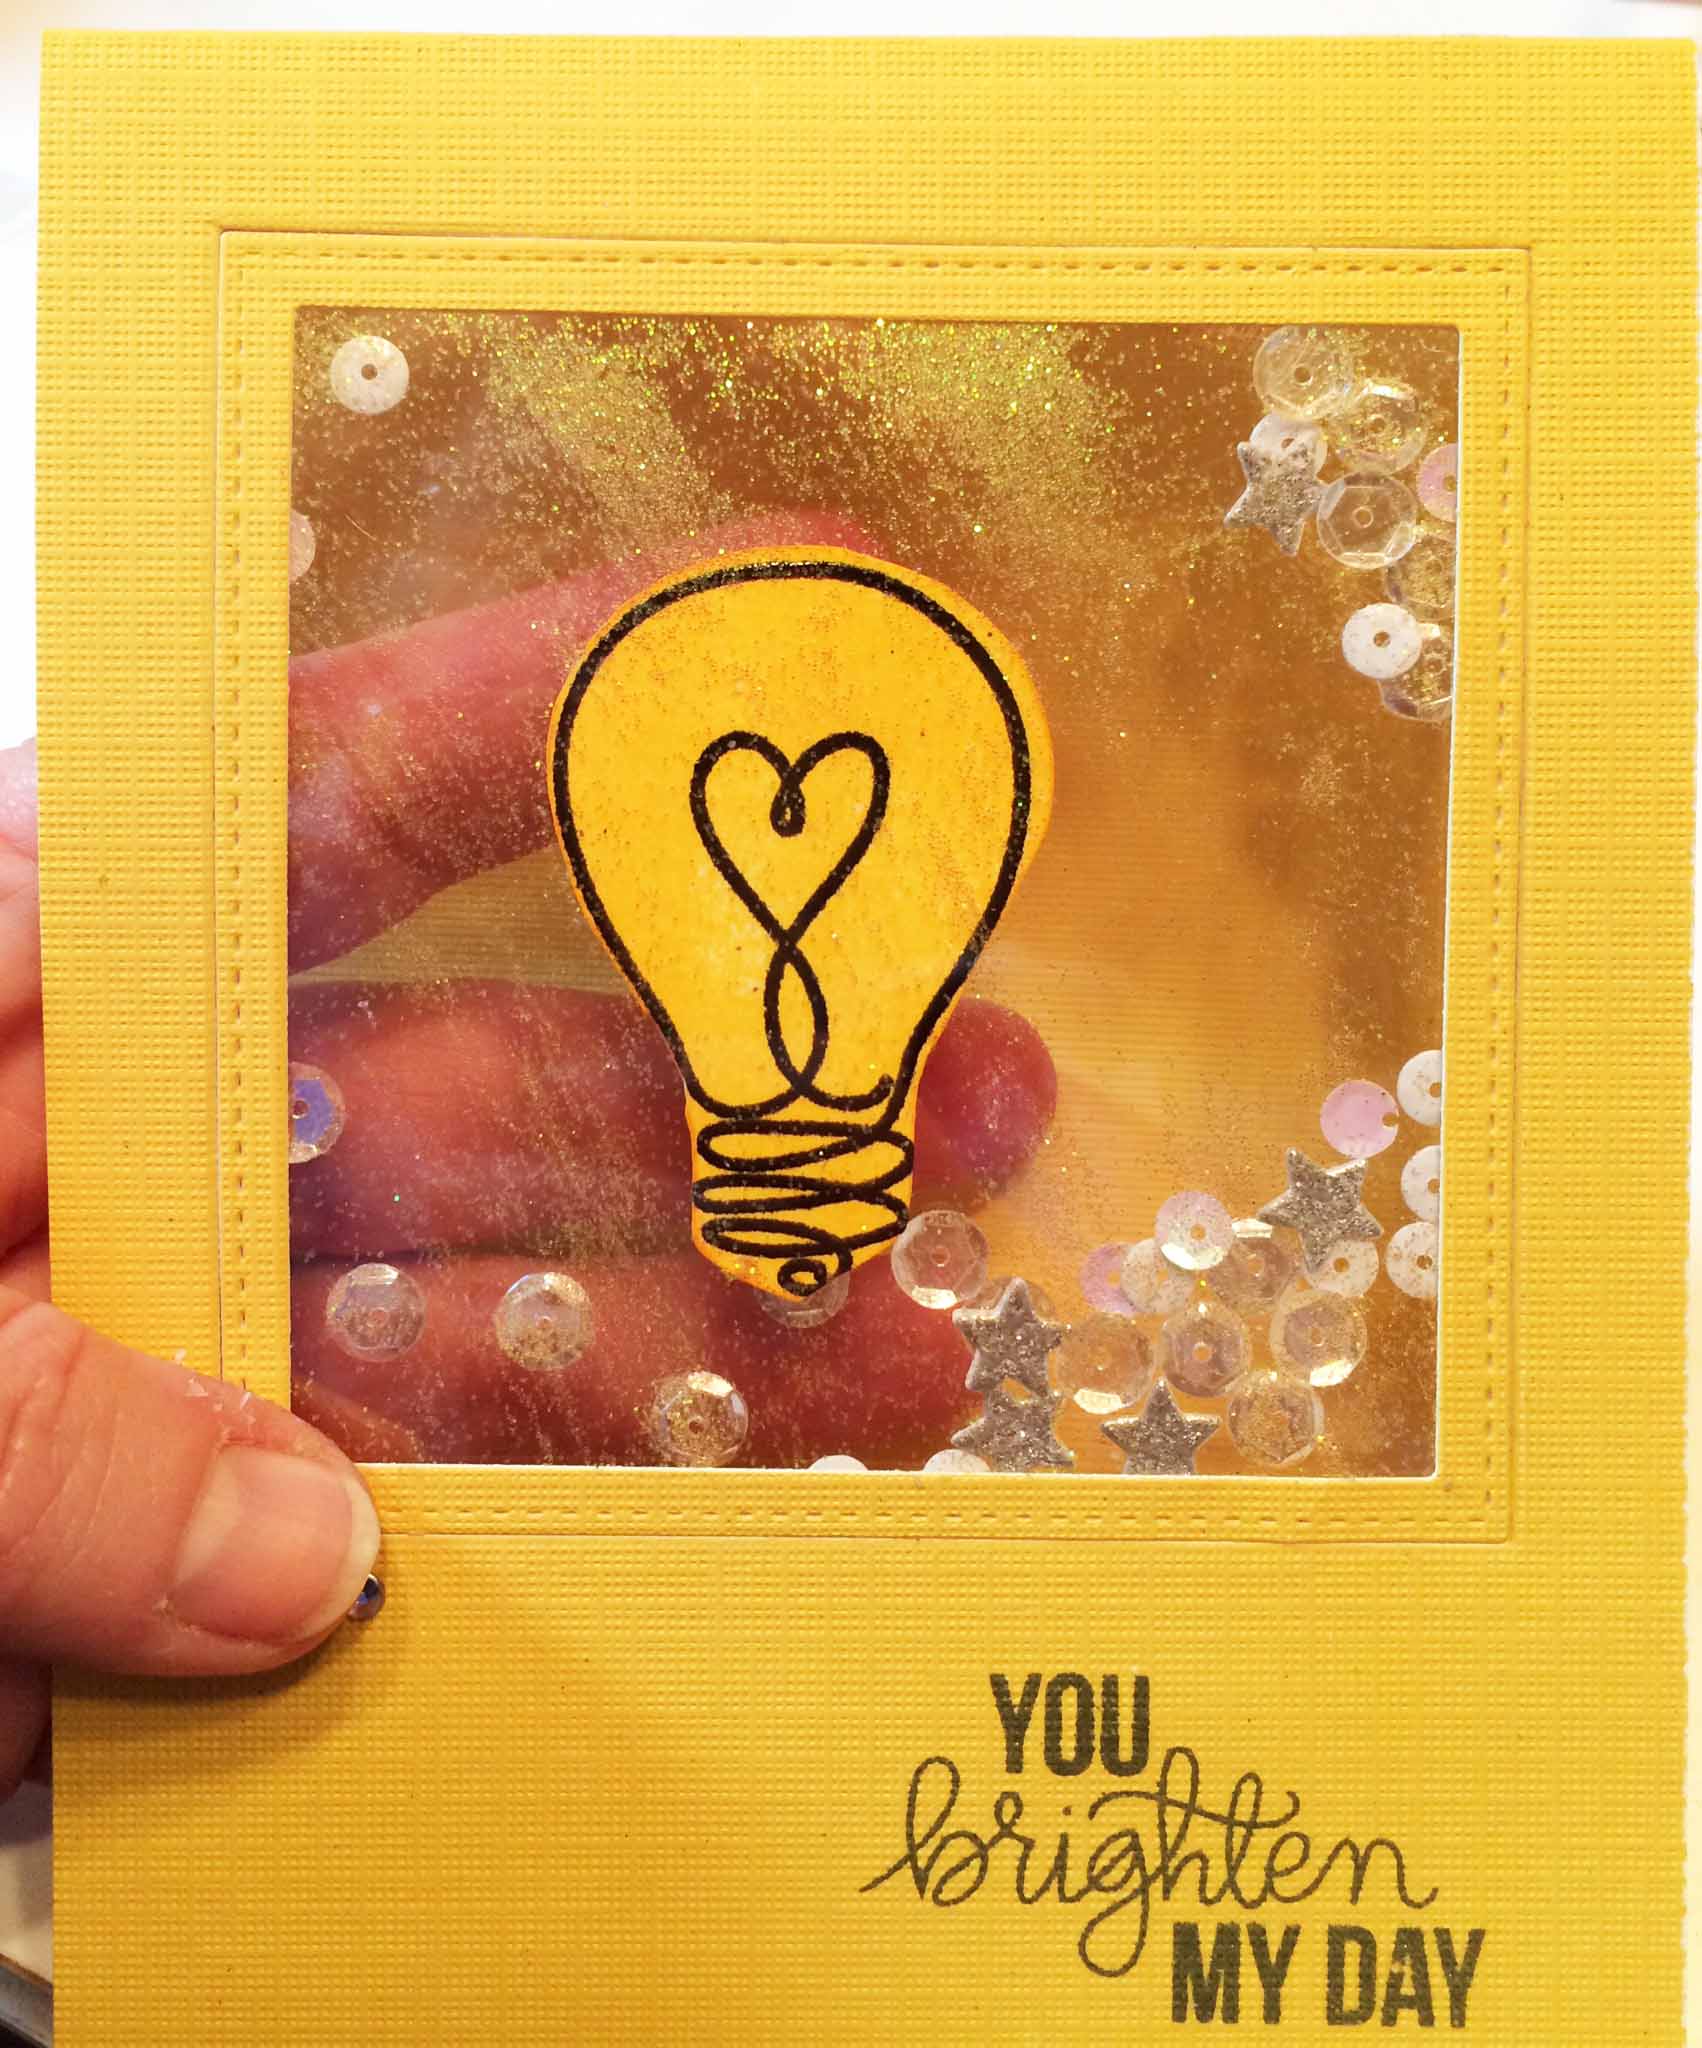
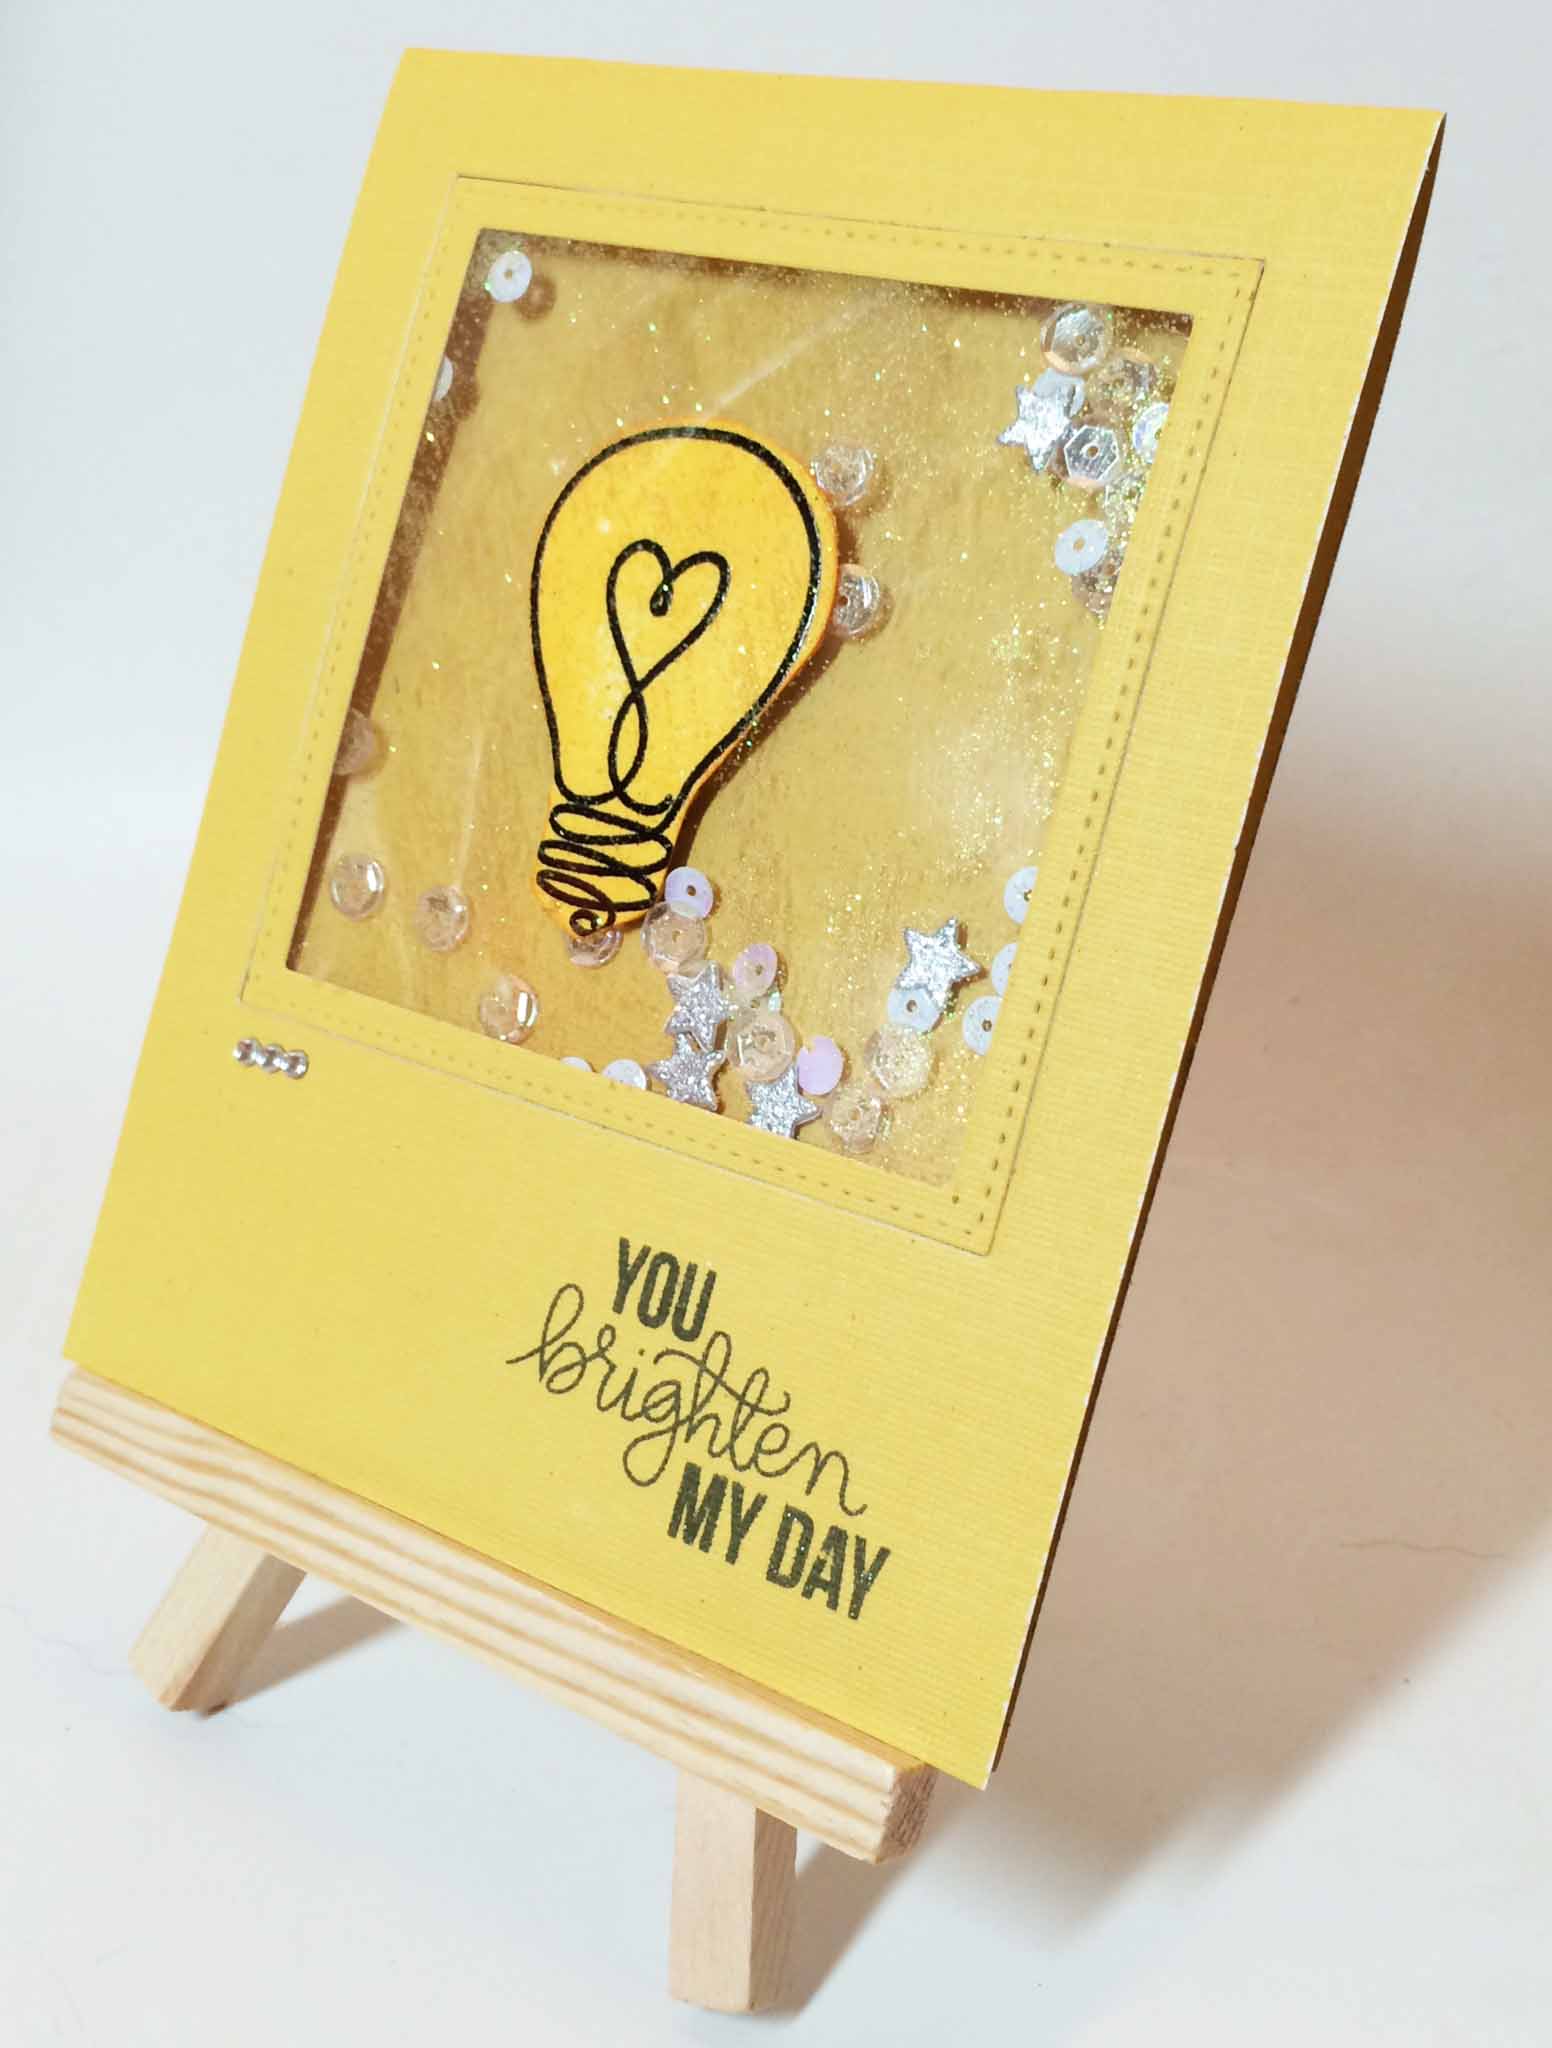
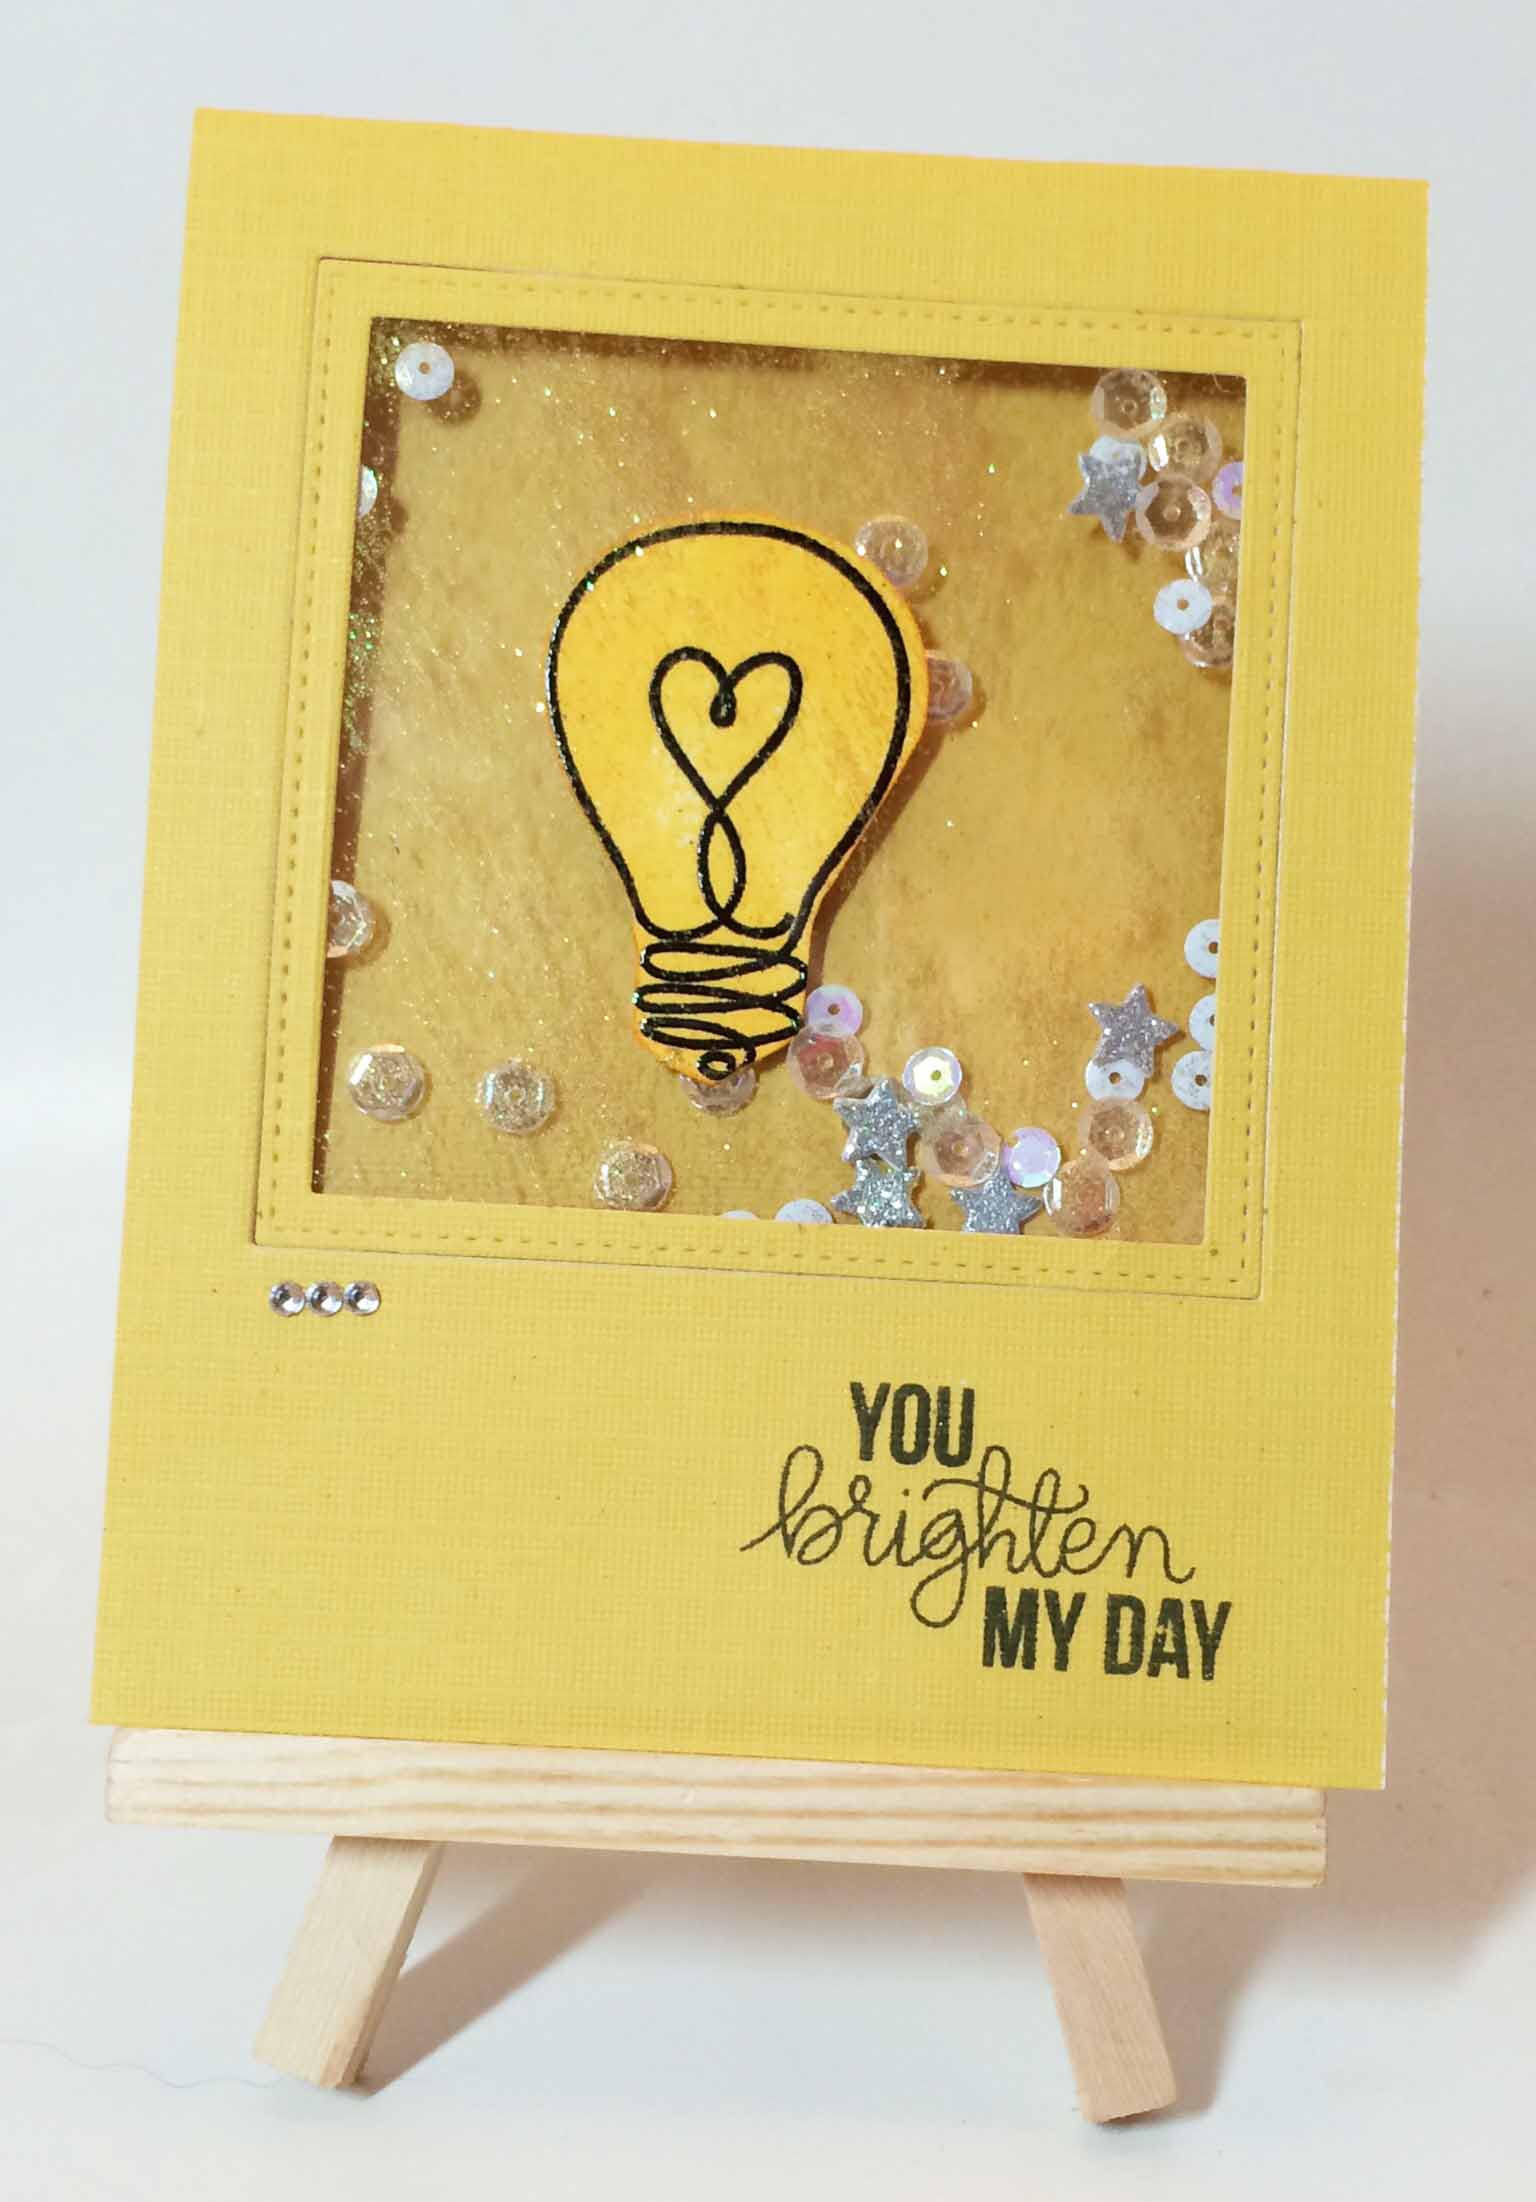
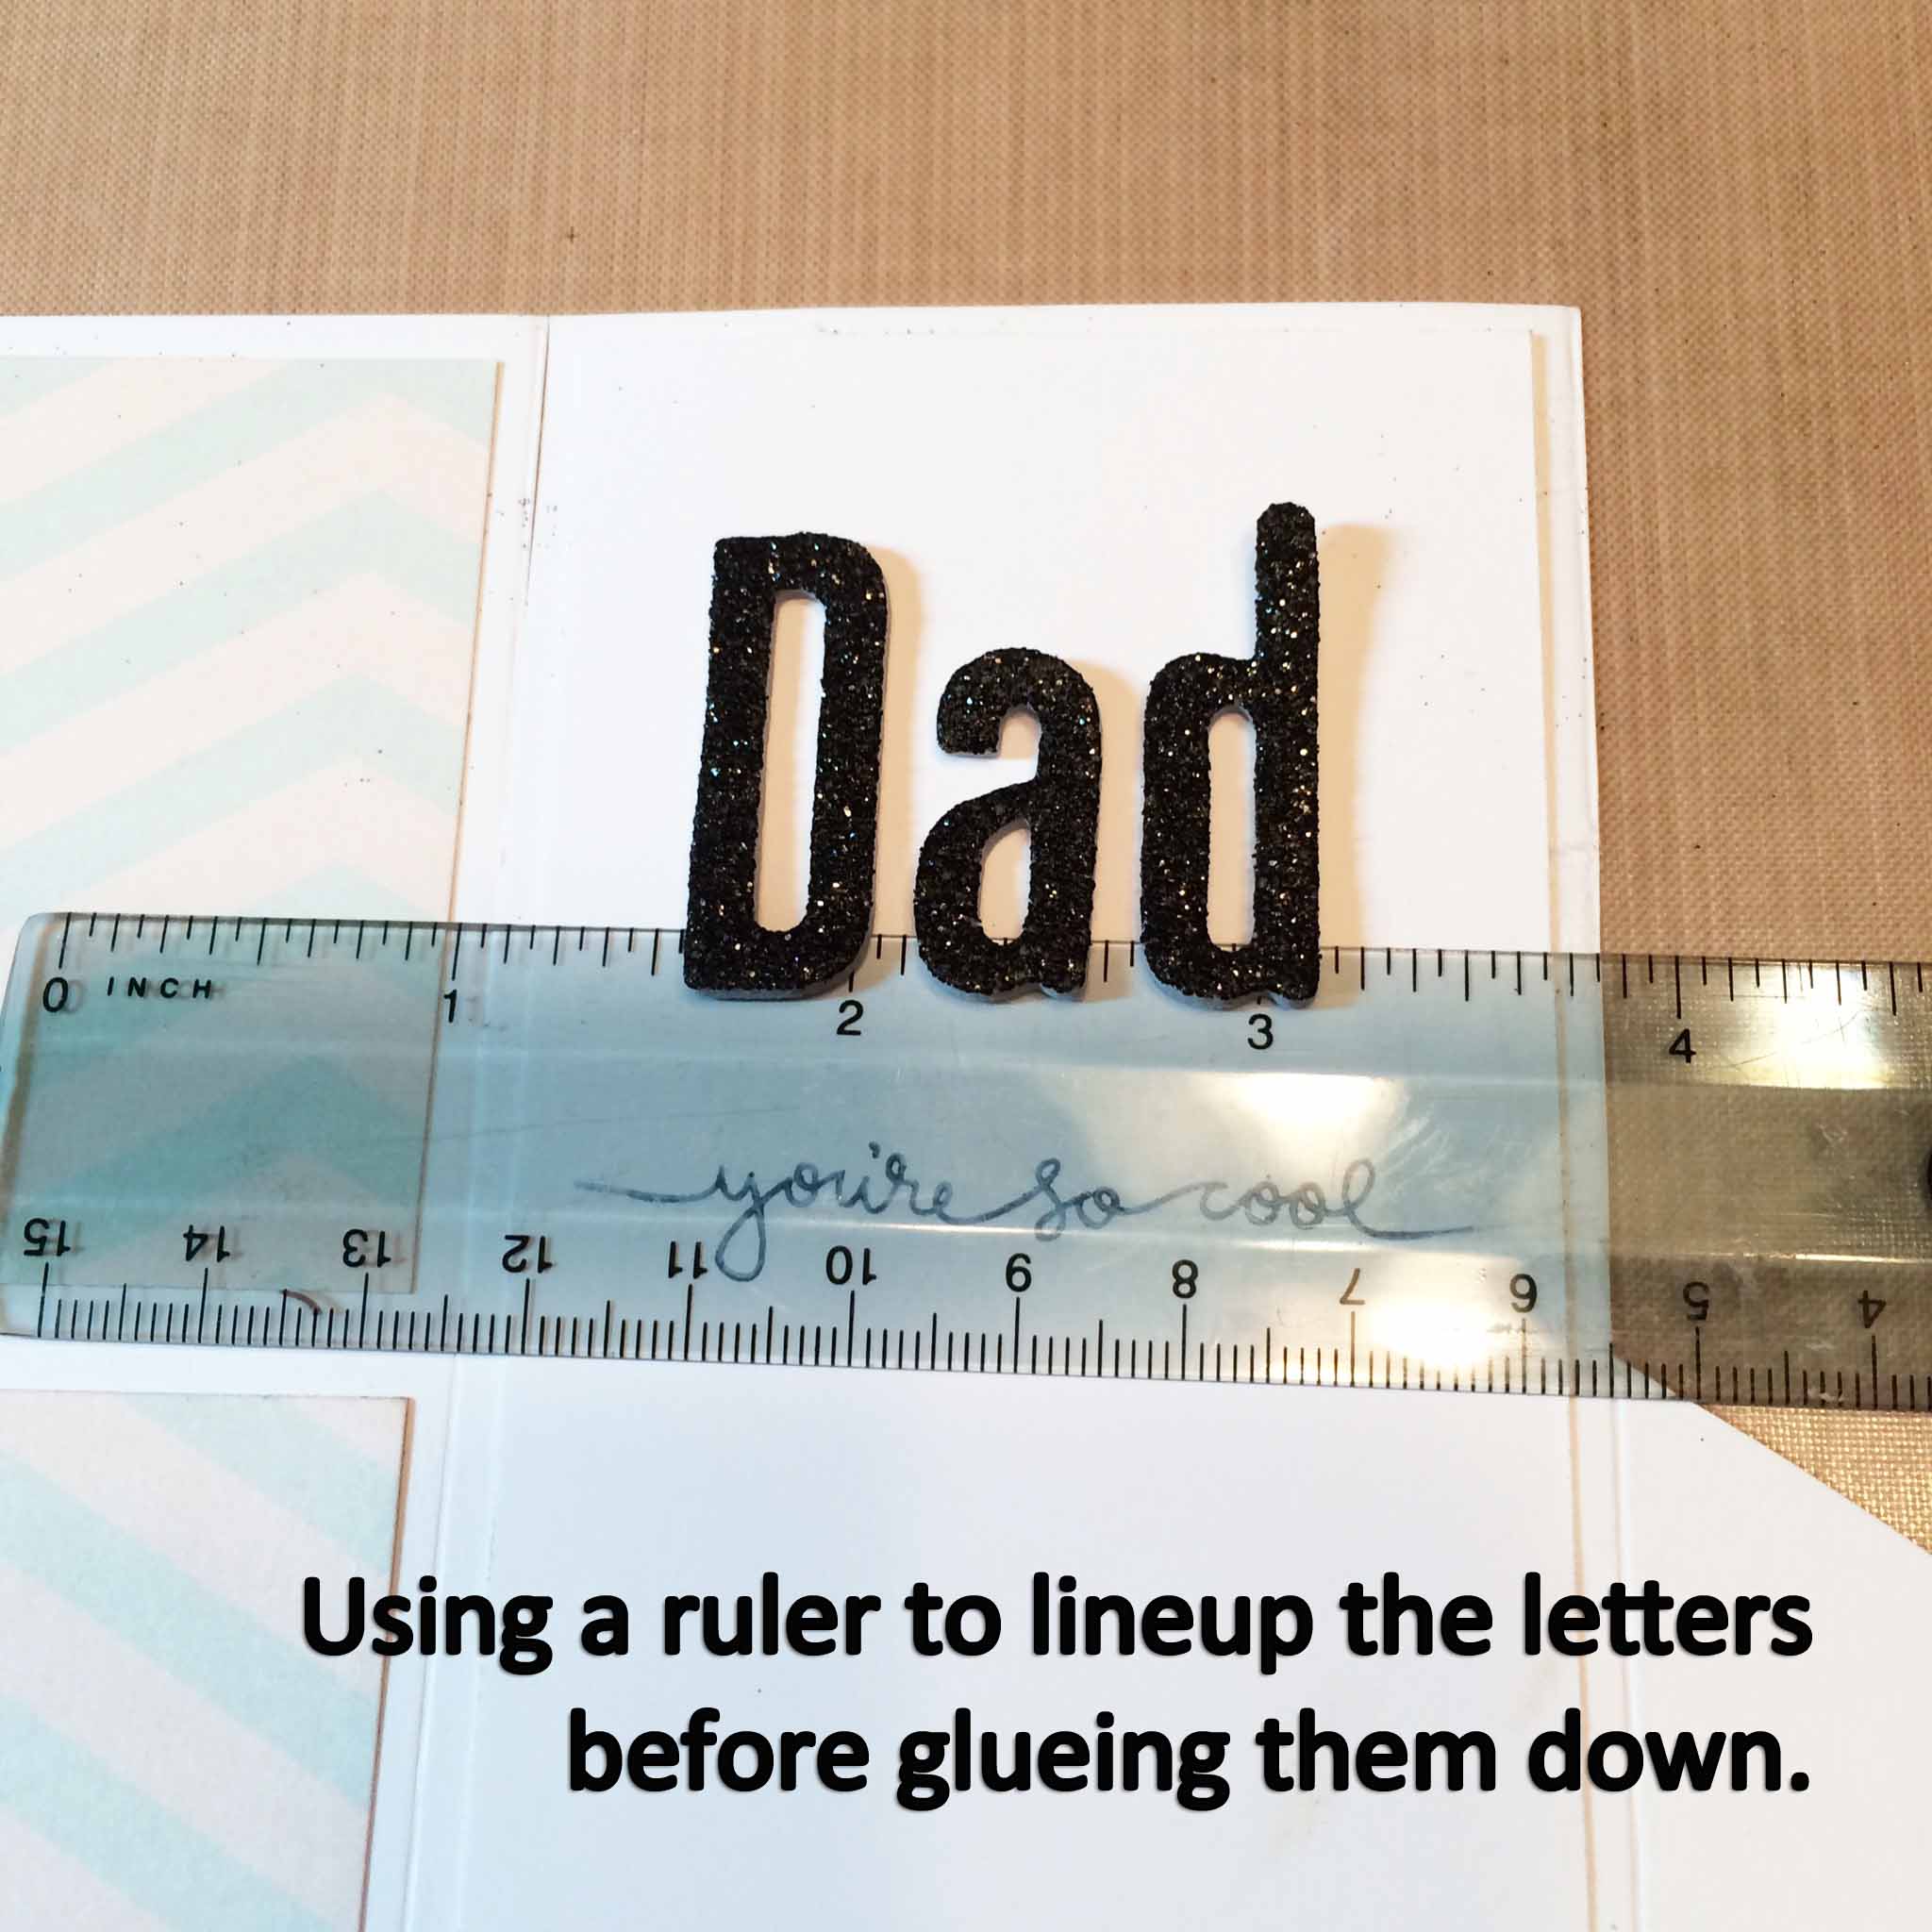
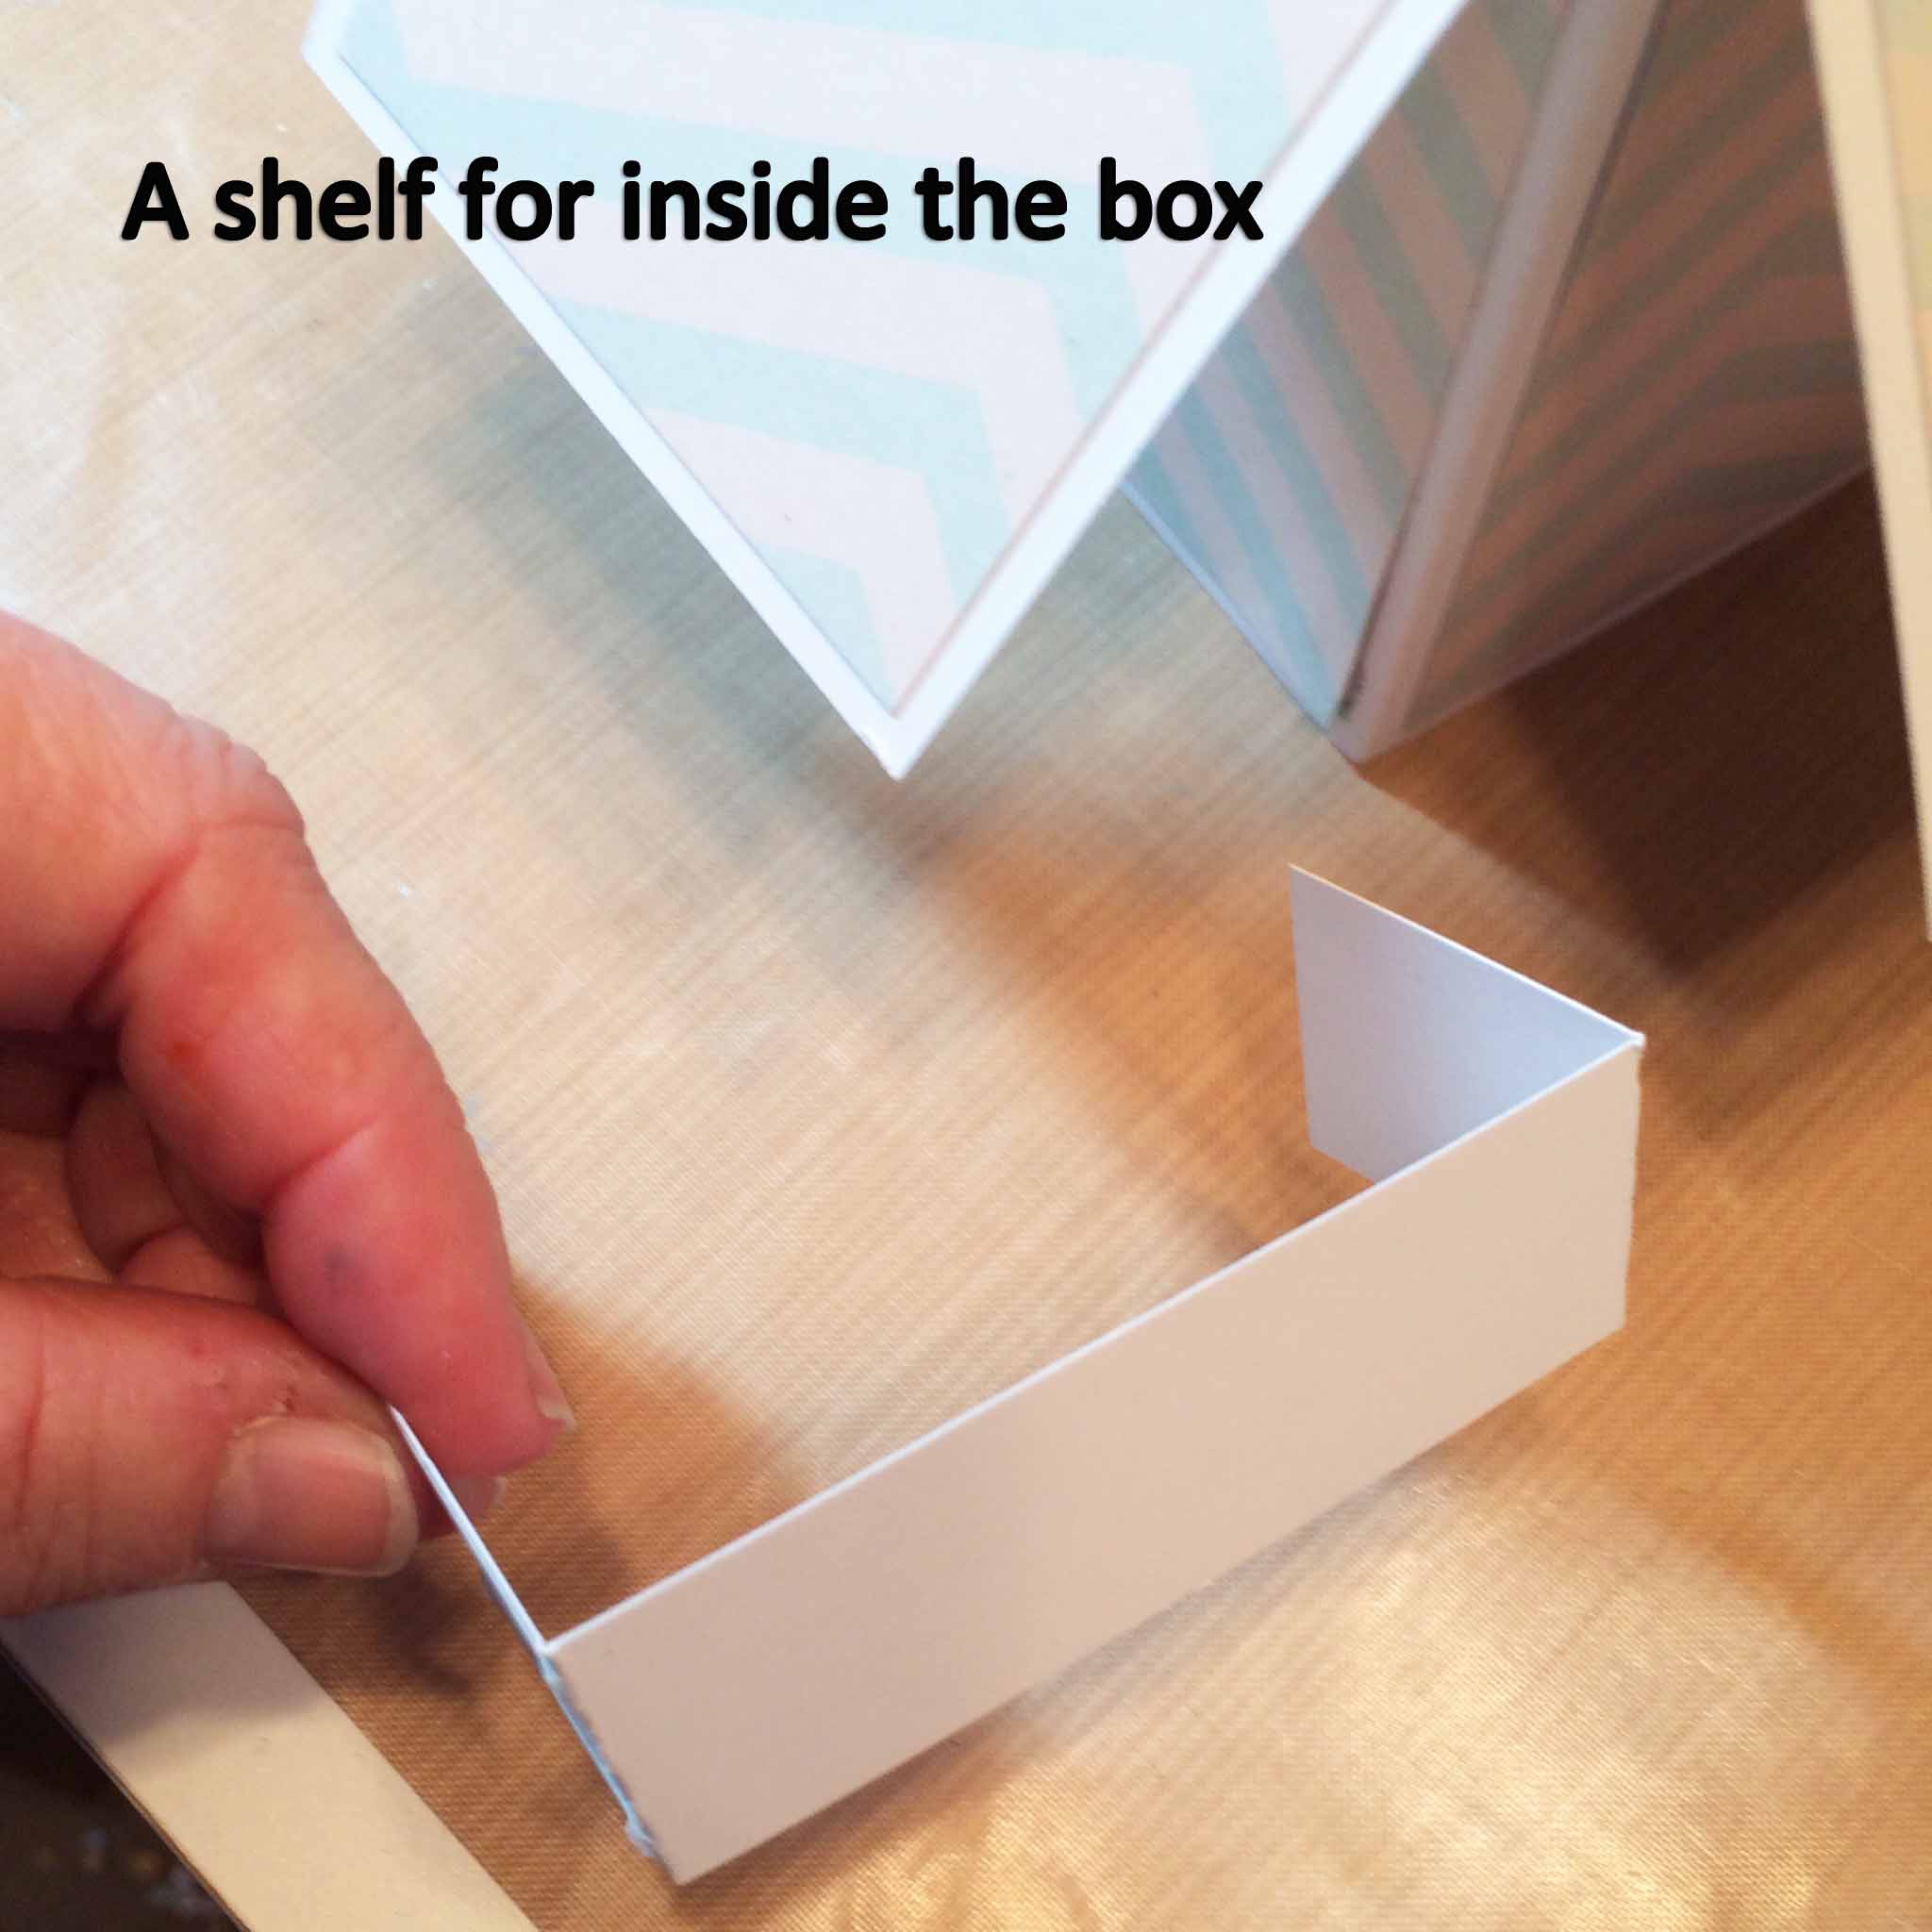
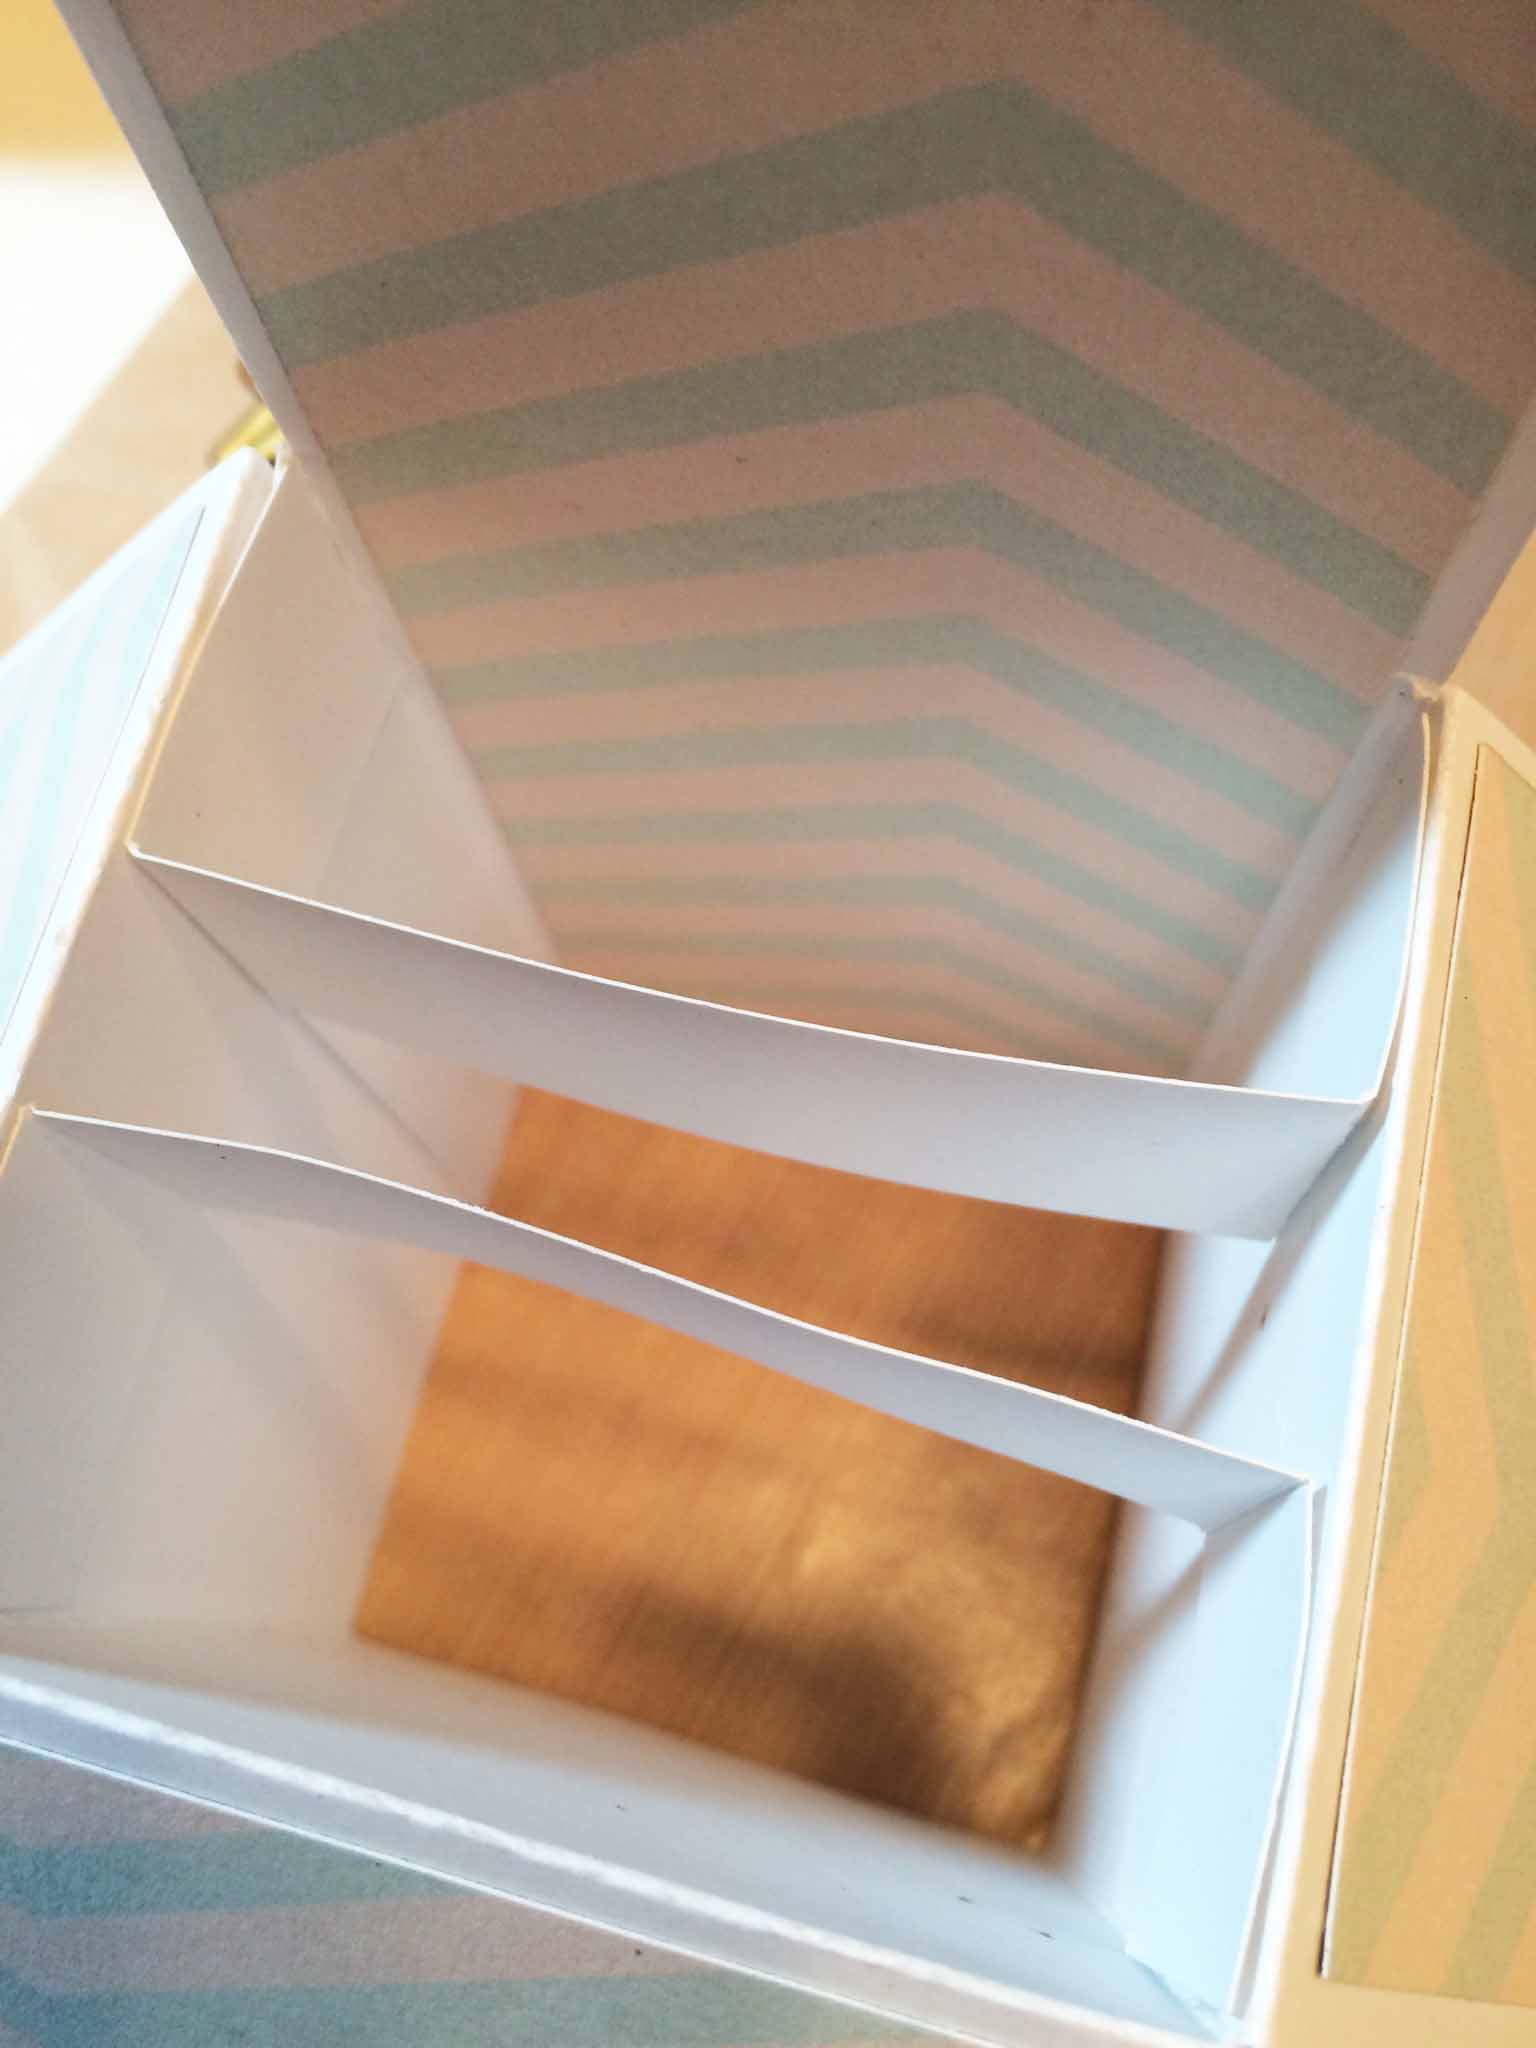
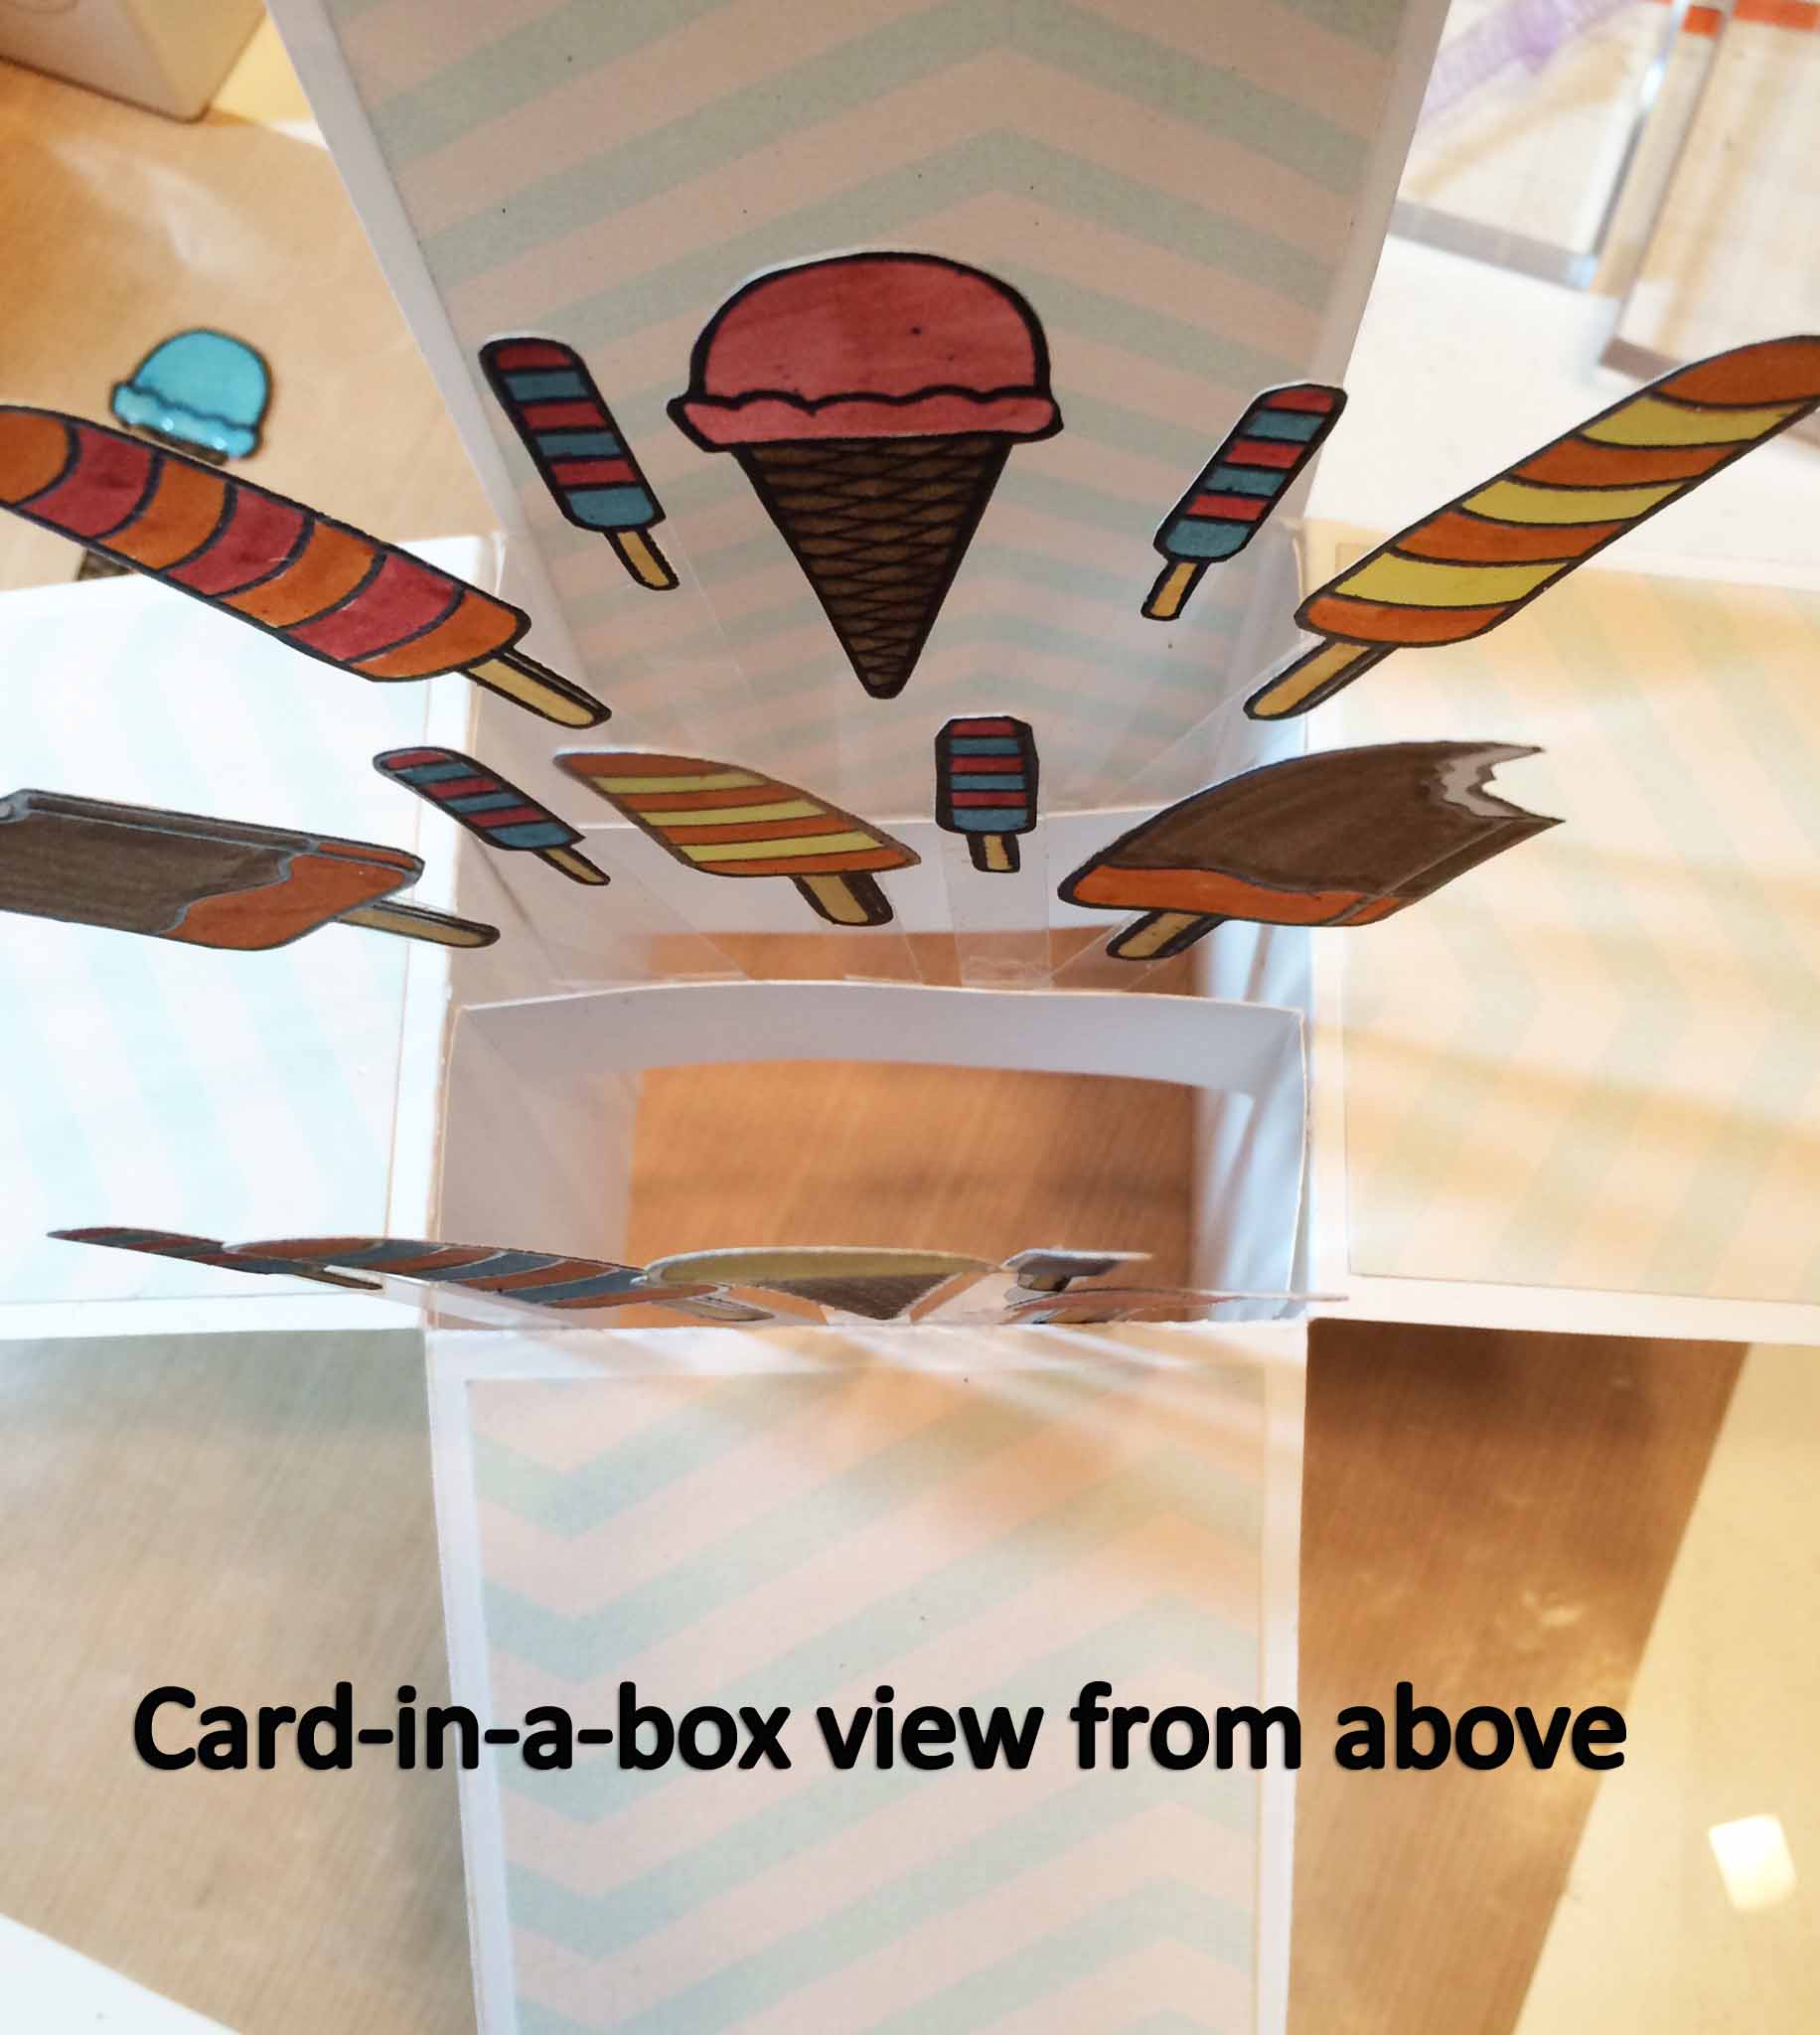
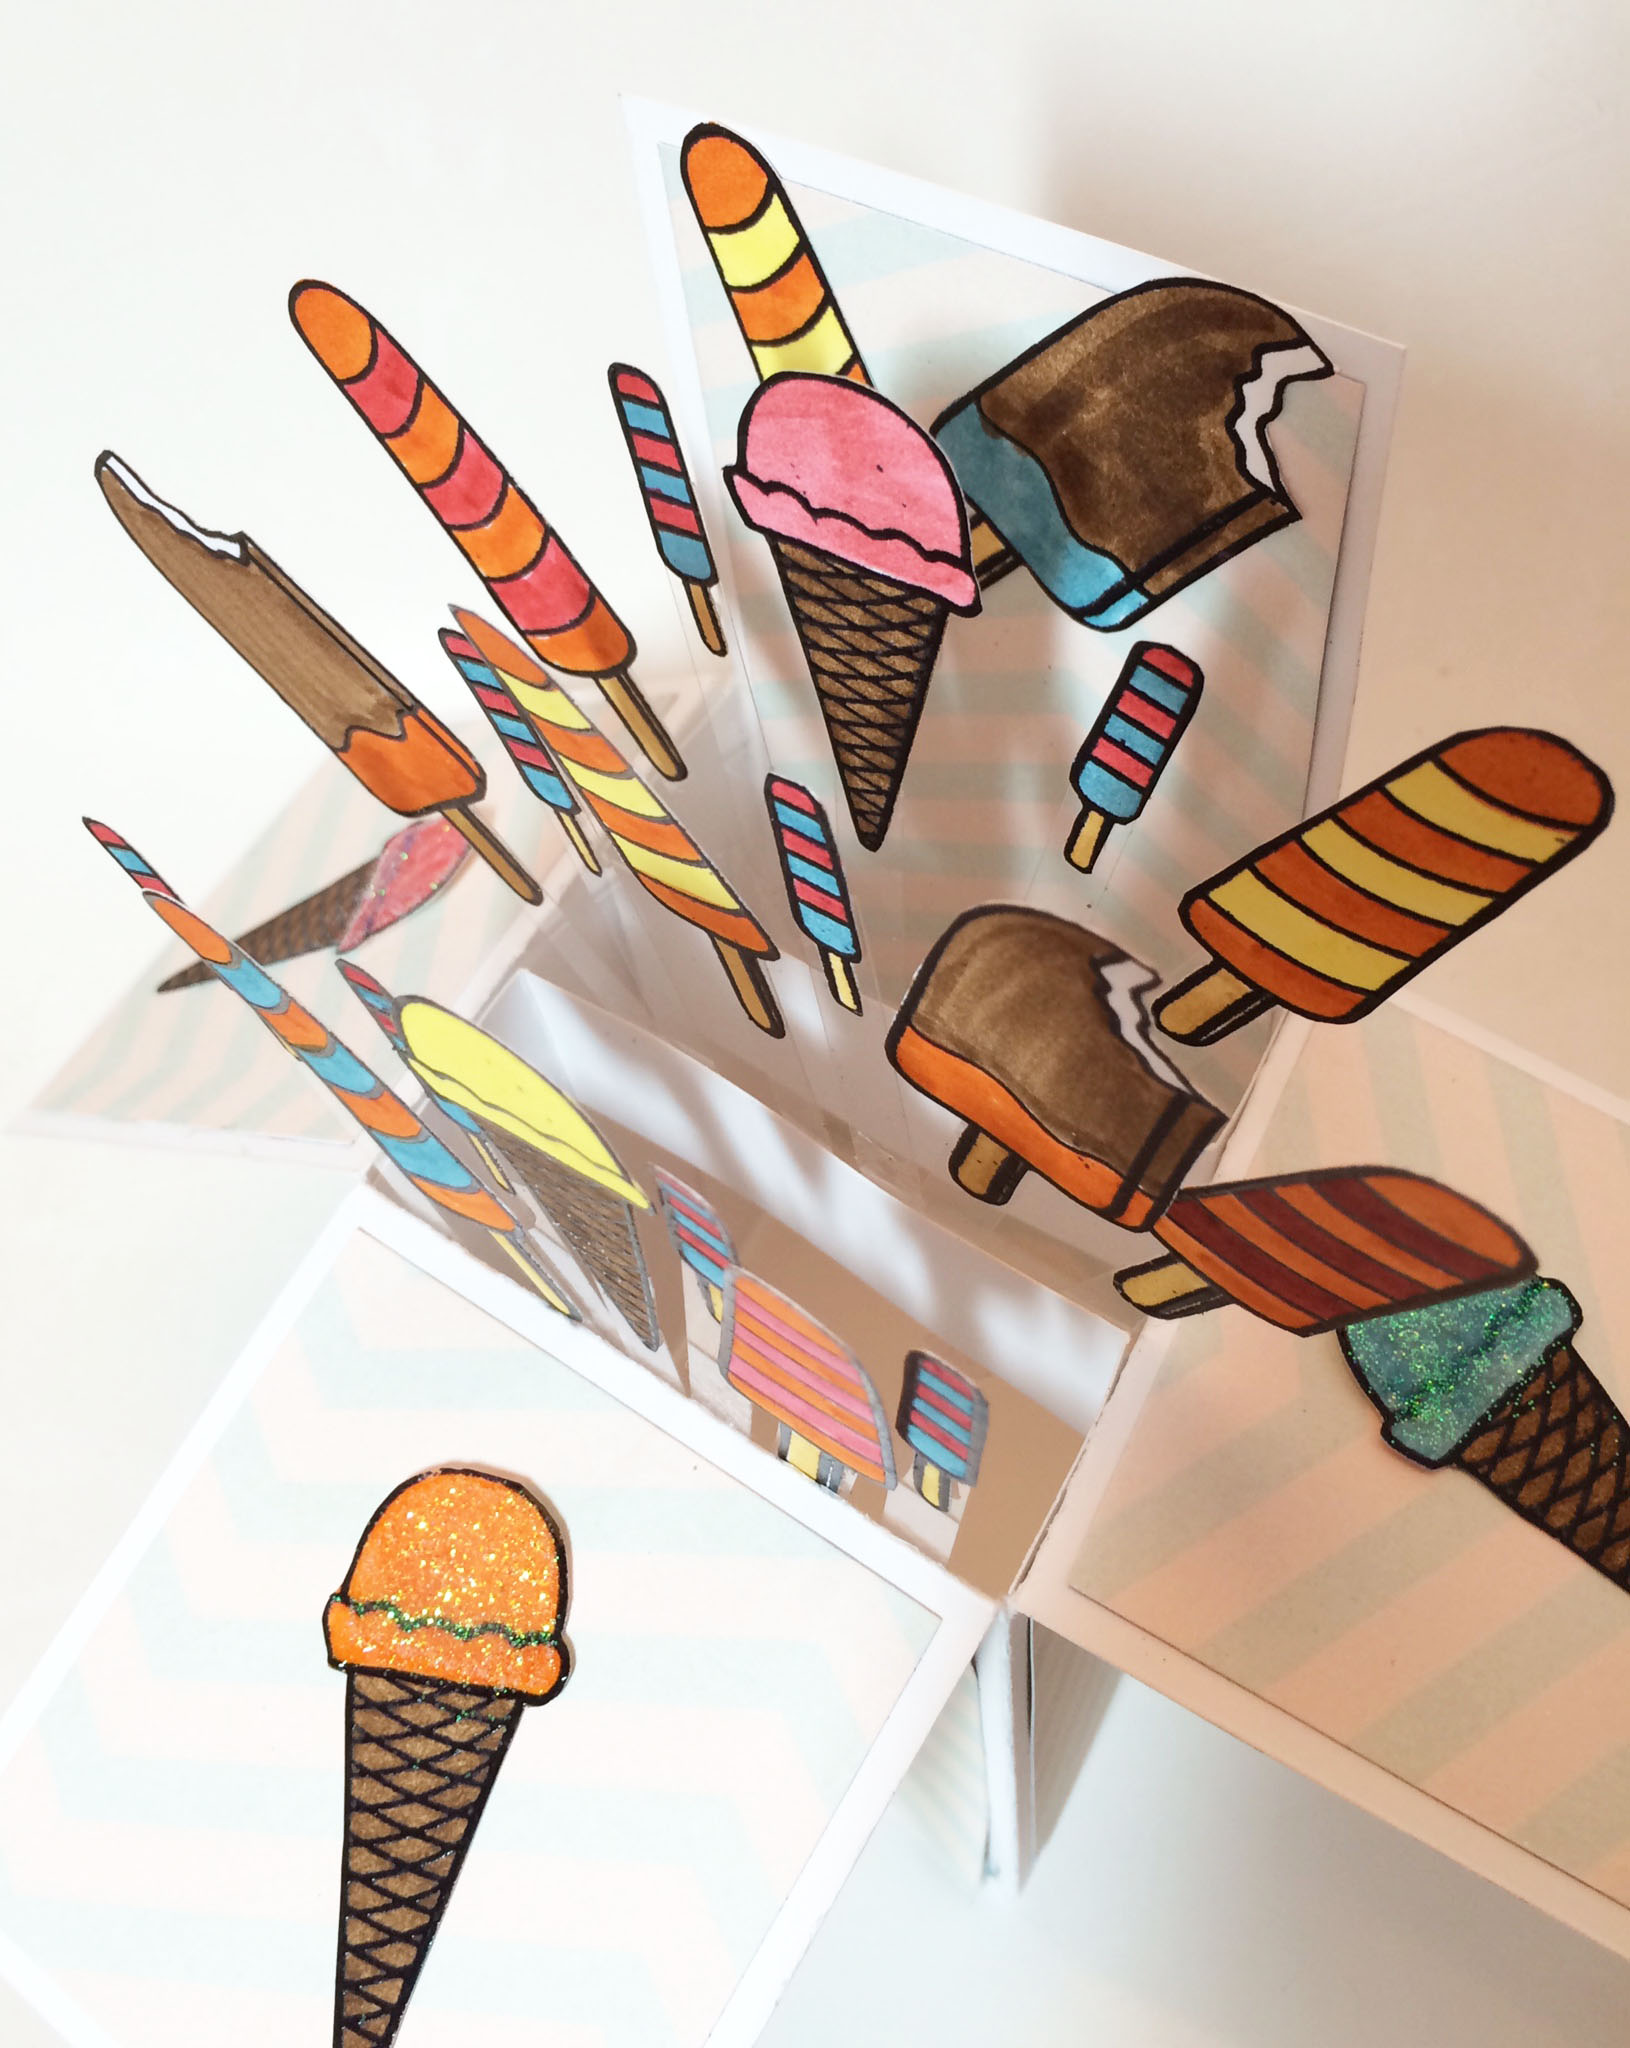
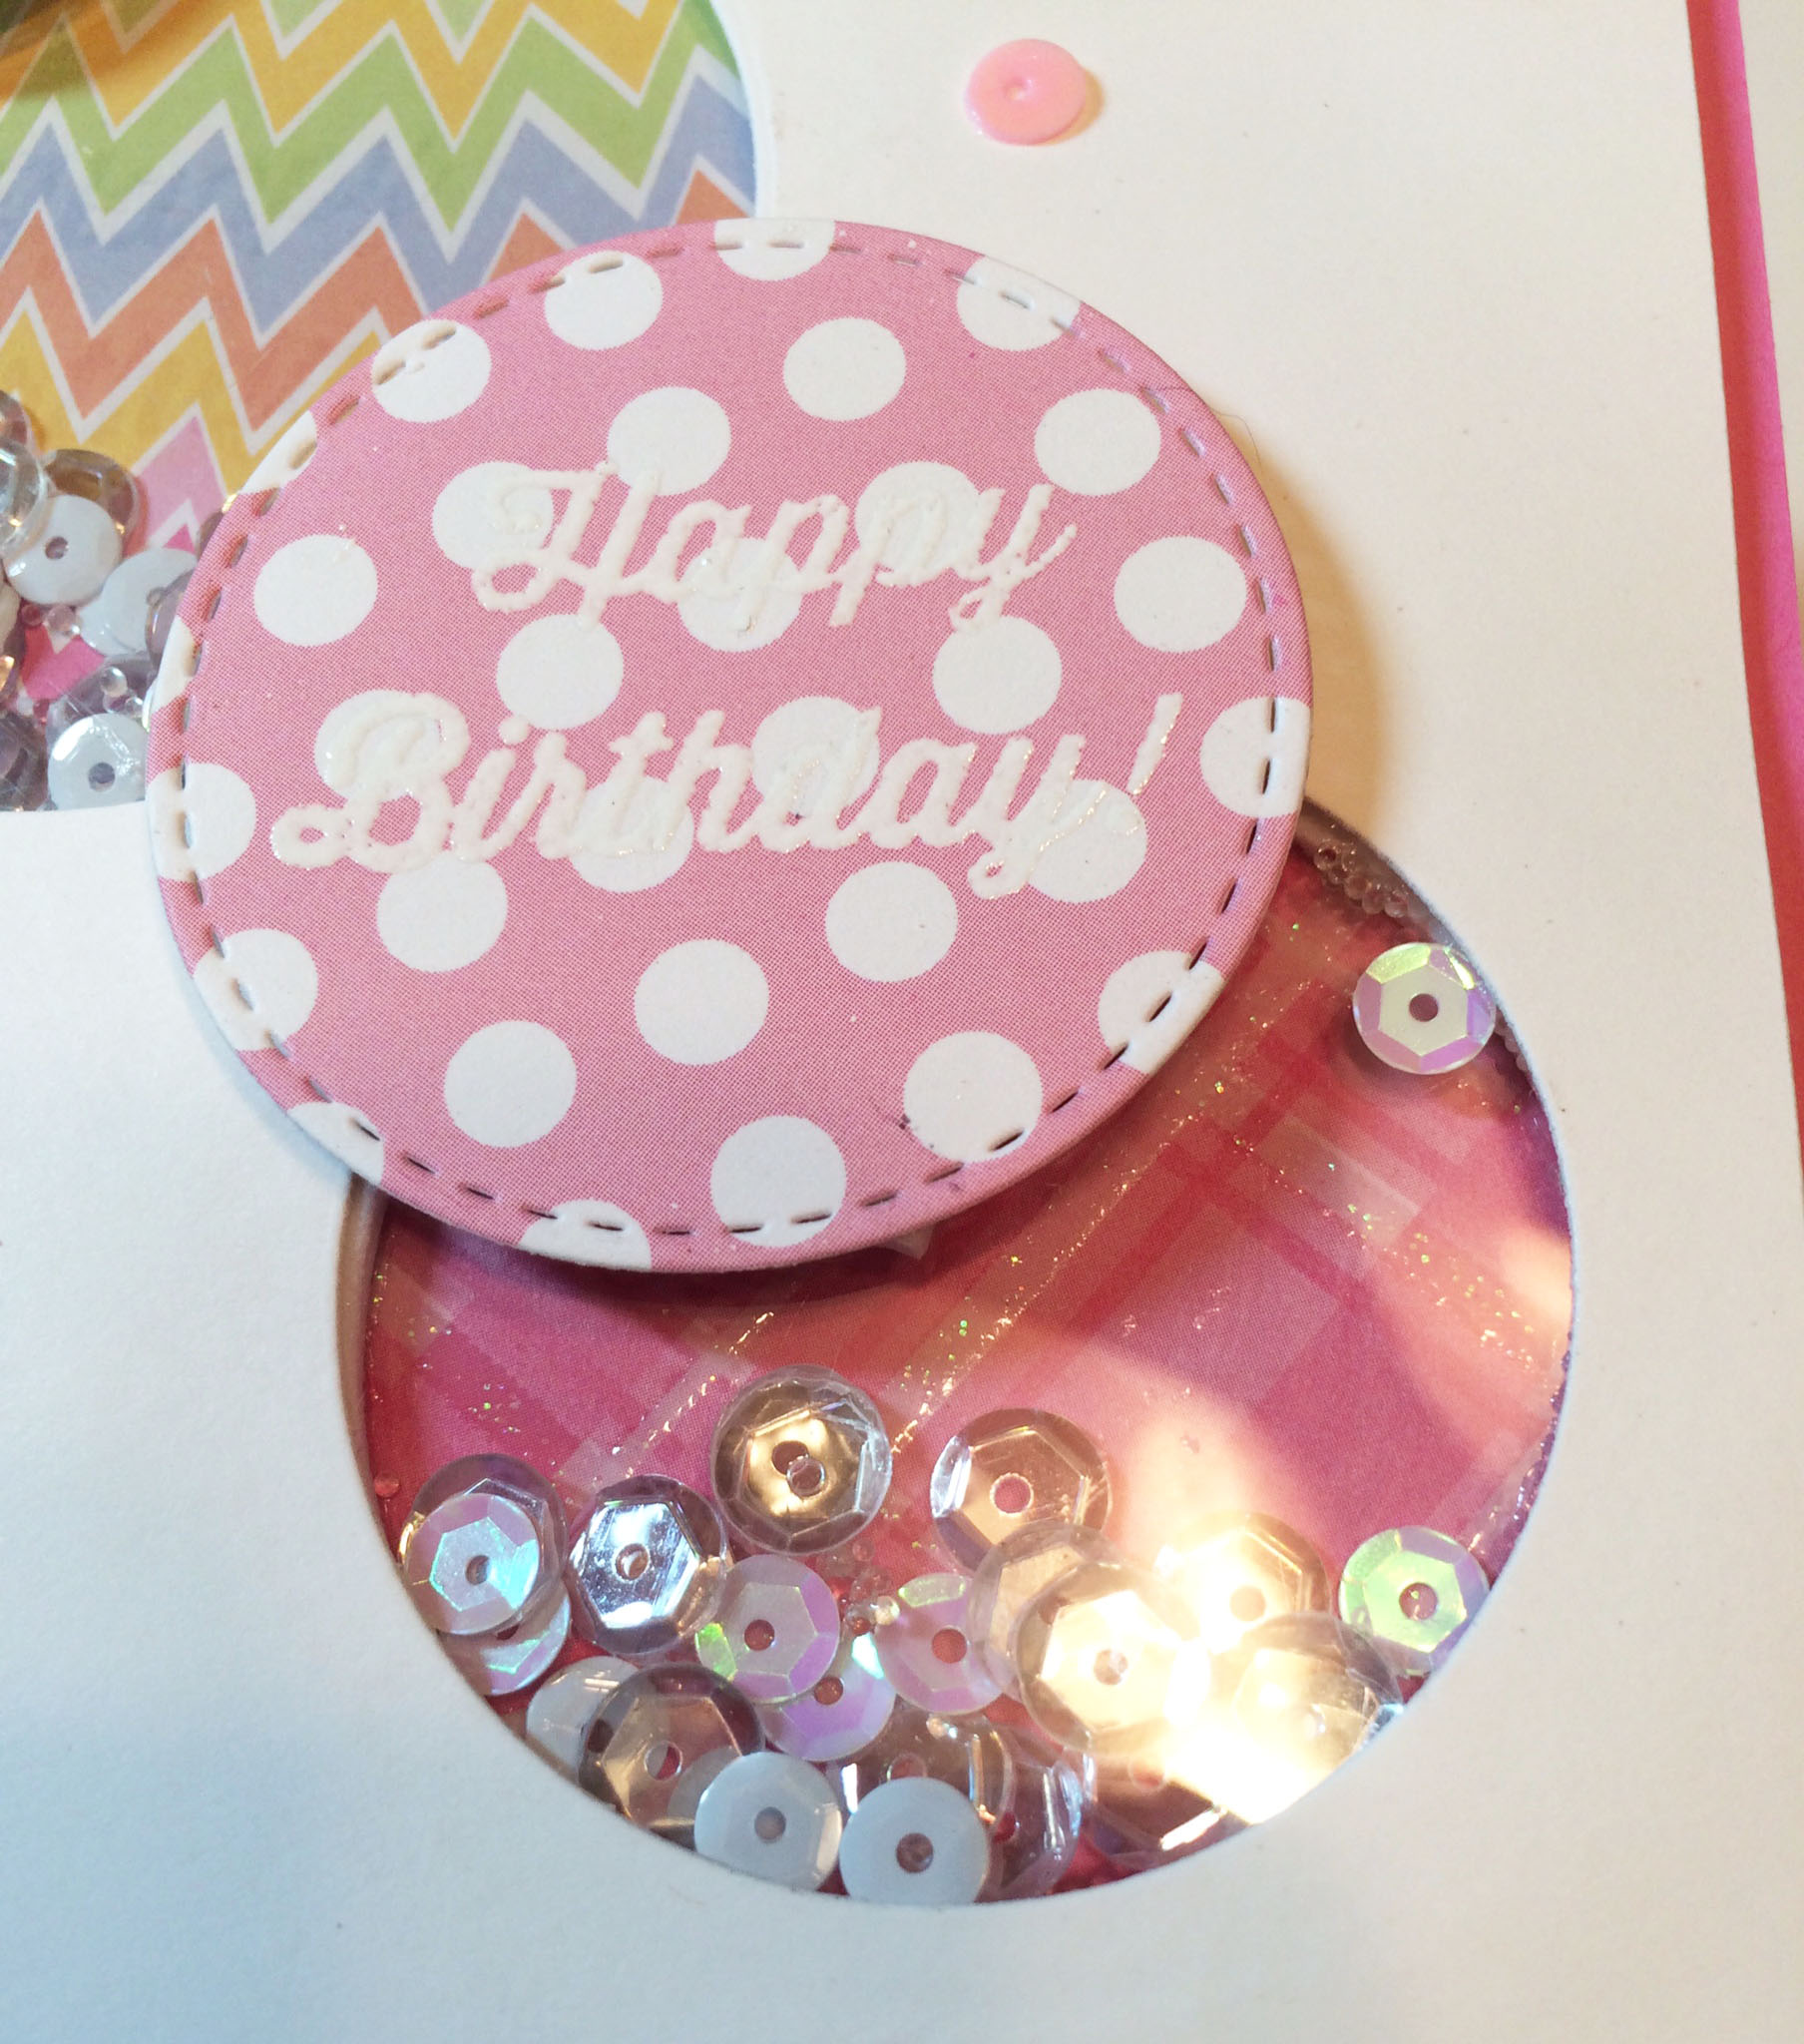
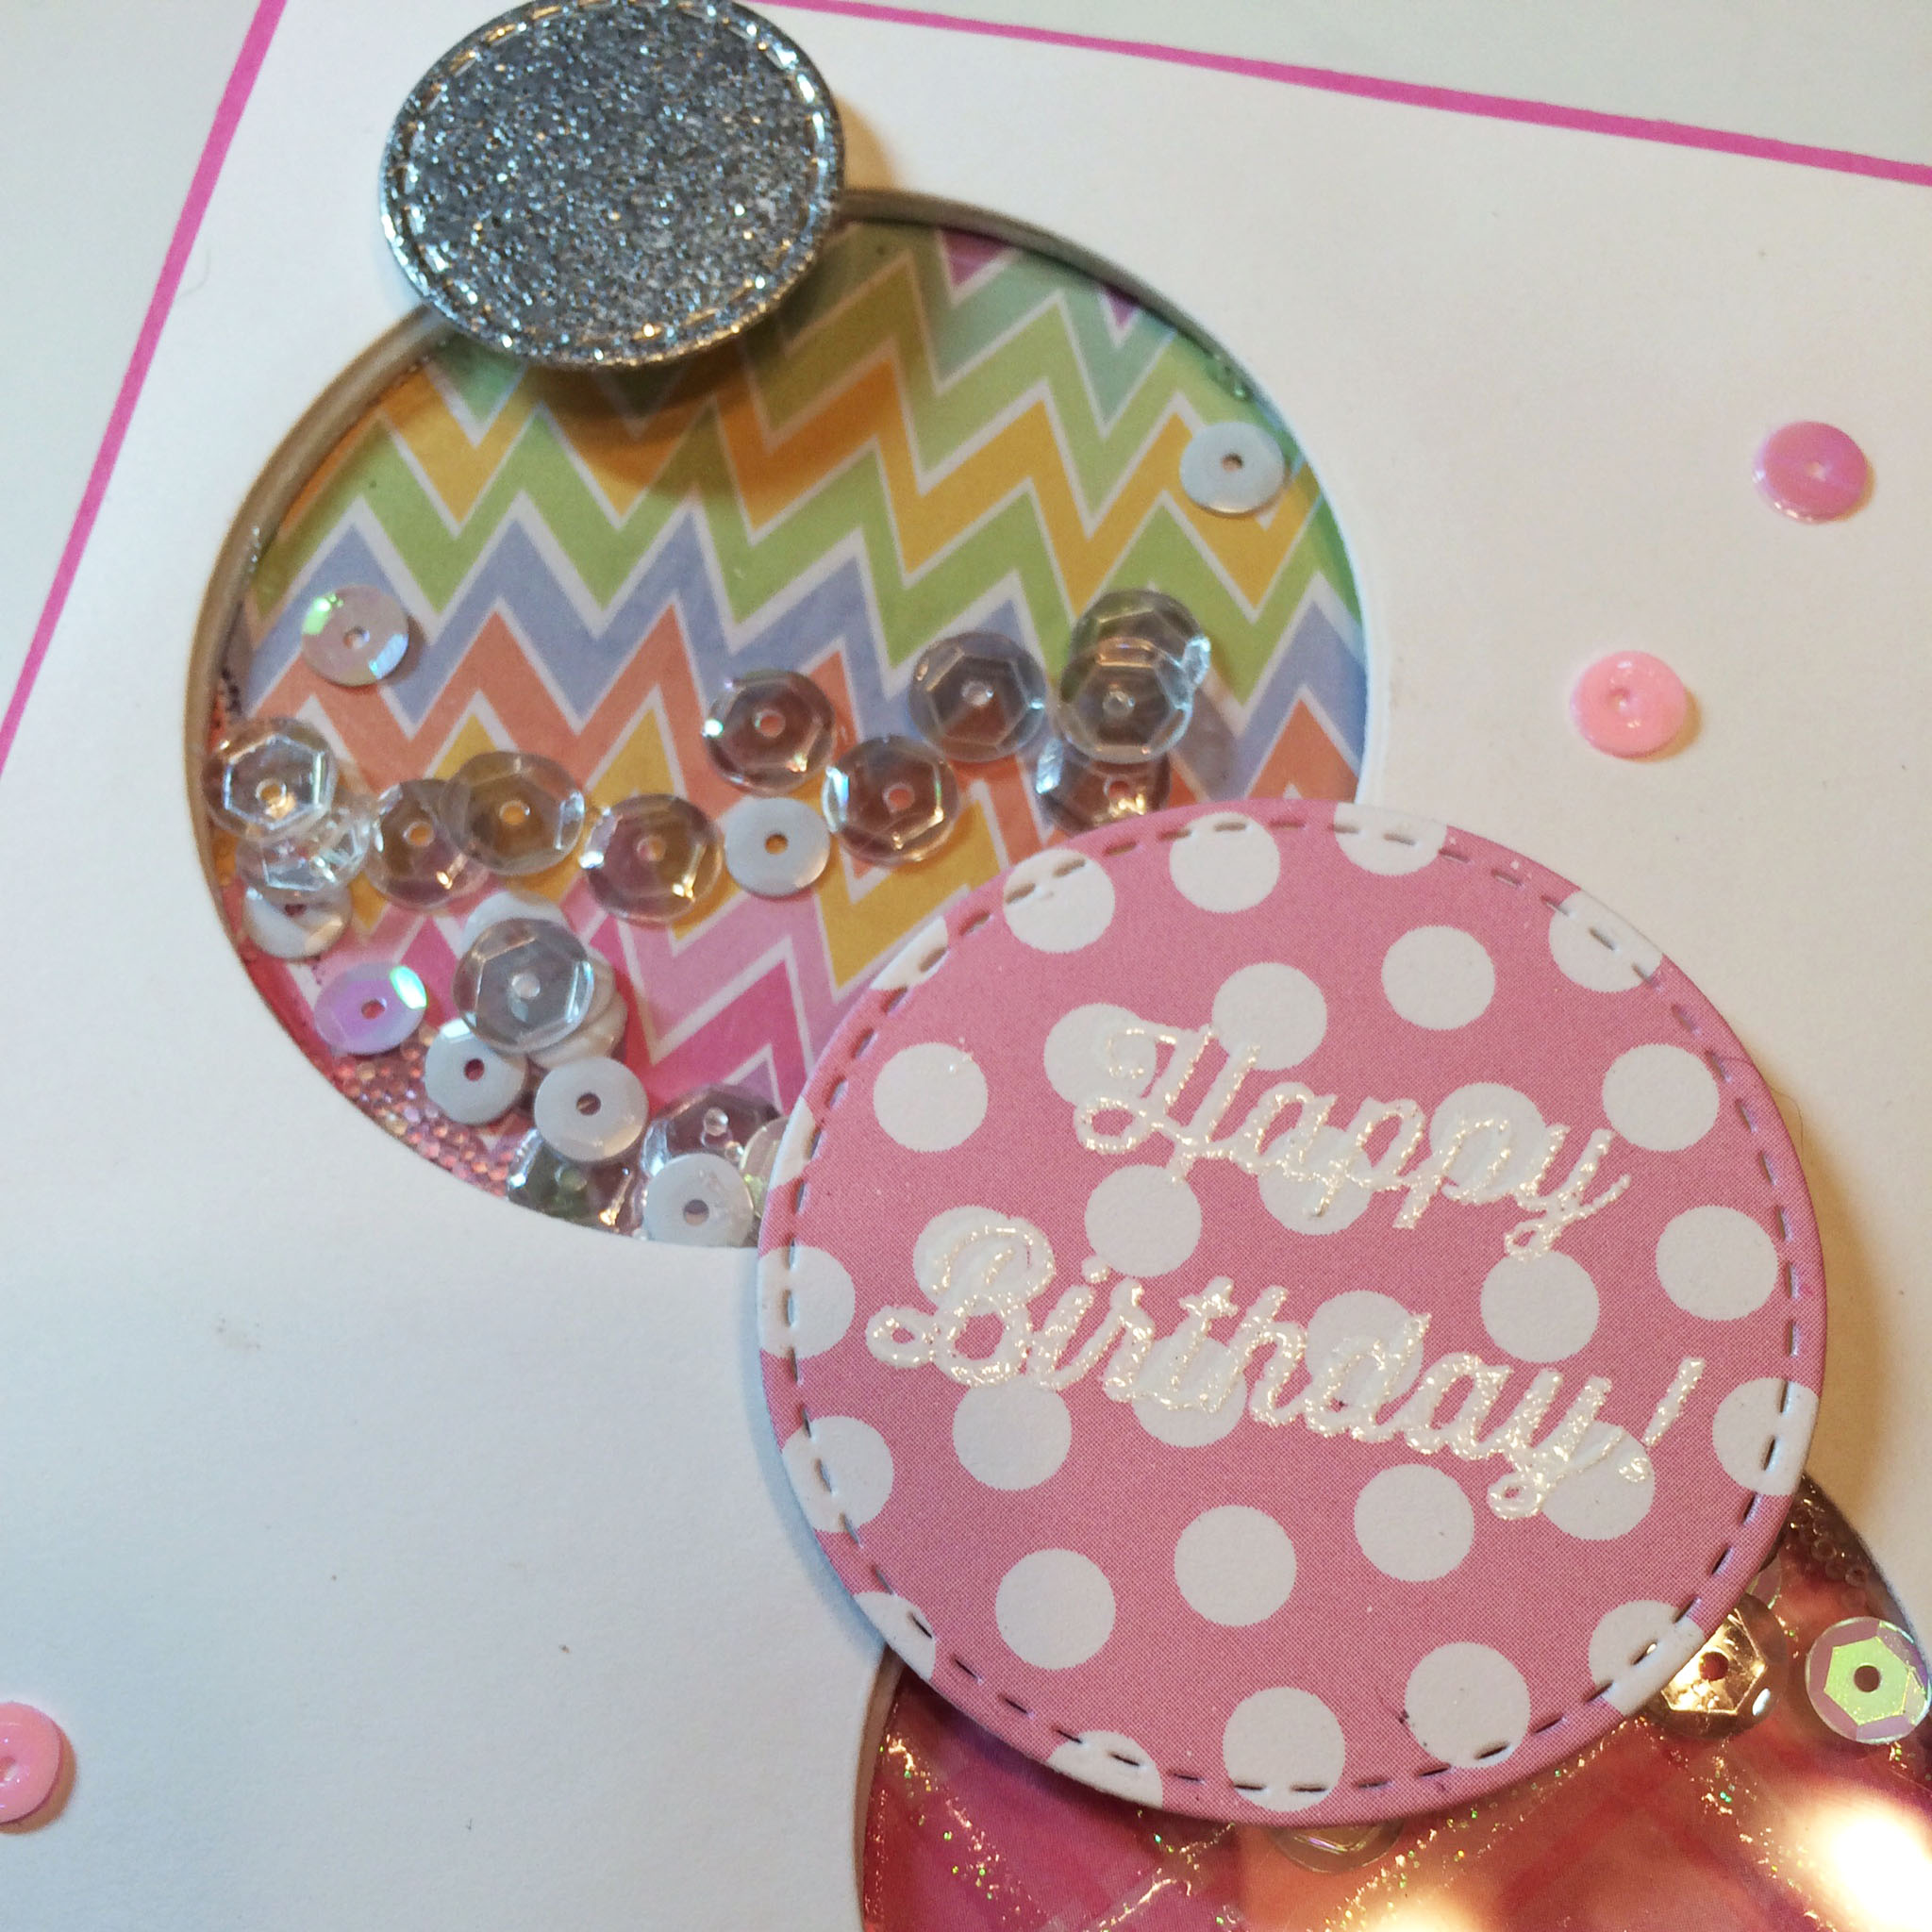
• prepped and posted January Card Series || Cards for 2015.
• made progress with tidying my craft room. Setup up bins by color for my paper scraps.
• worked on my Journal52 Art Journal (Quest46 #7)
• mailed off cards to the daily winners of my January Card Series || Cards for 2015.
• almost finished reading Unbroken.
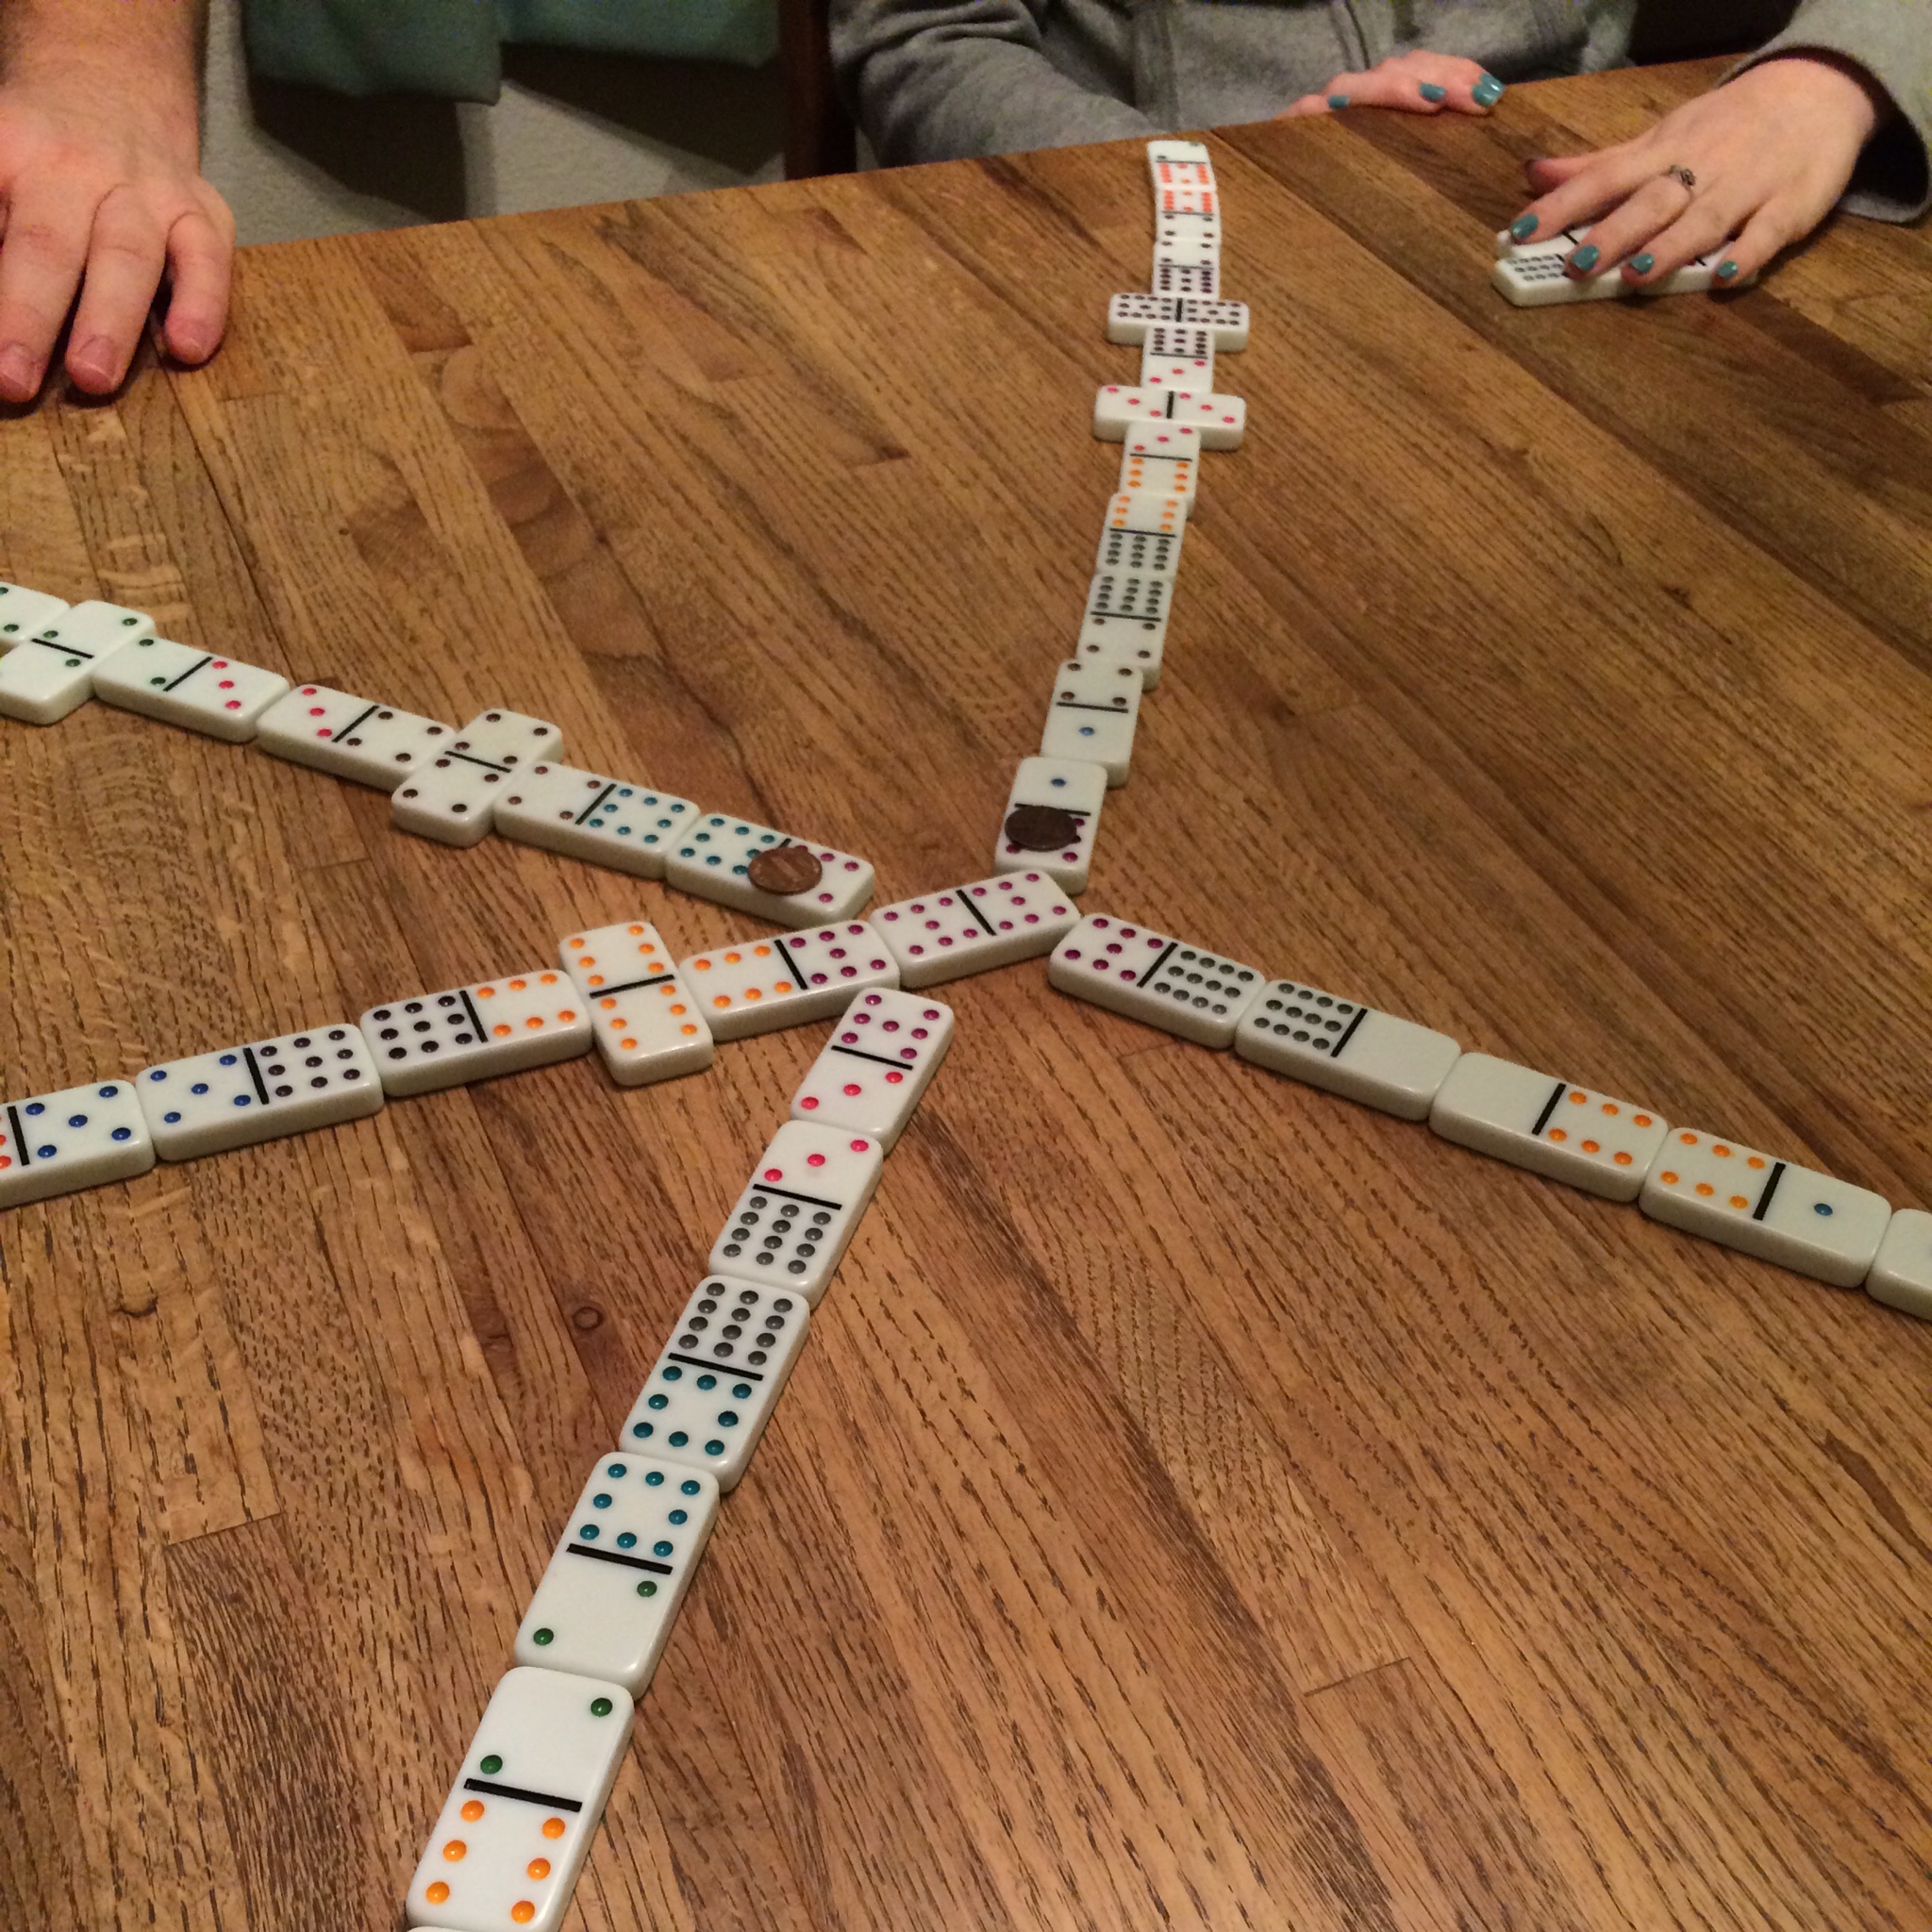 • had dinner with friends and played Mexican train
• almost finished reading Yes Please by Amy Poehler.
 • celebrated my sister-in-law’s and my mom-in law’s birthdays at Benihana.
• walked the dogs almost everyday. Decided to keep track of our walks on a calendar. So far for 2015: 17 out of 24.
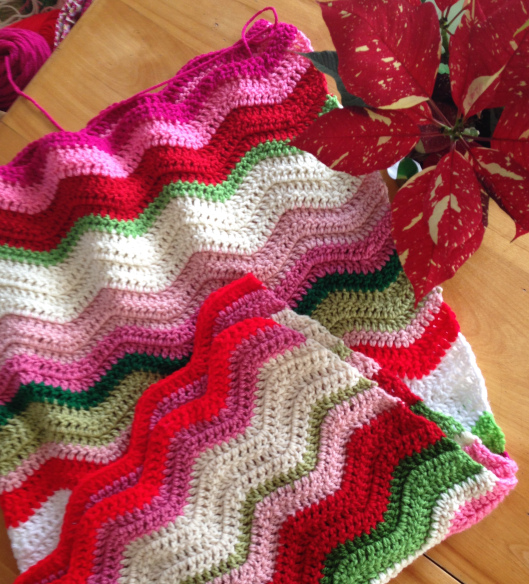
• still working on Margaret’s scarf.
Walk On | Week of 1.25-1.31
• call my Grandpa in England.
• knit and drink coffee with friends.
• have lunch with friends.
• skype/knit with my friend who lives in San Diego.
• continuing my Photo-a-day challenge.
• prep a craft for an upcoming Pinterest party.
• help a friend with her sewing.
• try to finish Margaret’s scarf.
• make and post the last week of the January Card Series || Cards for 2015.
• continue with #clutterfree30 challenge.
• attend Women’s Breakfast at church.
• play cards with friends.
• work on Quest46.
My favorite quote from the week: “Sometimes it is not enough to do our best. We must do what is required.” Winston Churchill.
Have a wonderful week,


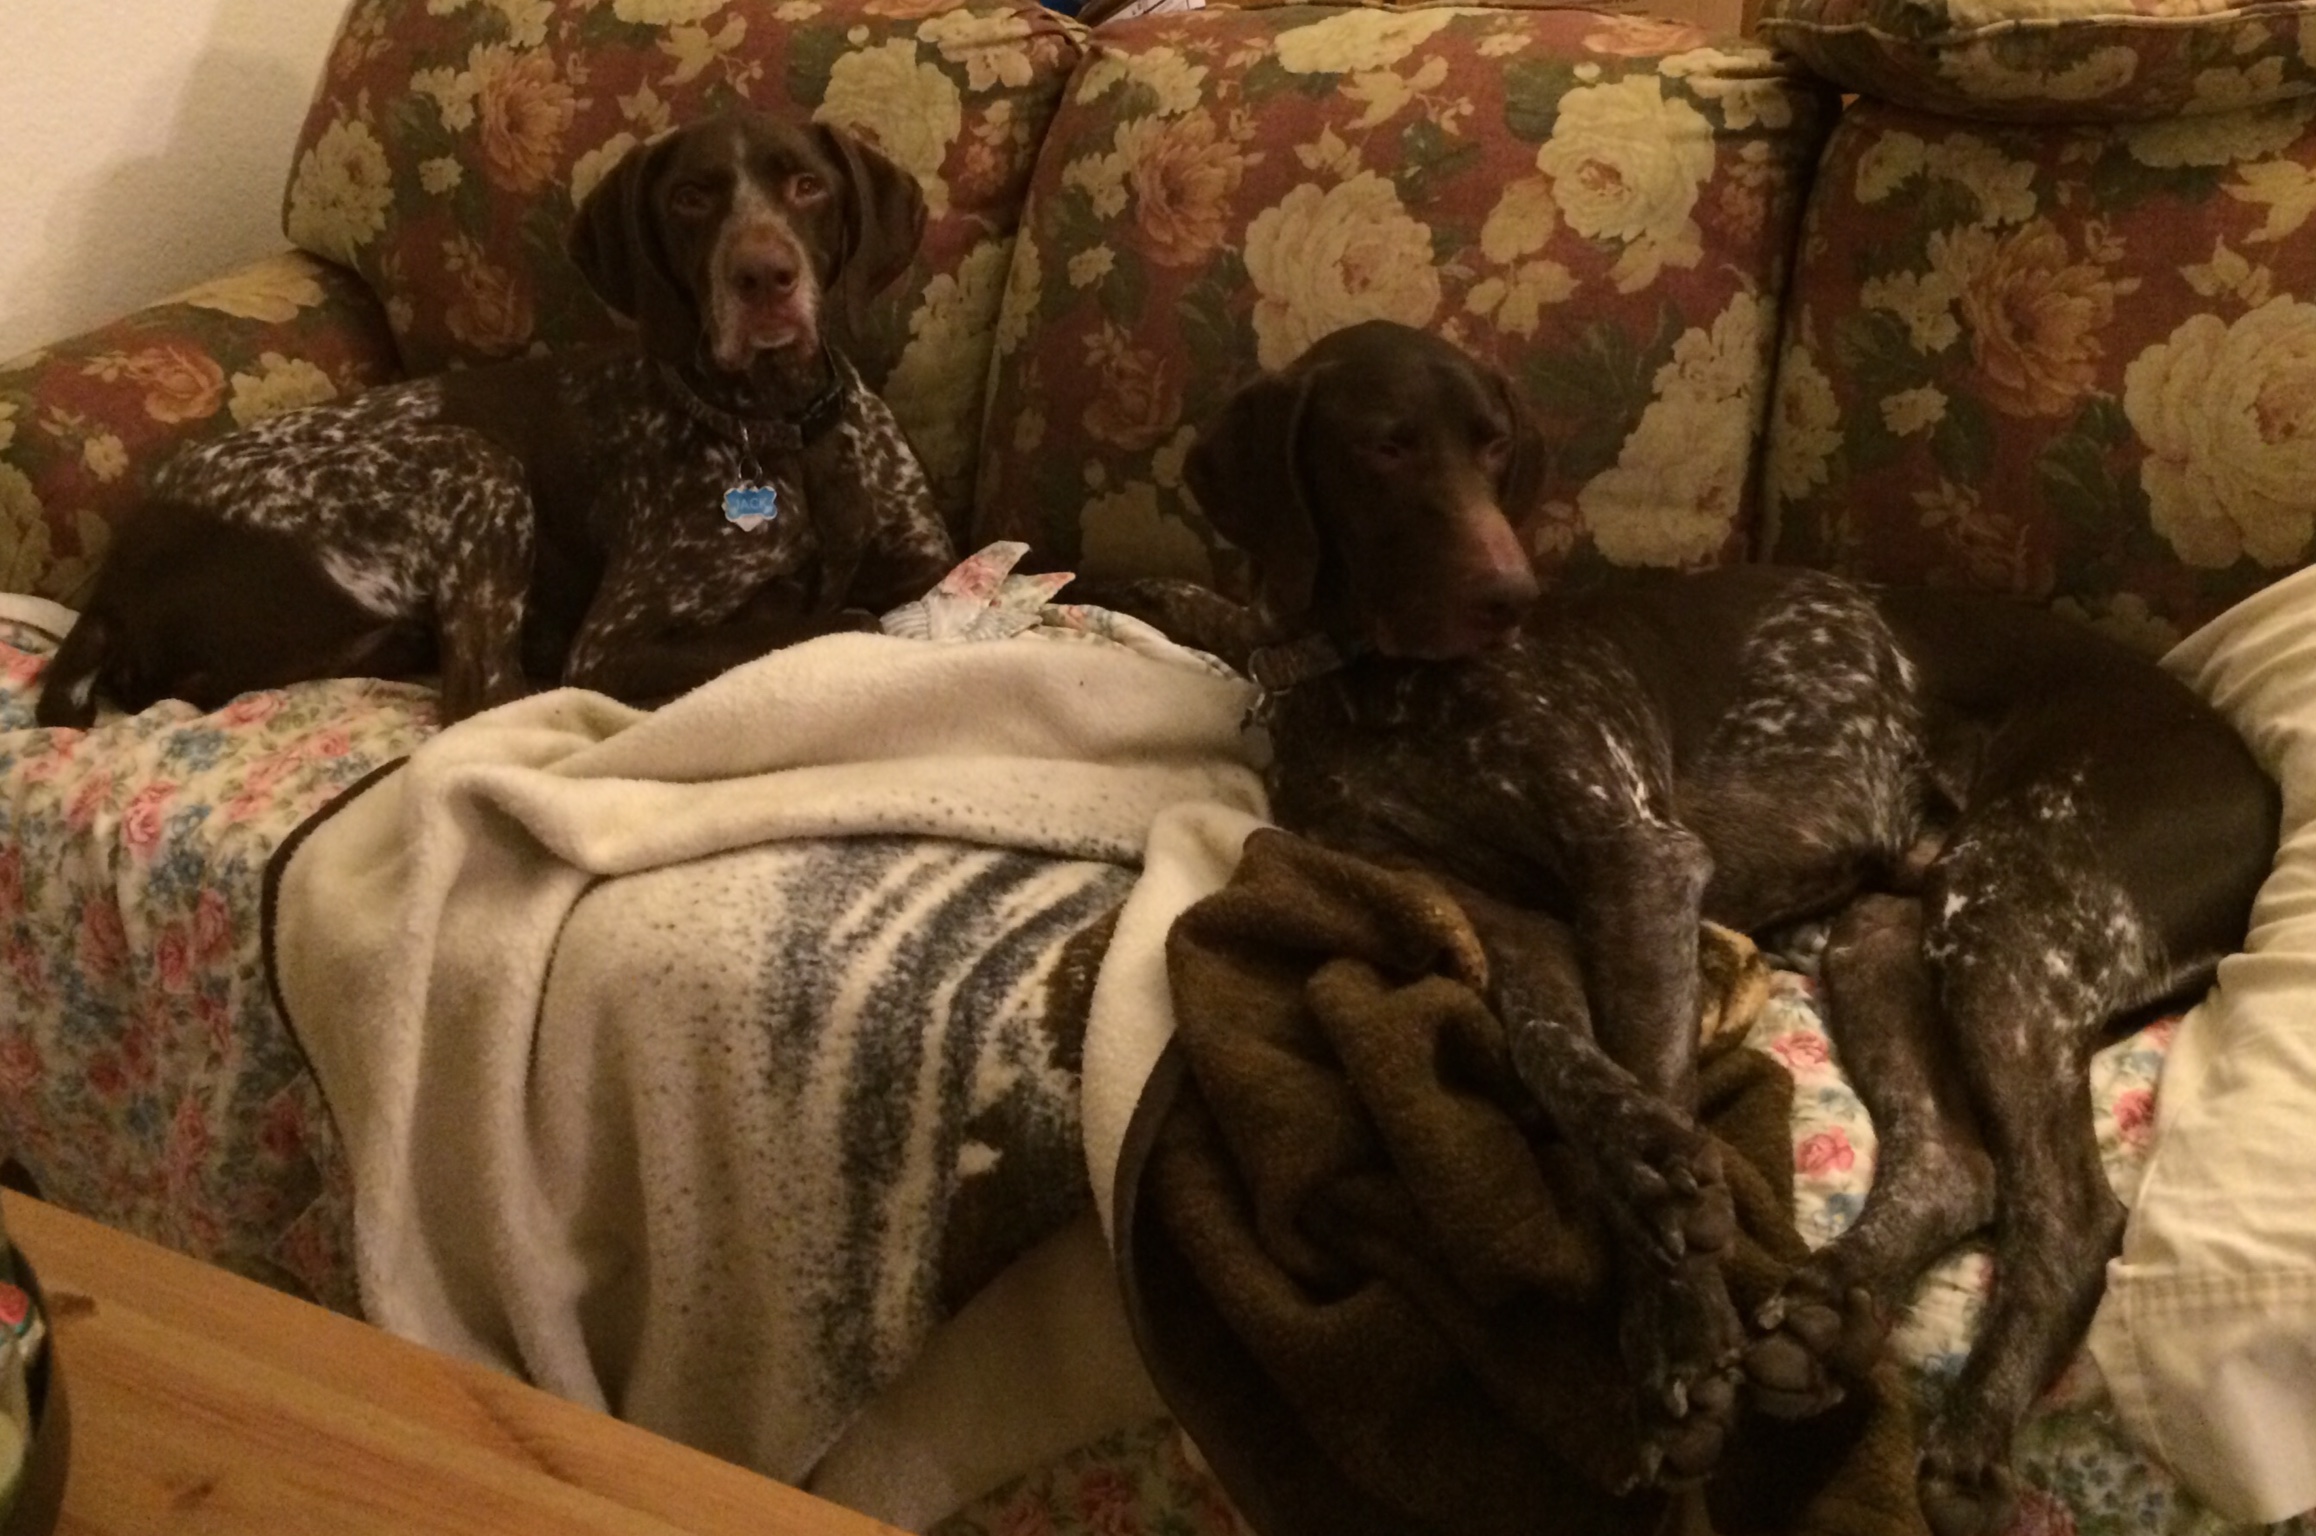
I liked Jonas so much I let him share the couch with me.