
 Before we get to Card #20, the winner of yesterdays daily giveaway is: Marjorie who said, “Very pretty card – I love it!”.
Thank you for your kind words and Congratulations Marjorie!
I hope you enjoy your card.
Don’t forget to leave a comment on this post for today’s card. Remember each day you leave a comment, you are entered into the drawing for the Grand Giveaway for all 31 cards. Easy, peasy.
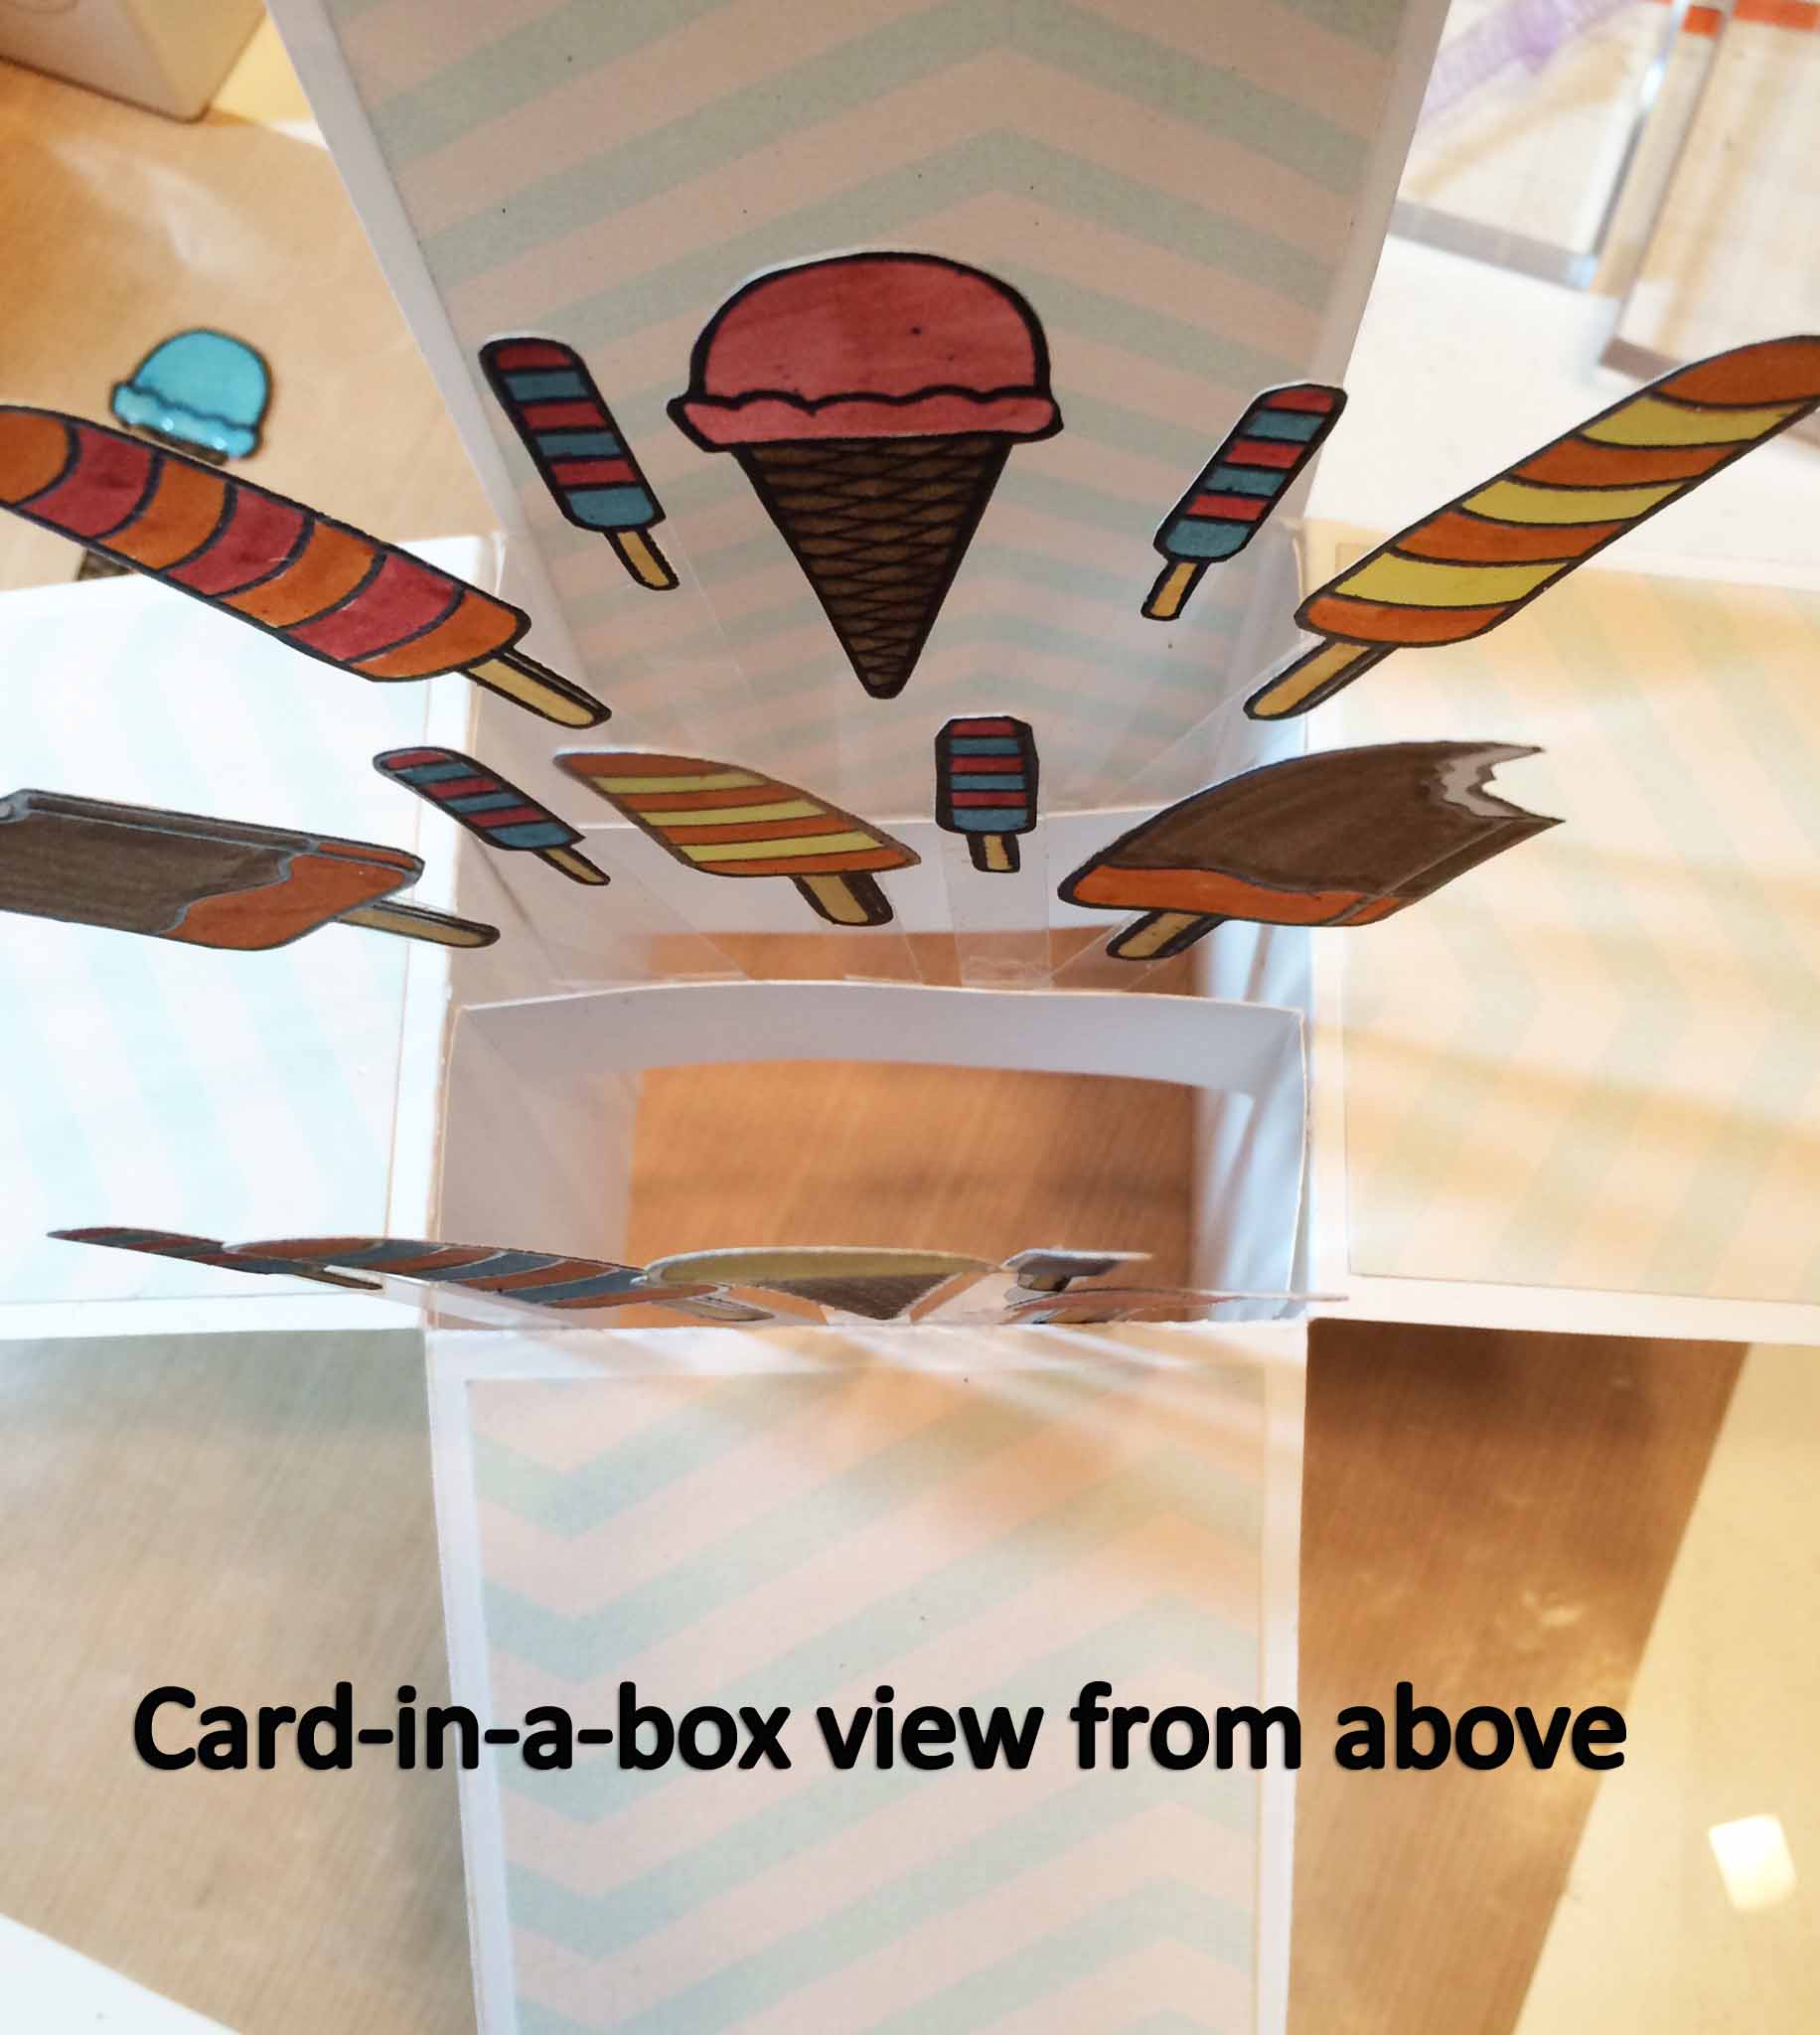
Card #20 – Card-In-A-Box
 I started by assembling all my supplies.
I love the Card-in-a-Box design because you can have so much fun with it. I found this tutorial at Splitcoast Stampers and will let them instruct you if you’re interested. It’s an excellent tutorial.
These are time consuming cards so I usually save them for big or milestone celebrations.
I used white cardstock (12″ X 12″) for my base, patterned cardstock (12″ X 12″) for the panels and scrap white cardstock for the stamped images.
 I followed the tutorial and cut and scored the white cardstock and cut out the panel pieces from the patterned cardstock.
I attached the patterned pieces to the white cardstock base and then I stamped the sentiment and stuck the letters “Dad” on the back of the box. It’s easier to do this step before you start building your card because everything’s flat.
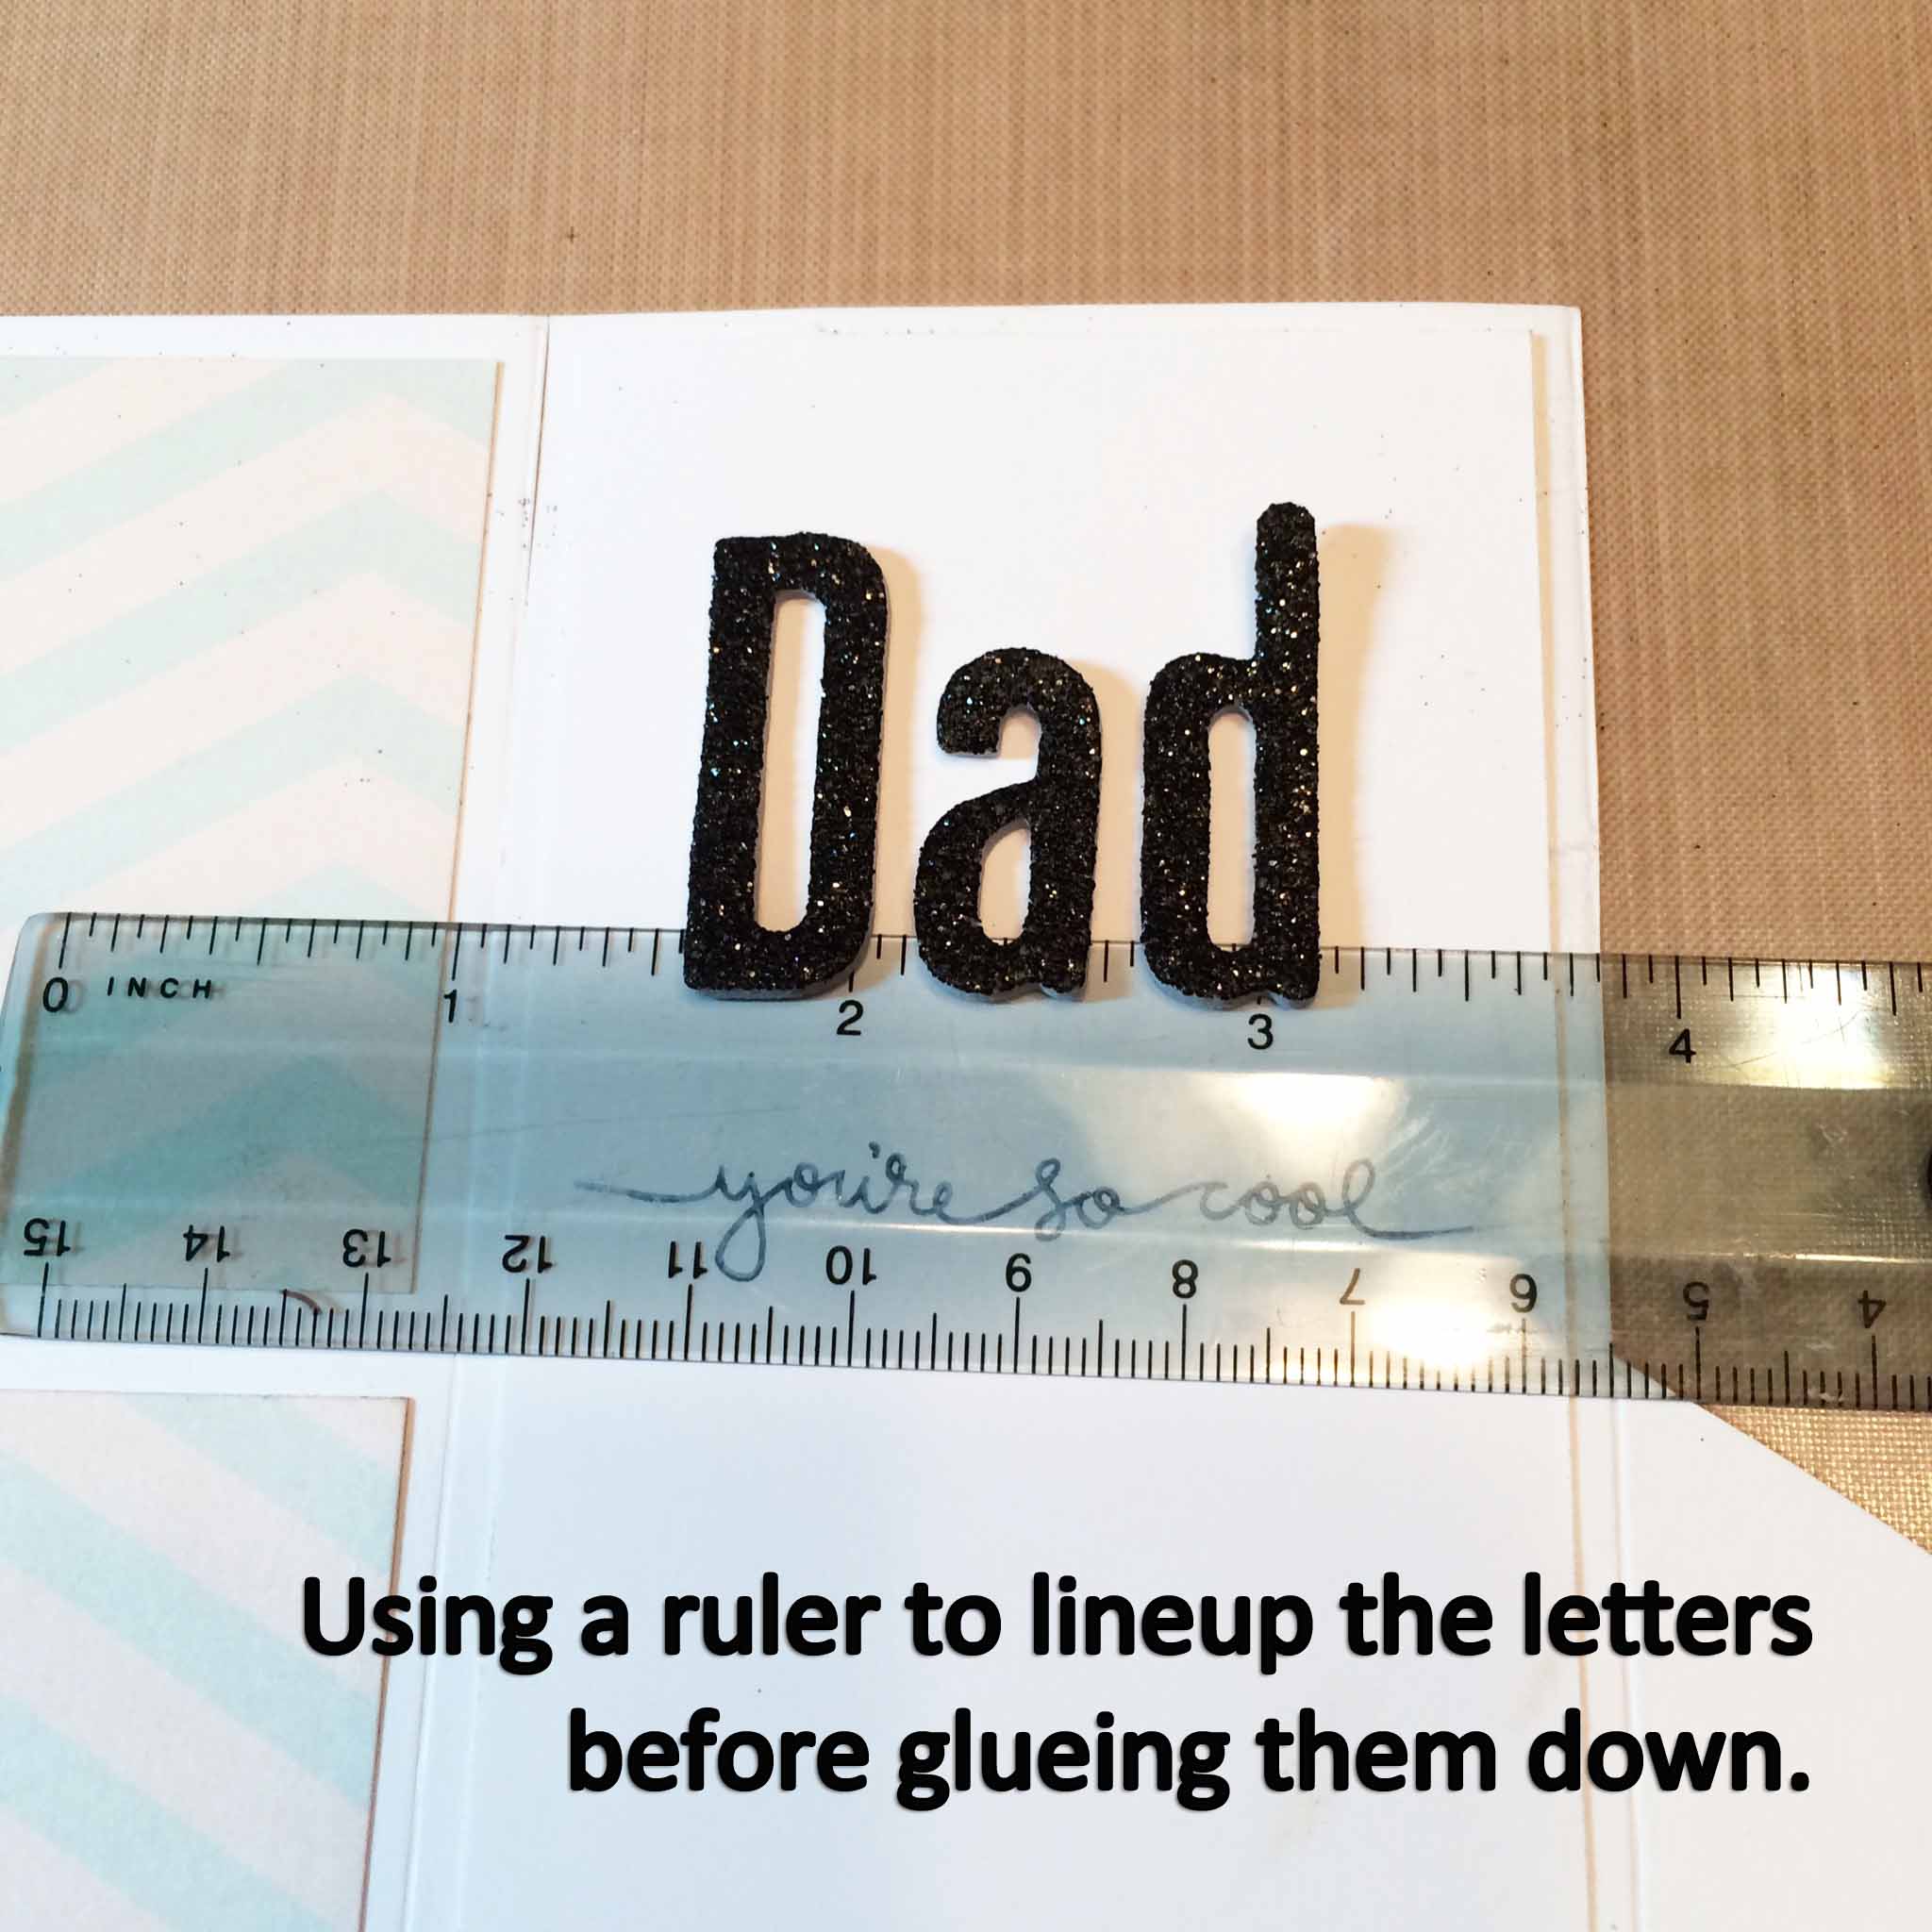 Here’s a little tip for attaching adhesive letters. Use a small plastic ruler to line up the letters before you glue them to your paper. When you’re pleased with how they’re lined up, just press the letters onto the cardstock and then remove the ruler. They stay perfectly in place.
 Once the back of the box was complete, I folded the paper into the ‘box’ shape and using double sided tape, glued the boxed together.
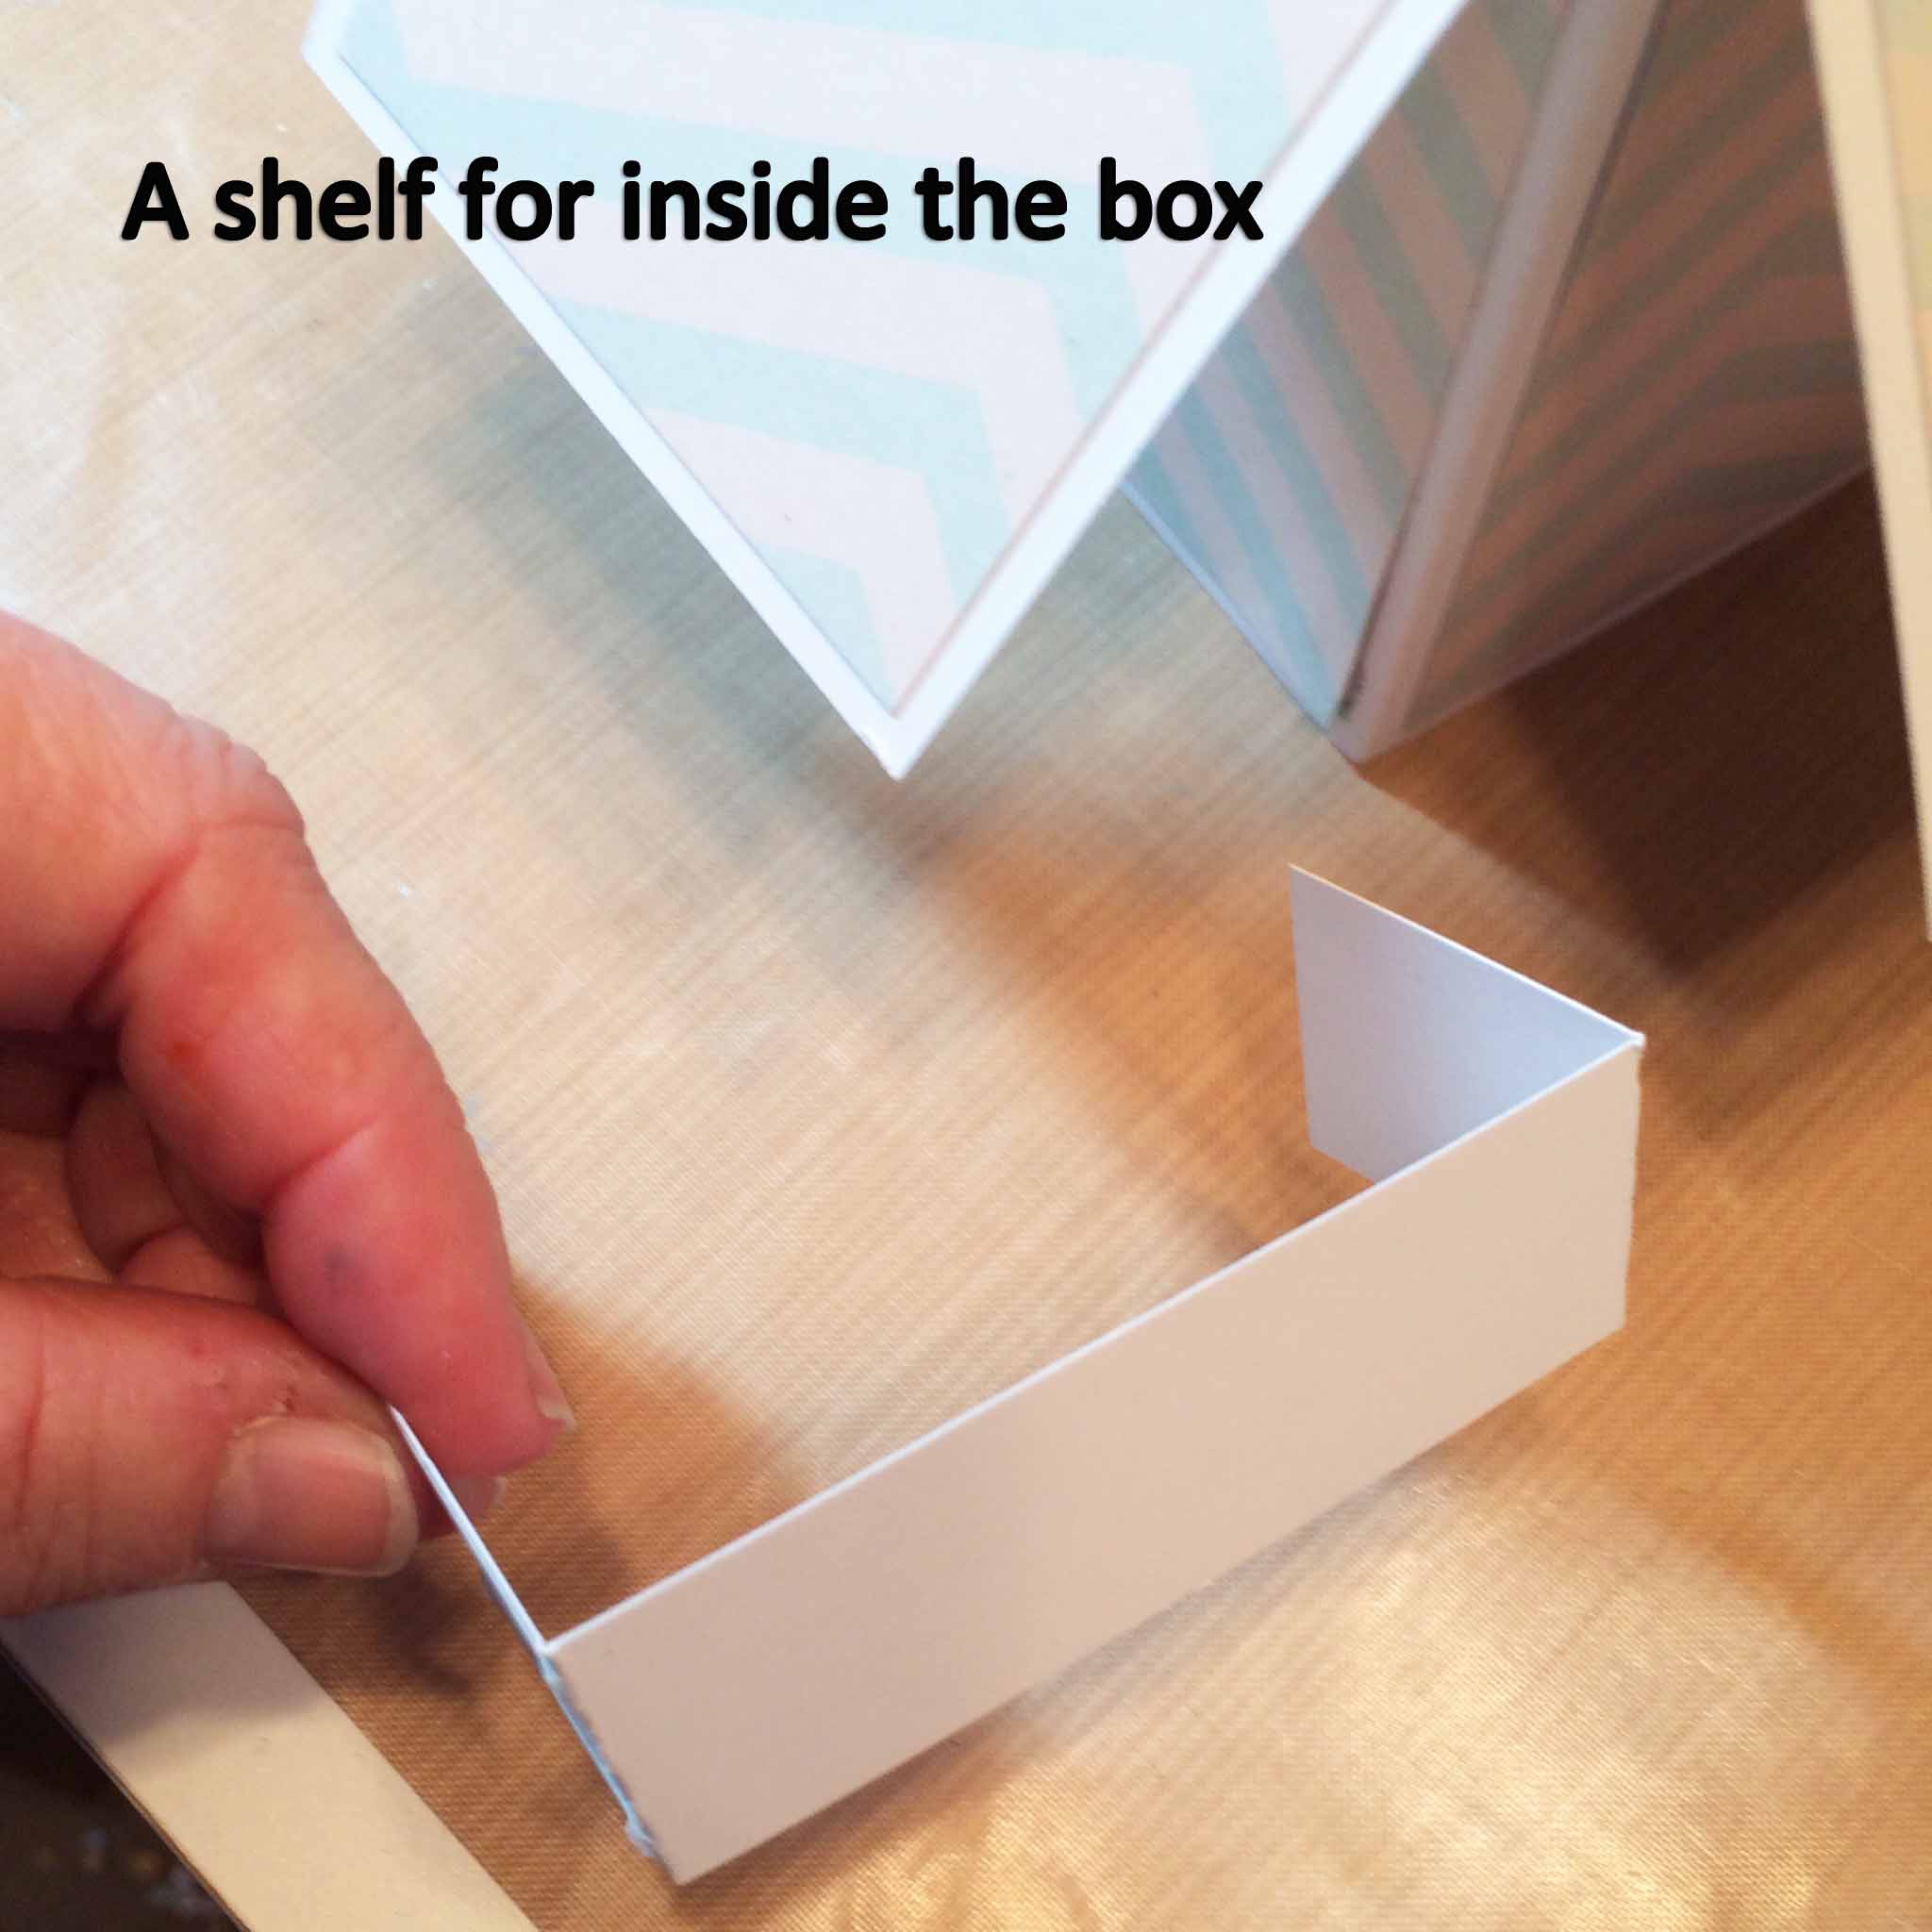
There are two shelves (that’s what I call them) that need to be attached inside the box. The shelves are used for attaching the ephemera of your particular design. In my case, that was stamped images of ice-creams.
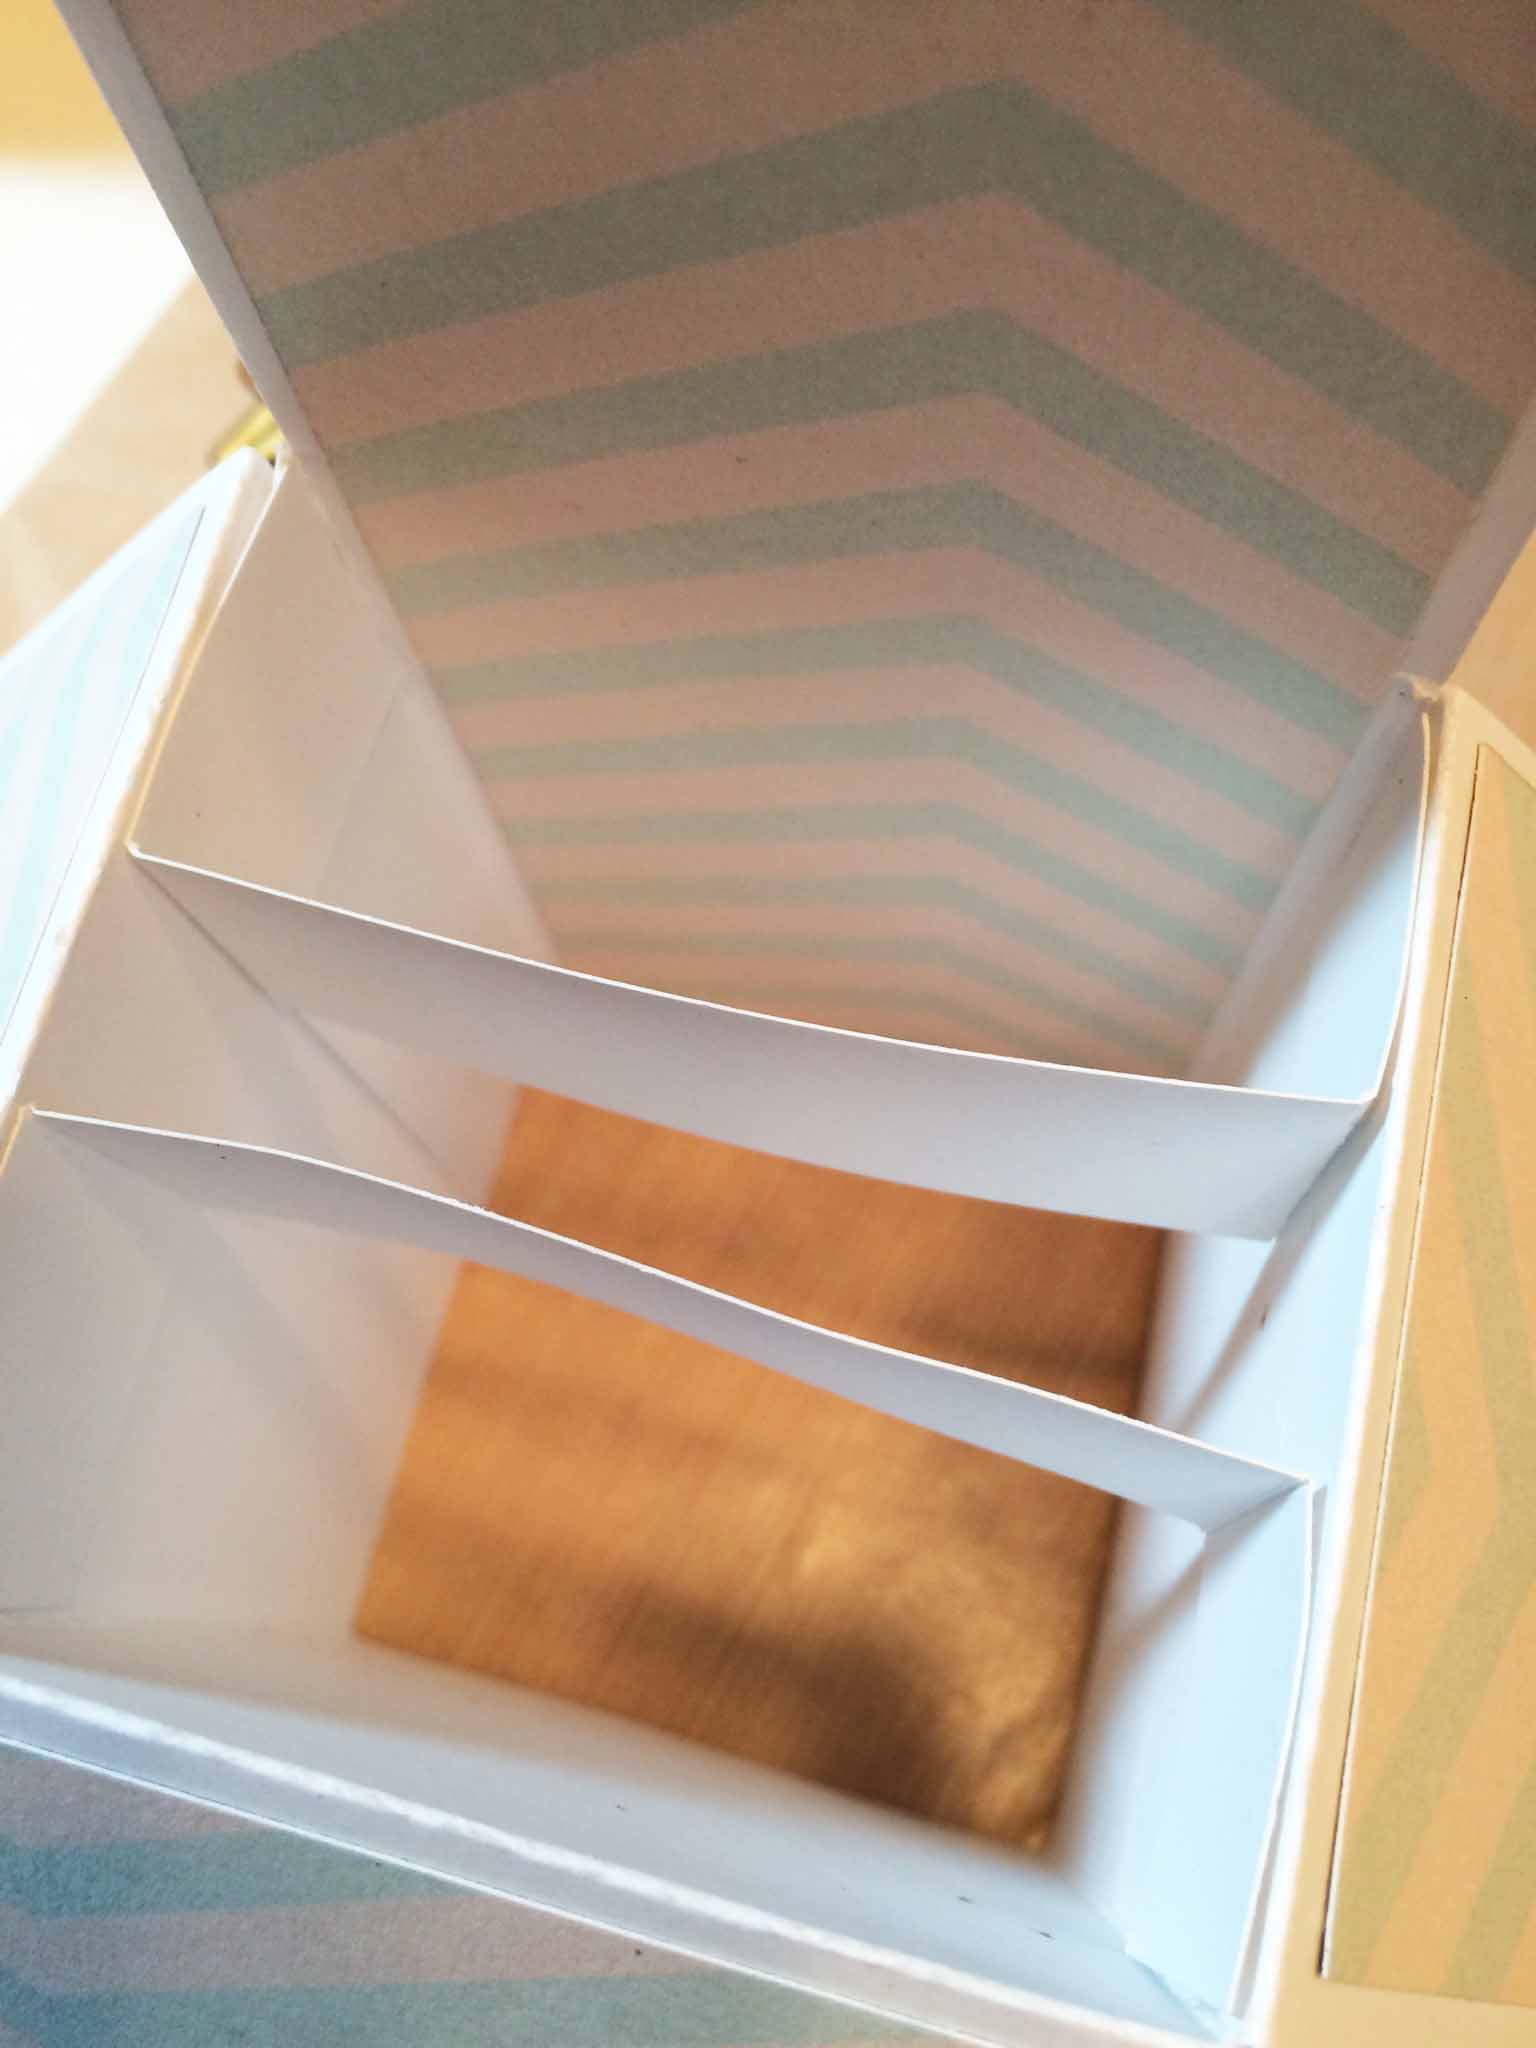 After attaching the shelves, I set the box aside and started working on the stamped images.
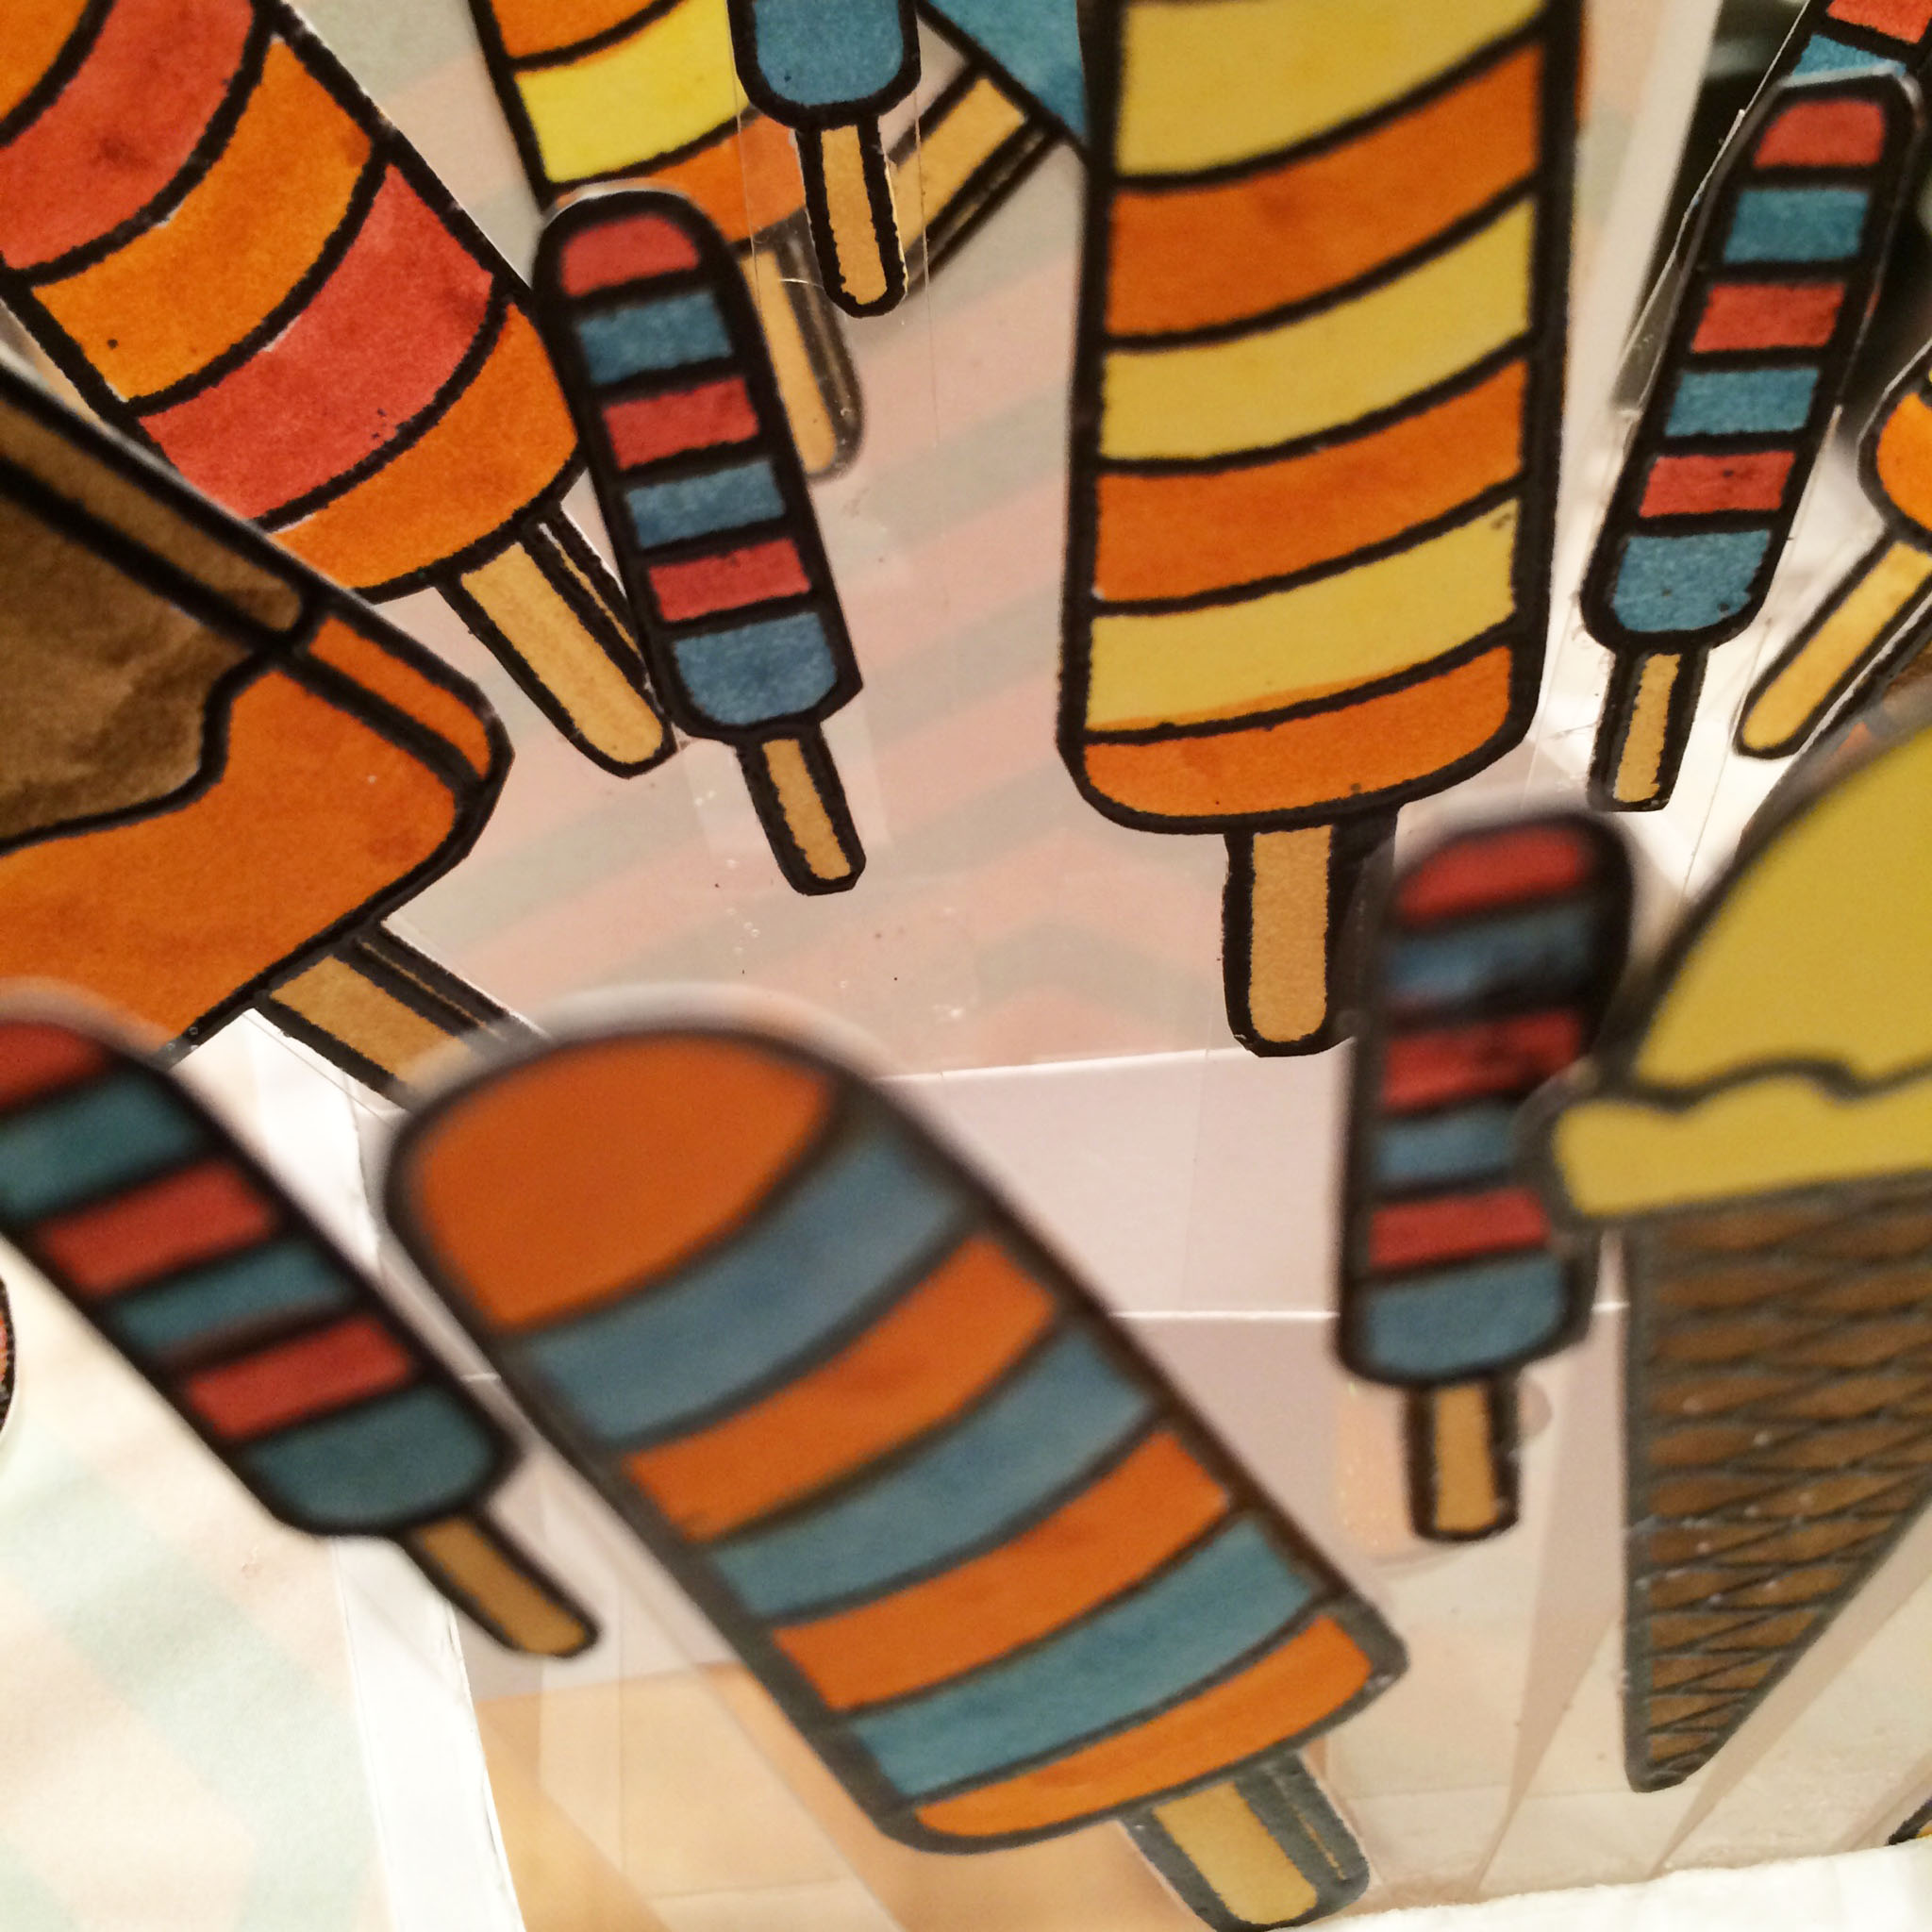
 I stamped and embossed several images of ice-cream cones. And then I colored them in with my Distress markers and cut them out.
After I finished all the ice-cream cones, it was time to assemble the card.
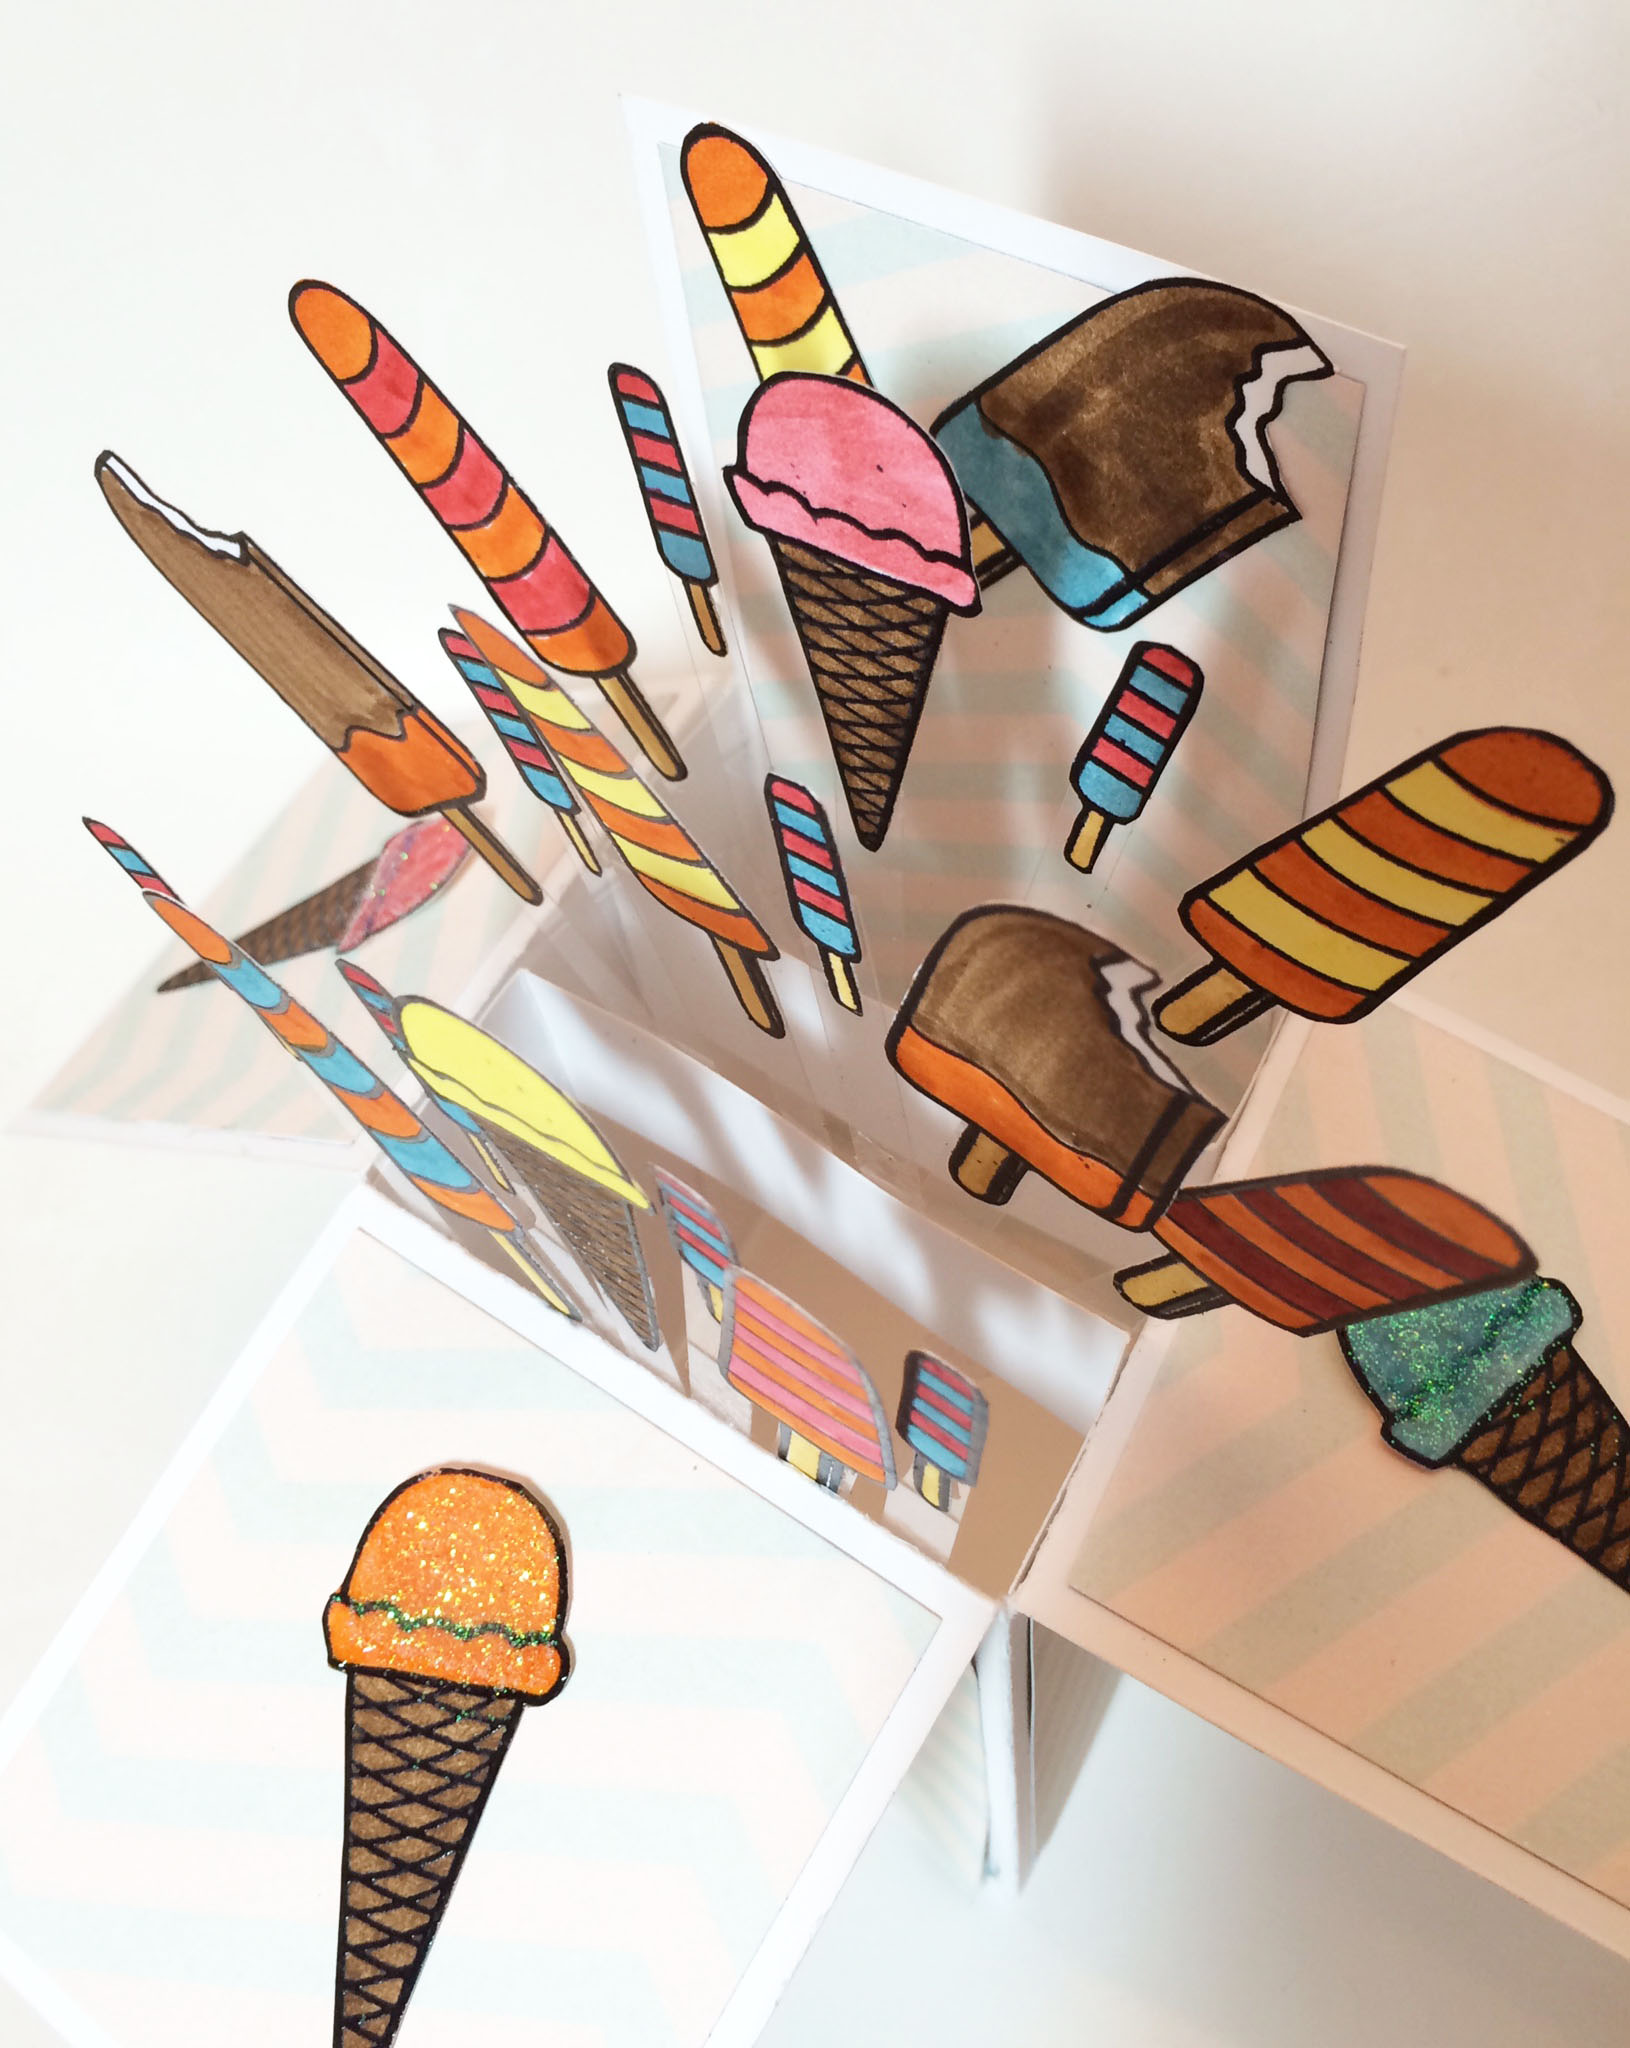
Using clear acetate stripes, I glued ice-cream cones along the front inside, 2nd and 3rd shelves of the card. I also glued a couple cones to the back panel of the card. For the three flaps in front of the card, I glued three ice-cream cones that I embellished with Glossy Accents.
 There is really no rhyme or reason to this part of the card-in-a-box. Just keep placing ephemera until you feel the card is
  full. It’s important to keep opening and closing the card to make sure none of the pieces stick out the edges of the box.
This card could be used for Father’s Day or a dads birthday.
Here is the finished card.


Remember to leave a comment below and be entered to win this card today and possibly the Grand Giveaway of all 31 cards on February 1, 2015.
Until tomorrow,


So I was thinking… maybe you could make a card like this with just pictures of me. You know – with all my different facial expressions. I think it would be cool.

Wow what a fun card!
I like the dogs idea!!
Thanks Tammy. I’ll let Woody know you like his idea.
I think that the box cards are really cute and fun especially this one.
I would think Woody would want one of all different dog biscuits! Very cool card.
I really like the comments of your furry house mates!
This is such a cute card. I’m sure any dad would love it!
Yes he would! I like Woody’s comment. Great card.
Awesome!
Cool card.
A really fun card!