Day 4 {Make Madness} – Part 2 – Painting with Alcohol Inks

Make Madness


Day 4 – Painting with Alcohol Inks


cd0be46e5235eedffa18df89fe203bebI followed the instructions in this tutorial and absolutely loved the results.

01279b8dadfbe5b6ae72d167eb1b51a2b3b03fae7501c00b384f232794a3dfdfa7eb4976de7bdfdfa75f
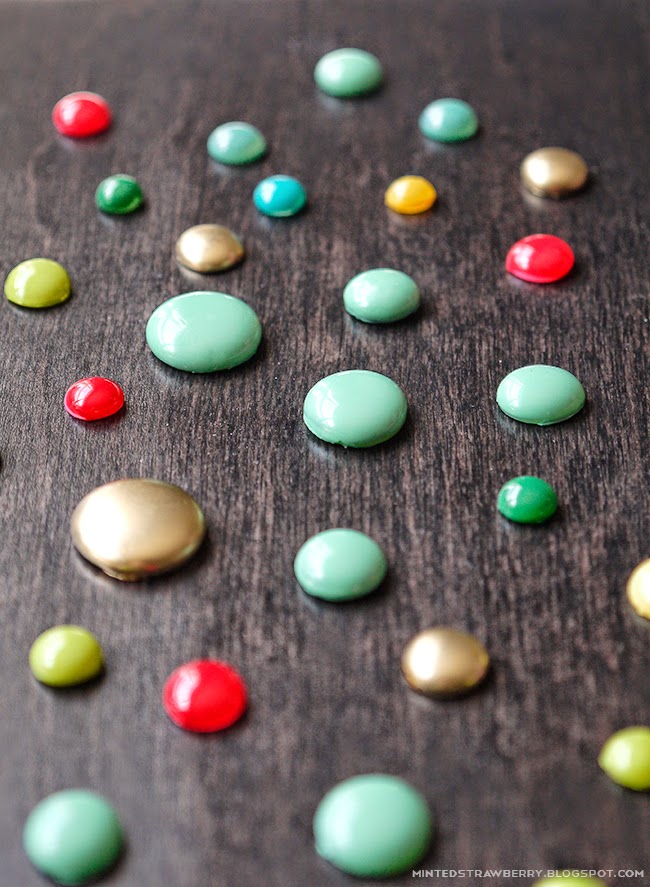
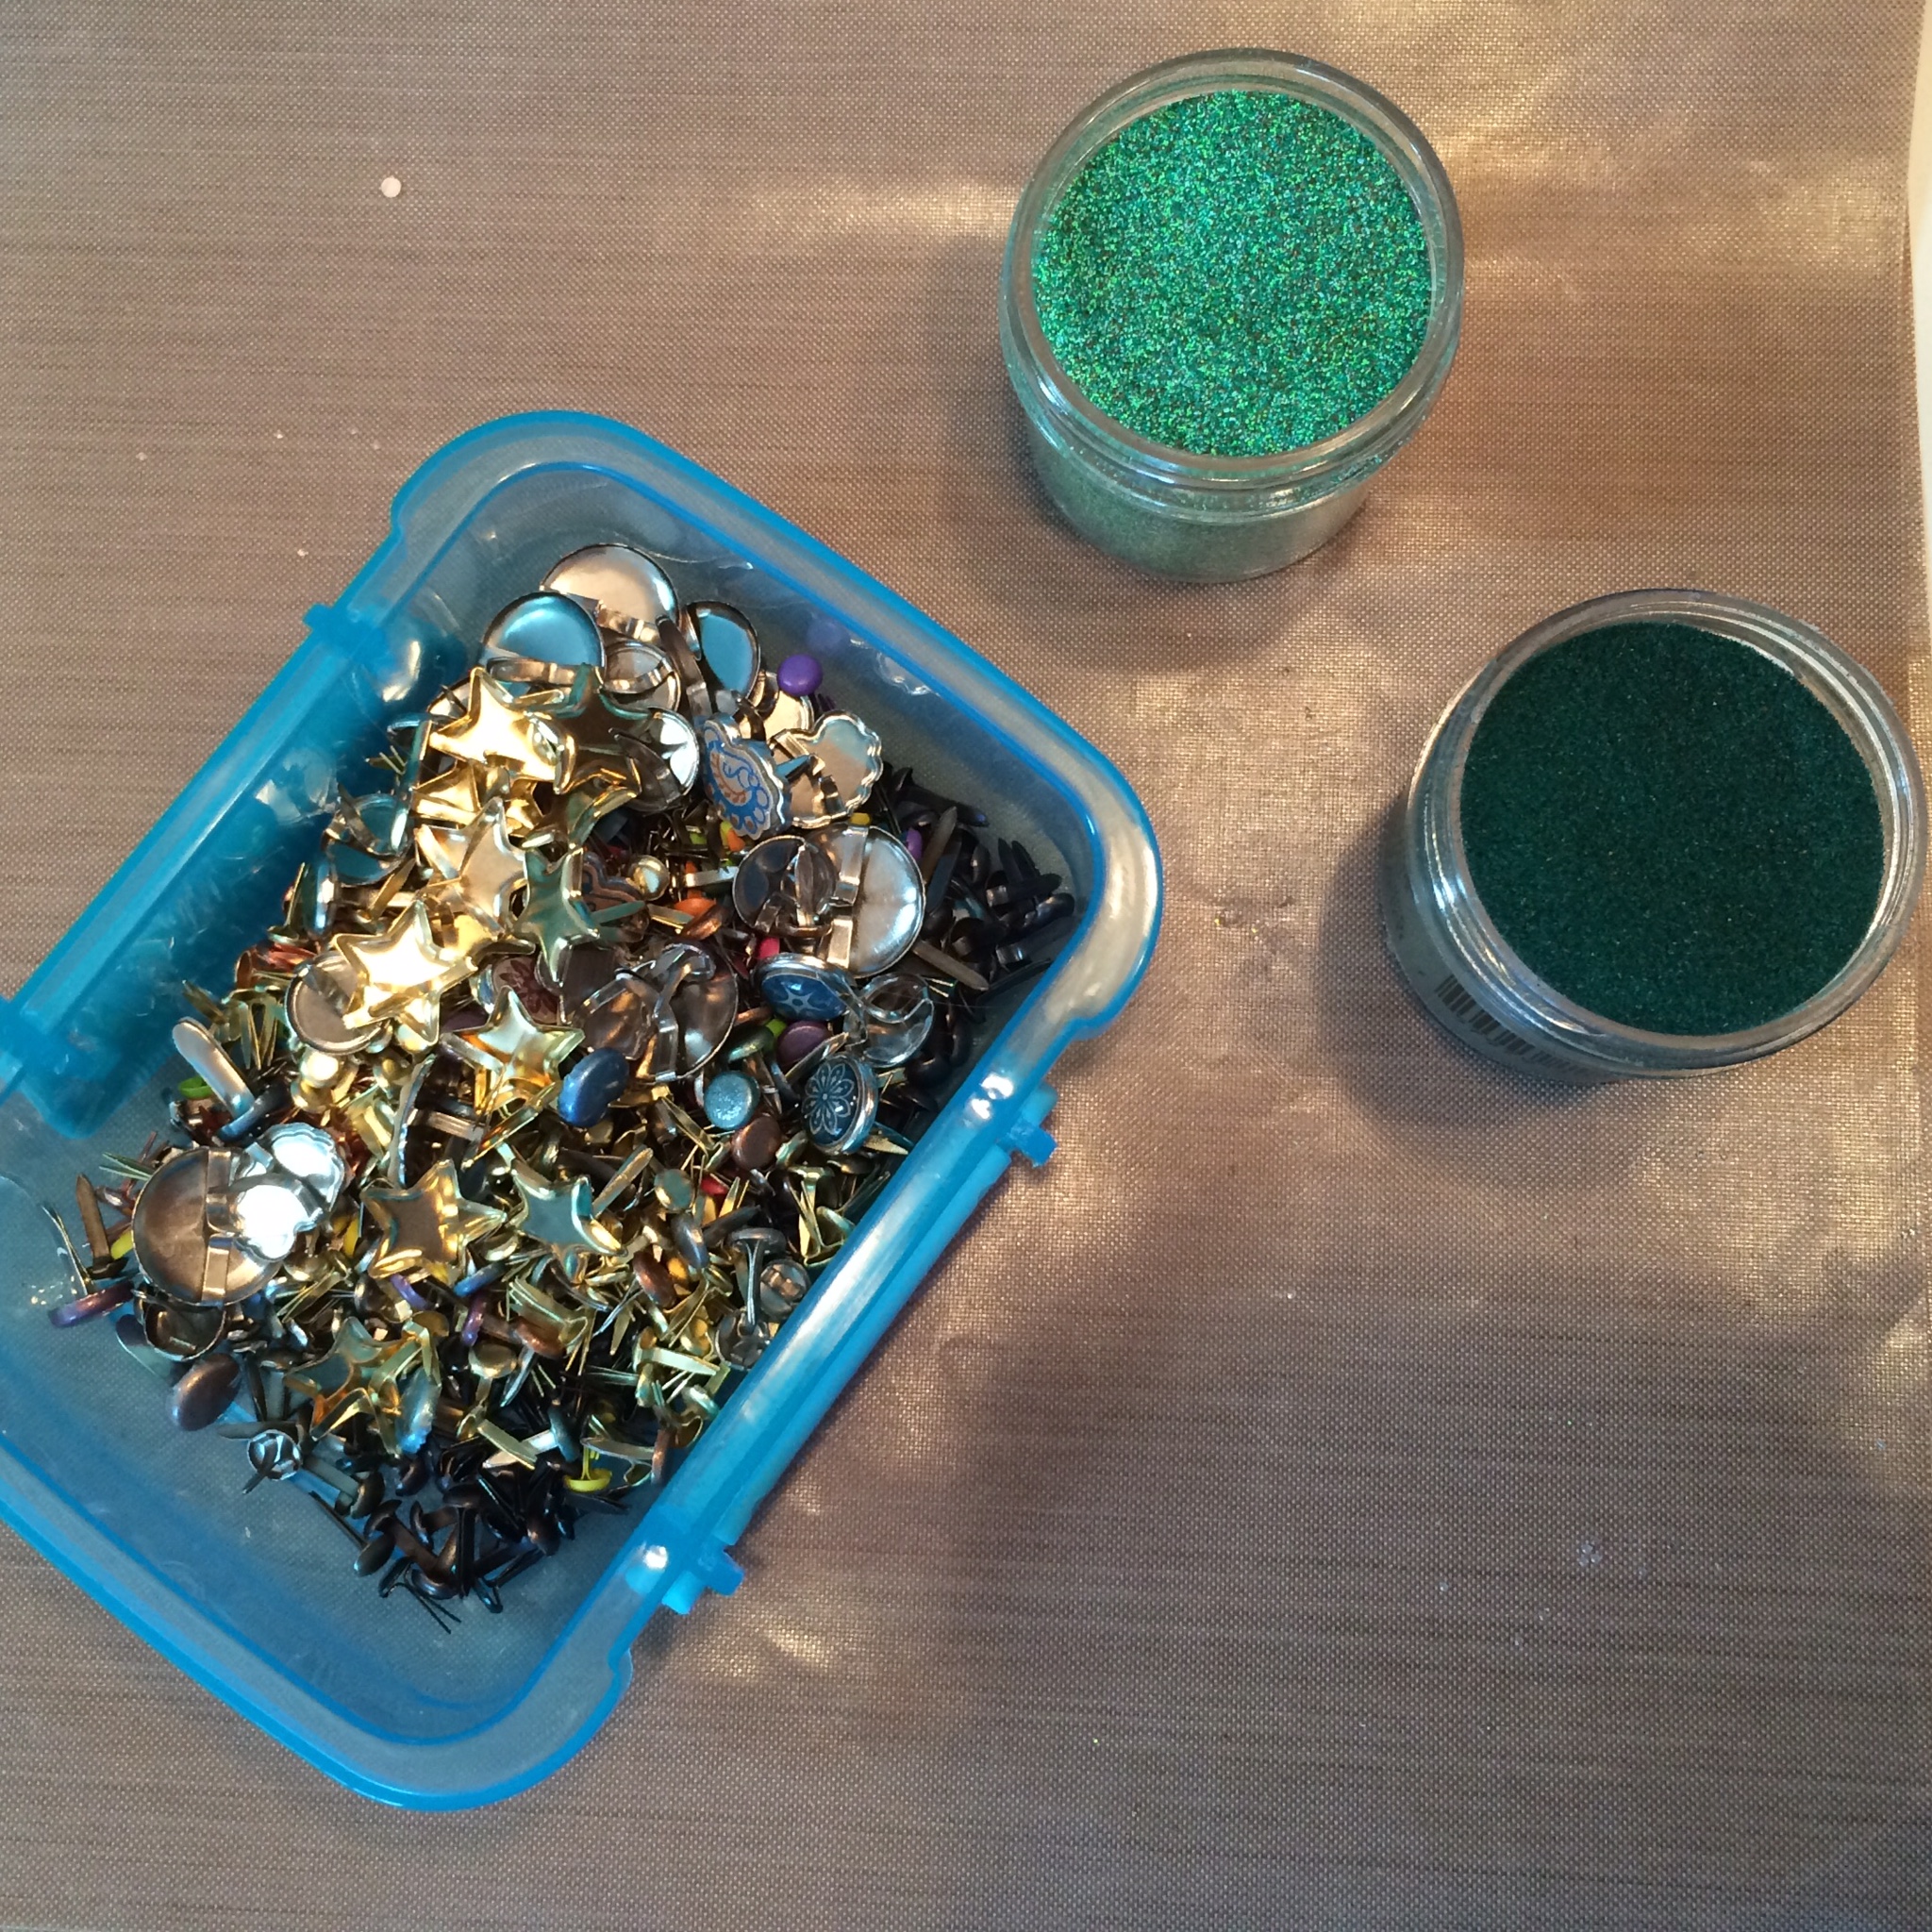
I was amazed how quickly the inks dried in the wells.  I filled one of my blender pens with blending solution and labeled it because now that pen can only use that solution.  Something in the solution makes it impossible to put any other solution in the barrel even water.

016d04e22d27c296801b17c120e07e51435e9e0f75
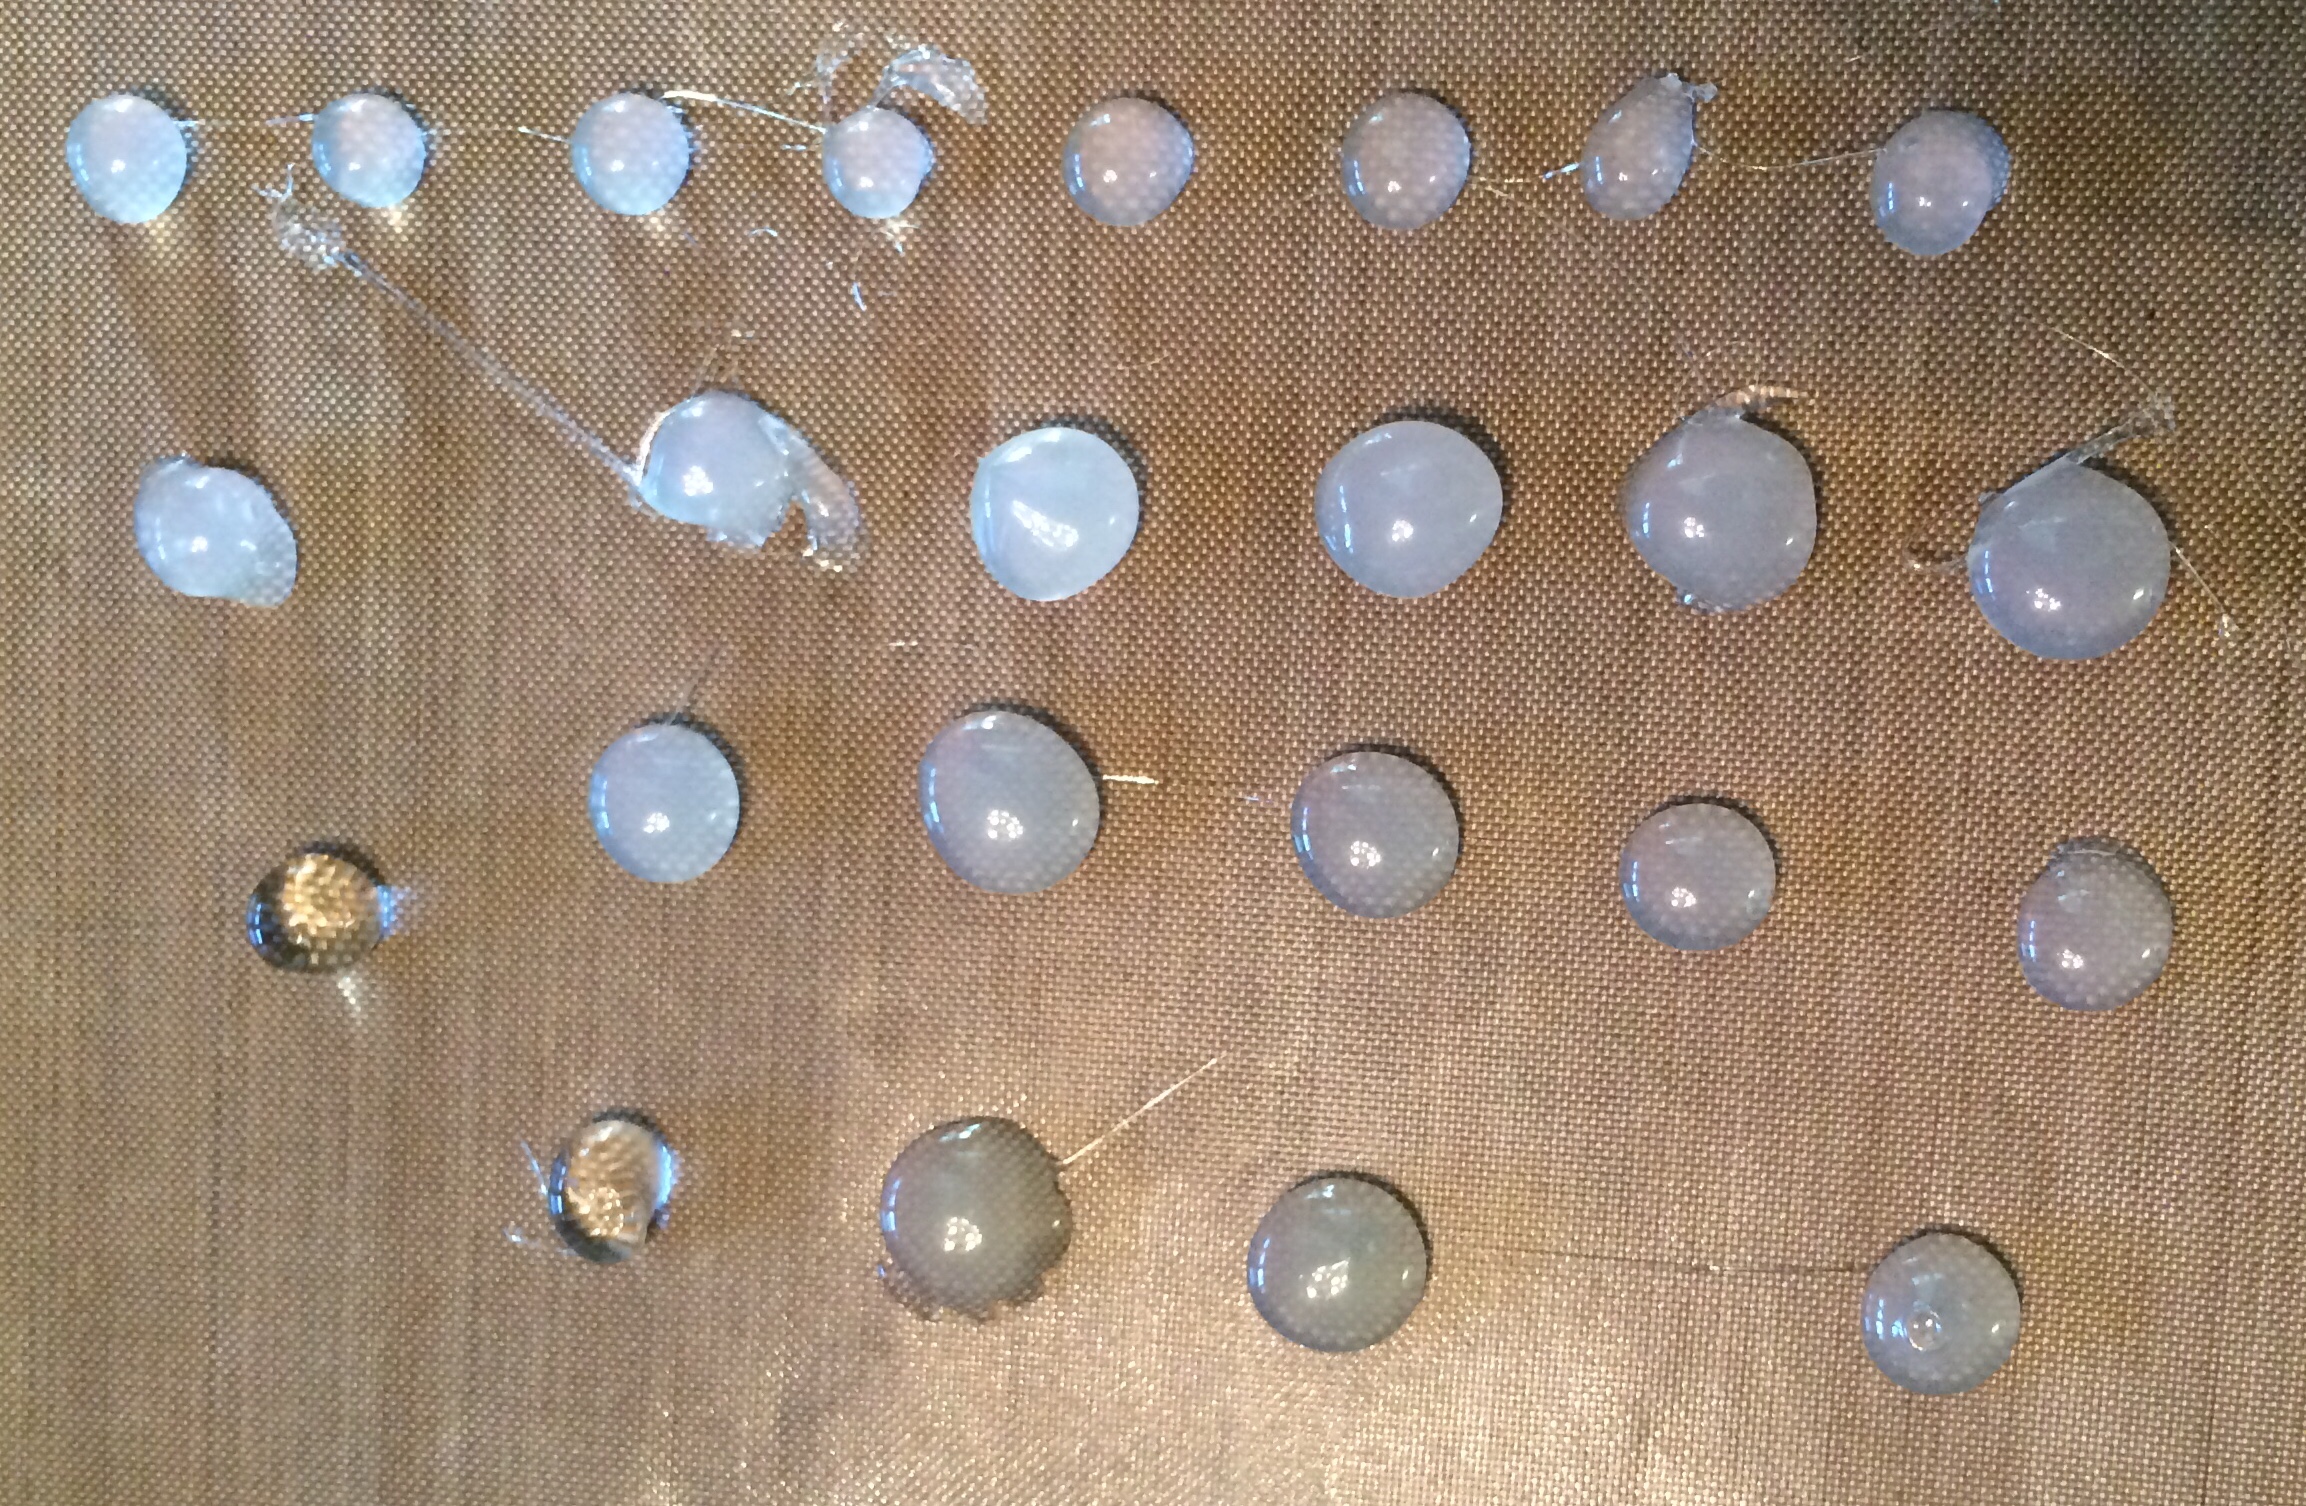
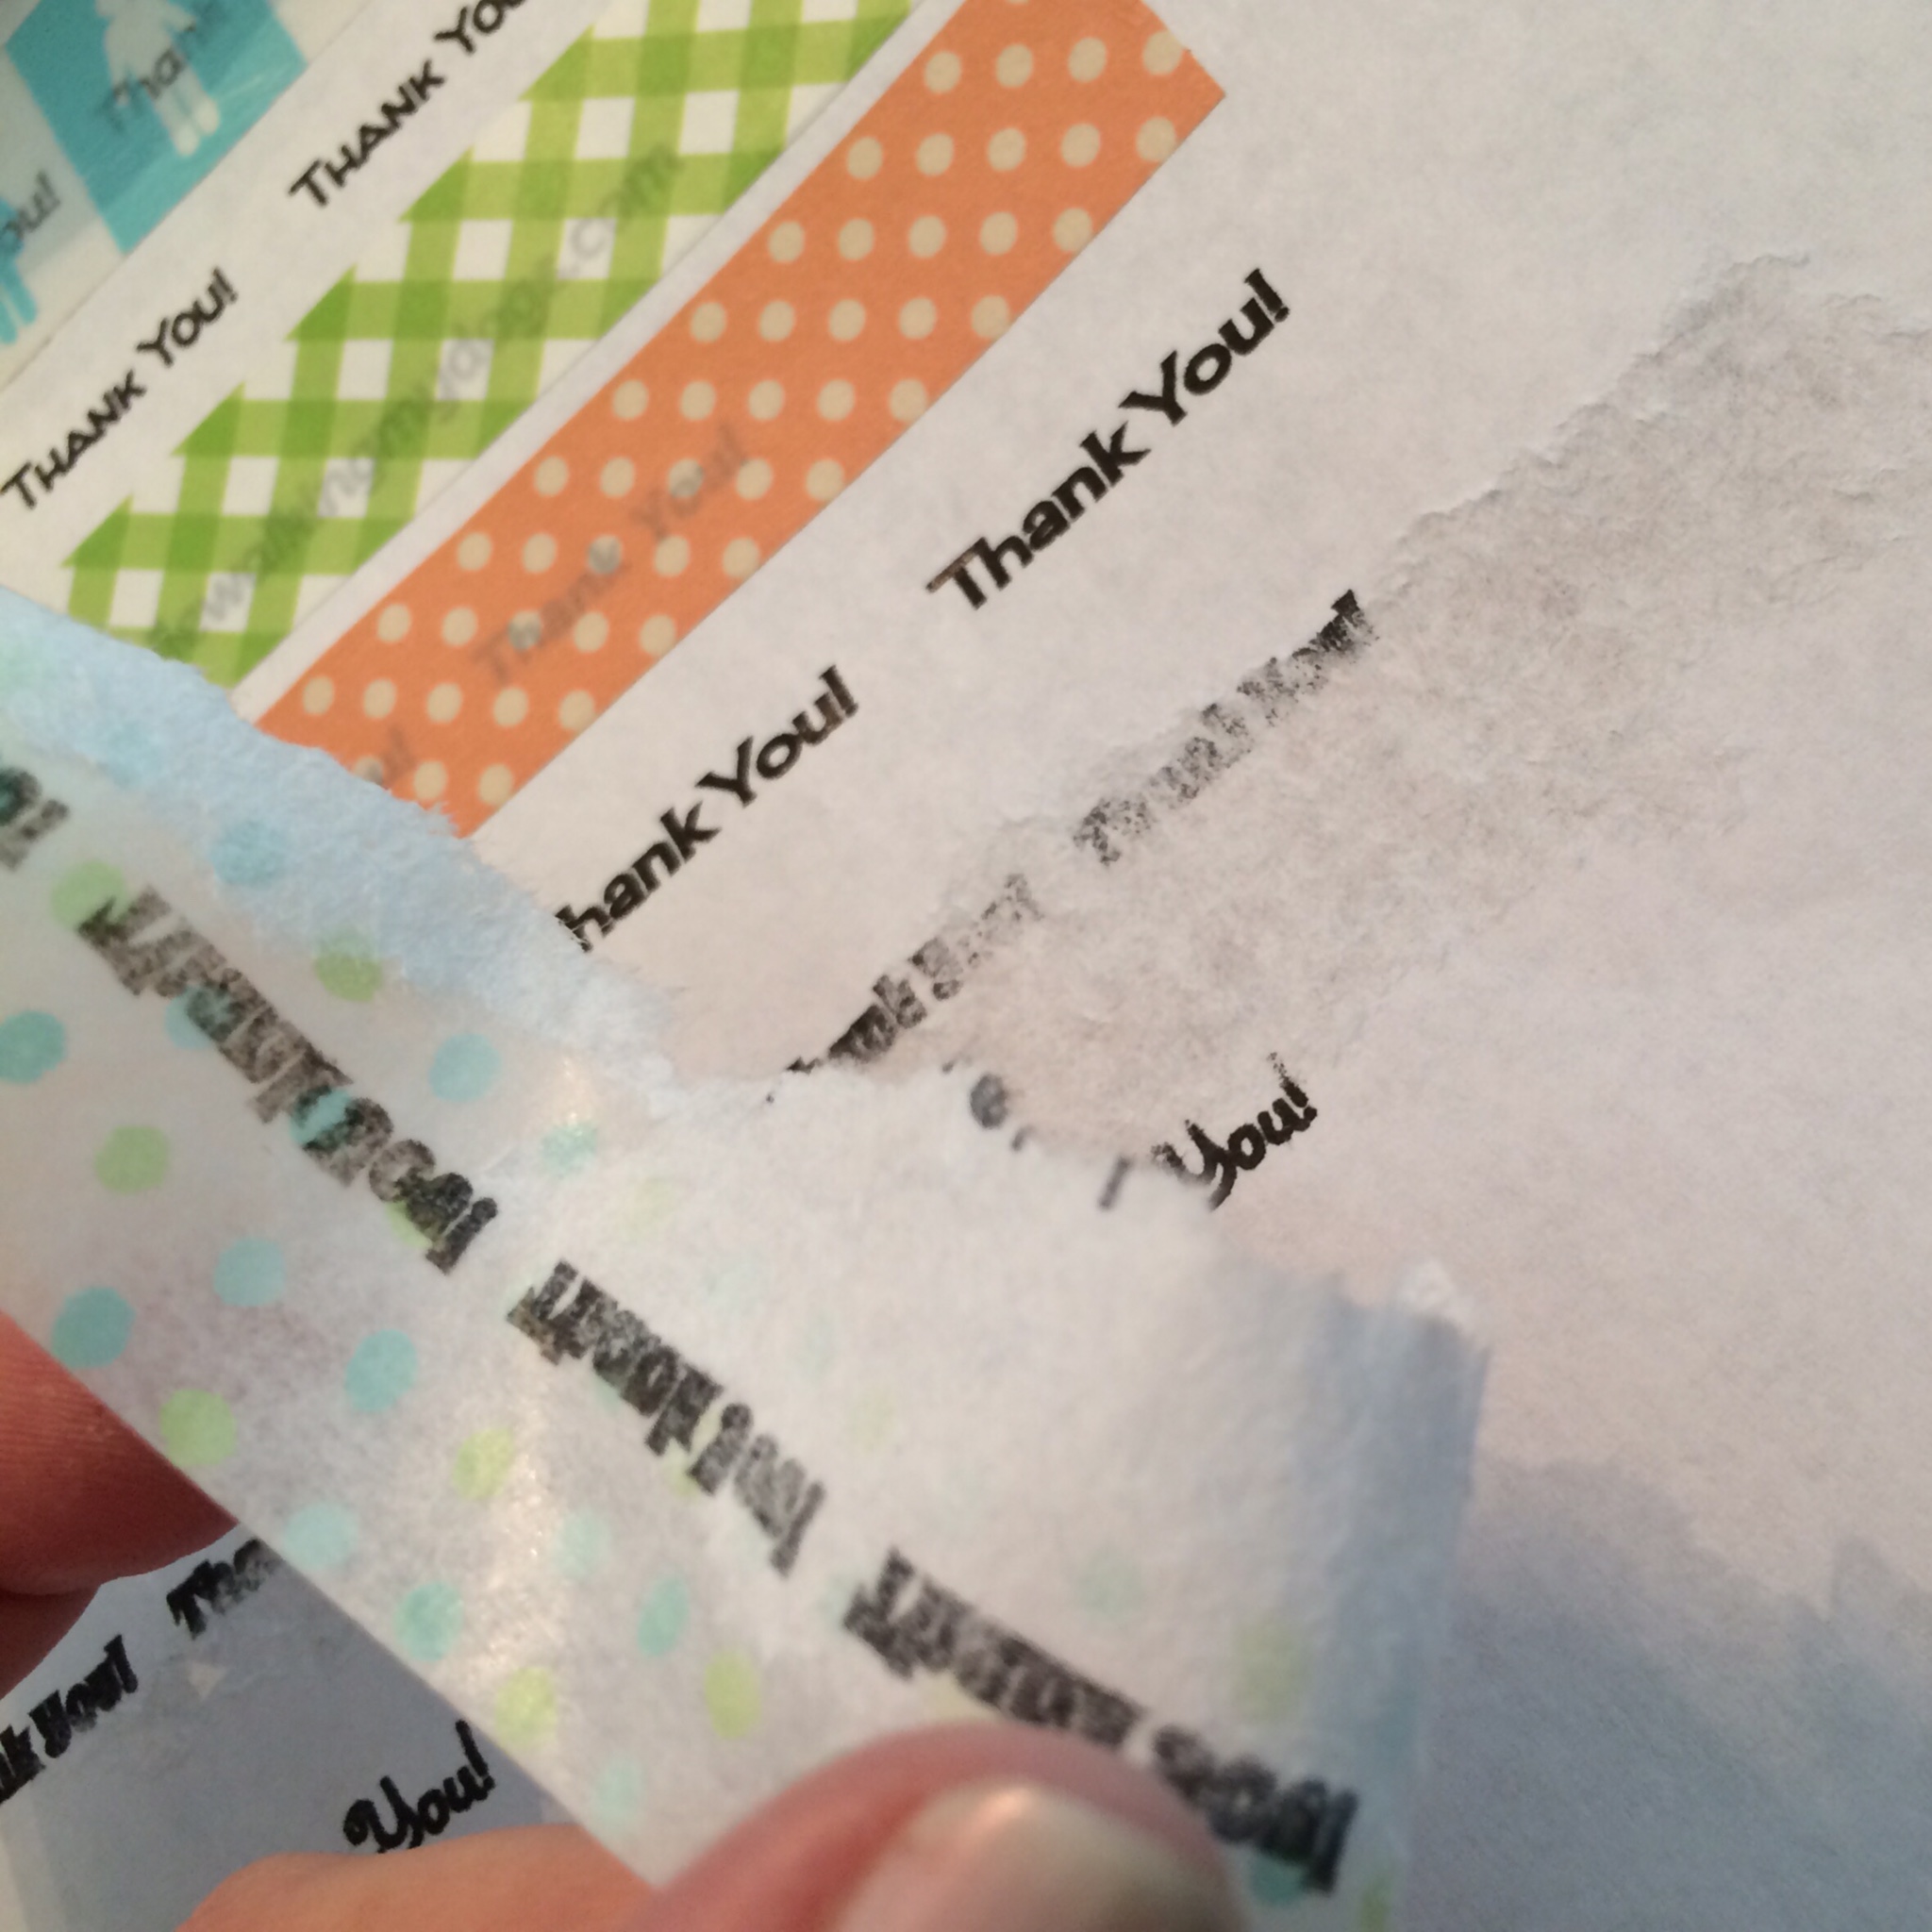
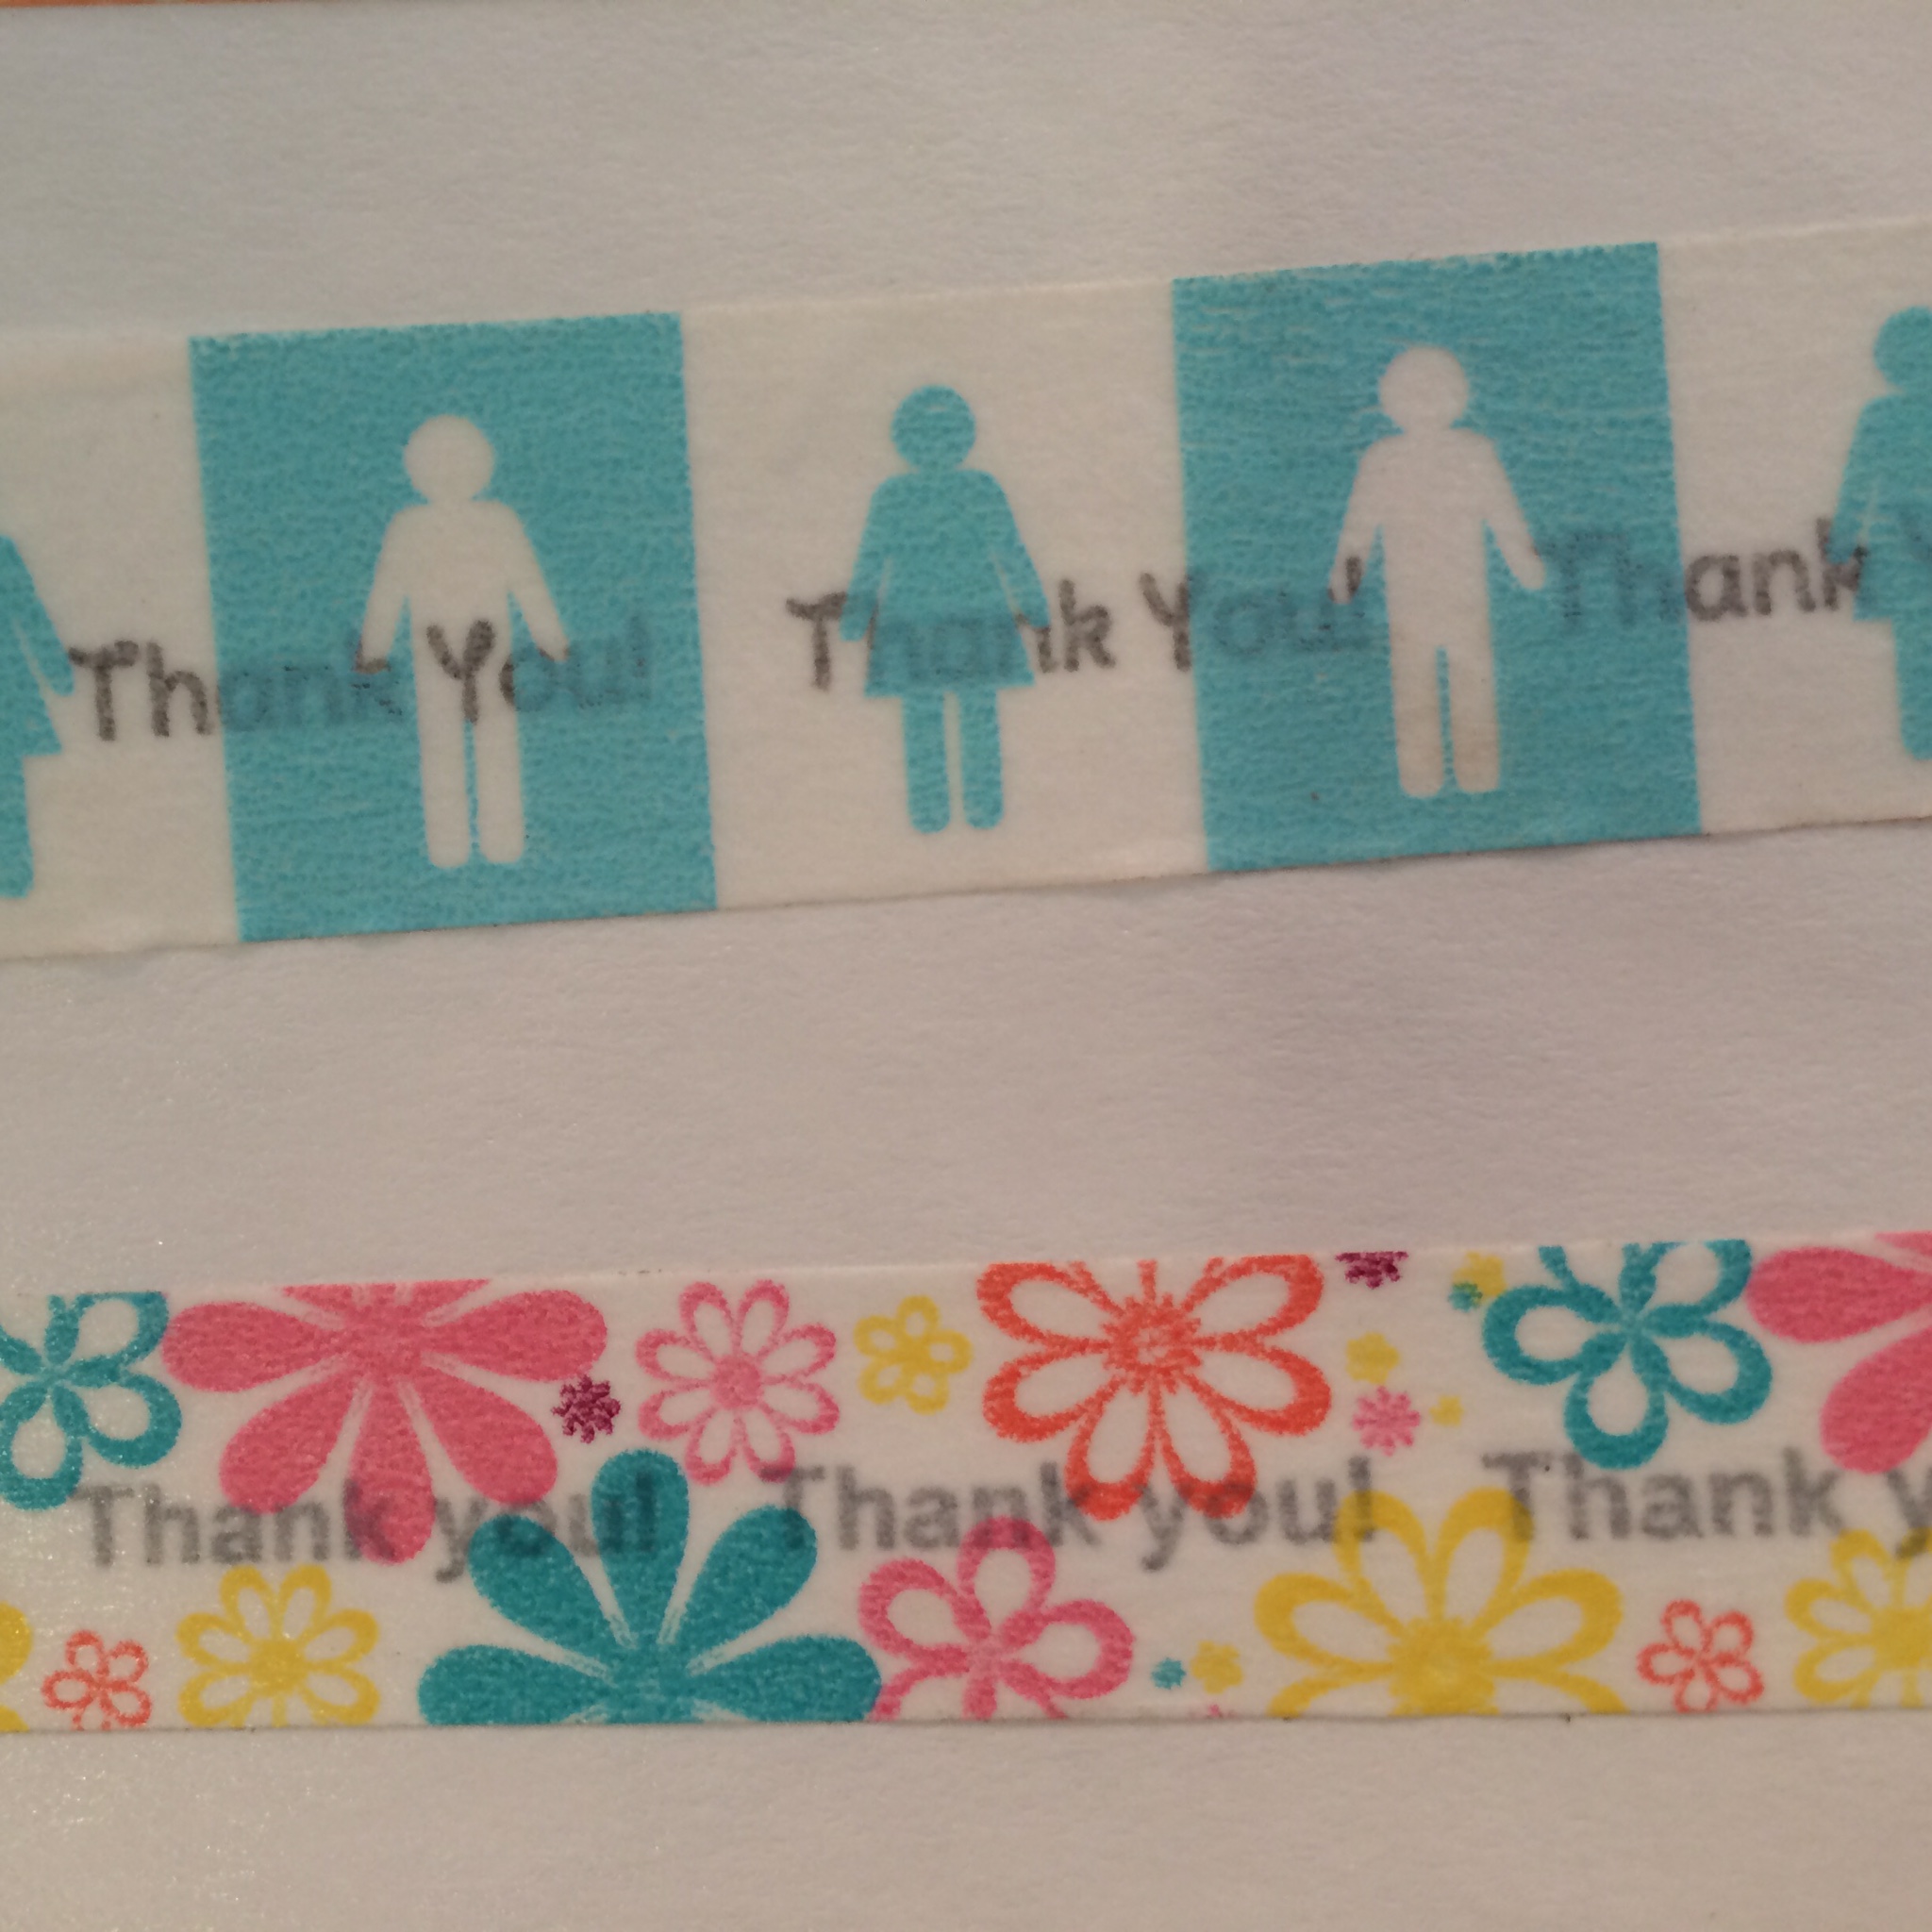
I used a piece of clear acetate to stamp some images using Stazon black ink.  Stazon is an ink that’s designed to be used on materials like acetate, metal, any hard non-porous surface.


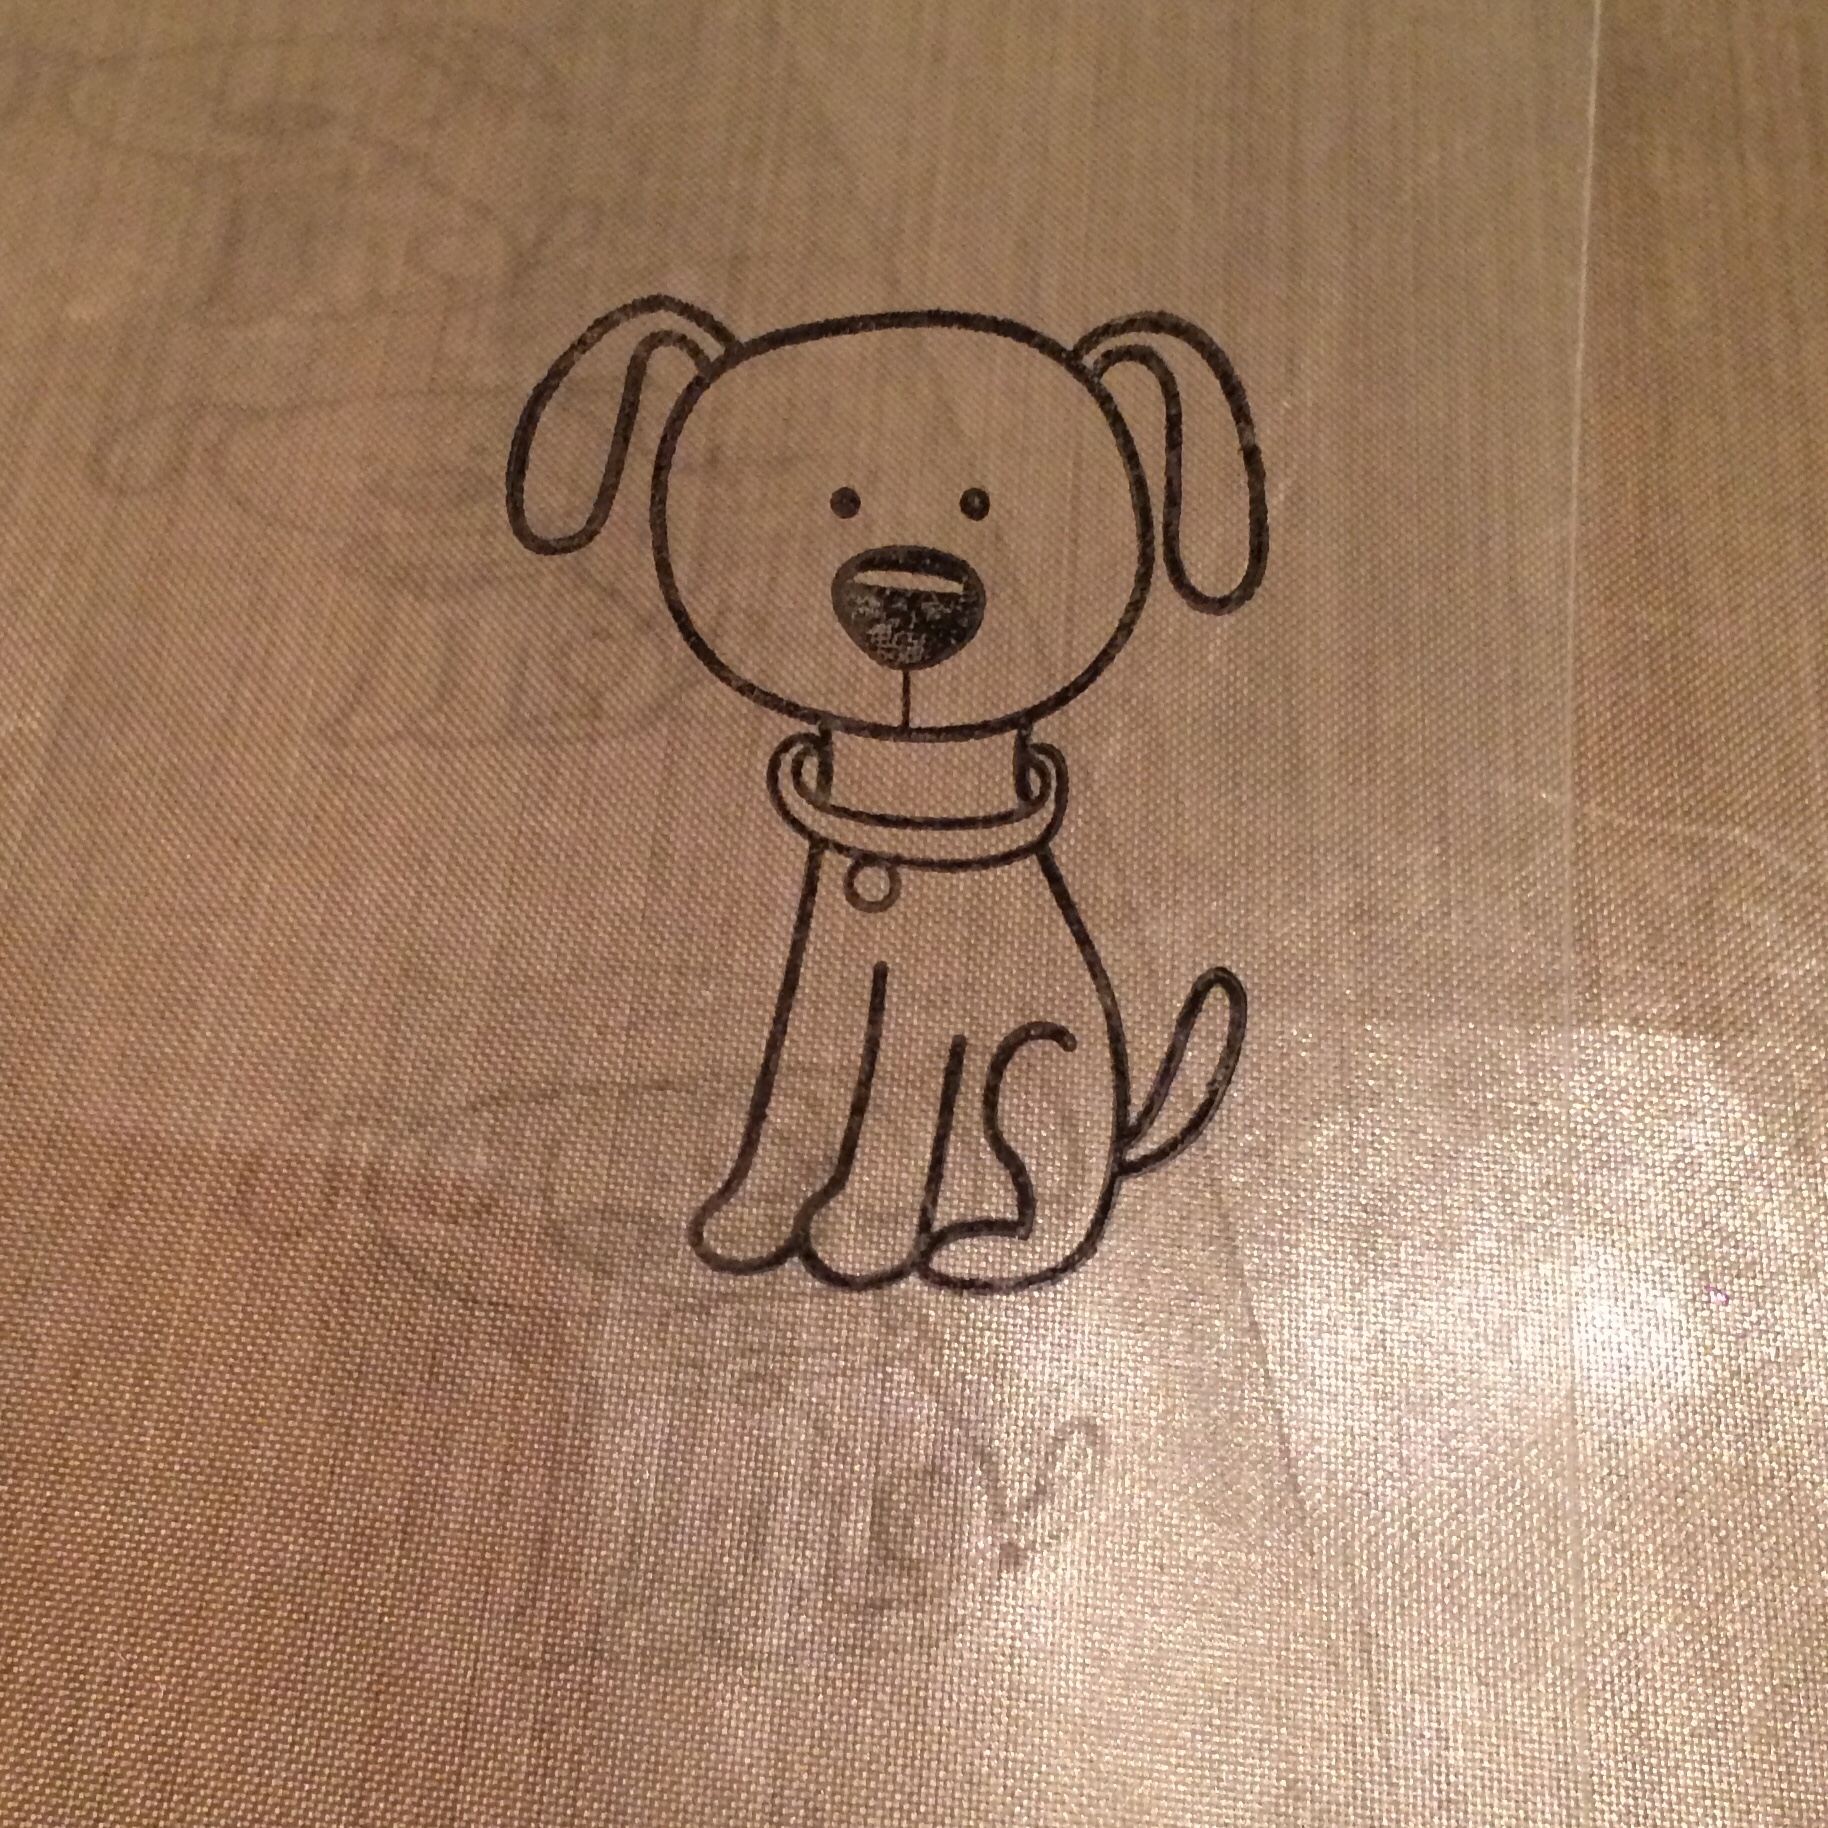
I turned the acetate over so I was basically filling in the lines of each image.  I love the look that comes with using alcohol inks, but it took a bit of time to learn how to control the strength of the color with the blending pen.  On some images, the ink combined with the blending solution created a halo effect.  Not at all what I was going for.  The alcohol ink dries very quickly and the cool part about the blending solution is that is a sort of eraser.  To tidy up an area all you have to do is clean the blending brush then run it over the area you want to clean and the ink comes straight up.  Almost like an eraser.

0145d4c1d9525ecd2d25f9b9f3f2d4698835c02ac201ca43aa64280cef564a068c0104bc3c1acda471d001a711d6f9b989437e3c84397997292a4eee99a24e01c6ceea39347fab7a1d795523b584757a85de4a02


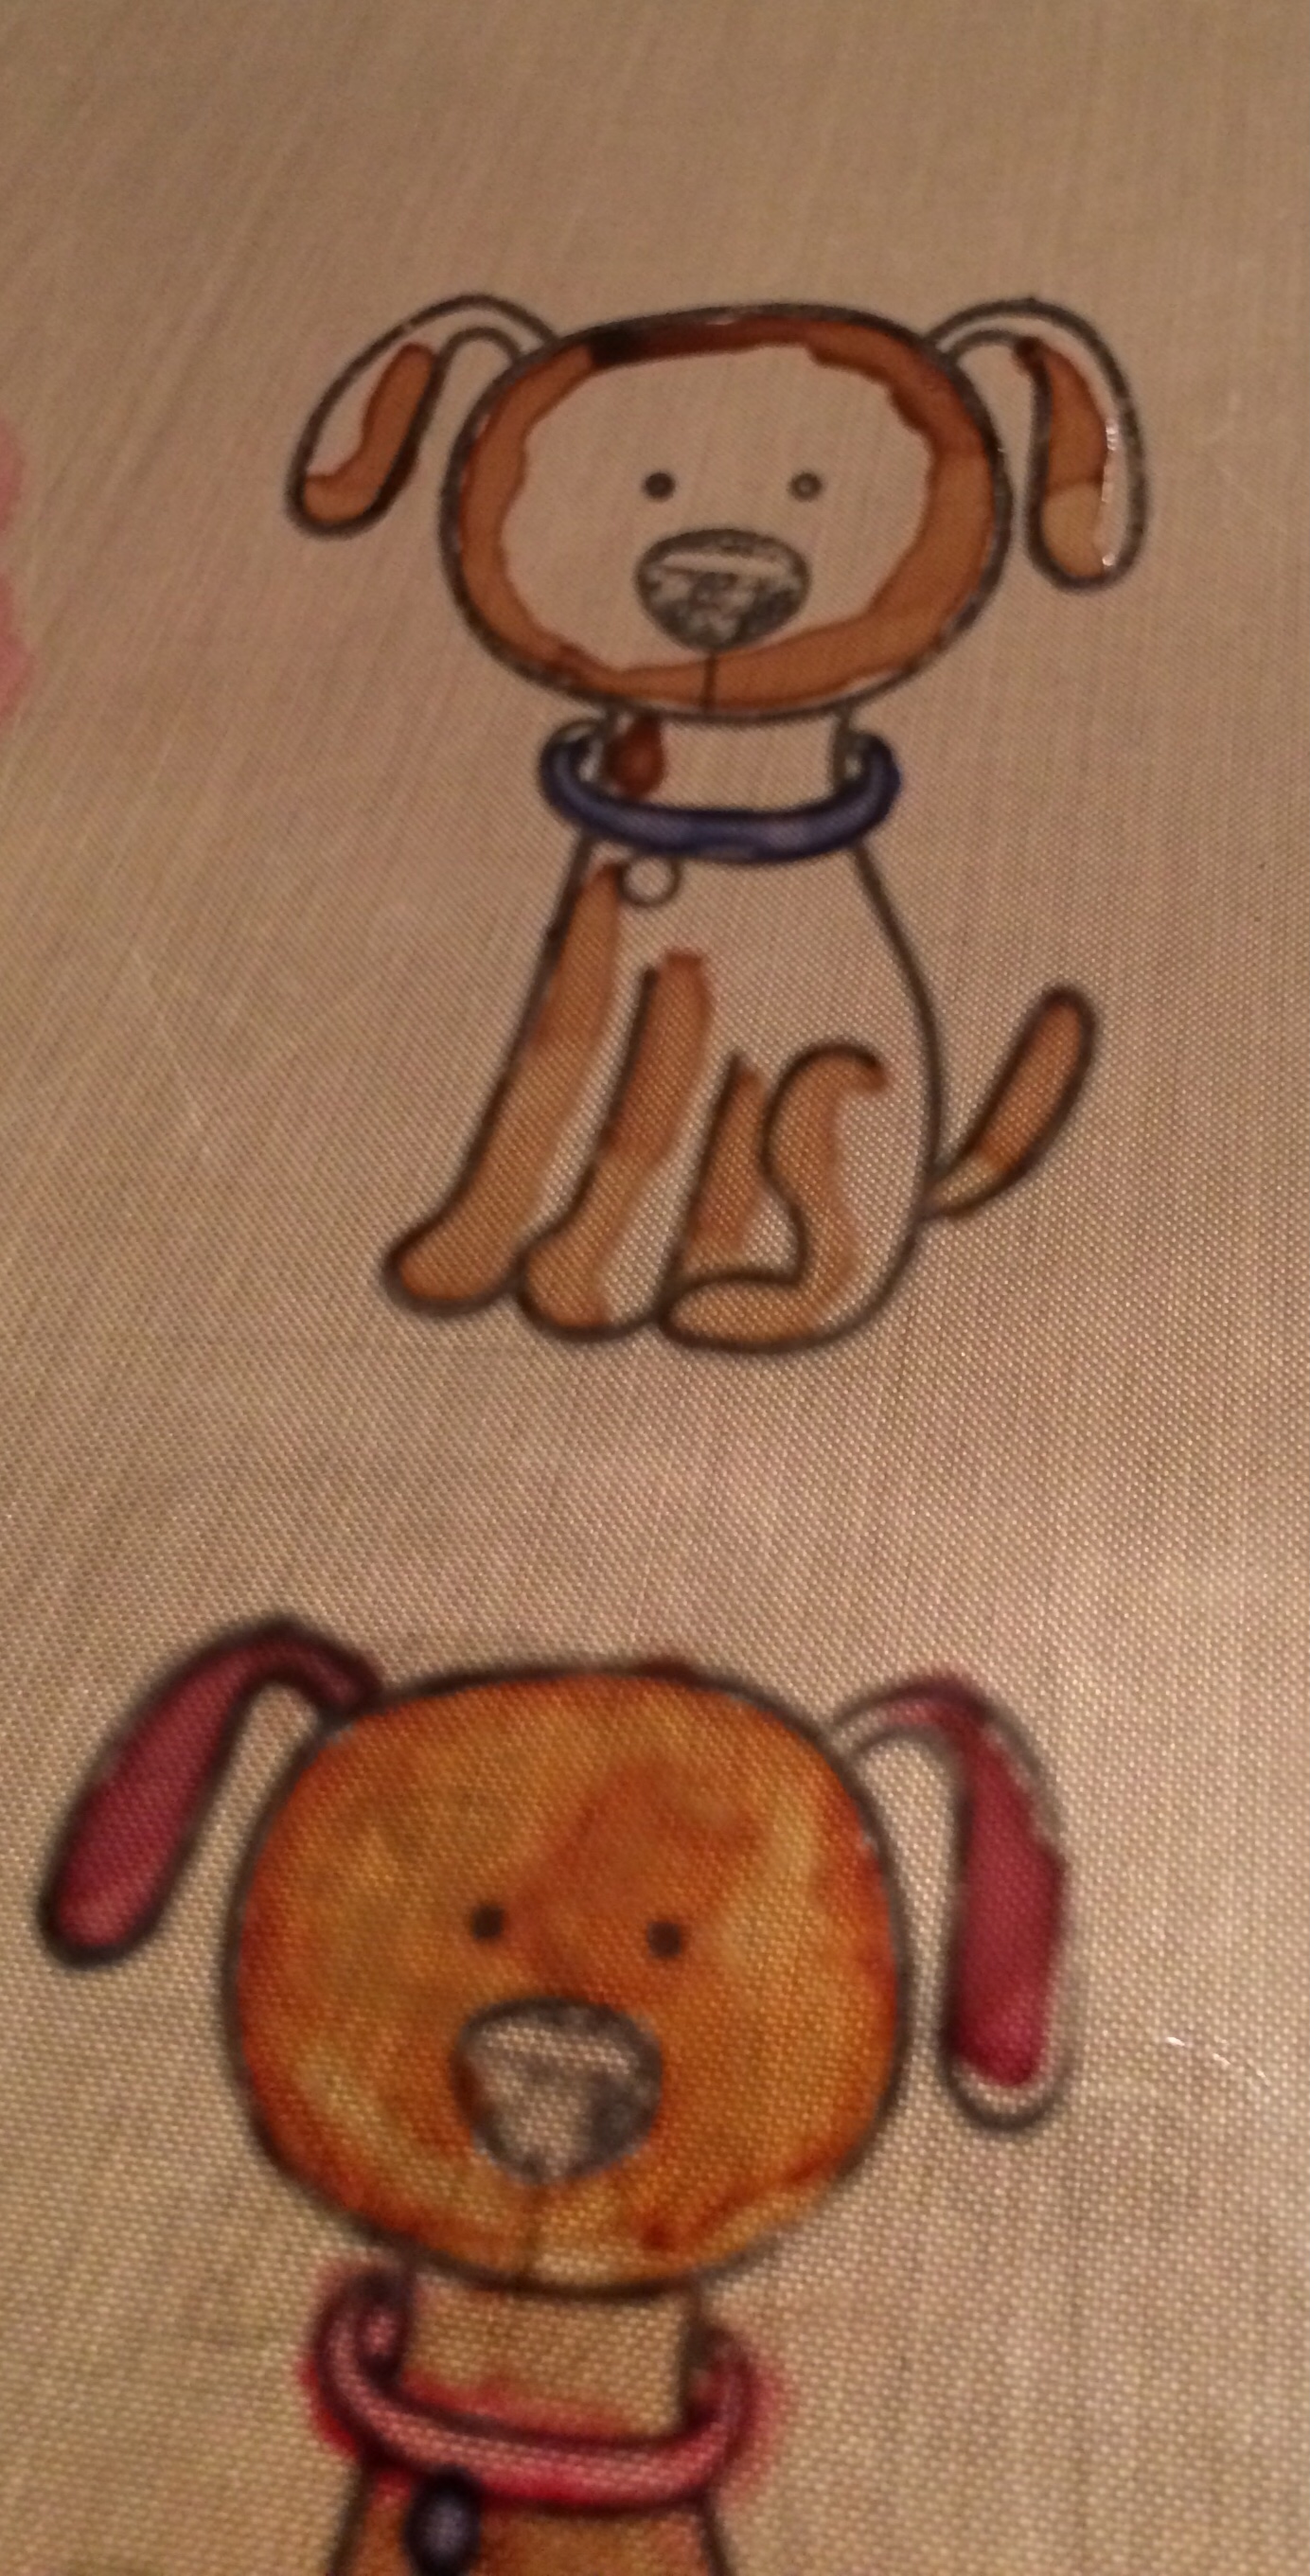
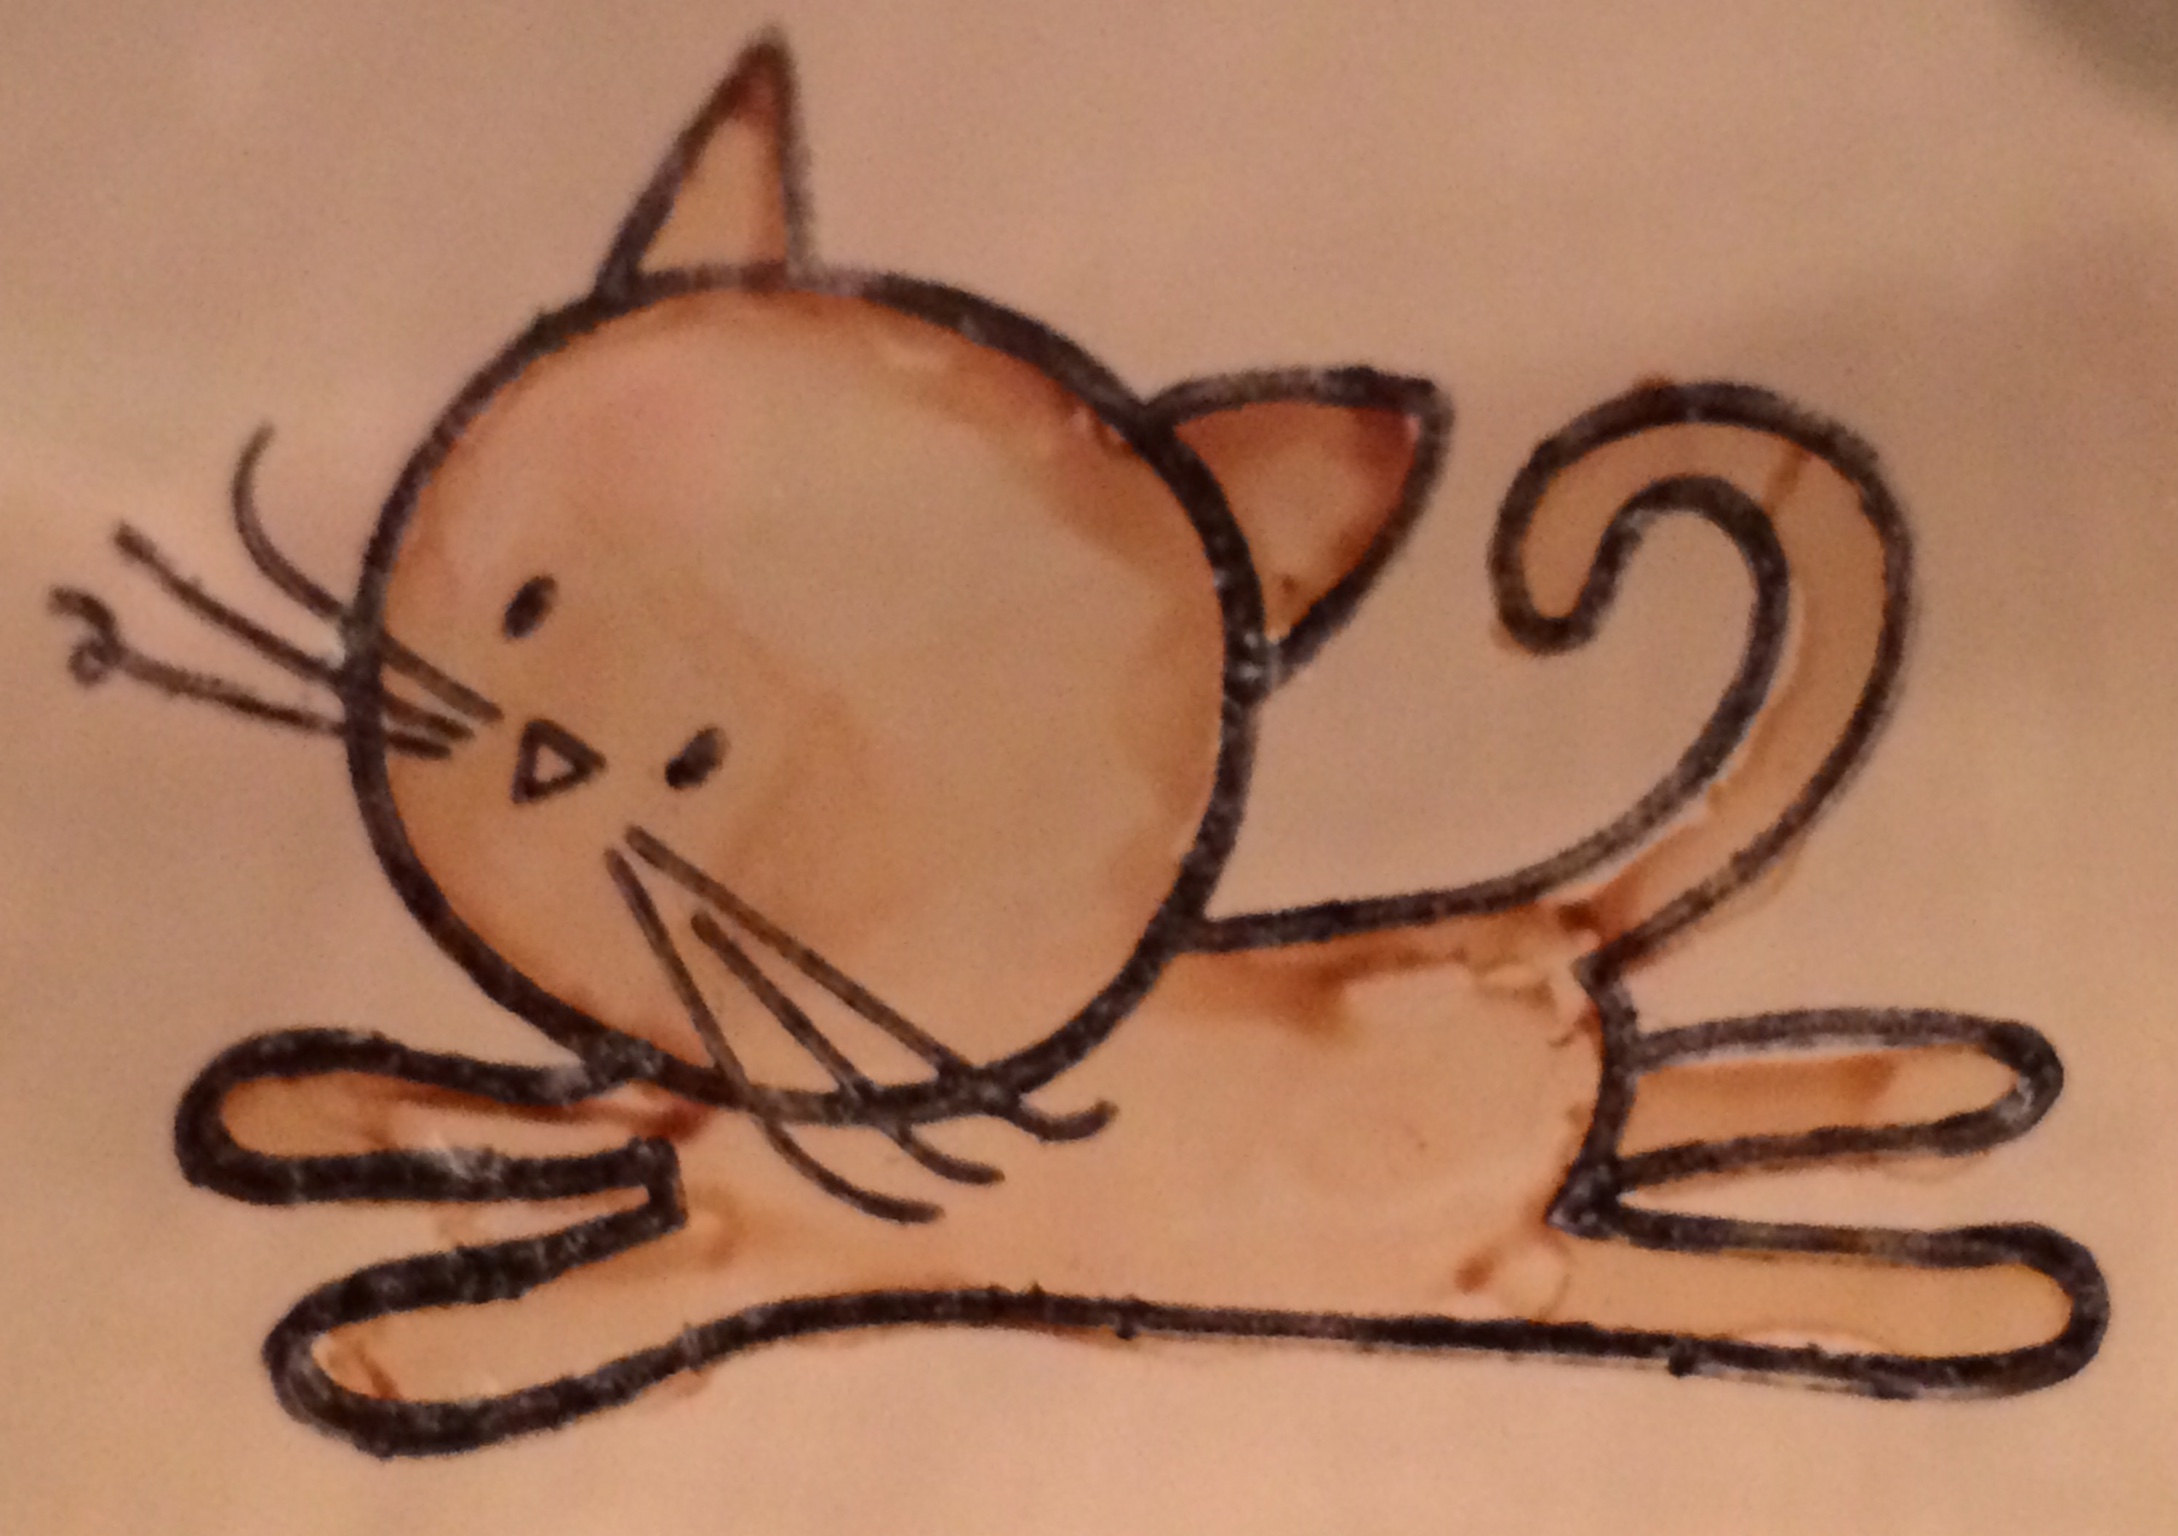
I’m not an artist and struggle with shading and highlights so my attempt at this technique fell a bit short.  After all the ink dried, I flipped over the acetate to access my work.  I was moderately pleased.  I’ll definitely keep working with the paints and stamped images.

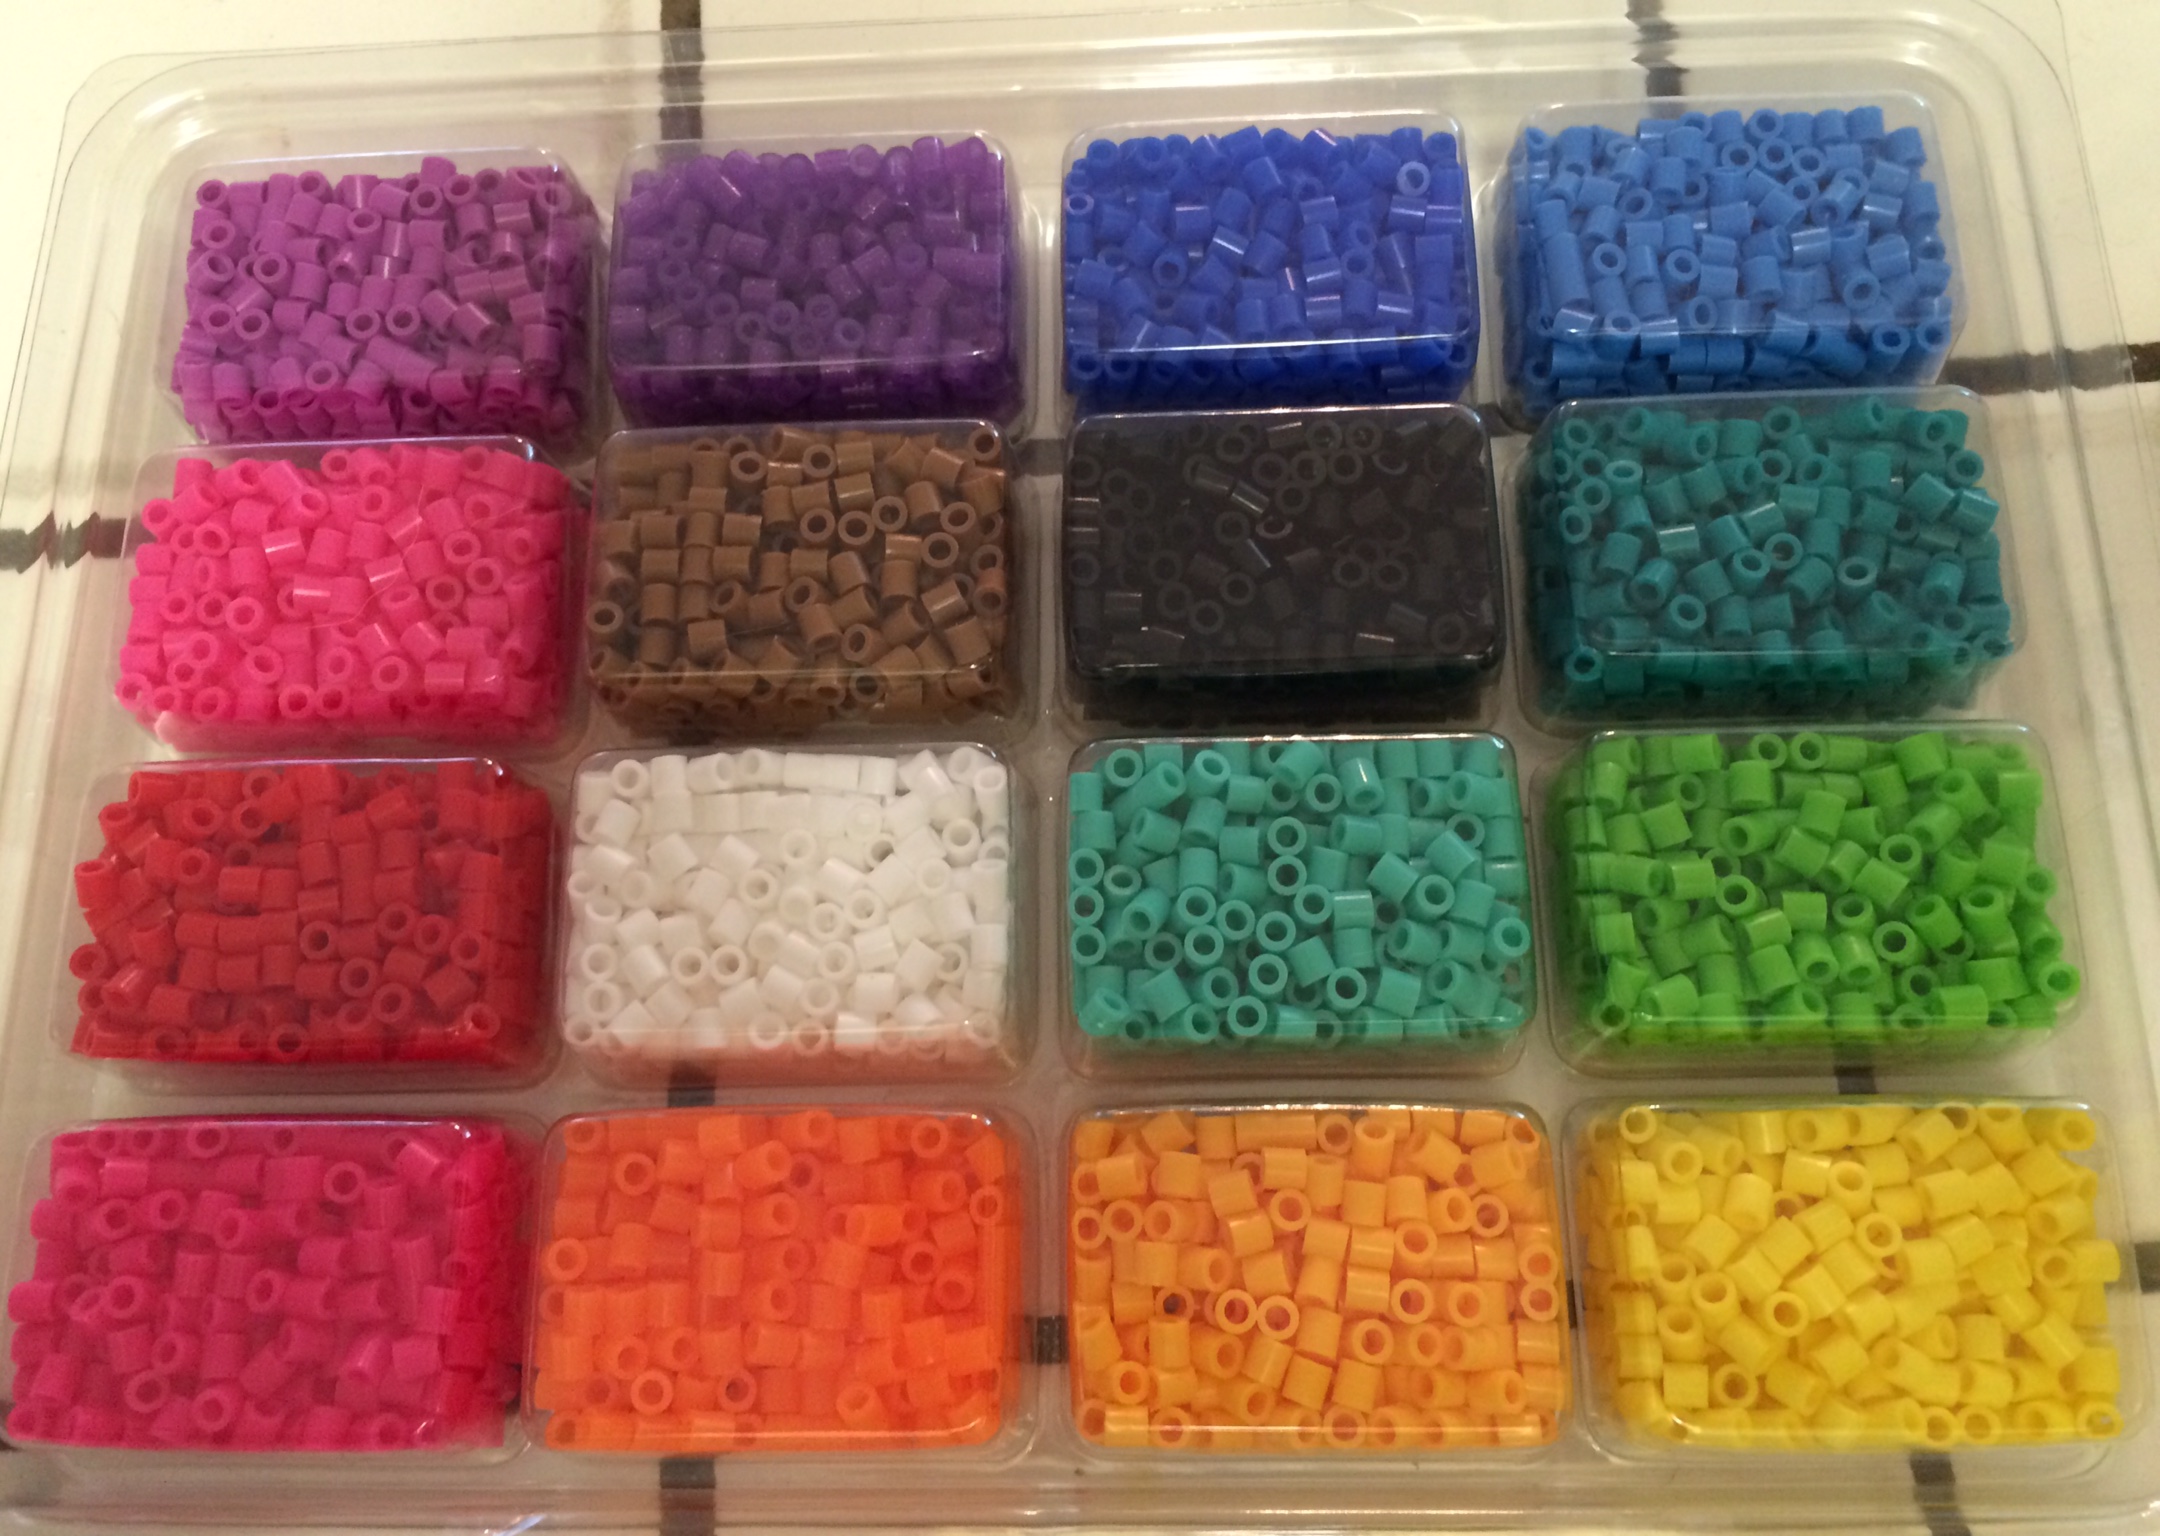
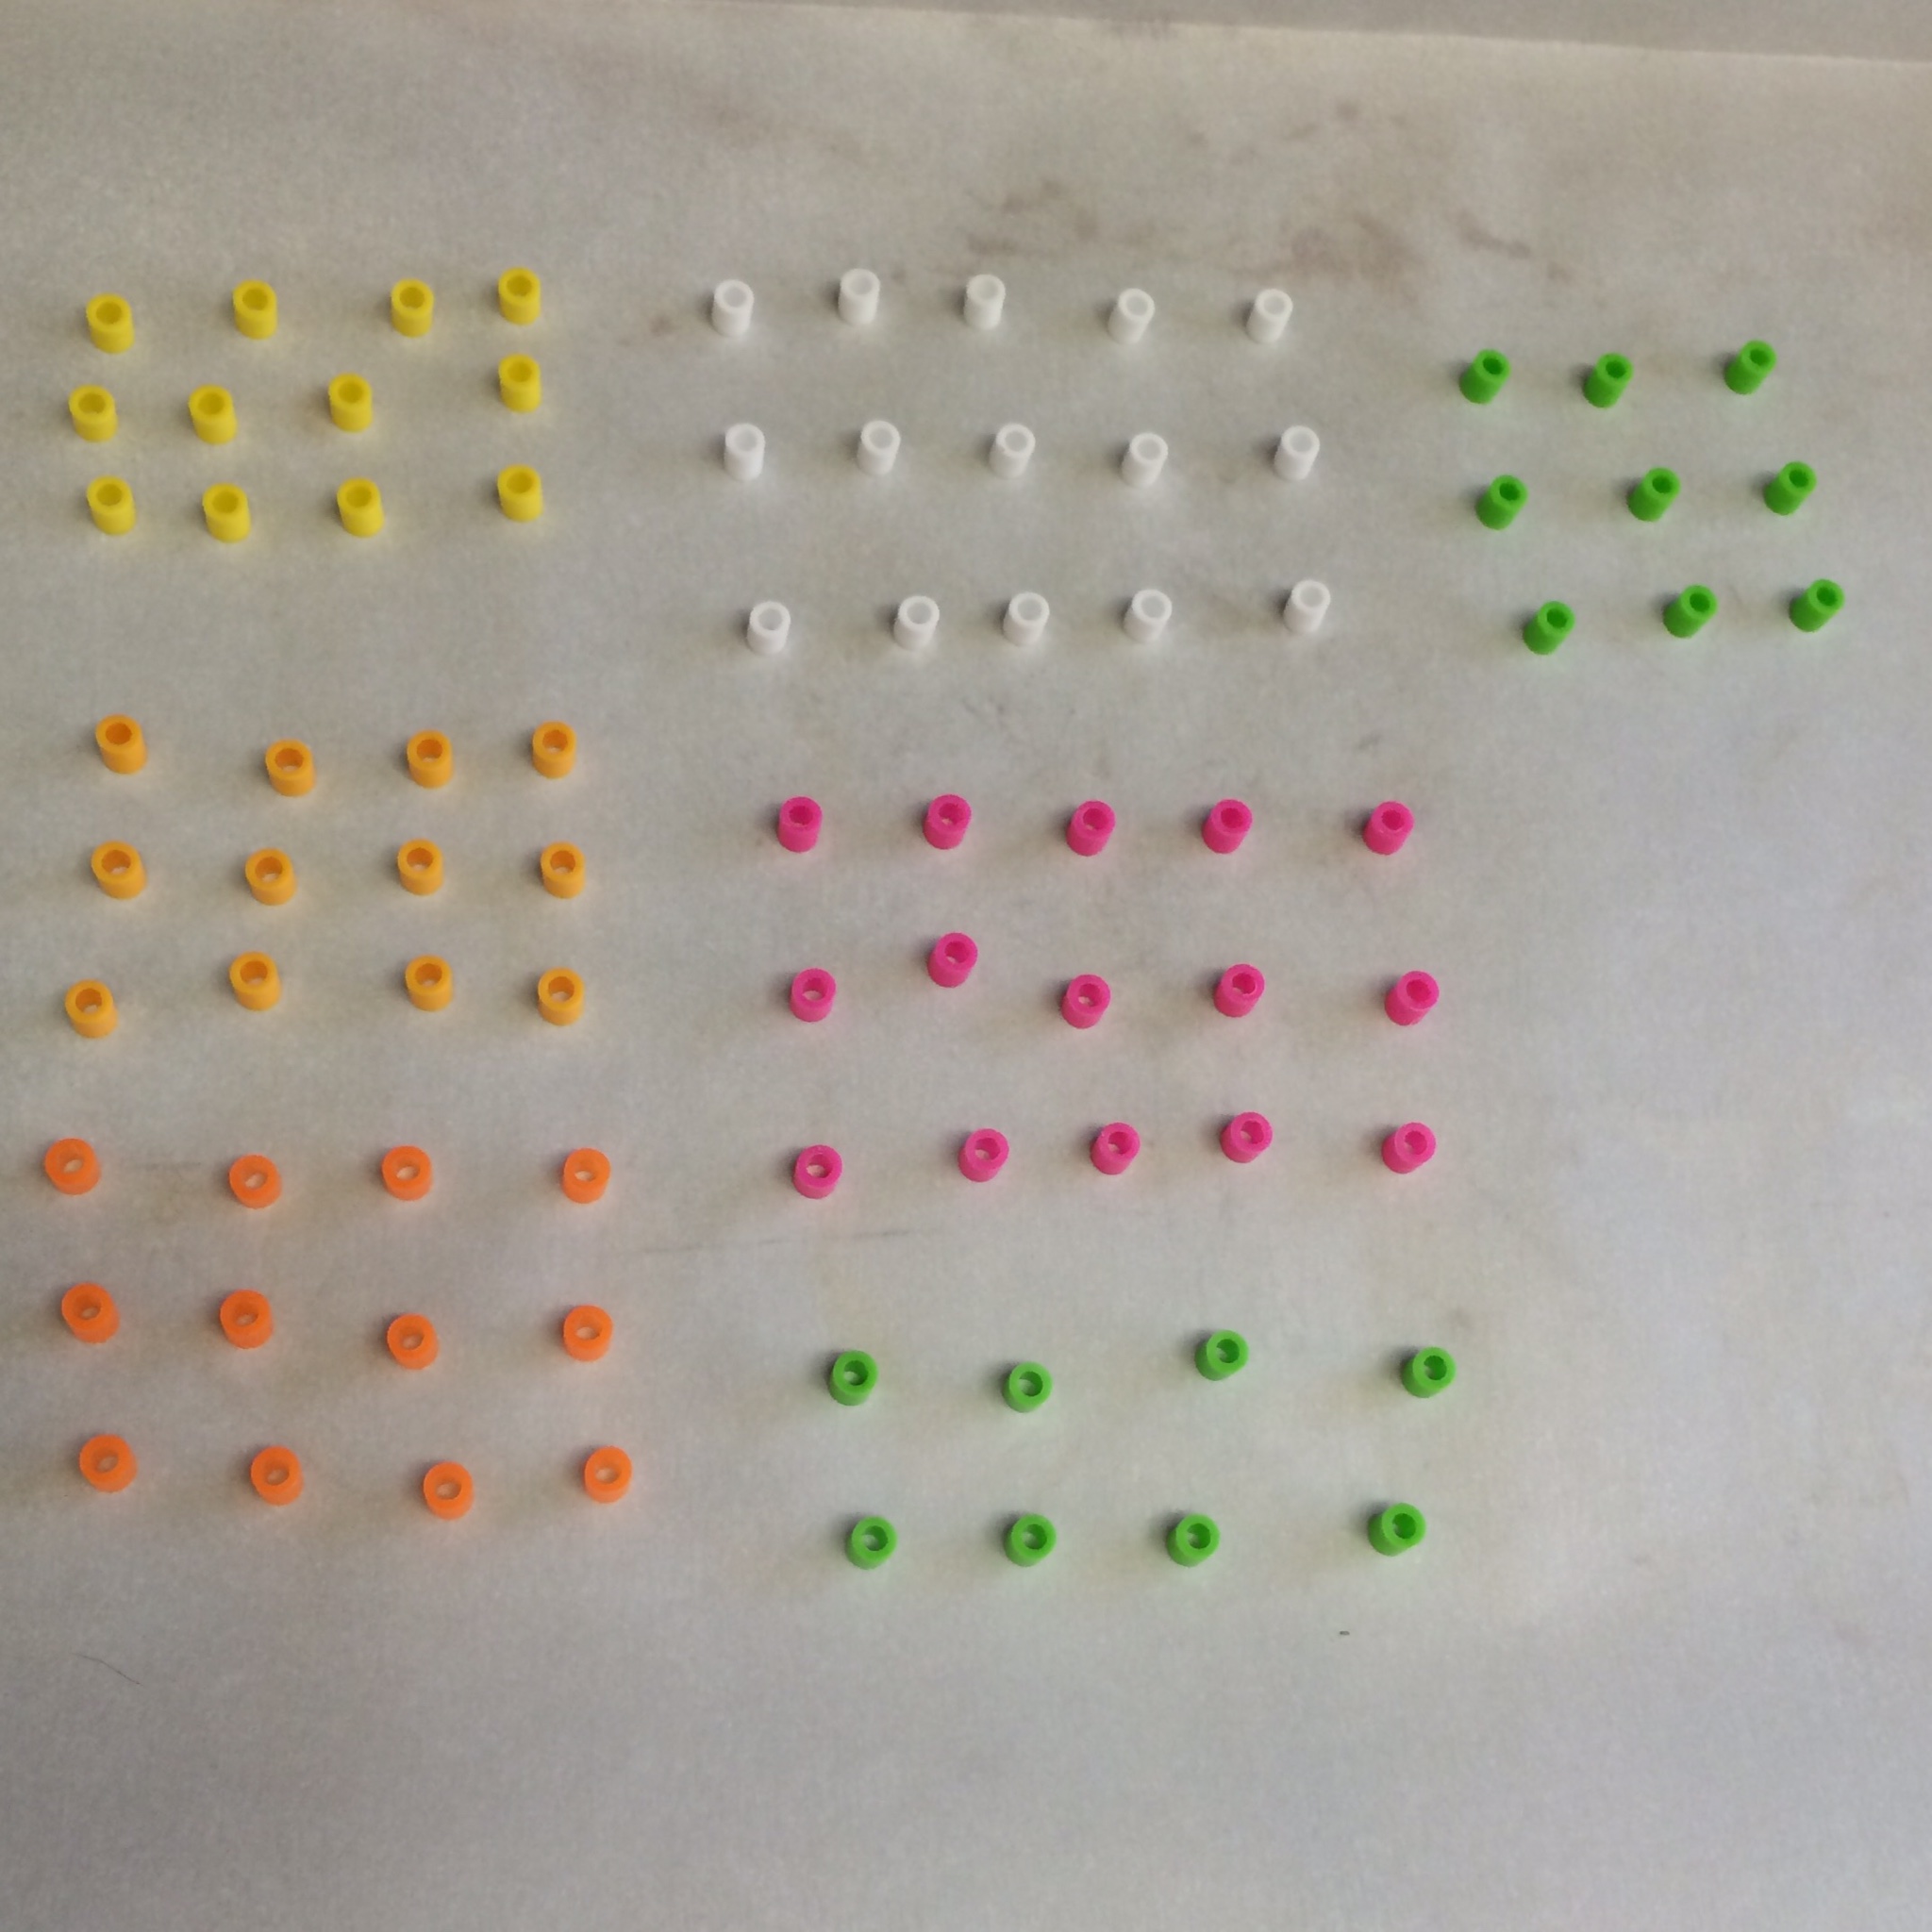
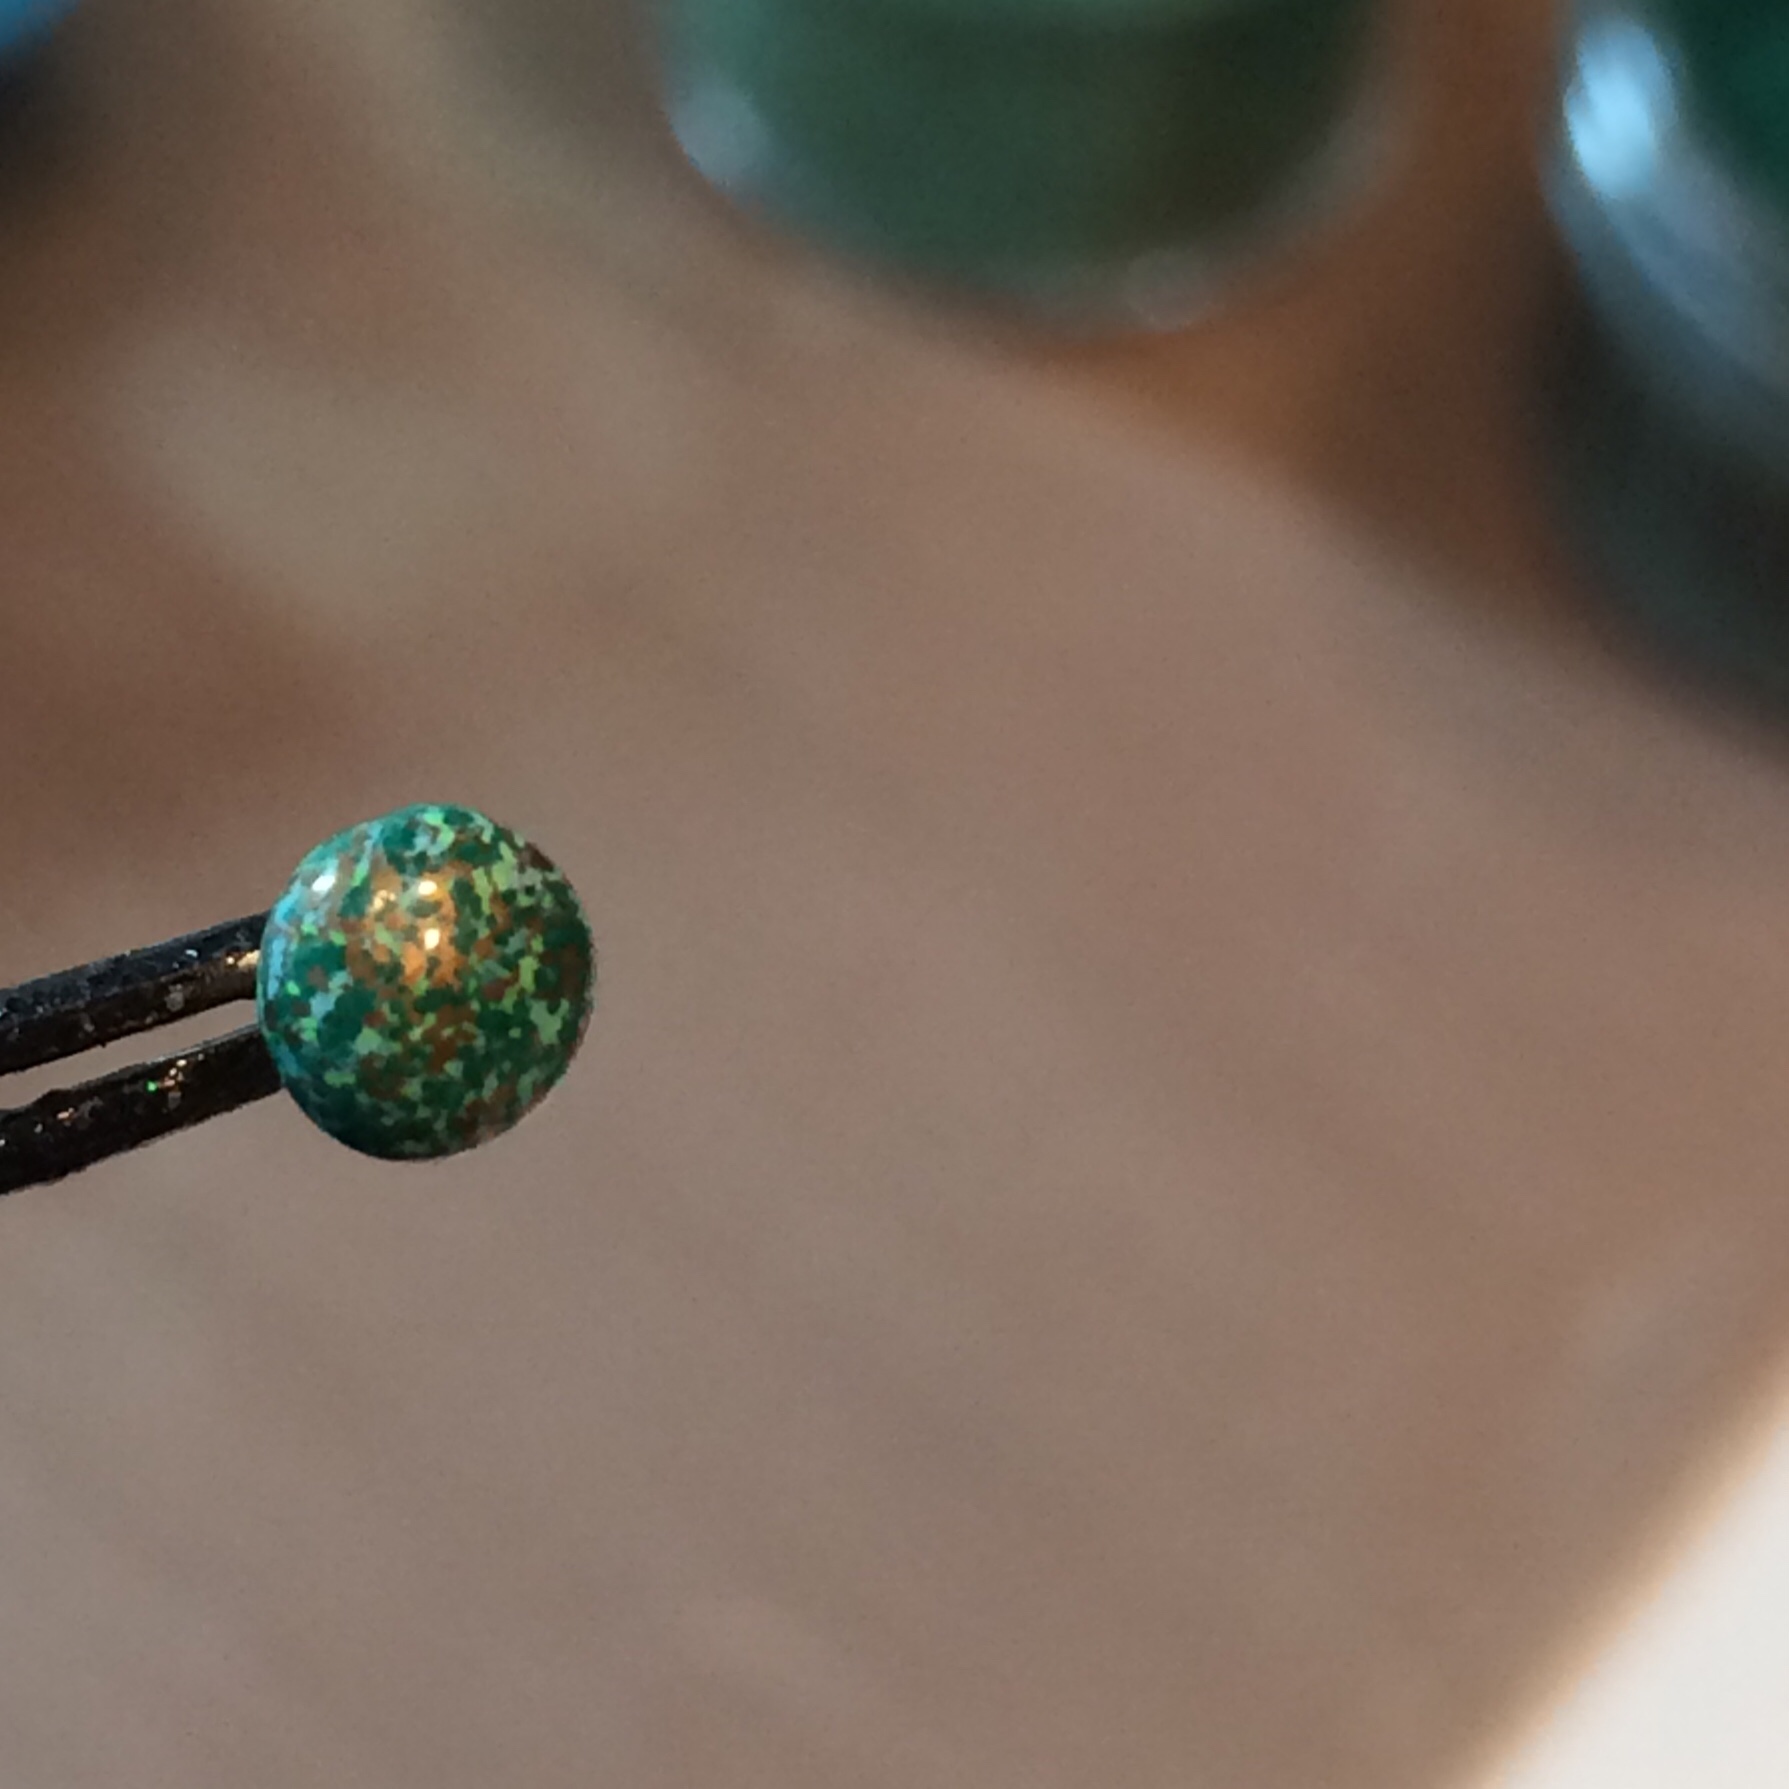
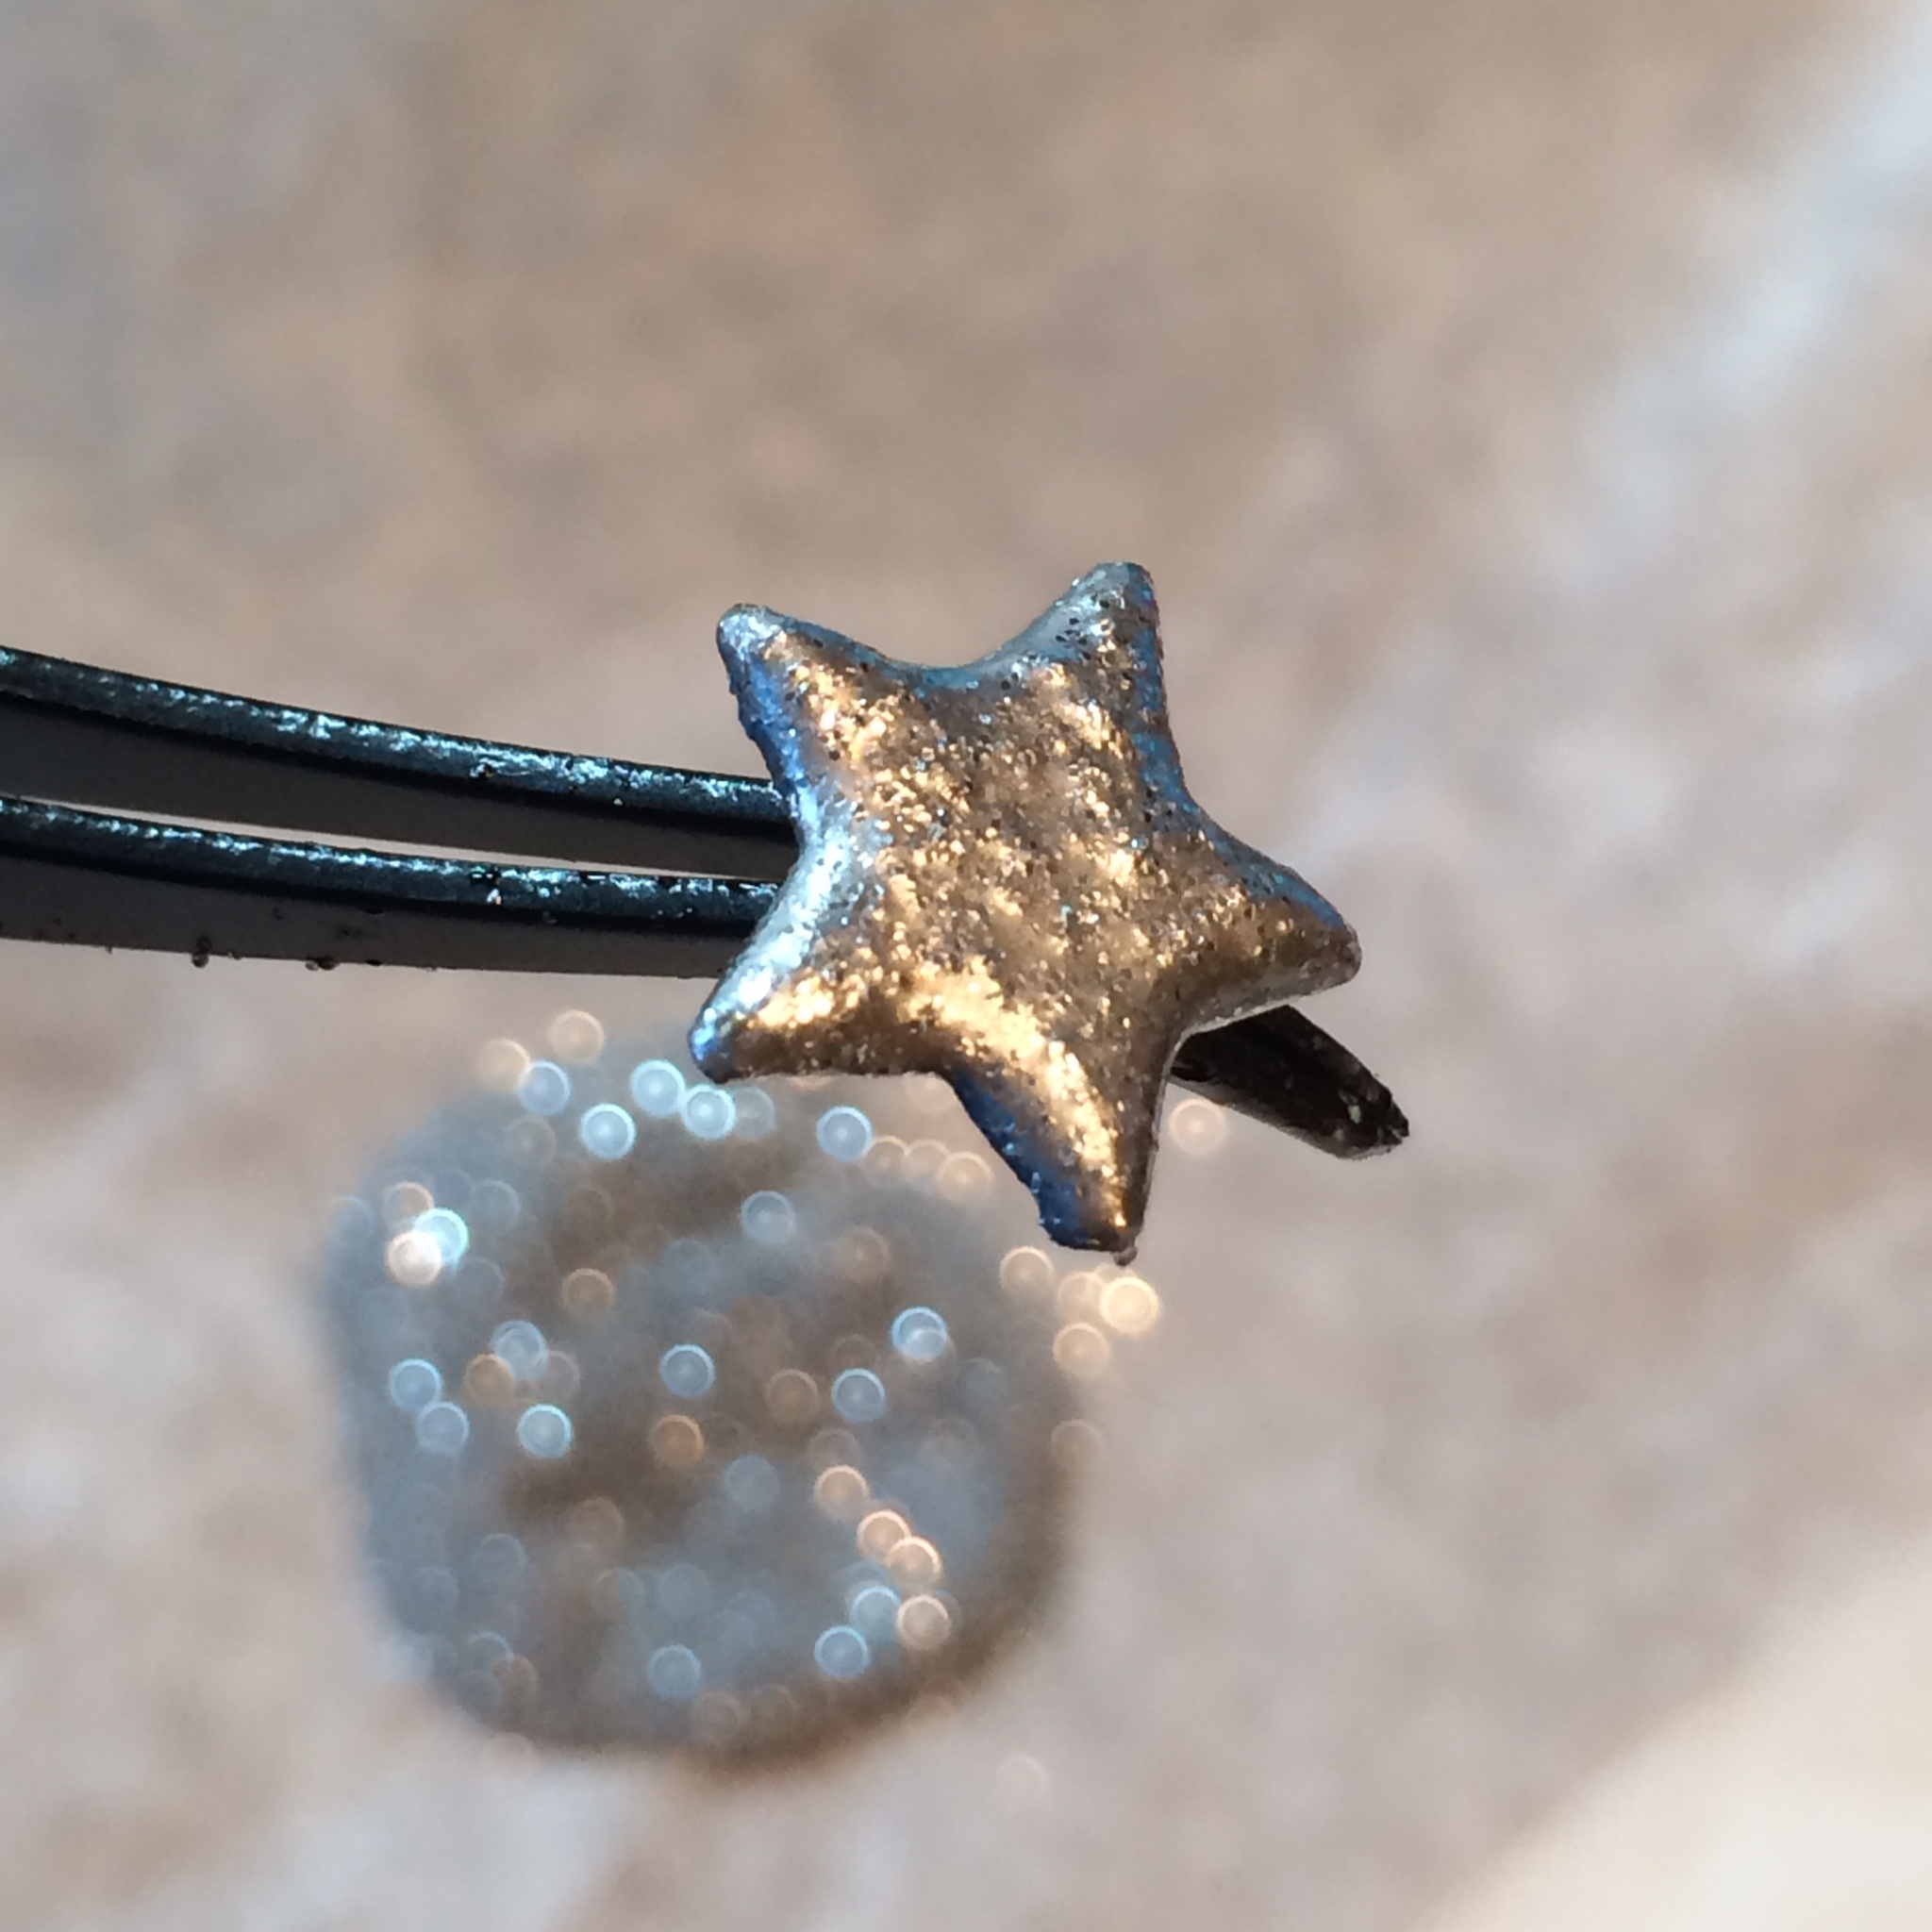
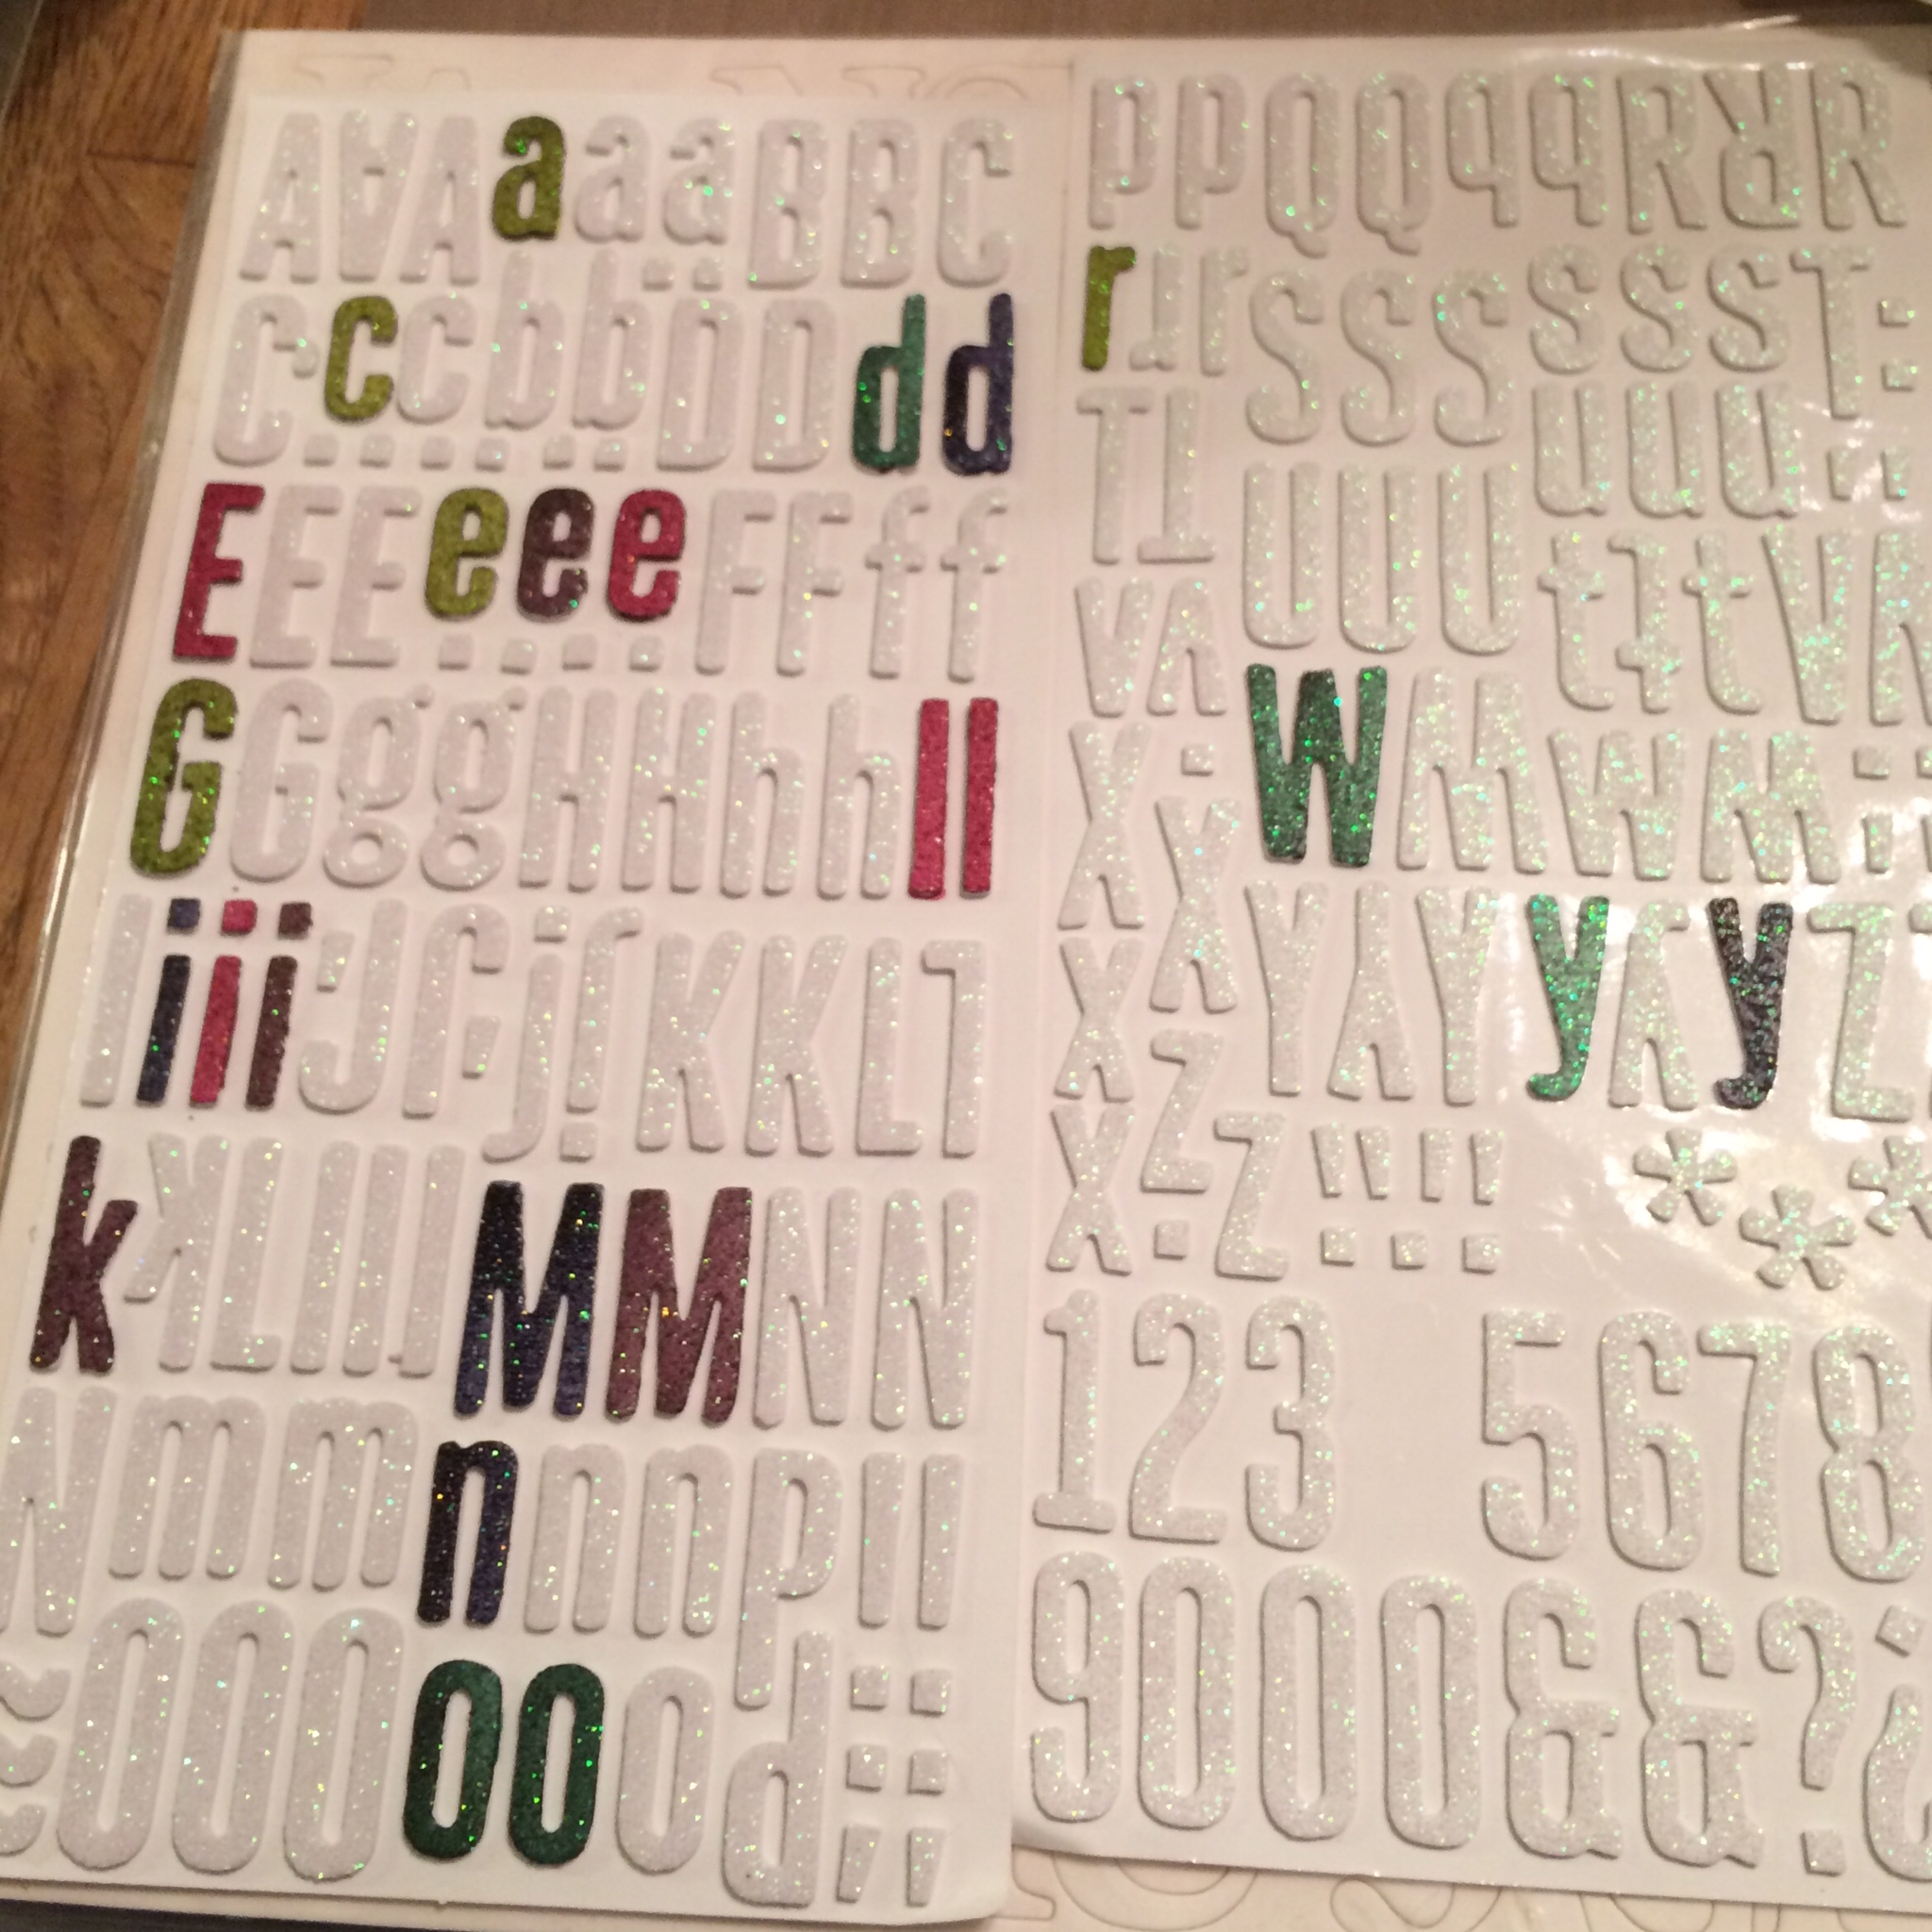
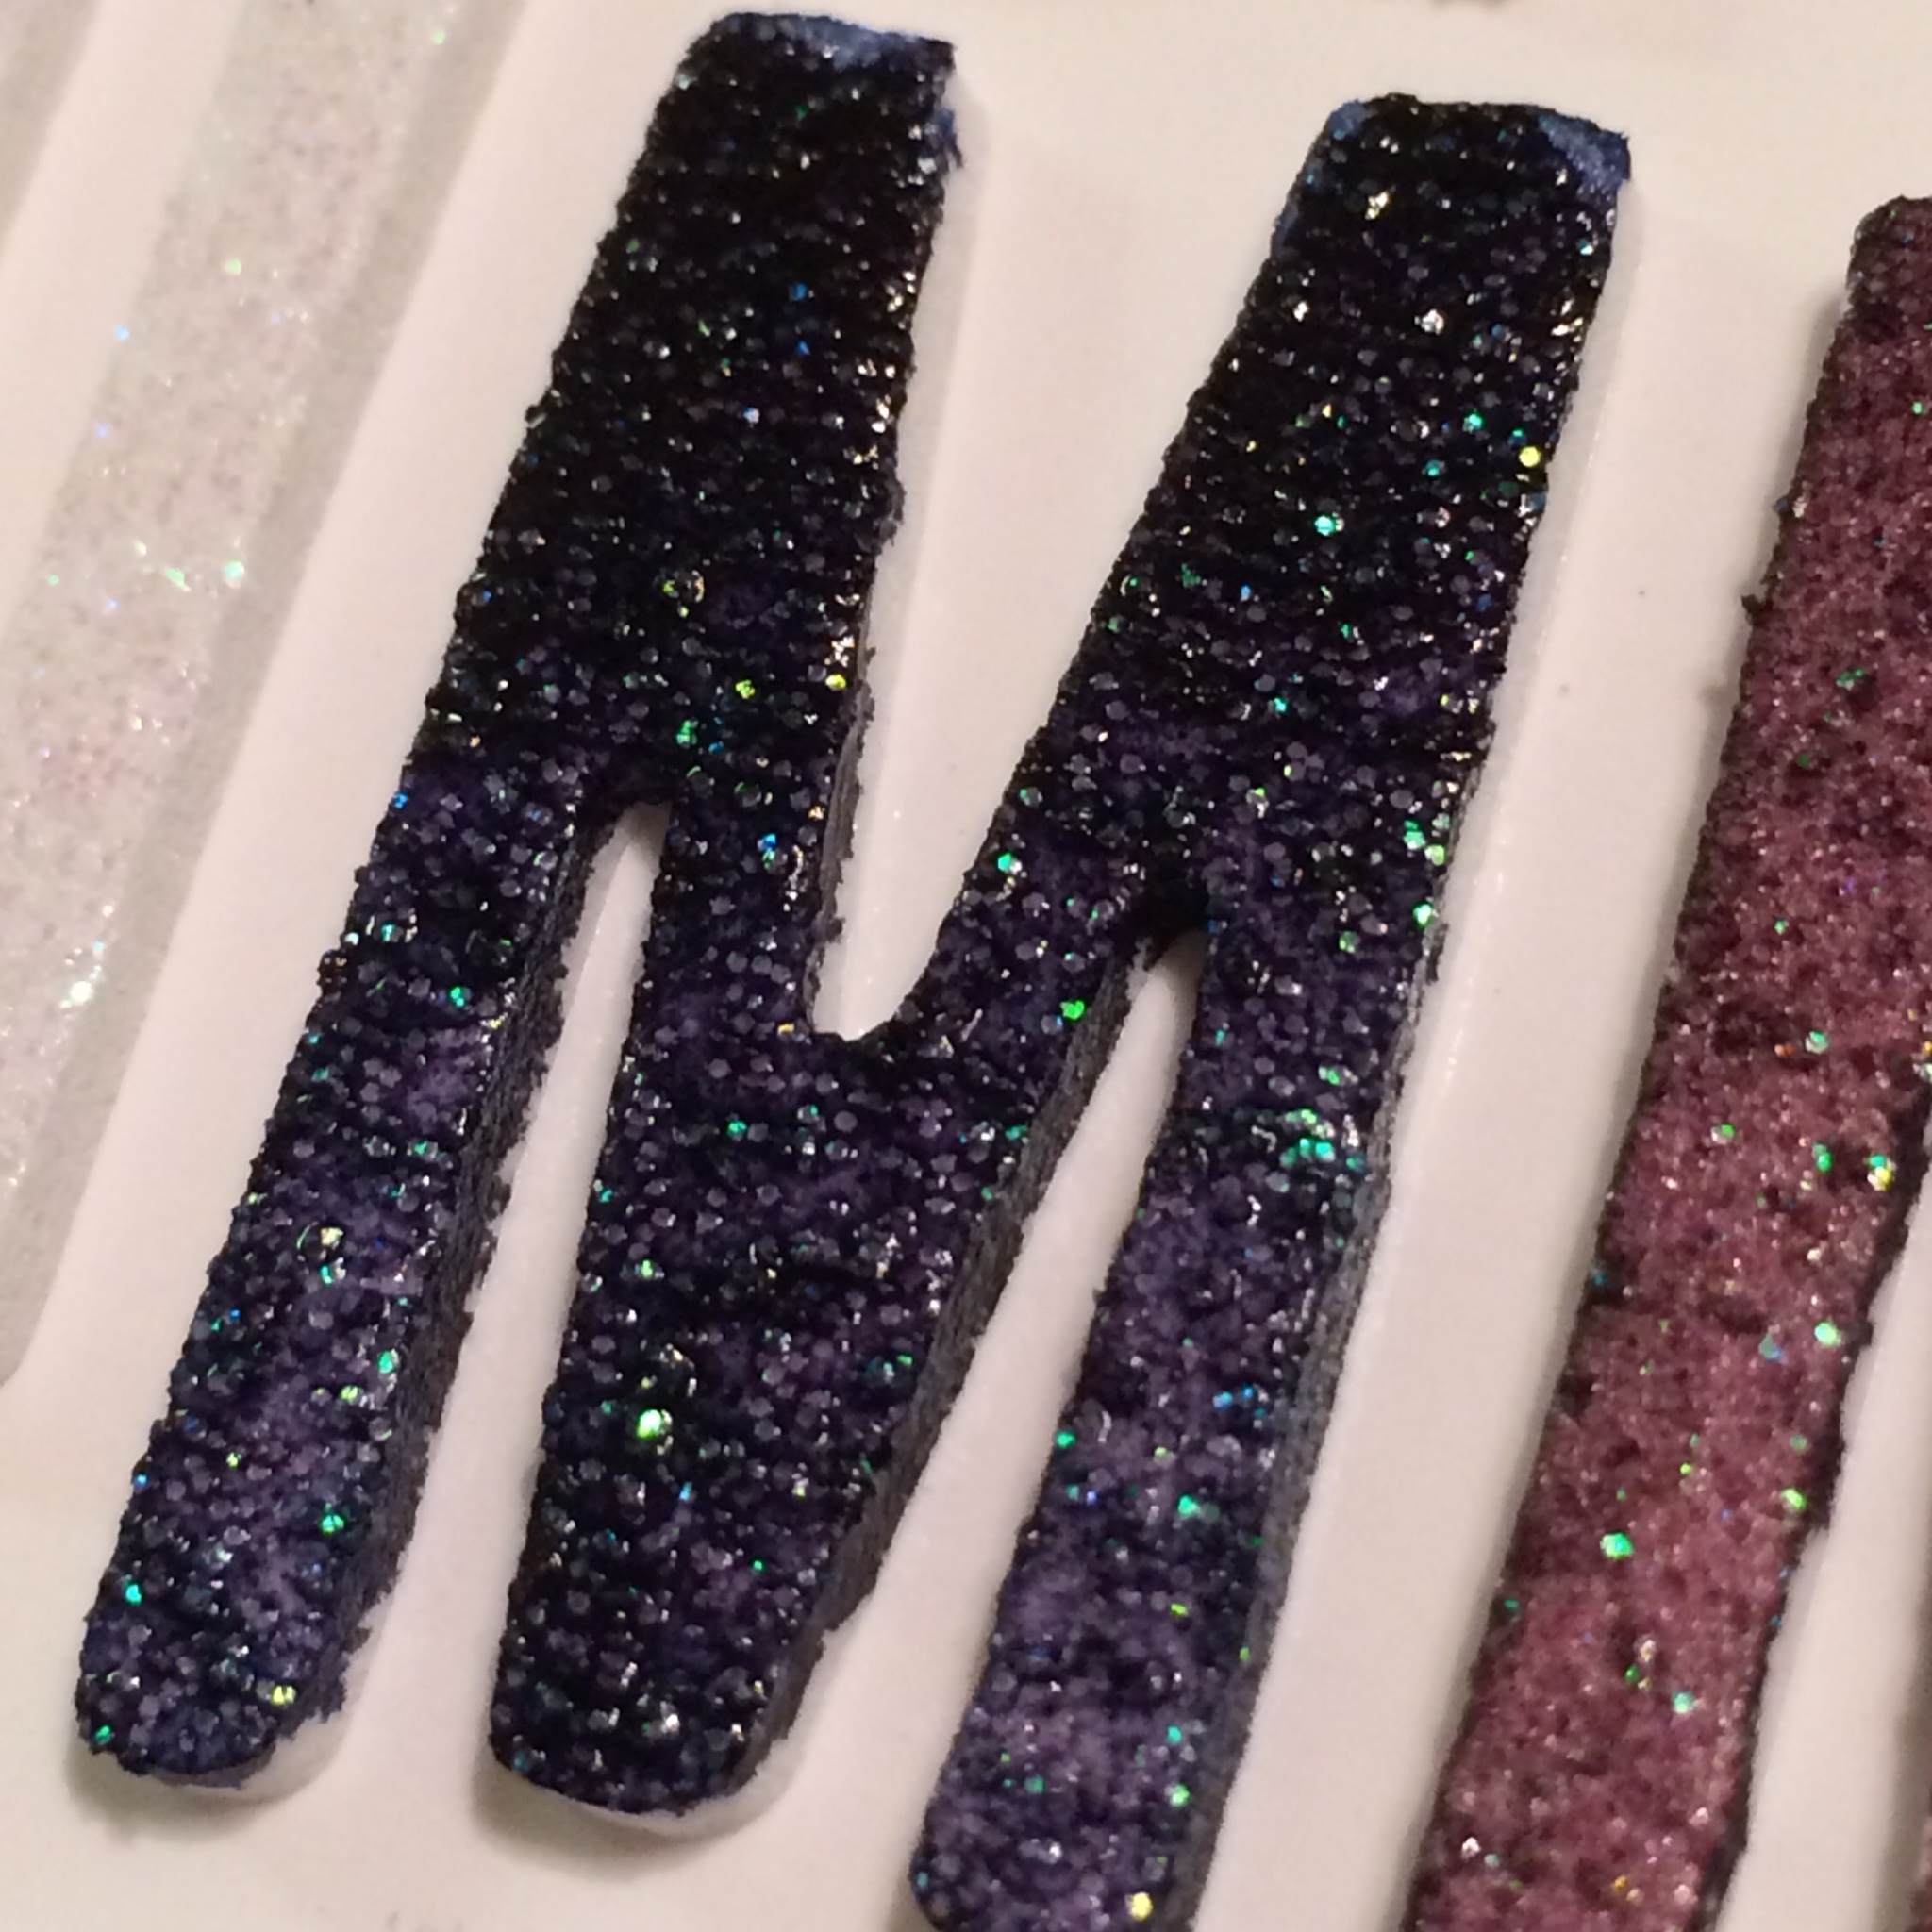
Because alcohol inks are good for many surfaces, I grabbed some glittered foam letters and colored a few.  The result was stunning and the letters still glimmered with glitter after the ink dried.  In the future, instead of searching out ‘the perfect color’ of alphas, I’ll just find white and color them myself.

014dcf3b338bad26baf38a85af45c96996134d8e140171e6fced48a76e3bb05298d6e74125f7fed11d1d01ec2198d4b1081f04c08ab9017a6c54eba77a4c8301bee341d69a973581ad1b46b6916ed53102d2c43d


I know I’ve only scratched the surface of alcohol inks.  In the past I’ve used them to make backgrounds for cards by inking up photo paper.  The chemicals in photo paper react with the inks and the blending solution and create beautiful stained glass effects.  I should give that a try again now that I have the inks out.

Until tomorrow,

Grace


01b88b394f9969008edb7bb17cc28a4c8d3faab79e


I was just kidding about the ‘chew toy’ remark.  I wouldn’t do that now, I’ve matured.


Posted in Accountability, Challenges and Contests, Goals, Homemade, Make Madness, Paper Crafting, Pinterest | Tagged , , , , , , | Leave a comment

Day 4 {Make Madness} – Painting with Alcohol Inks

Make Madness

Day 4 of Make Madness – Painting with Alcohol Inks


cd0be46e5235eedffa18df89fe203bebAlcohol inks, created by Ranger and Tim Holtz, are an acid-free, fast drying transparent dye inks specially formulated to create a colorful, polished stone effect. Use on glossy paper, dominoes, metal, shrink plastic, glass, and other slick surfaces.

This particular tutorial shows how to make an alcohol ink palette and to paint on clear transparencies.

I’ve used alcohol inks to create card backgrounds before, but I’ve never painted with it.  I’m excited to see how this will turn out.

Come back tonight to see how I did.

Until this evening,

Grace


If you’re just joining the madness with {Make Madness} here are links to the previous projects.

Day 3 {Make Madness} – Enamel Dots
Day 2 {Make Madness} – Embossed Brads
Day 1 {Make Madness} – Words & Washi Tape

0135b9589ce4e64aca4ef6ab4f1c9bb40ea9bd4182


Hey what you call a ‘paint palette’, I call a chew toy.

Posted in Accountability, Art Journal, Challenges and Contests, Goals, Homemade, Make Madness, Paper Crafting, Pinterest | Tagged , , , , , , | Leave a comment

Day 3 {Make Madness} – Part 2 – Enamel Dots

Make Madness


Day 3 – Enamel Dots


different-ways-to-make-enamel-dots-5I followed the instructions in this tutorial and absolutely loved the results.

The tutorial showed three ways to make enamel dots:  using Perler beads, pony beads and a glue gun.  I tried the Perler beads and the glue gun methods.

Both methods worked out great, but the Perler beads took less time in the sense that I just popped them in the oven and went to do other stuff.  The glue gun dots required my time and while it was fun, I don’t see myself doing hundreds of these in one sitting.

So here’s my review on each method.  First, Perler beads:  These are the beads that are used for kids craft projects where you arrange the beads in a plastic frame and then melt the beads.  The melting quality is what I was after.  Of the two methods, I think this is the one I’ll do again.  The beads melted beautifully and uniformly.  I love the color options and decided I could paint the white beads if I needed a color that wasn’t available.  The beads ended up looking like those candy dots we used to eat as kids.  I have to say that ‘cooking’ plastic does give off a ‘plastic’ smell, although it’s not overpowering.  Nothing that a open window with a fresh breeze can’t take care of.

017c492a3f58a00307570c8f472e2b7164136292a901e6dfa65bc23abafe31be389d3b7fbf75d2d7d6ff


I heat my oven to 300 degrees, placed the beads on parchment paper with the holes facing up and set my timer for 30 minutes.  That’s all it took and they came out perfect.

0190a837c66d1aafc4d69801dd65084e75b725f11a0147dc9e0fe8d7cf0e8e7279587ef5d261e4c71cb20107bda2034e040b54cf77e10d2f46cd436145c19001e11d9758d3546e53a900bcf47592b0370bd73ac601e11d9758d3546e53a900bcf47592b0370bd73ac6


Okay now the glue dots.  I used my teflon craft sheet and just started making dots with my glue gun.  I know it sounds super simple, but it does take some practice.  You’ll want to make sure you have a steady stream of glue.  It helps to place a second glue stick in the gun and push on the stick as well as use the glue gun trigger.  I didn’t master getting the dots very flat which is a feature of enamel dots.  I did manage, however, to get the dots really round.  I practiced with various sizes.

019184d9f35f79ea6f8e06a8466a8eb932520945b5

011e72af8a53026154d7c5e6f81fa0e980ef40f620Once the glue dots were dry, I rummaged through my nail polish collection and painted the dots.  I recommend dousing the glue dots with polish.  I tried to paint them with a brush and it only left streaks.  When I ‘poured’ on the polish it produced a smoother look.  The dots just lift right off the craft sheet and it’s easy to pull off the excess paint. (I went through a “I want greenish/blue nails” phase a while ago and had difficulty finding the exact “greenish/blue”, hence the greenish/blue dots.)  I enjoyed trying this method, but really don’t see myself doing this again.

Now you’ll have to excuse me while I cook up another batch of Perler beads ;-).

Until tomorrow,

Grace


01736d3a5a7ed343da664c8eb15c432b74aa644d0f


I really hope that you’re not going to feed up what you’re cooking in the oven.  It doesn’t smell very yummy.

Posted in Accountability, Beads, Challenges and Contests, Goals, Homemade, Make Madness, Paper Crafting | Tagged , , , , , , | 8 Comments

Day 3 {Make Madness} – Enamel Dots

Make Madness


Day 3 of Make Madness – Enamel Dots


different-ways-to-make-enamel-dots-5When I’m papercrafting and especially making cards, I love to add little accents.  Sequins are at the top of my list, but my favorite embellishment is enamel dots.  The trouble is they’re quite expensive.

I found this tutorial that shows how to make enamel dots with glue from a glue gun and using Perler beads.  If either of these techniques work, I’ll be sitting pretty with enamel dots!

Come back tonight to see how I did.


Until this evening,

Grace


If you’re just joining the madness with {Make Madness} here are links to the previous projects.

Day 2 {Make Madness} – Embossed Brads
Day 1 {Make Madness} – Words & Washi Tape

IMG_3648


Hey mom – be careful with that glue gun.  I don’t want you hurting yourself just to create something that could be going on my birthday card.

Posted in Accountability, Challenges and Contests, Goals, Homemade, Make Madness, Paper Crafting, Pinterest | Tagged , , , , , | Leave a comment

Day 2 {Make Madness} – Part 2 – Embossed brads

Make Madness

Day 2 – Embossed brads


d7833247d9534fe465c57a326ff6c6a4I followed the instructions in this tutorial and absolutely loved the results.

01ffb6bafbdad3cc5240f1f14bd6b6c4f3de819828I needed some green brads for a upcoming project so I fished out my brads and my green embossing powder.  I had two varieties: a dark sage green and a verdigris green.

As instructed, I heated my metal brad with my heat gun and dipped it in the powder.  I have to admit, I was a little skeptical, but the powder actually stuck to the heated brad.  I then melted the powder with the heat gun and voila – a green brad.  It looks almost black in the photo, but it’s a deep hunter green.

01d2a5d95abaea4123a70eb66d99533bd42c3ffbff013101bfbea4e84318e70bdb4272134a626774fdae01ee0a1c236fce56c6cf4c1319ffcffded8b69b1dc


I tried it with the verdigris, and it worked, but I needed to heat and dip a couple of times because the verdigris is a combination of colors (variegated) and kept turning white.  I think I needed to use that powder on a larger surface area.

Of course after the success of those two, I just had to keep heating and dipping.  I used a couple of powders that were mixed with glitter.  I was surprised that the glitter wasn’t more glittery, but I think it melted into the powder.  In the tutorial, she does talk about reheating the brad and dipping the melted powder into glitter.  I’ll need to try that next time.

01ef1bd79c48f2f075c18728c3d41eb4358370c2fc01b966e51f695136a308e7617a3b4c48170f58d3c1


I found a star brad and embossed that silver.  I really like how that turned out.

01269aeba55cce9b5c06ffd9646aa4d59d2a63d34c015f9adb00e5d9b851fc6306d66a51ce10183c5d55014dbc553e47777270f4c496051fad19892887d67a


This may seem a bit time consuming, but the effect is stunning and worth the time.  Besides I only ever use a few brads on a project at a time.

Until tomorrow,

Grace


015aa4adb1063c77fe7754118378e3064b01edebcd


I’m keeping my eyes closed just in case this is for my card – you know, for my birthday coming up.

Posted in Accountability, Challenges and Contests, Goals, Homemade, Make Madness, Paper Crafting | Tagged , , , , , | 4 Comments

Day 2 {Make Madness} – Embossed brads

Make Madness


Day 2 of Make Madness – Embossed Brads


d7833247d9534fe465c57a326ff6c6a4I often use brads in my card making and when I came across this tutorial on Pinterest for changing the colors and giving dimension to brads, I just had to give it a try.

This gives me so many color options and lets me use up brads that I’ve been passing by because I’m not a fan of the color.

The tutorial also gives instructions for adding glitter as well.  Now that I definitely have to try.

Come back tonight to see how I did.

Until this evening,

Grace


If you’re just joining the madness with {Make Madness} here are links to the previous projects.

Day 1 {Make Madness} – Words & Washi Tape


012c1d1b9e2d85cf93211b58b3d192e78ba740aa37


Is all this embossing and glittering in preparation for my birthday?  Blue’s my favorite color.  Just sayin’.

Posted in Accountability, Challenges and Contests, Goals, Homemade, Make Madness, Paper Crafting, Pinterest | Tagged , , , , , | Leave a comment

Day 1 {Make Madness} – Part 2 – Words & Washi Tape

Make Madness

Day 1 – Words & Washi Tape


feb9889685b606cd1a34192a9cf2cd4aI followed the instructions in this tutorial with mixed results.  01f727be9d1aecd0ec85fdc5adbe7a658b1b5a84ac

I printed lines of “thank you” and “whilewalkingmydogs.com” in different fonts.  I made sure to bold the fonts to ensure the maximum amount of ink on my paper.

01ad19f1b9ed1079bcaac72ec3f3e86de8dd4f2f33I chose a selection of washi tape rolls staying away from dark prints.  Even with the light prints, though, the letters were super light through the washi tape.  Although the tutorial didn’t say to do this, I used a bone folder to make sure the tape was pressed flat against the lettering.  I’m not sure I needed to do this because it resulted in pulling up the paper with one line of tape.  It’s sufficient to just secure the tape with your finger.

01718629a7ad955c62e381553c29856129f2ac5f30017da3e3bd8eb0926039b84715ebf1fd48347eccec01a2d680c1d5aa894fb374e7ba428dee22b0498077


01567ca416cc30776435f81ac33b28ac7a1d6f125c017d1a9f2101b21aa962bab0470eb9728187729cf8

0111805f01ff59ccb5827a98566921024335f8ac7e

I used a piece of freezer paper to store the pieces of tape with words for future use.  This was fun to try, but really didn’t have the results I was hoping for.  I might try using black dye ink and my alphabet/word stamps to stamp phrases on top of the washi tape.  It may not look as neat as printed type, but it will be more visible.

Until tomorrow,

Grace


013eaff989bc02b8082e7a808984b2b9b0fcc2c5a9


I’m not the craftiest dog around, but maybe you could also try white ink on the black dog paw washi tape you have?  I know that’s your favorite washi tape.

Posted in Accountability, Challenges and Contests, Goals, Homemade, Make Madness, Washi Tape | Tagged , , , , , | 3 Comments

Day 1 {Make Madness} – Words & Washi Tape

Make MadnessWith this blog series, I’ll be posting twice a day.  There will be a morning post and an evening post.  The first post will describe what I plan to work on and the second post will show how I did.


So without further adieu – Day 1 of Make Madness – Words & Washi Tape

feb9889685b606cd1a34192a9cf2cd4aI can’t remember when I was introduced to washi tape, but it didn’t take long for me to develop a genuine love for this versatile product.  It’s definitely a product that is ‘collectible’, but it’s even more fun to use.

I came across this tutorial on Pinterest that shows how to apply words to your washi tape.  I love to add little touches to cards and envelopes and to the packages I send off through my Etsy shop.  When I saw this tutorial I thought I’d like to give it a go.

Come back tonight to see how I did.
Until this evening,

Grace


100_1849


You know my birthday’s coming up.  You could print “Happy 13th Birthday Woody” on some tape and use it to wrap my presents.  Just a suggestion.

Posted in Accountability, Challenges and Contests, Goals, Homemade, Make Madness, Washi Tape | Tagged , , , , , | Leave a comment

Paws || Walk On – 2.22 – 3.7

Every now and then when I’m walking dogs, I will just stop, ask them to sit for about 30 seconds and then I will say “walk on”. That is there cue to start walking again. I do this for a couple of reasons: 1. They’re super focused when they’re on the walk and I like to know I can get their attention any time I need it. 2. It’s good to continue to incorporate training into their daily routines. Just as we need to continue to refine our skills, so must dogs.

This always reminds me how important it is for me to pause and reflect on the past week and then think about the next one as I “walk on”.

Paws | Week of 2.22-2.28

• wasn’t able to talk with my grandpa this week because he wasn’t feeling well.
• watched the Oscars with family.
• continued tidying my craft room.  Setup a section for all my inks.
• finished February’s Photo-a-DayIMG_2987.
• met for coffee and knitting with friends.
• started reading Scary Close by Dan Miller.
• walked the dogs almost everyday.  Decided to keep track of our walks on a calendar.  So far for 2015: 56 out of 59.
• started a Ripple Crochet Blanket for a wedding gift.
01155186f43602eca1bd1bb0336efa46e2dce65c7d_00001• still working on Margaret’s scarf.
• finished prepping for taxes.
• taking care of a friend’s dog.


Walk On | Week of 3.1-3.7

• call my Grandpa in England.
• knit and drink coffee with friends.
• keep up with the Photo-a-day challenge for March.
• mail pet bed pillow insert for an Etsy order.
• continue to work on Margaret’s scarf.
• need to make and post cards from January Card Series || Cards for 2015 in my Etsy shop.
• repeat the #clutterfree30 challenge.
• go to Pinterest party with friends.
• continue to organize my craft room.  You’re probably wondering when I’ll be done with this.  Me too.
• continue reading Scary Close by Donald Miller.
• work on Quest46.
• work on and post projects for MakeMadness.

My favorite quote from the week:  “Start being afraid of what could go wrong, and focus on what could go right.”  Unknown.

Have a wonderful week,
Grace


IMG_2971


I’d like to point out that dogs make up more than 50% of the pictures in your February Photo-a-Day calendar.  Don’t get me wrong I’m not complaining, I think it’s cool.  (And, by the way, I’m really good at math.)

Posted in 31 Days of Cards, Accountability, Books, Cards, Challenges and Contests, Cleaning, Crochet, DeCluttering, Dogs, Goals, Homemade, Knitting, Organization, Paper Crafting, Quest46, Recycling, Repurposing, sewing, Yarn | Tagged , , , , , , , , , , , , , , , , , , | Leave a comment

Make Madness begins tomorrow

As long as I can remember, I’ve loved to make things.  My earliest memory was when I was 4 and my mom bought me a set of sewing cards.  I loved drawing and coloring – getting the big box of Crayola Crayons for Christmas is still a vivid memory.  I remember making paper projects with rubber cement.  I also remember my youngest brother using the rubber cement to lacquer one of my dolls.

grace's blanket2The other day I was talking with my mom about favorite childhood memories and one of the clearest, happiest ones I have is when she took me to the local wool shop to buy a skein of yarn for my first crochet blanket.  I still remember the basket holding all the yummy, colorful skeins of yarn.

Make Madness


The blog series during the month of March will be called “Make Madness”.  This is my version of March Madness and I give my husband all the credit for coming up with the name.

My goal is to make something every day during the month of March.  The project will either be a craft I’ve never tried or a different spin on a craft I’m familiar with.

I have no plans for any specific giveaways, but I do encourage you to follow along because in my ‘making madness’ I might experience some ‘giveaway madness’ every now and then.

Until tomorrow,

Grace


IMG_2970


Would any of your ‘madness’ projects be for us?

Posted in Accountability, Challenges and Contests, Goals, Homemade, Make Madness | Tagged , , , , | 2 Comments