

Day 3 – Enamel Dots
 I followed the instructions in this tutorial and absolutely loved the results.
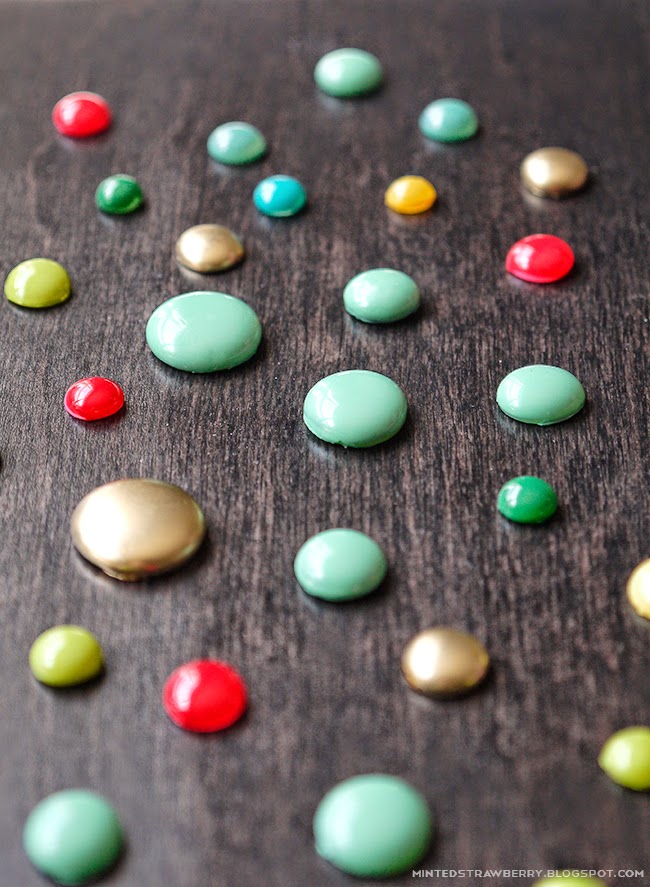
The tutorial showed three ways to make enamel dots: using Perler beads, pony beads and a glue gun. I tried the Perler beads and the glue gun methods.
Both methods worked out great, but the Perler beads took less time in the sense that I just popped them in the oven and went to do other stuff. The glue gun dots required my time and while it was fun, I don’t see myself doing hundreds of these in one sitting.
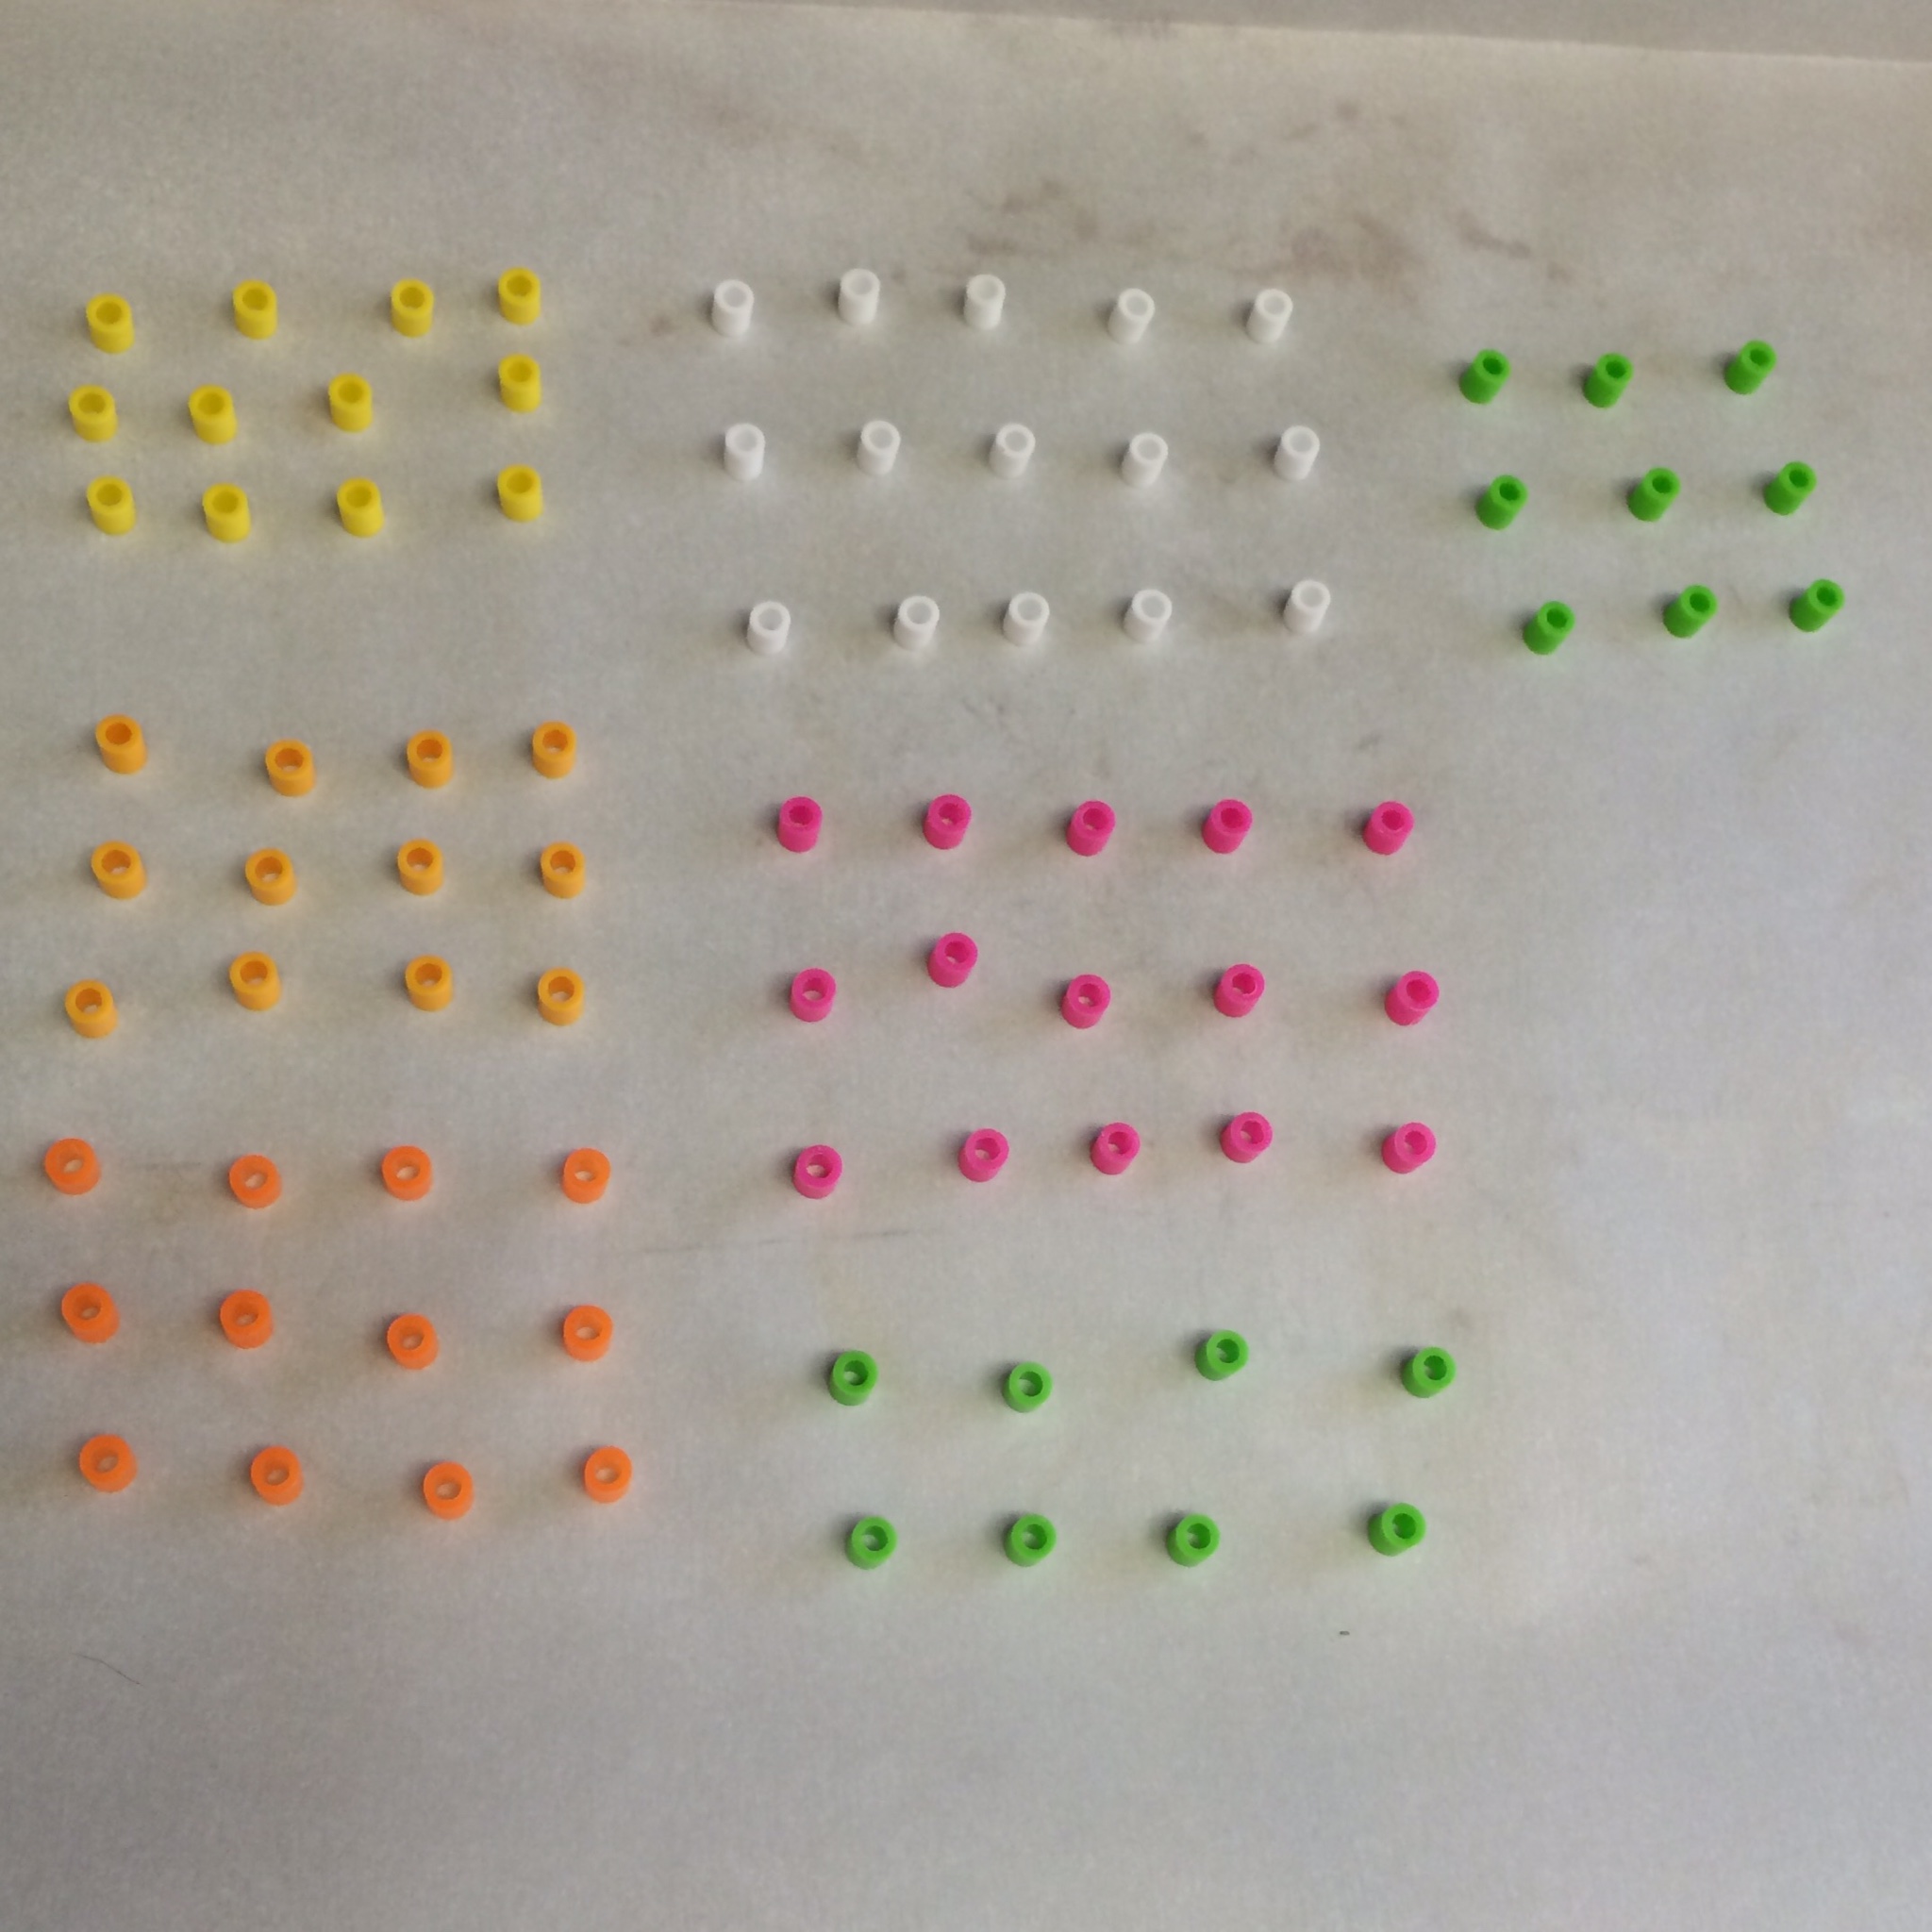
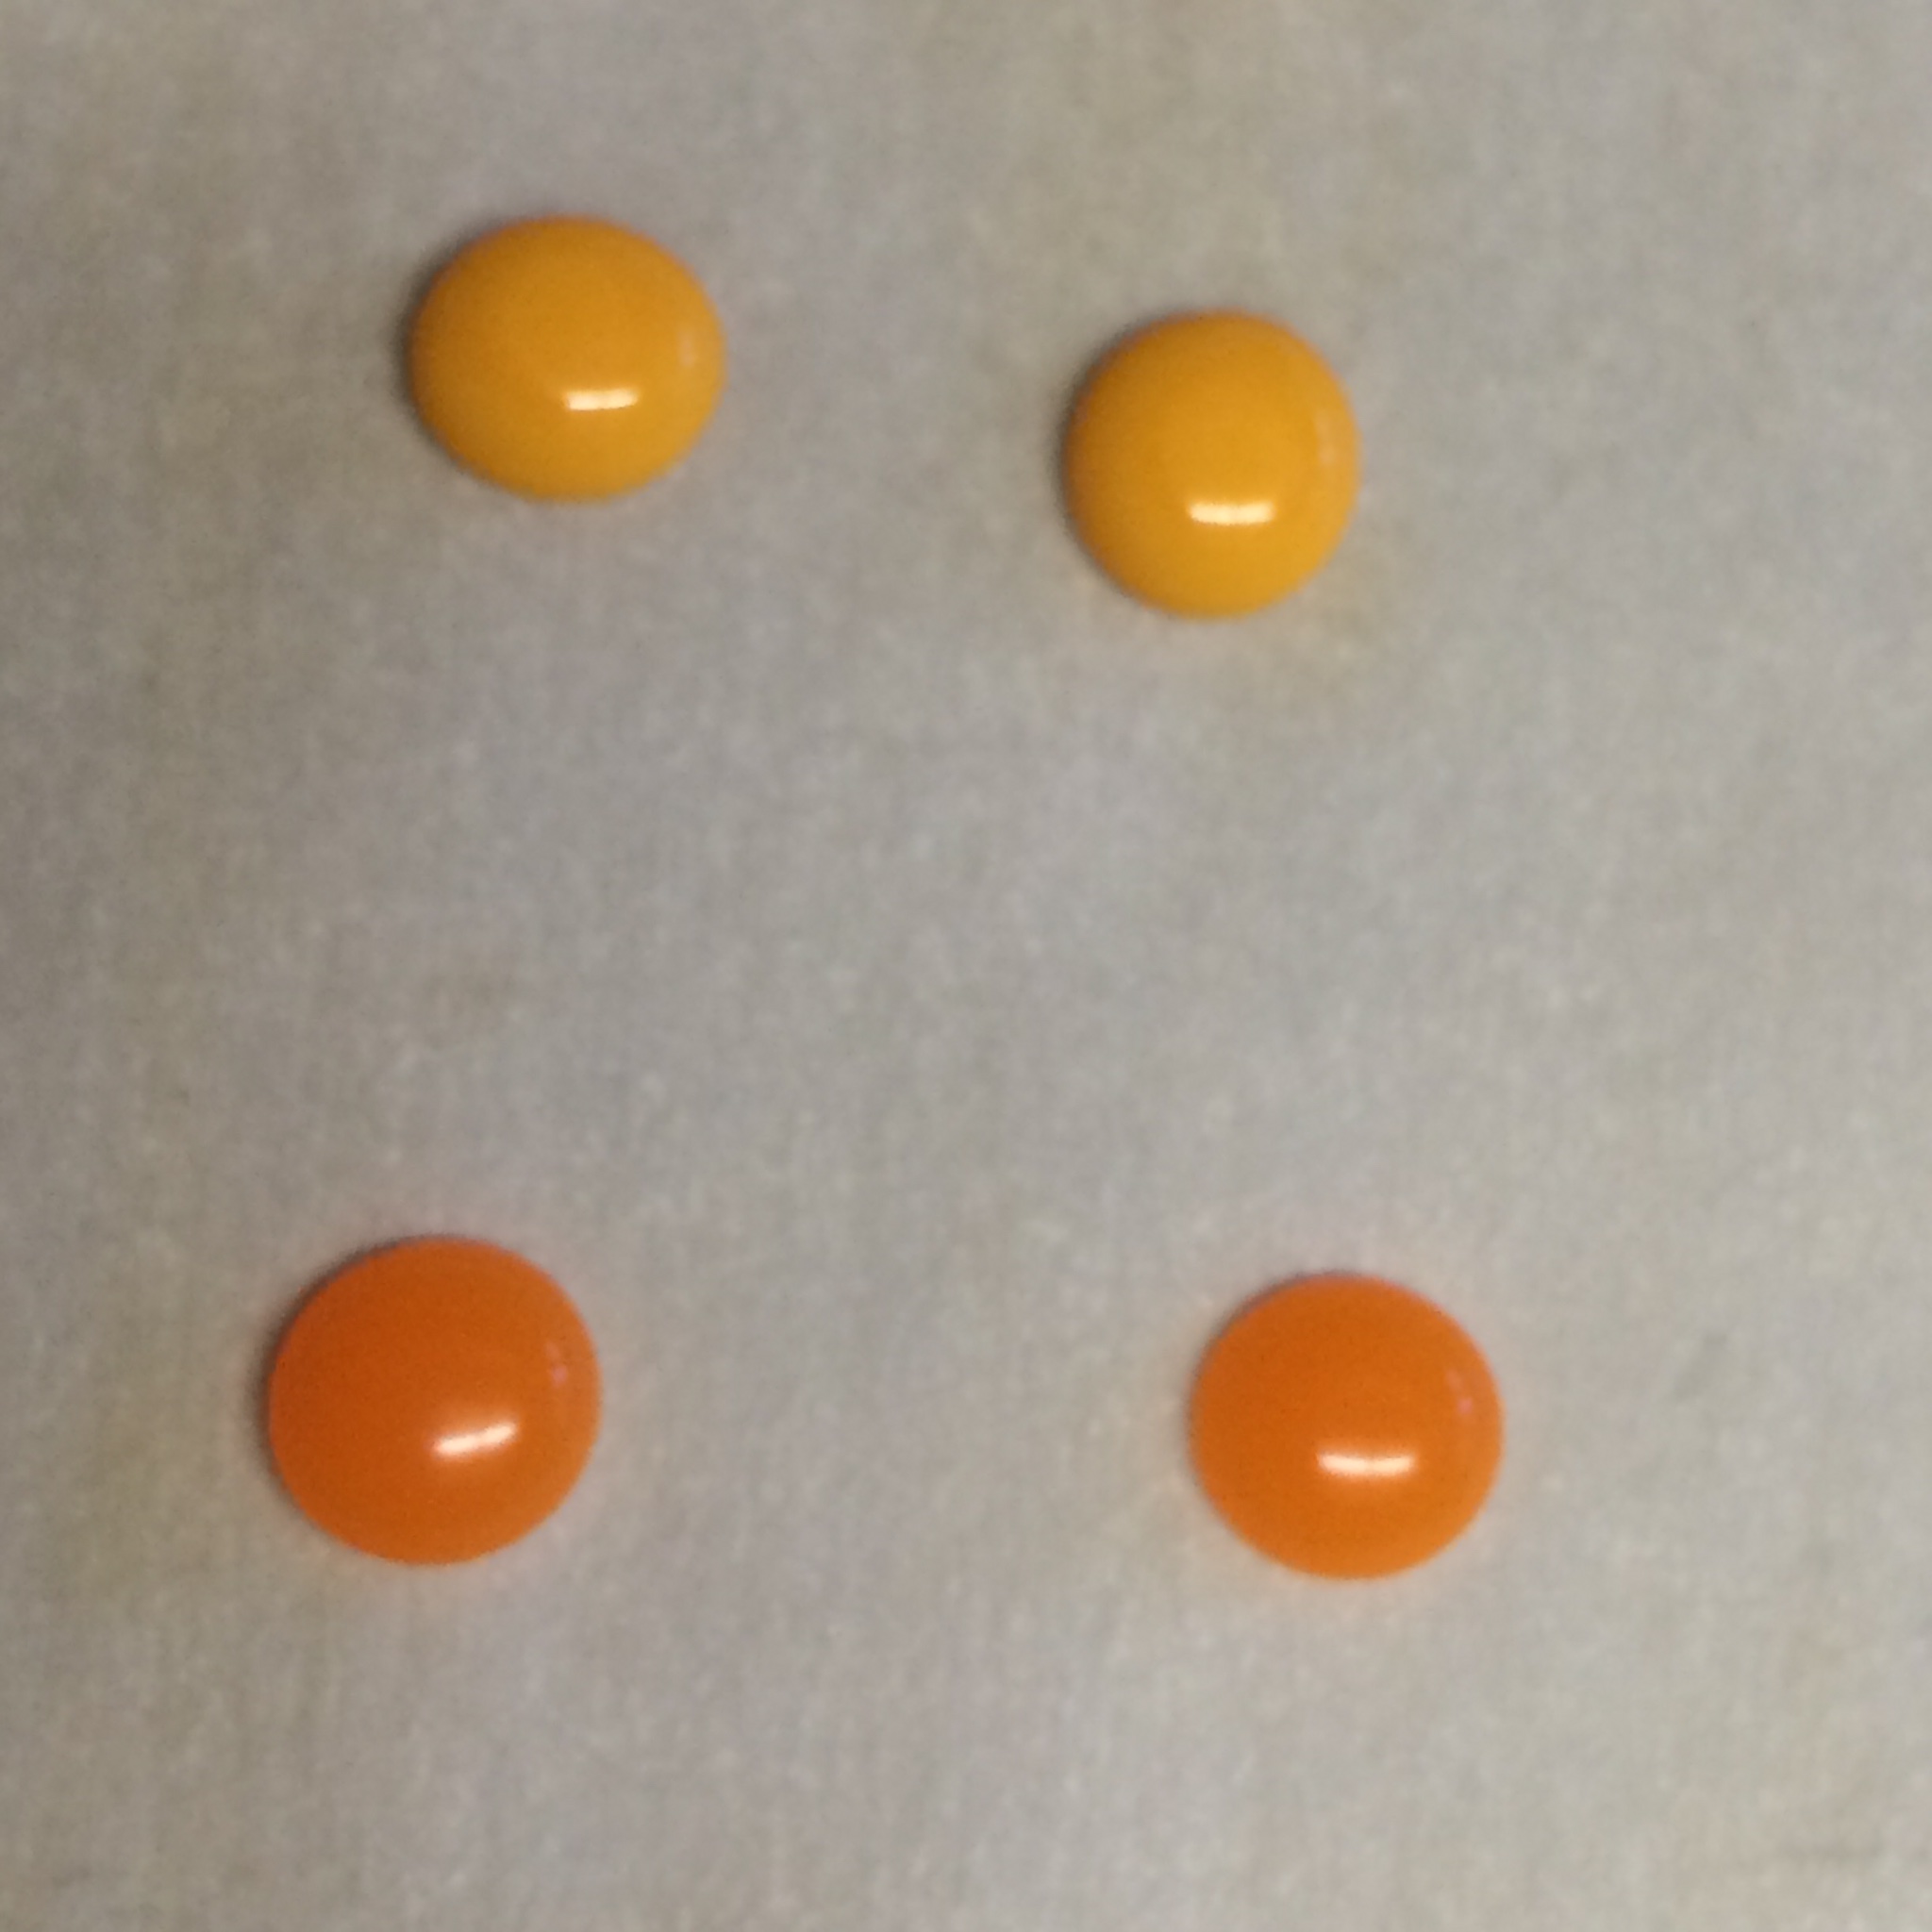
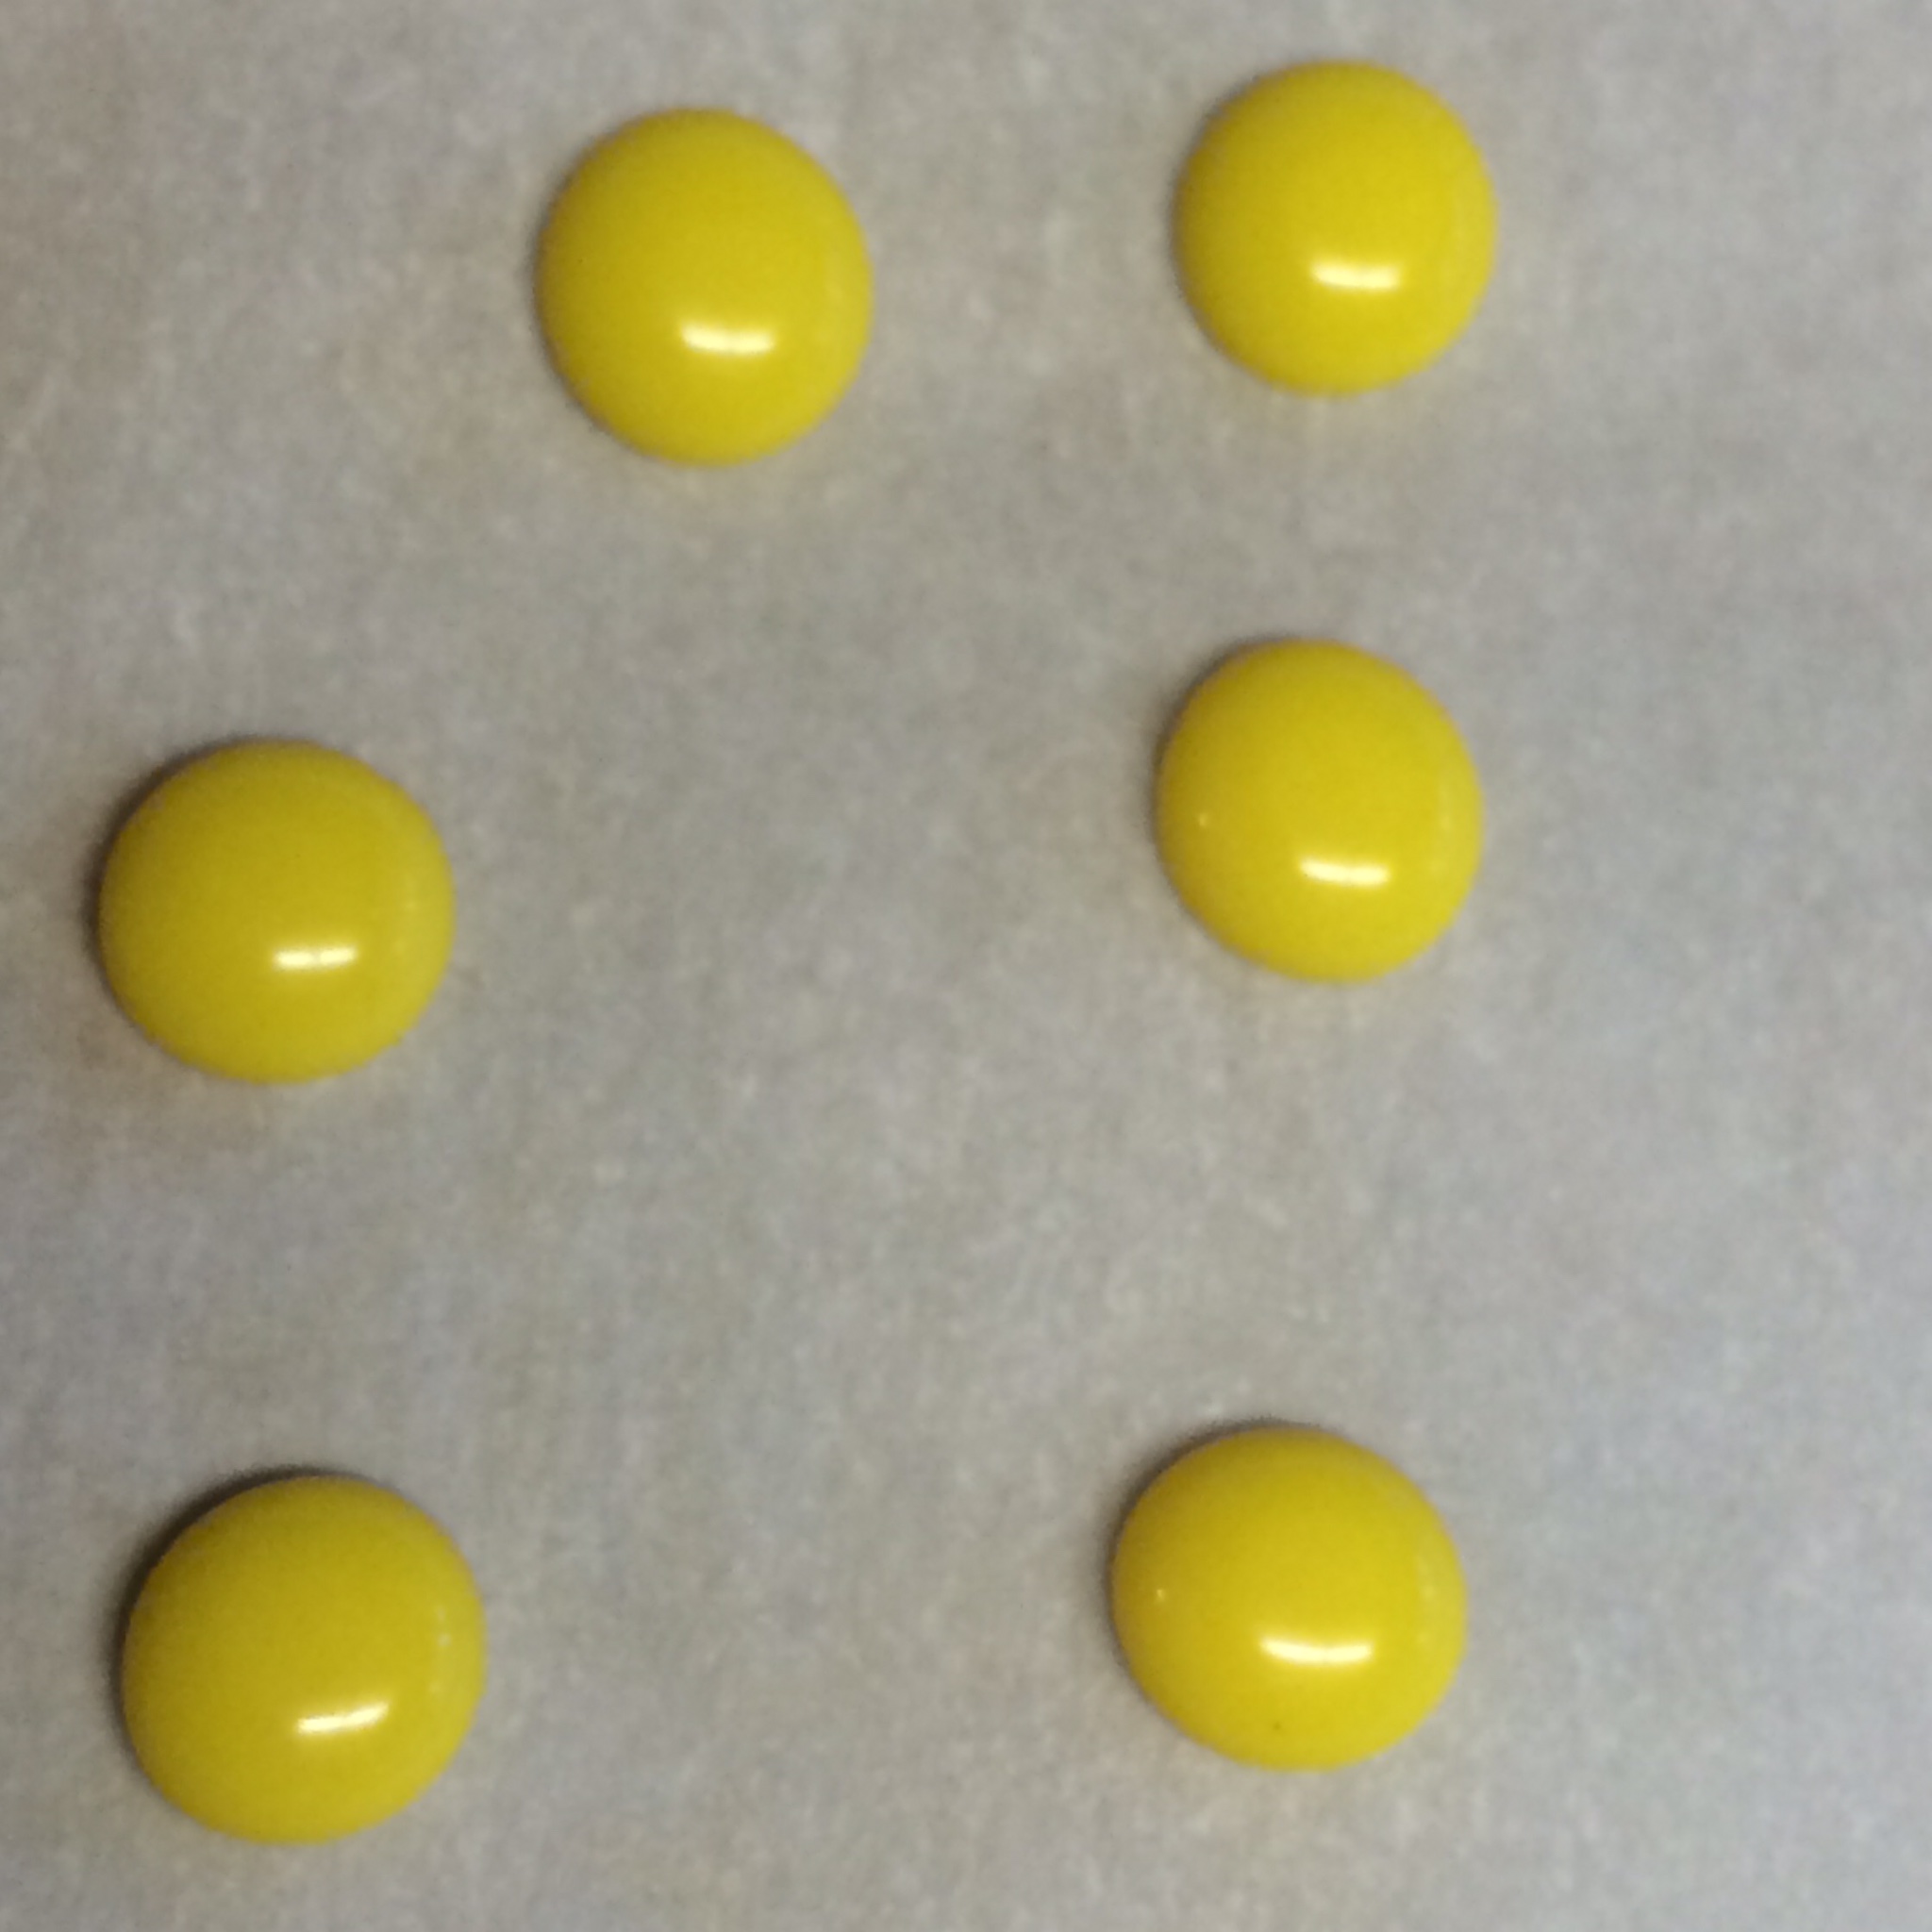
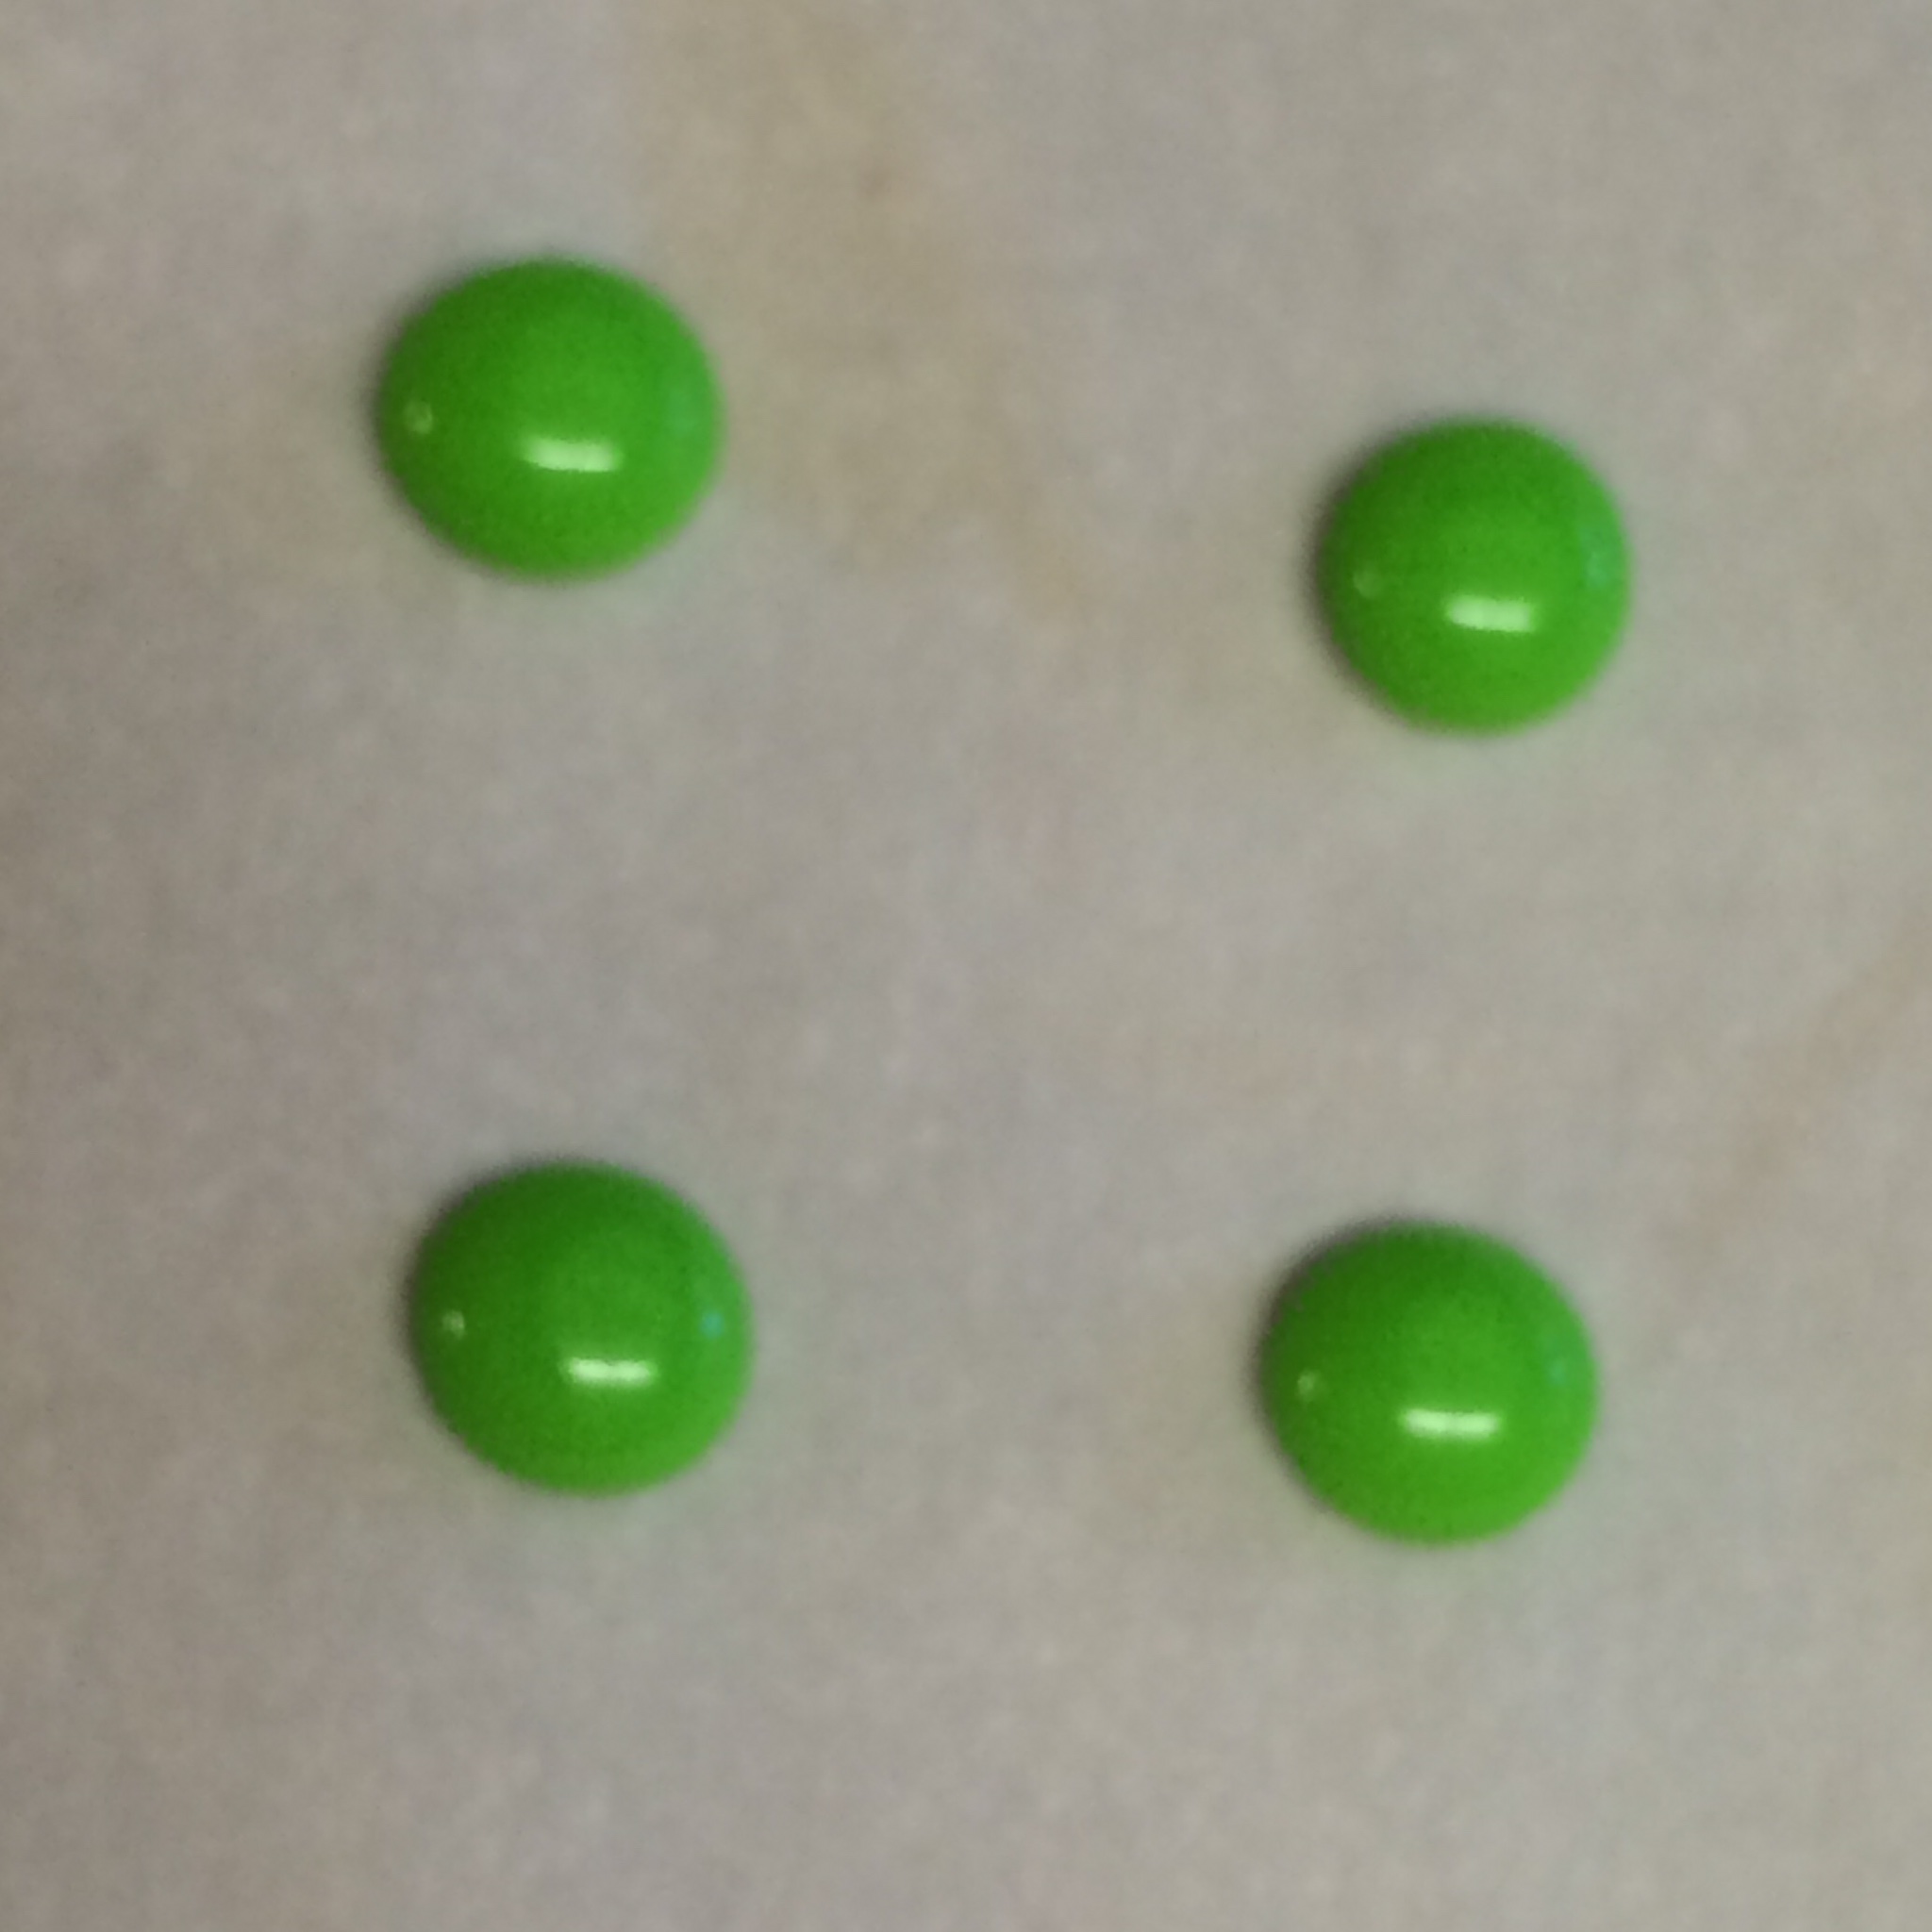
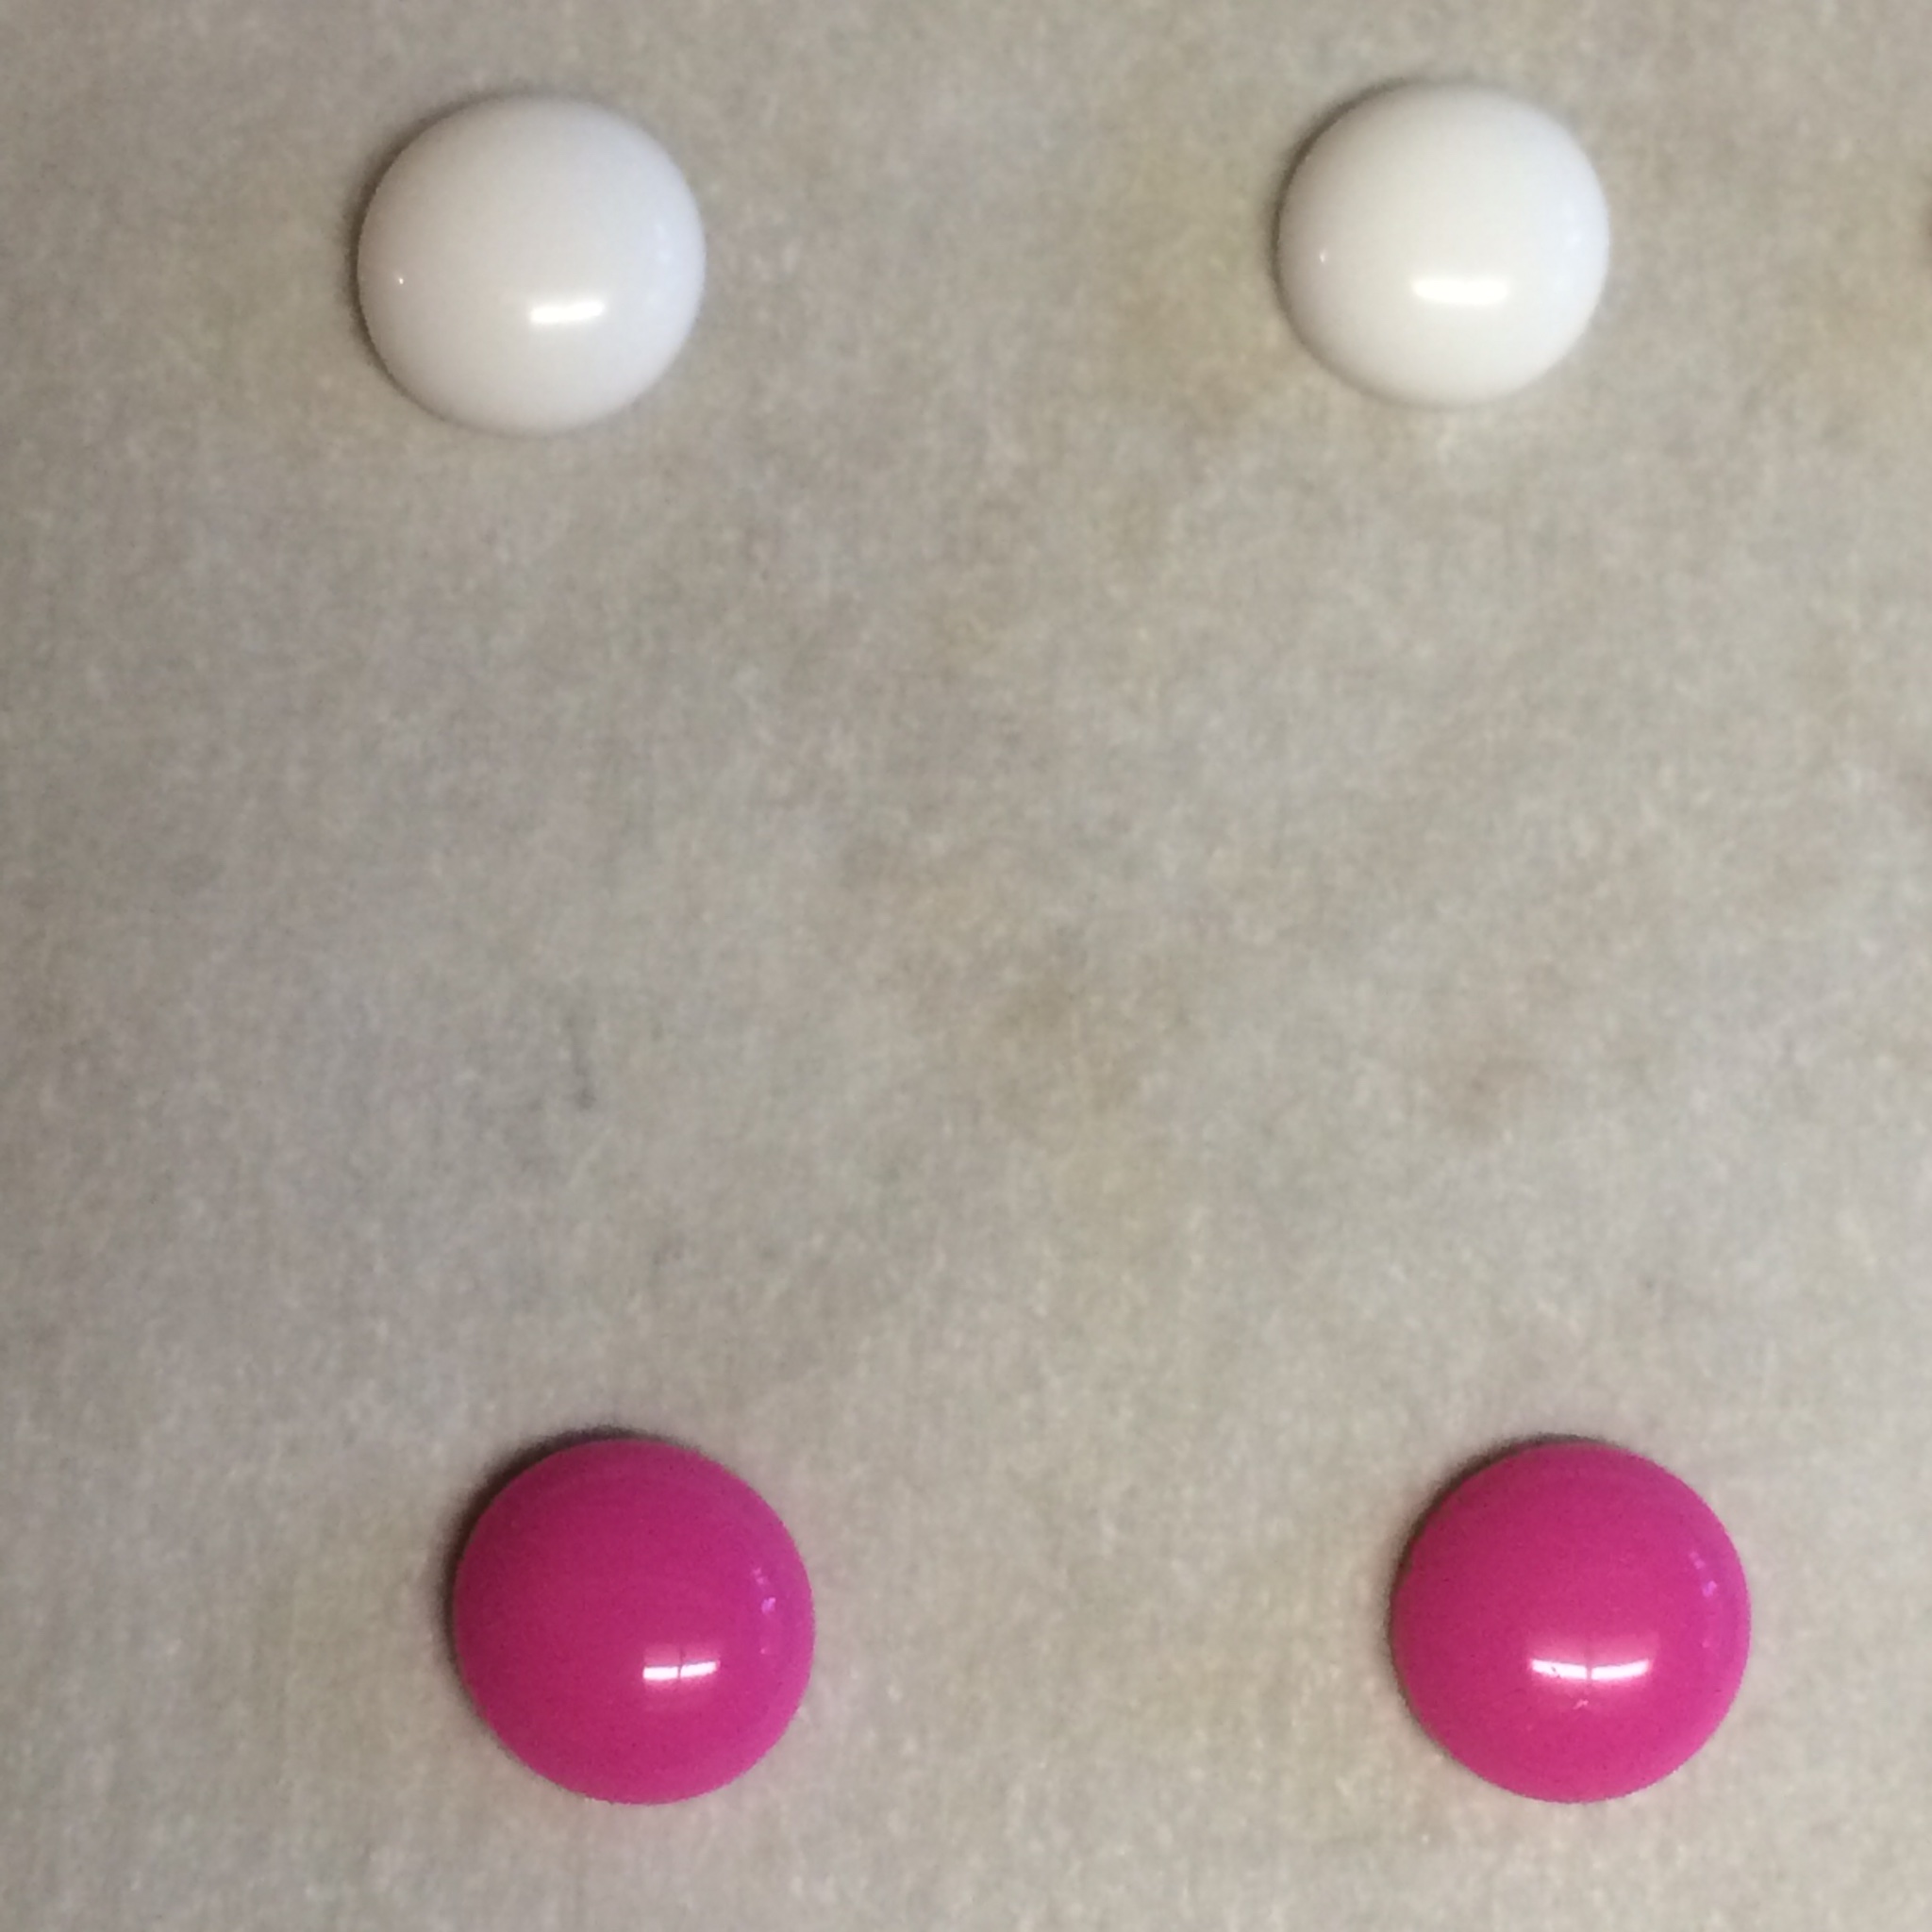
So here’s my review on each method. First, Perler beads: These are the beads that are used for kids craft projects where you arrange the beads in a plastic frame and then melt the beads. The melting quality is what I was after. Of the two methods, I think this is the one I’ll do again. The beads melted beautifully and uniformly. I love the color options and decided I could paint the white beads if I needed a color that wasn’t available. The beads ended up looking like those candy dots we used to eat as kids. I have to say that ‘cooking’ plastic does give off a ‘plastic’ smell, although it’s not overpowering. Nothing that a open window with a fresh breeze can’t take care of.
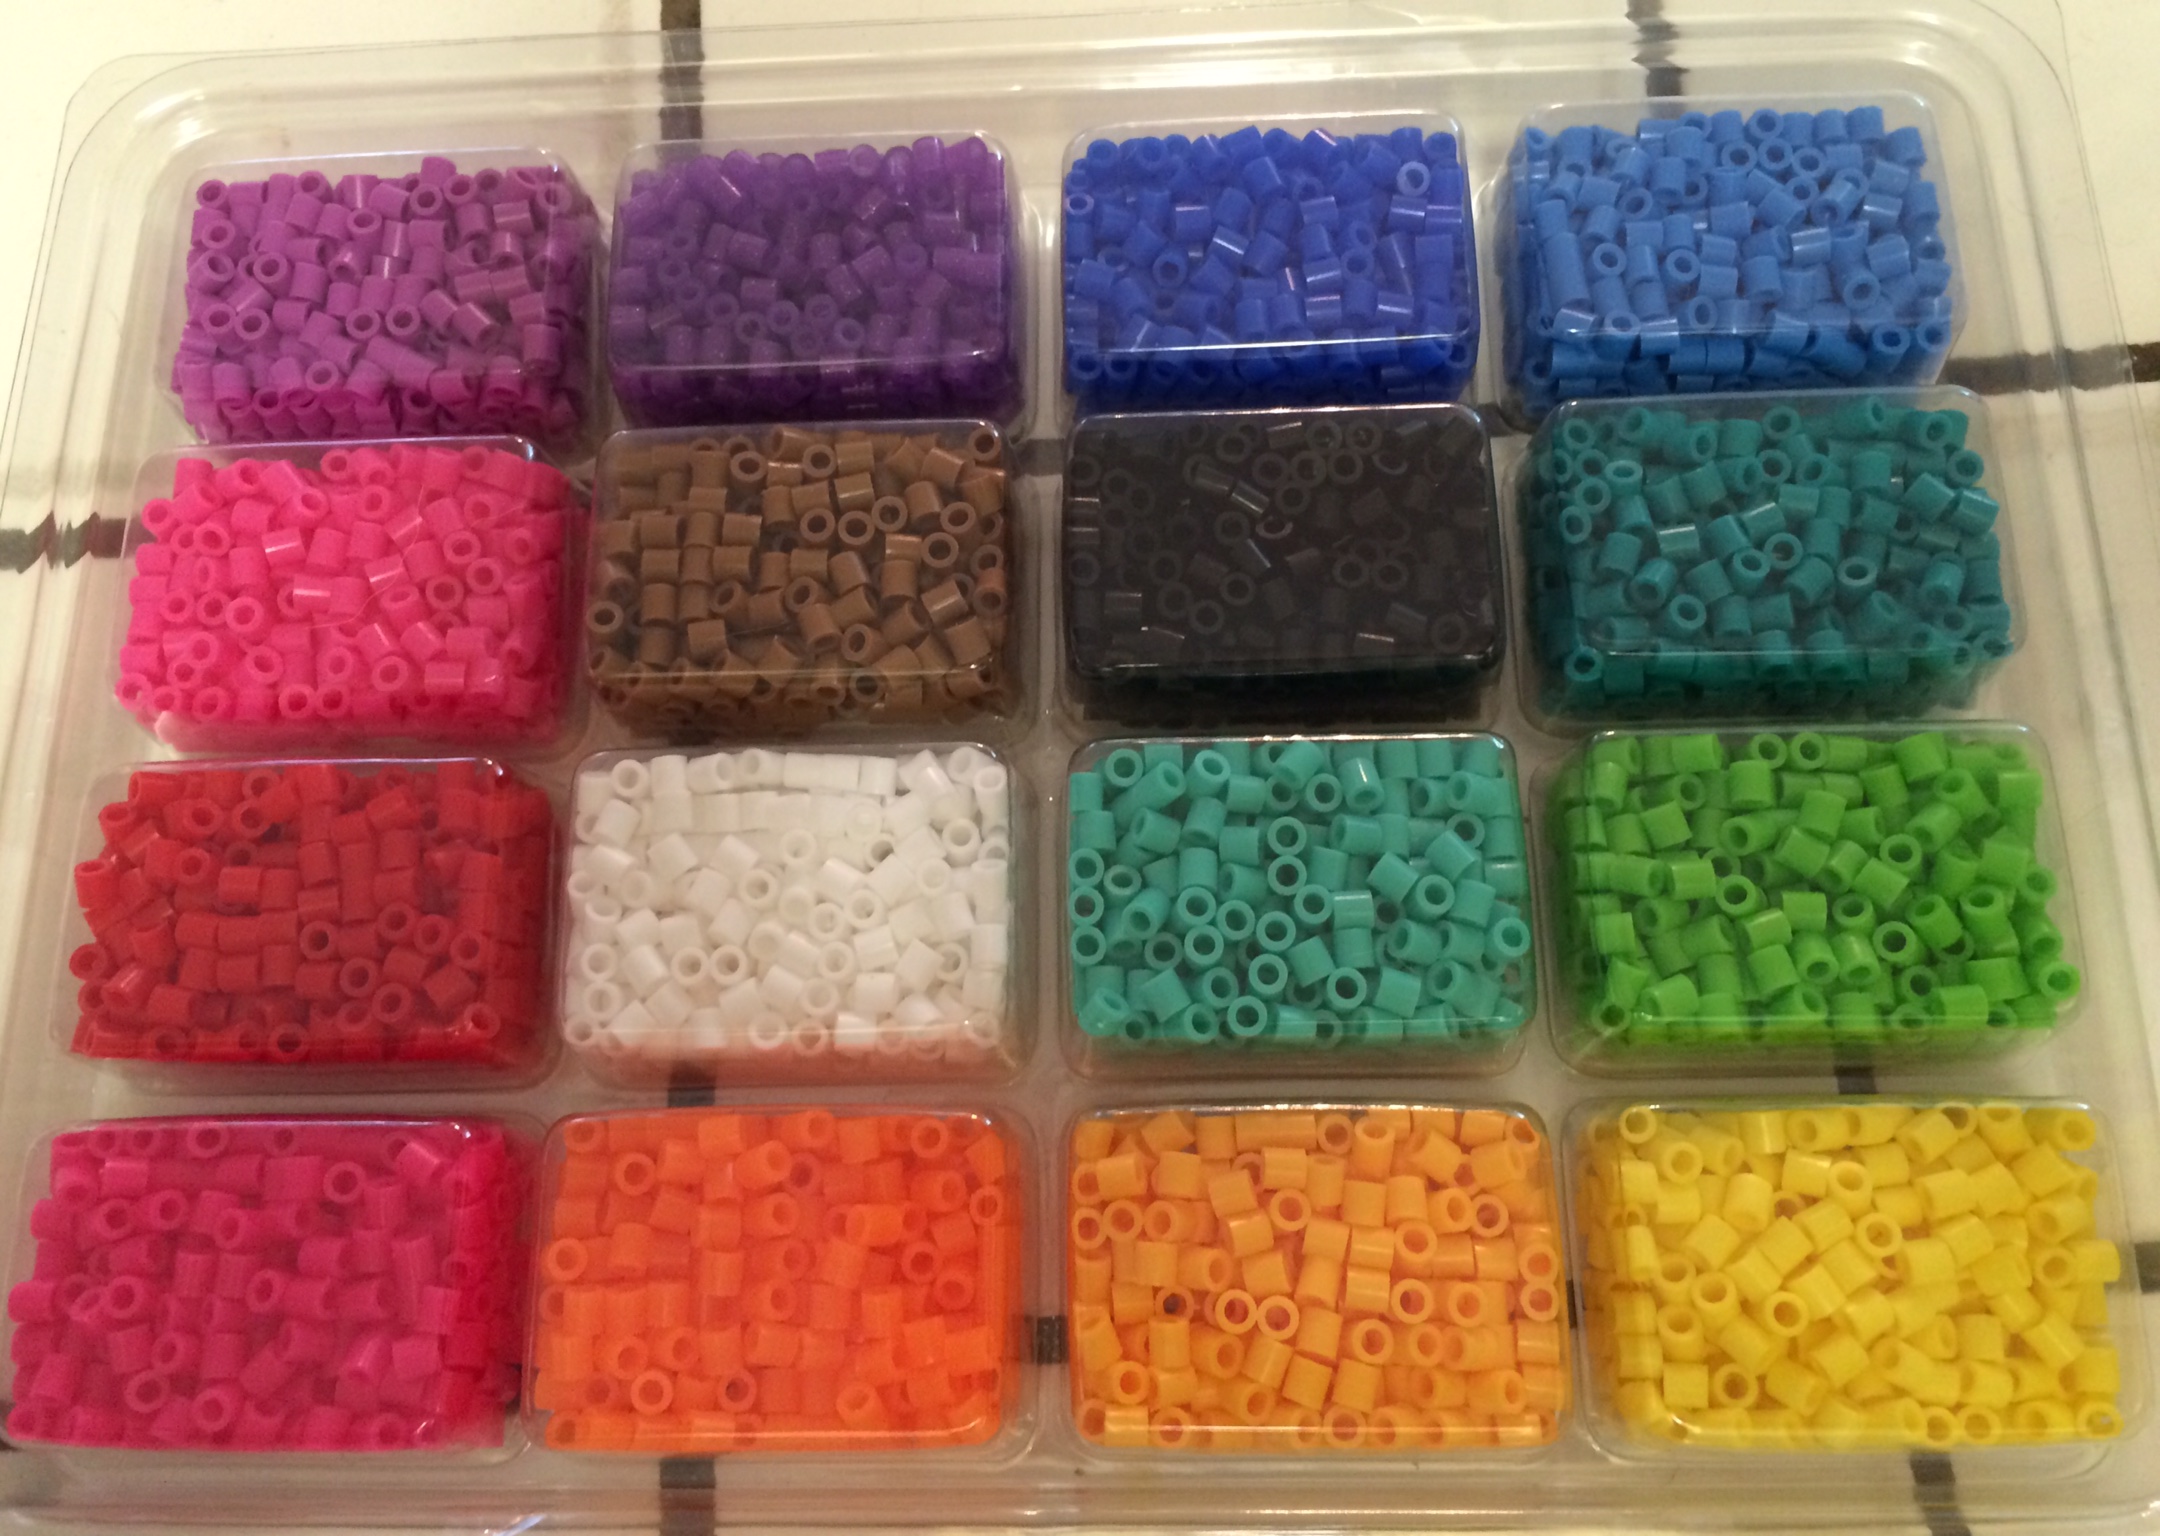
I heat my oven to 300 degrees, placed the beads on parchment paper with the holes facing up and set my timer for 30 minutes. That’s all it took and they came out perfect.

Okay now the glue dots. I used my teflon craft sheet and just started making dots with my glue gun. I know it sounds super simple, but it does take some practice. You’ll want to make sure you have a steady stream of glue. It helps to place a second glue stick in the gun and push on the stick as well as use the glue gun trigger. I didn’t master getting the dots very flat which is a feature of enamel dots. I did manage, however, to get the dots really round. I practiced with various sizes.
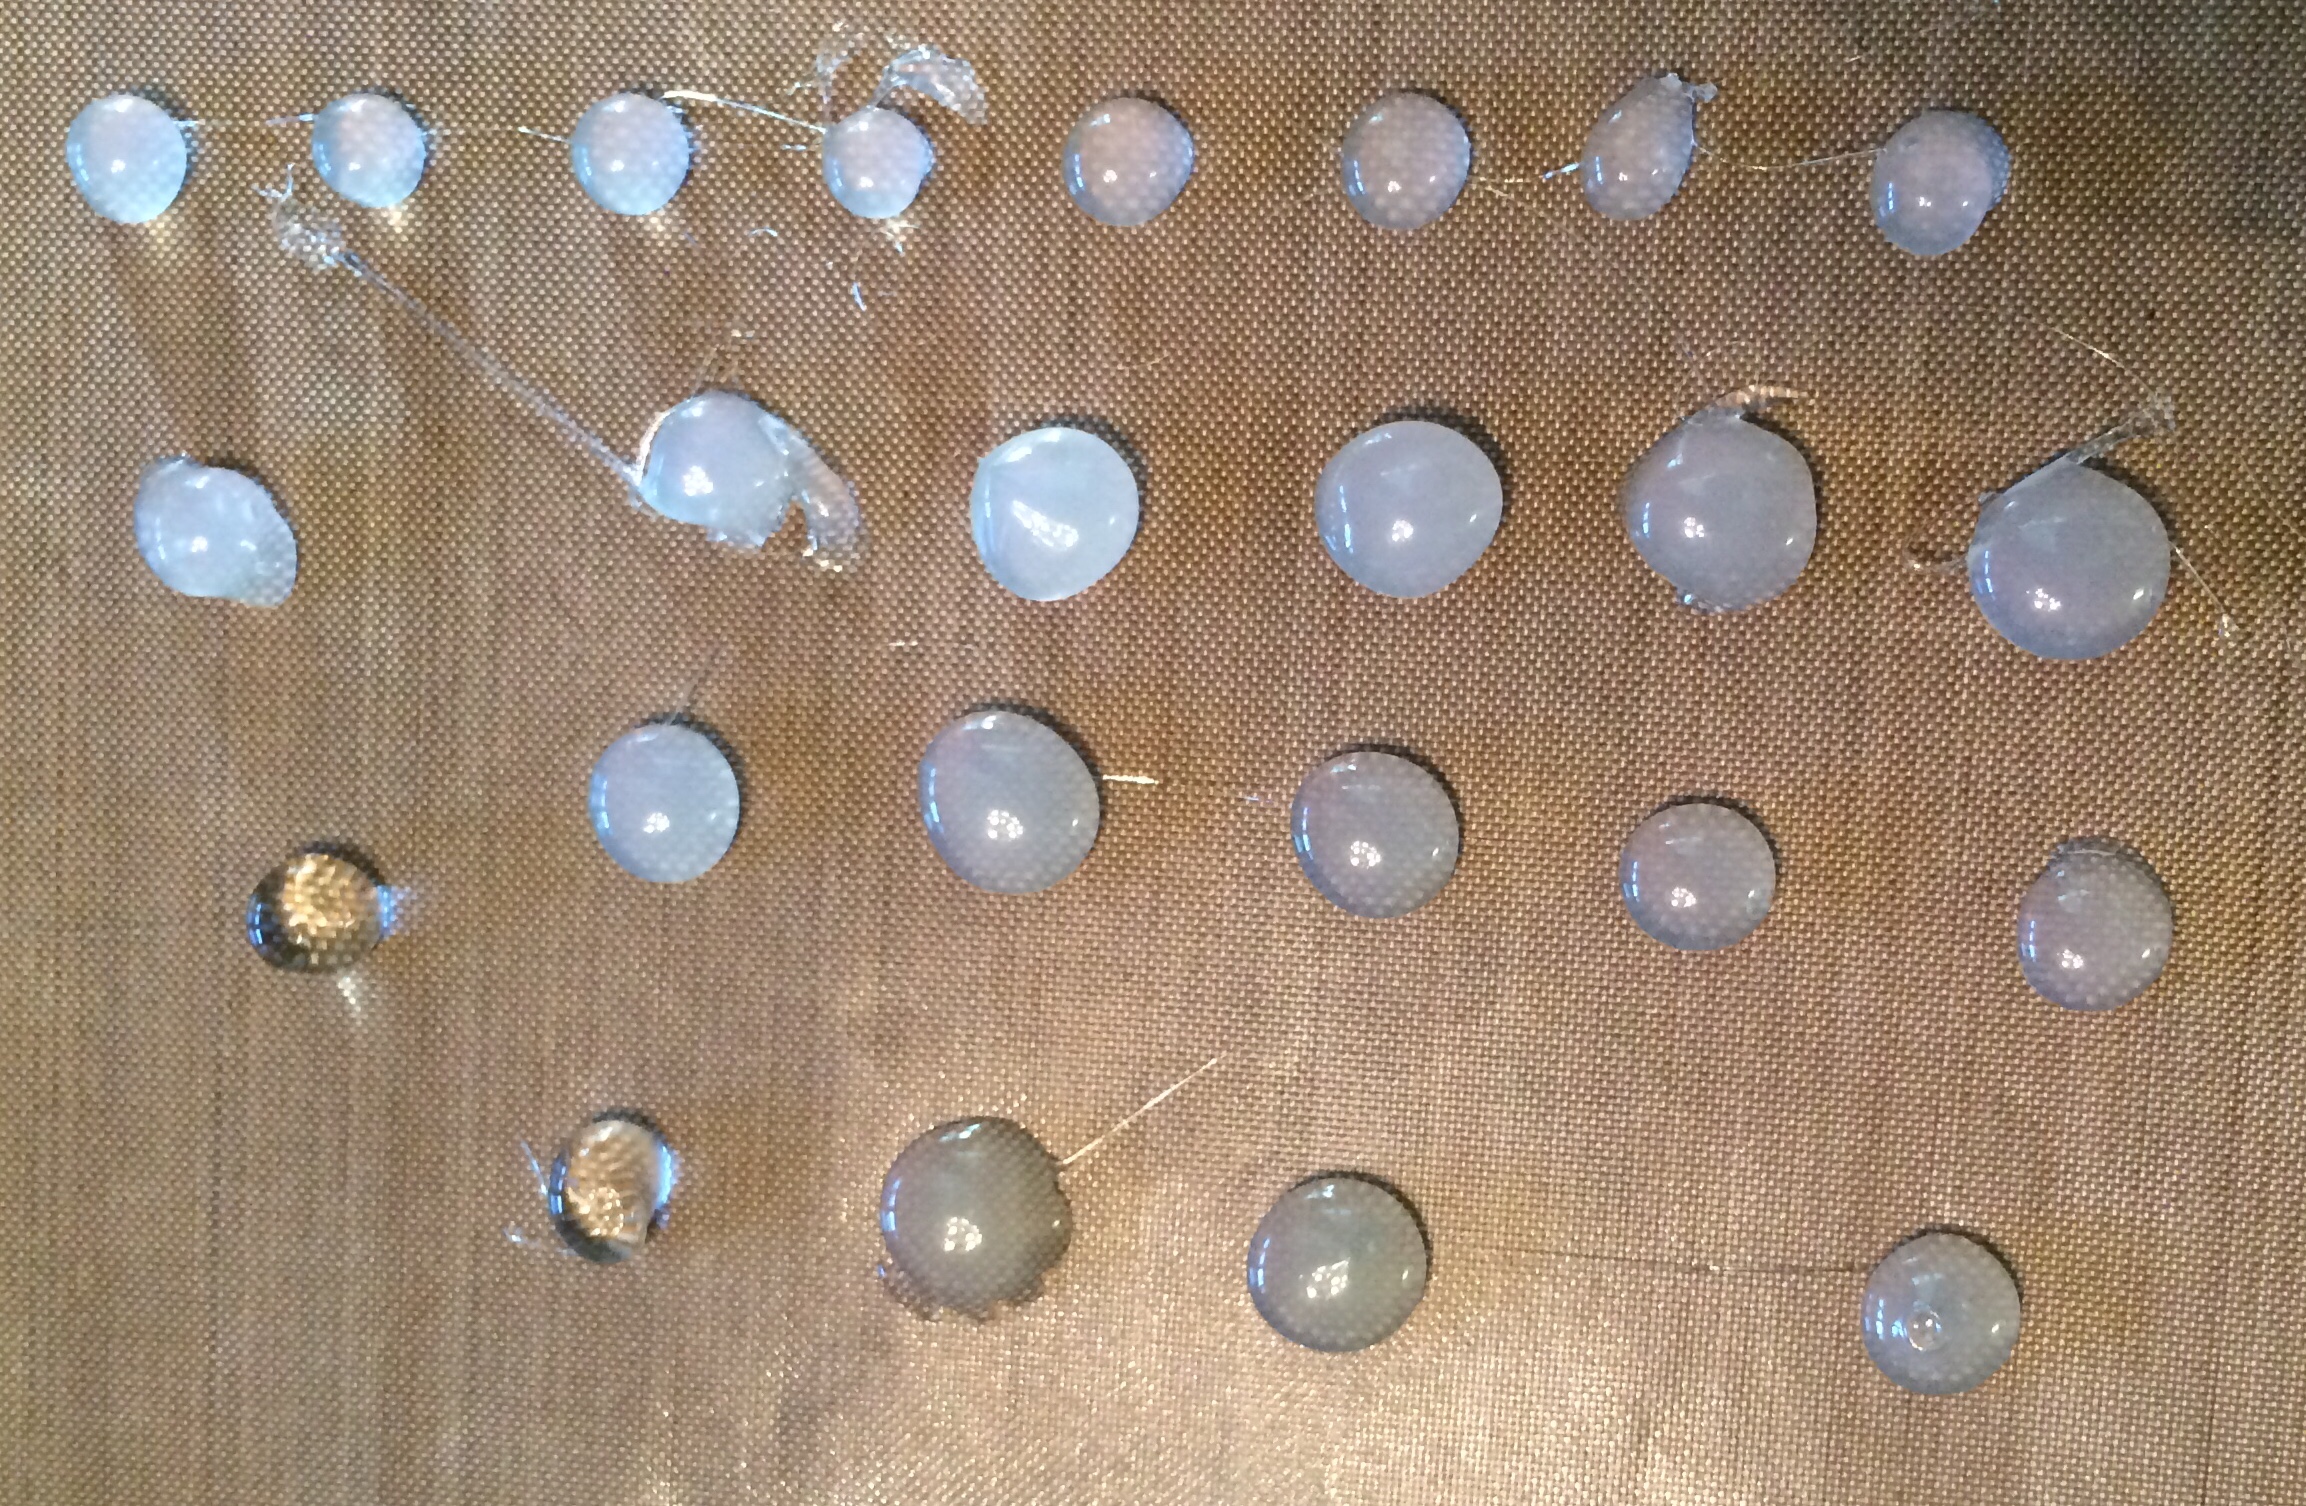
 Once the glue dots were dry, I rummaged through my nail polish collection and painted the dots. I recommend dousing the glue dots with polish. I tried to paint them with a brush and it only left streaks. When I ‘poured’ on the polish it produced a smoother look. The dots just lift right off the craft sheet and it’s easy to pull off the excess paint. (I went through a “I want greenish/blue nails” phase a while ago and had difficulty finding the exact “greenish/blue”, hence the greenish/blue dots.) I enjoyed trying this method, but really don’t see myself doing this again.
Now you’ll have to excuse me while I cook up another batch of Perler beads ;-).
Until tomorrow,


I really hope that you’re not going to feed up what you’re cooking in the oven. It doesn’t smell very yummy.

I’ve never used perler beads before and I didn’t know they melted down so beautifully. Glue guns are always such a pain to use and I end up with those wispy glue strings everywhere and usually a burn or two… But it looks like you have figured out how to use the gun efficiently. Very interesting post!
A couple of things… I spent quite a while ‘perfecting’ the glue gun dots and I used a low temp glue gun to minimize the burns. I’m not sure I still possess finger prints from all the glue gun burns in the past. 😉 I really love the perler beads and how they turned out.
An update on the perler beads: I did one more batch after my initial one with the darker colors. I read somewhere that the darker colors take longer to melt… and they did. That wasn’t a big deal, but the black ones all melted into oval shapes while all the other colors were circles. I’m really not sure why.
That’s really interesting!! I wonder why the black ones were ovals… hmmm. I bet my youngest daughter would love to melt these beads. I may have to give it a try!
I’m not sure. I’m wondering if the chemicals they use to colors the beads somehow reacts differently to heat. Weird. I also read somewhere that the newness of the beads can affect how they melt. The ones I used were a few months old. I bought a new pack yesterday just to try out my theory. I’ll let you know.
Yep, just as I suspected you win most creative person I know. Wow – super cool!!
This is such a wonderful idea! I love using enamel dots but they can get expensive. Have you tried this with the striped perler beads? Wondering what they would look like melted. I’m also wondering if you could cut the beads in half with a utility knife and get smaller dots…Off to do some experimenting!
Hi Brenda. I love your idea of cutting them in half. I’ll have to give that a go. And I just discovered yesterday that they make the striped perler beads. I’m excited to see how they turn out. Have fun experimenting!!