

Day 2 – Embossed brads
 I followed the instructions in this tutorial and absolutely loved the results.
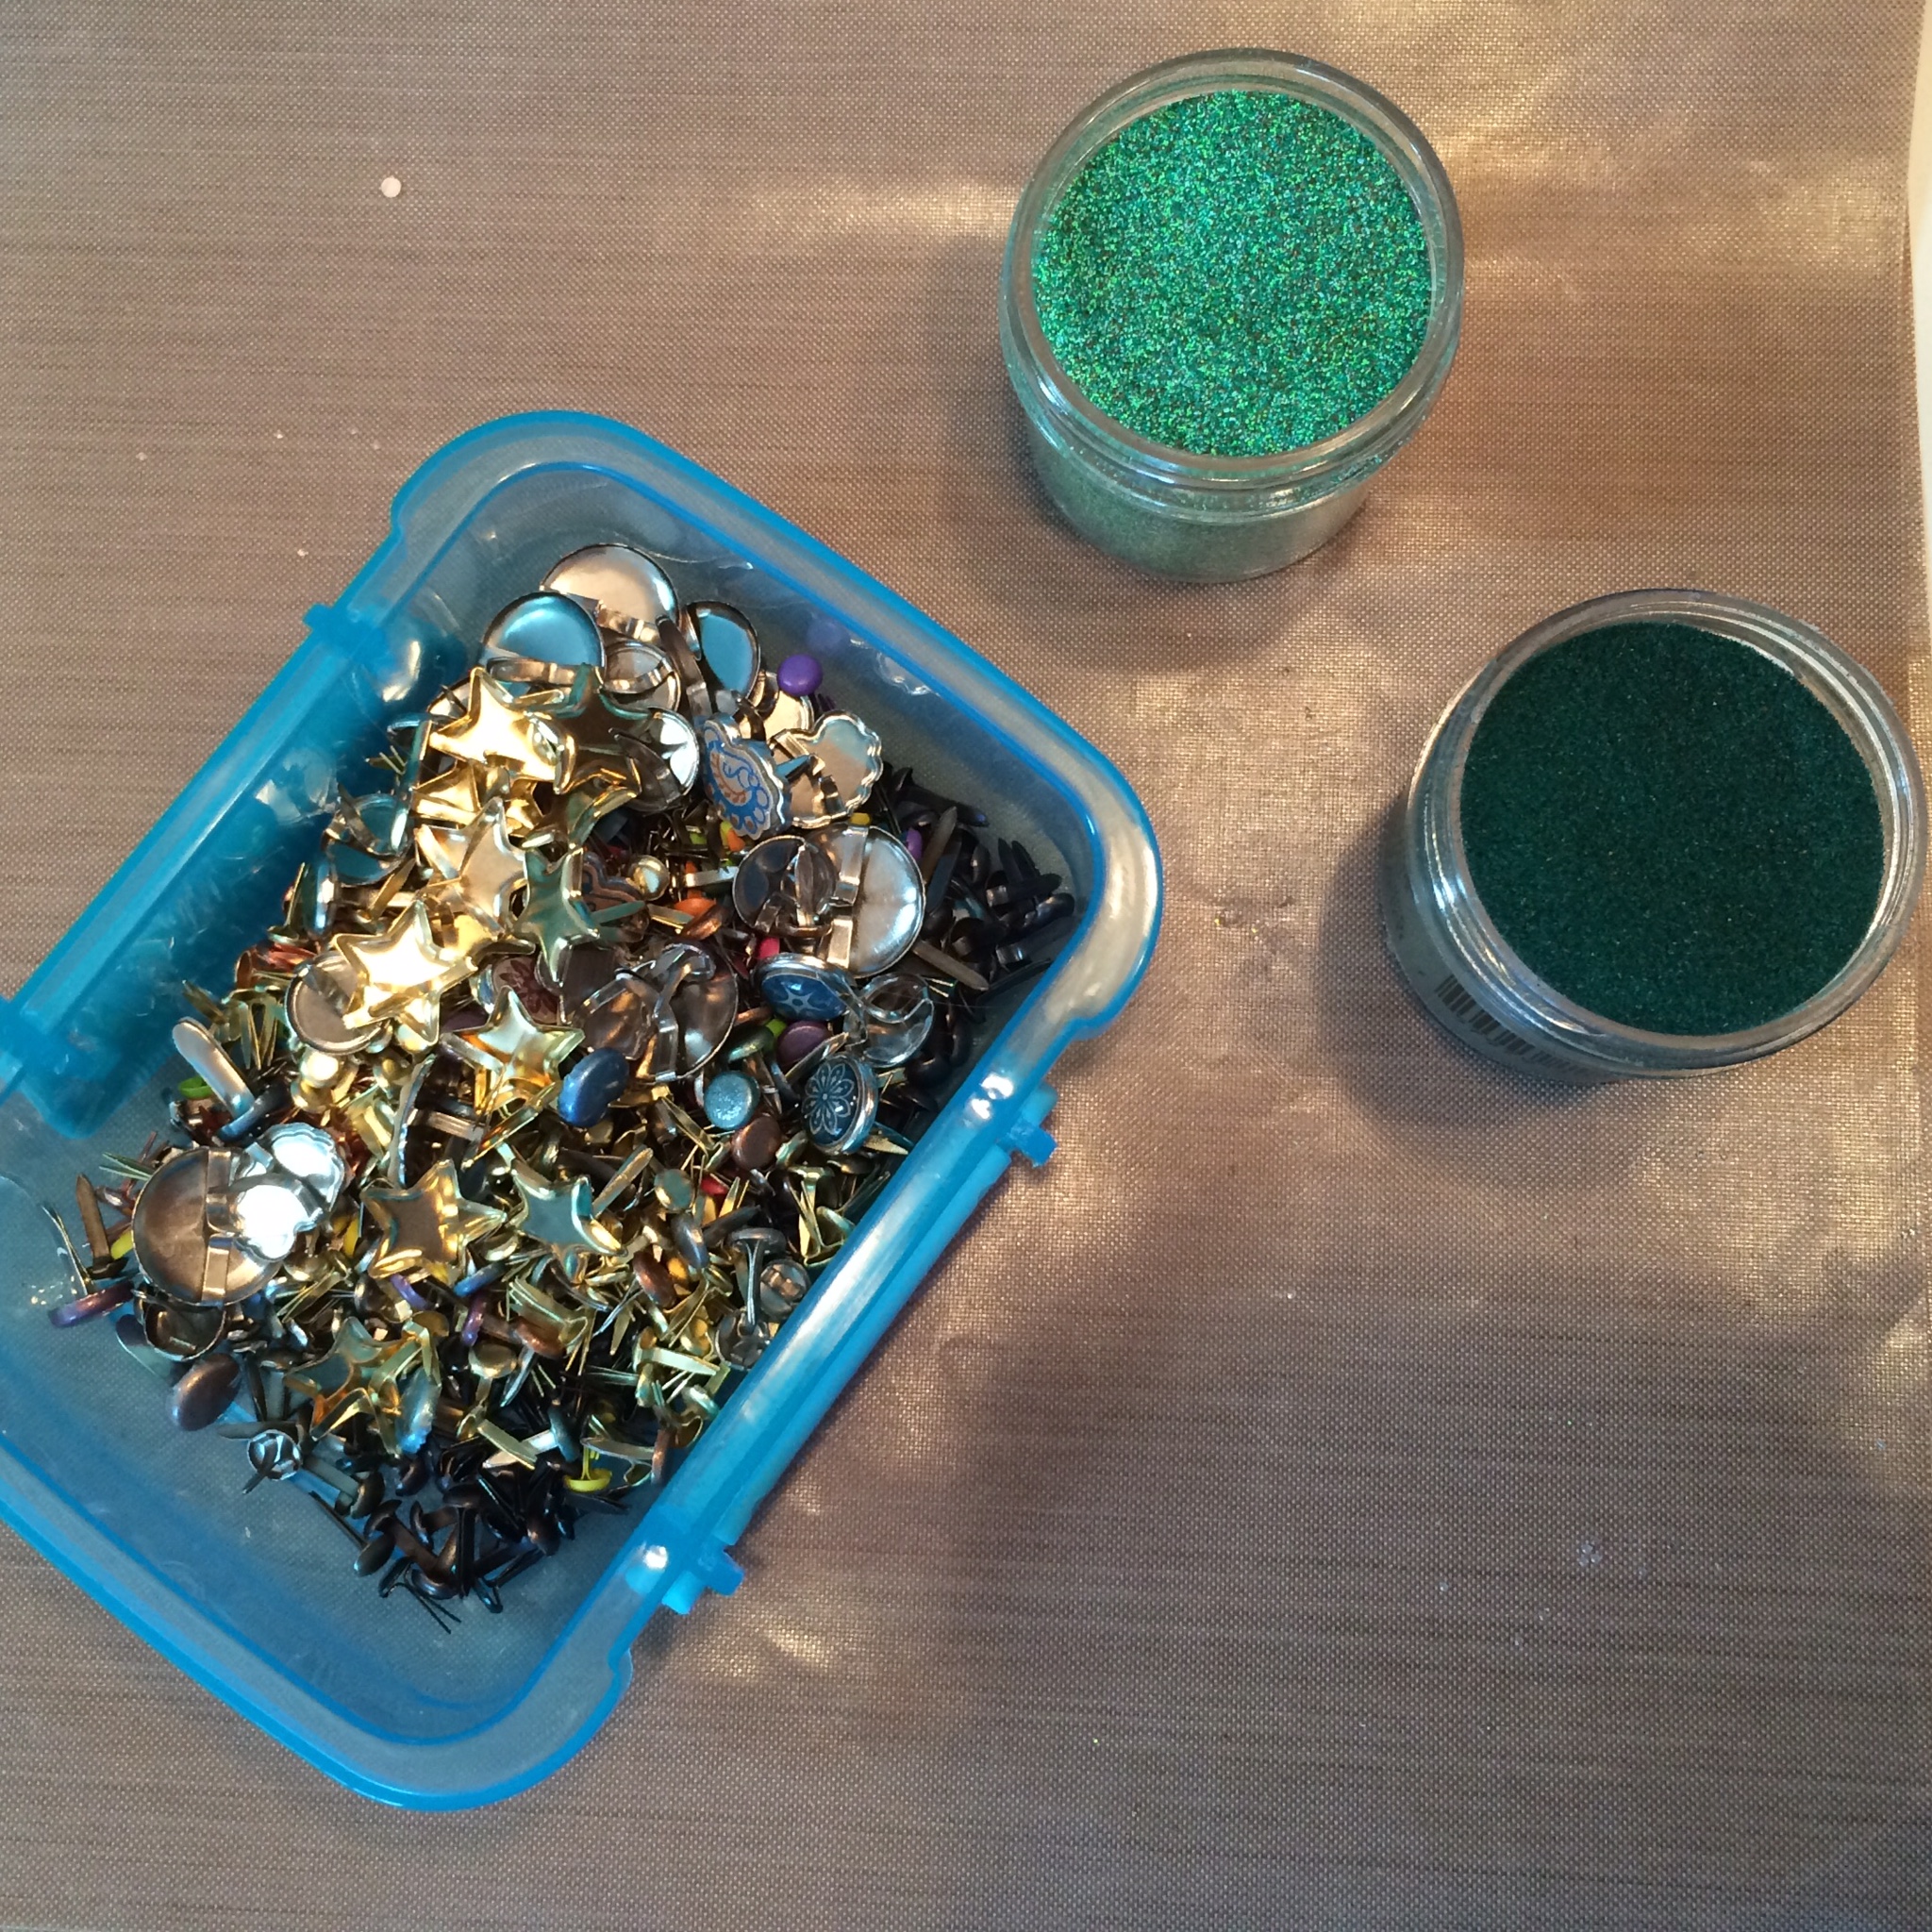 I needed some green brads for a upcoming project so I fished out my brads and my green embossing powder. I had two varieties: a dark sage green and a verdigris green.
As instructed, I heated my metal brad with my heat gun and dipped it in the powder. I have to admit, I was a little skeptical, but the powder actually stuck to the heated brad. I then melted the powder with the heat gun and voila – a green brad. It looks almost black in the photo, but it’s a deep hunter green.


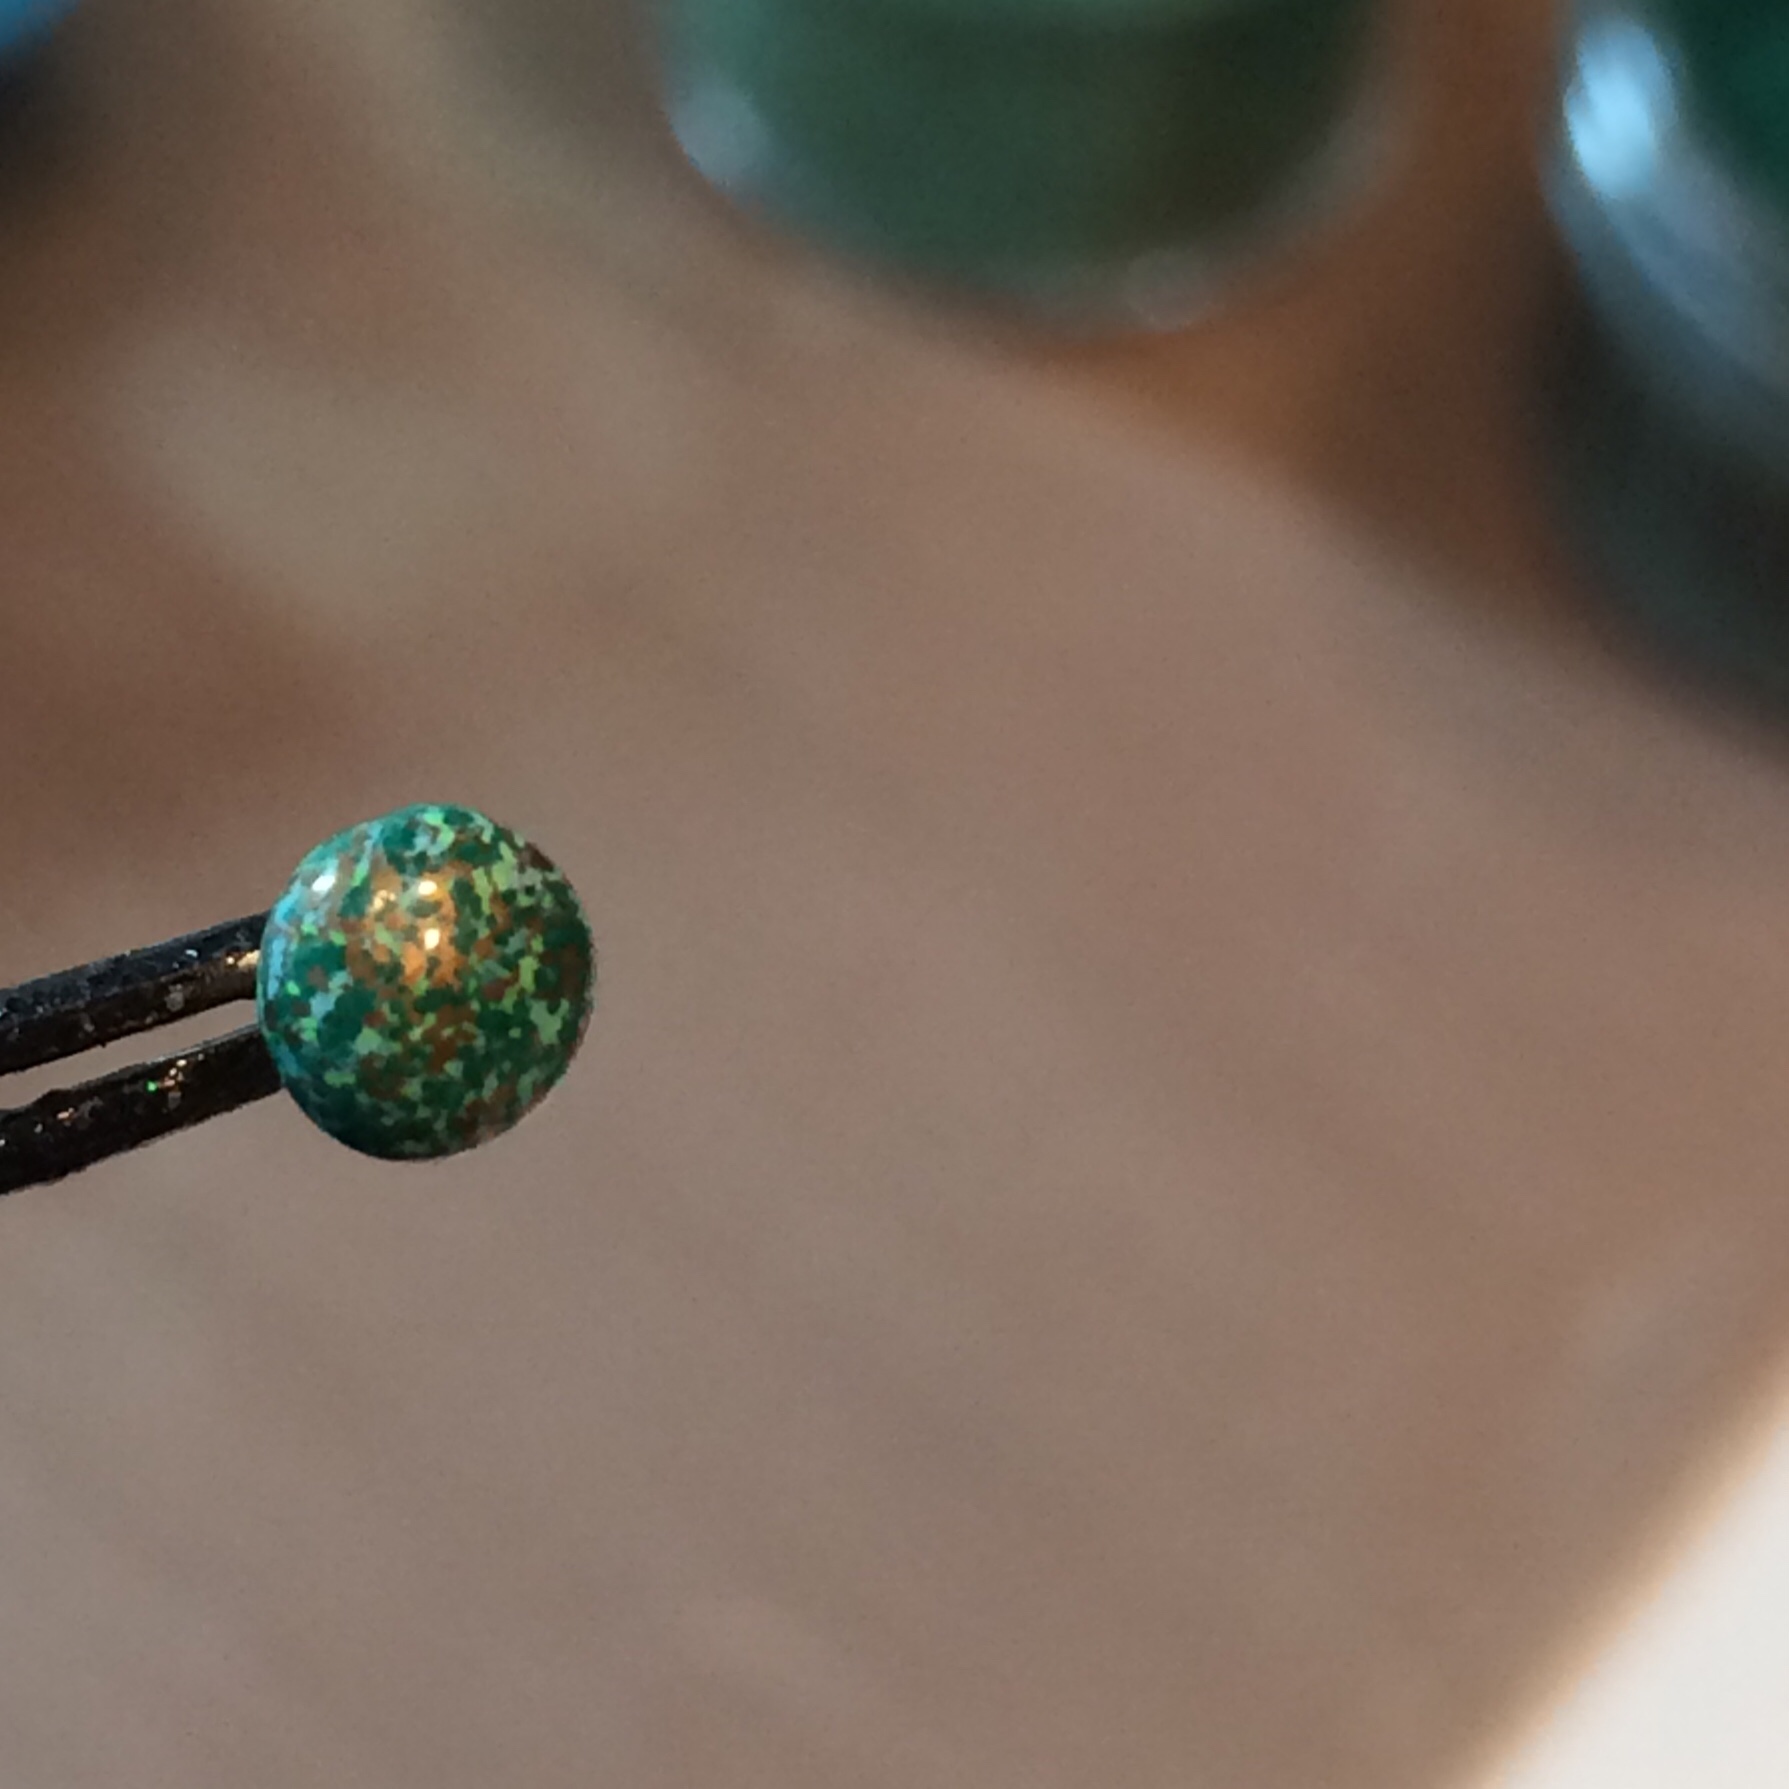
I tried it with the verdigris, and it worked, but I needed to heat and dip a couple of times because the verdigris is a combination of colors (variegated) and kept turning white. I think I needed to use that powder on a larger surface area.
Of course after the success of those two, I just had to keep heating and dipping. I used a couple of powders that were mixed with glitter. I was surprised that the glitter wasn’t more glittery, but I think it melted into the powder. In the tutorial, she does talk about reheating the brad and dipping the melted powder into glitter. I’ll need to try that next time.


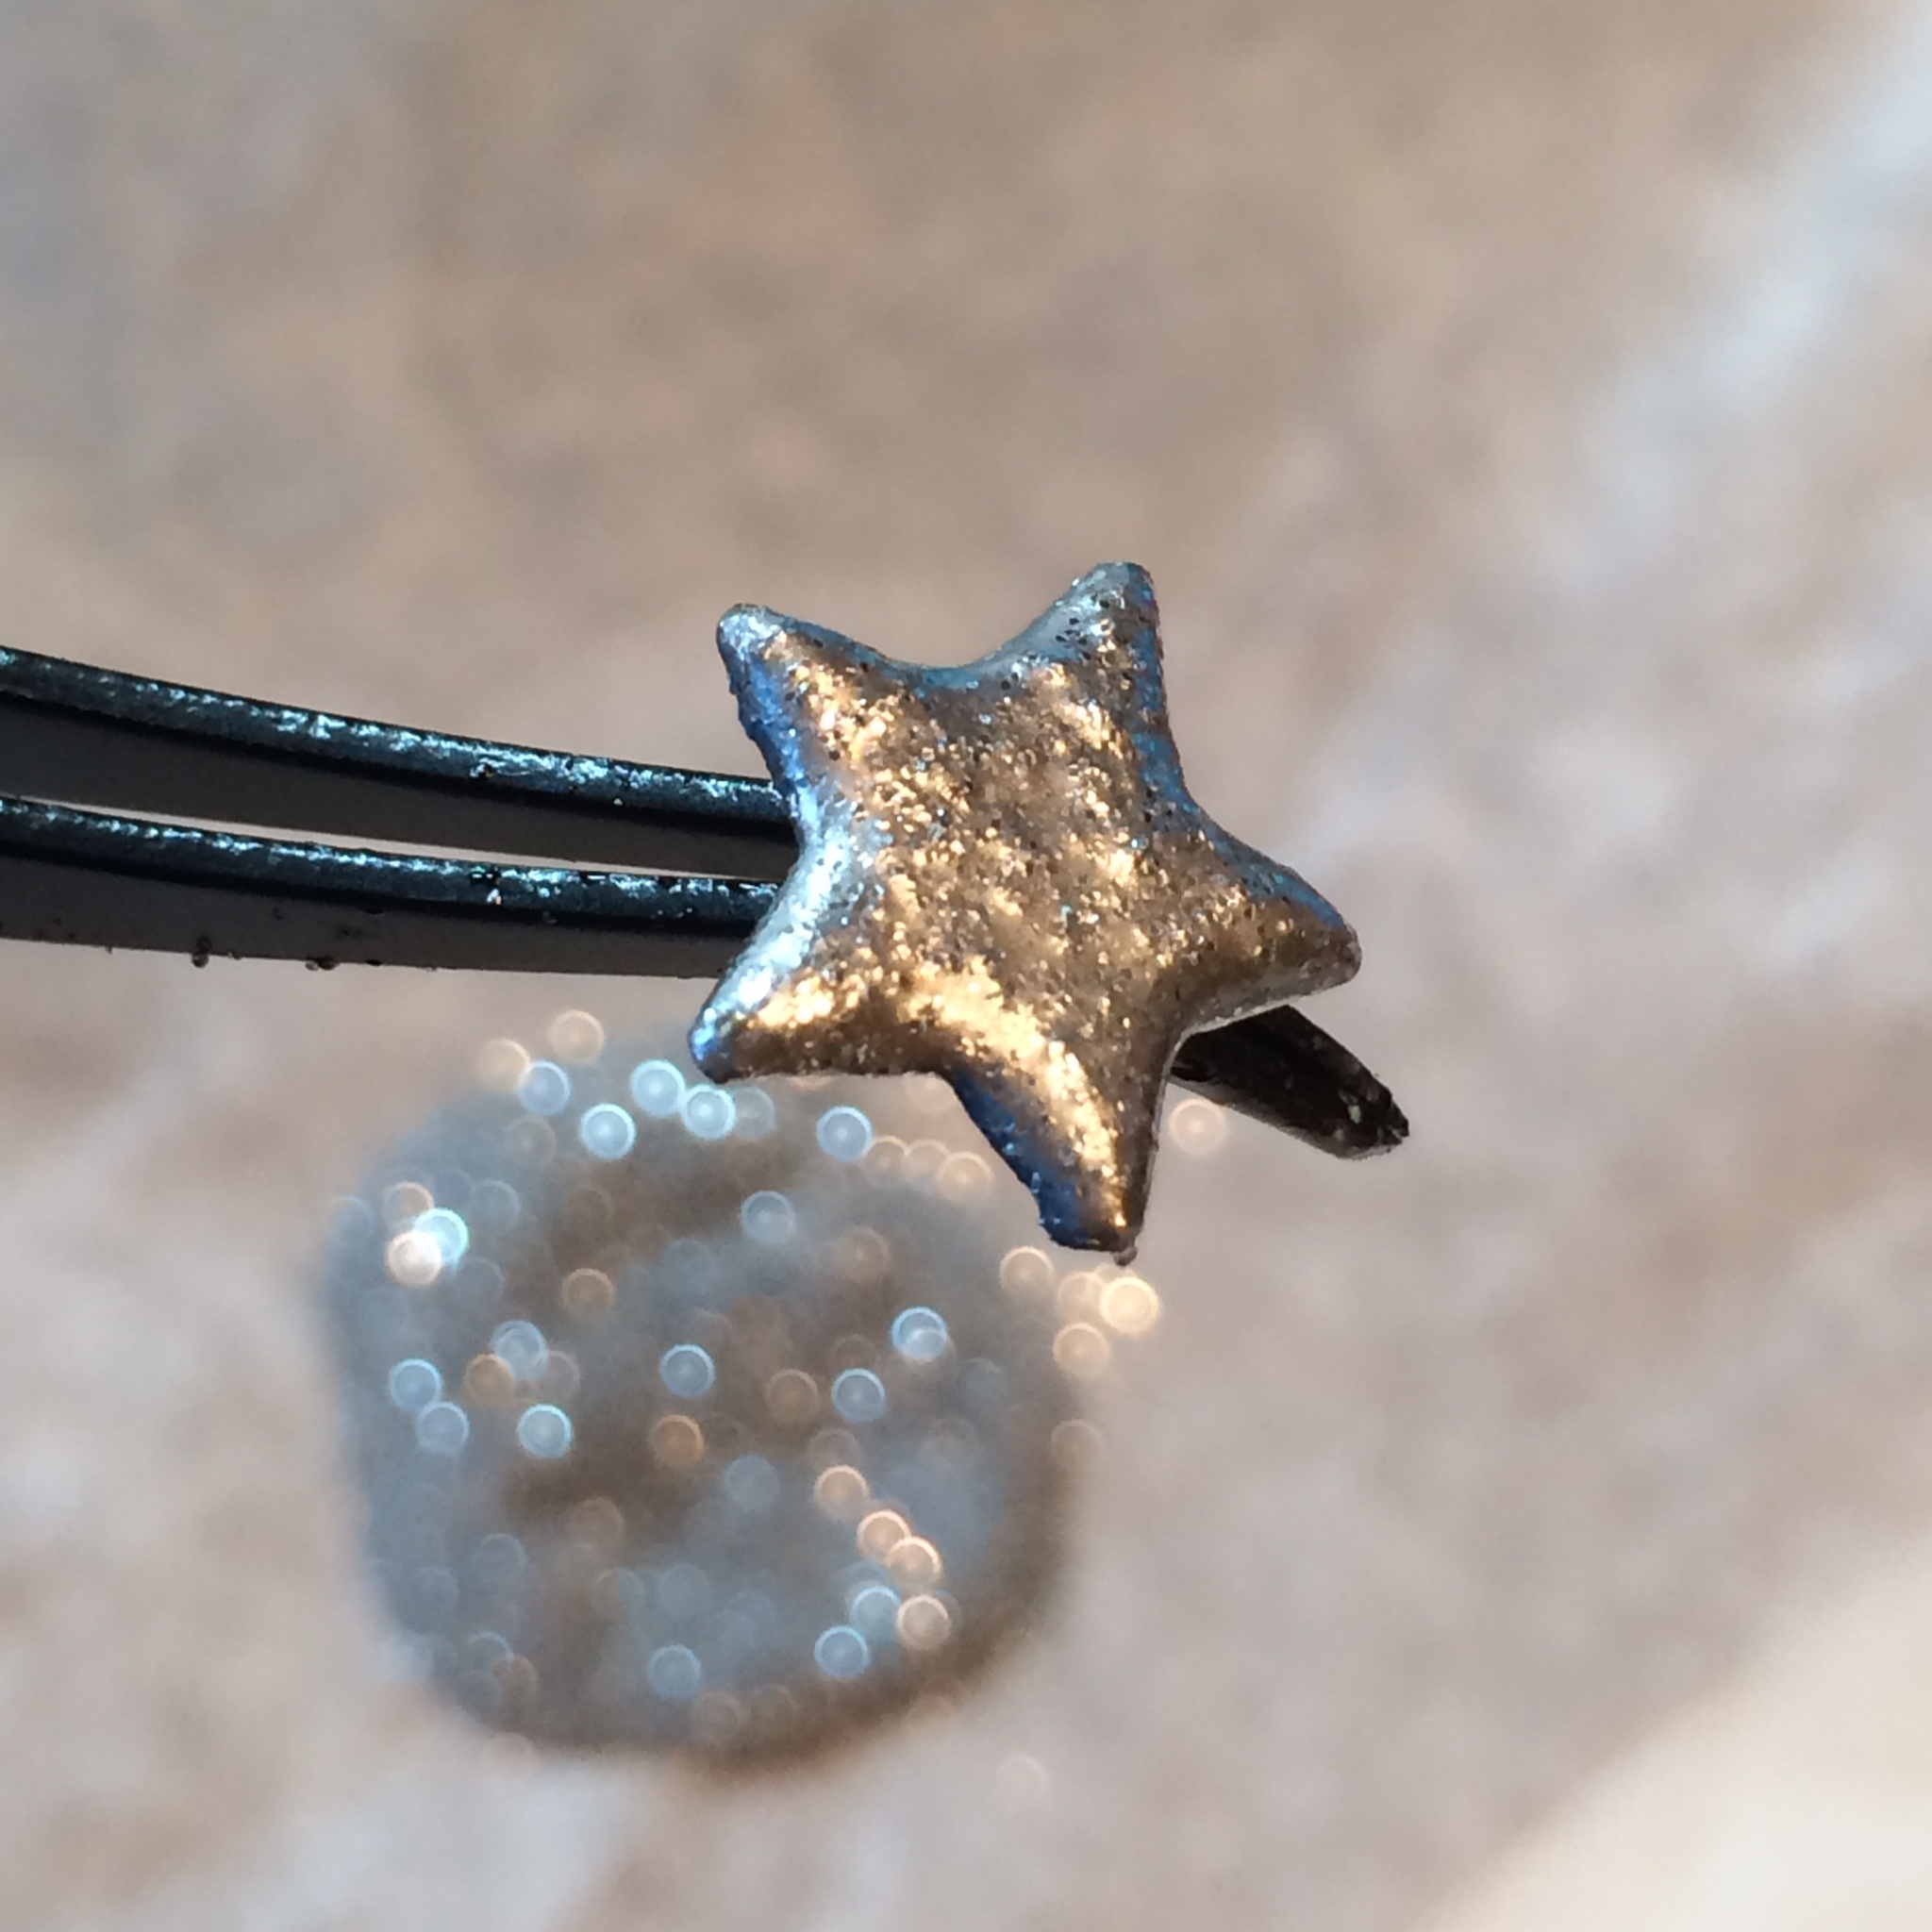
I found a star brad and embossed that silver. I really like how that turned out.


This may seem a bit time consuming, but the effect is stunning and worth the time. Besides I only ever use a few brads on a project at a time.
Until tomorrow,


I’m keeping my eyes closed just in case this is for my card – you know, for my birthday coming up.

They look great. Very cool technique!
Looks cool.
Isn’t it Woody’s birthday soon?
And by the way this is really cool!
Yes. It’s March 13th. And thanks.