 Before we get to Card #17, the winner of yesterdays daily giveaway is: Peggy who said, “Great idea!”.
Thank you for your kind words and Congratulations Peggy!
I hope you enjoy your card.
Don’t forget to leave a comment on this post for today’s card. Remember each day you leave a comment, you are entered into the drawing for the Grand Giveaway for all 31 cards. Easy, peasy.
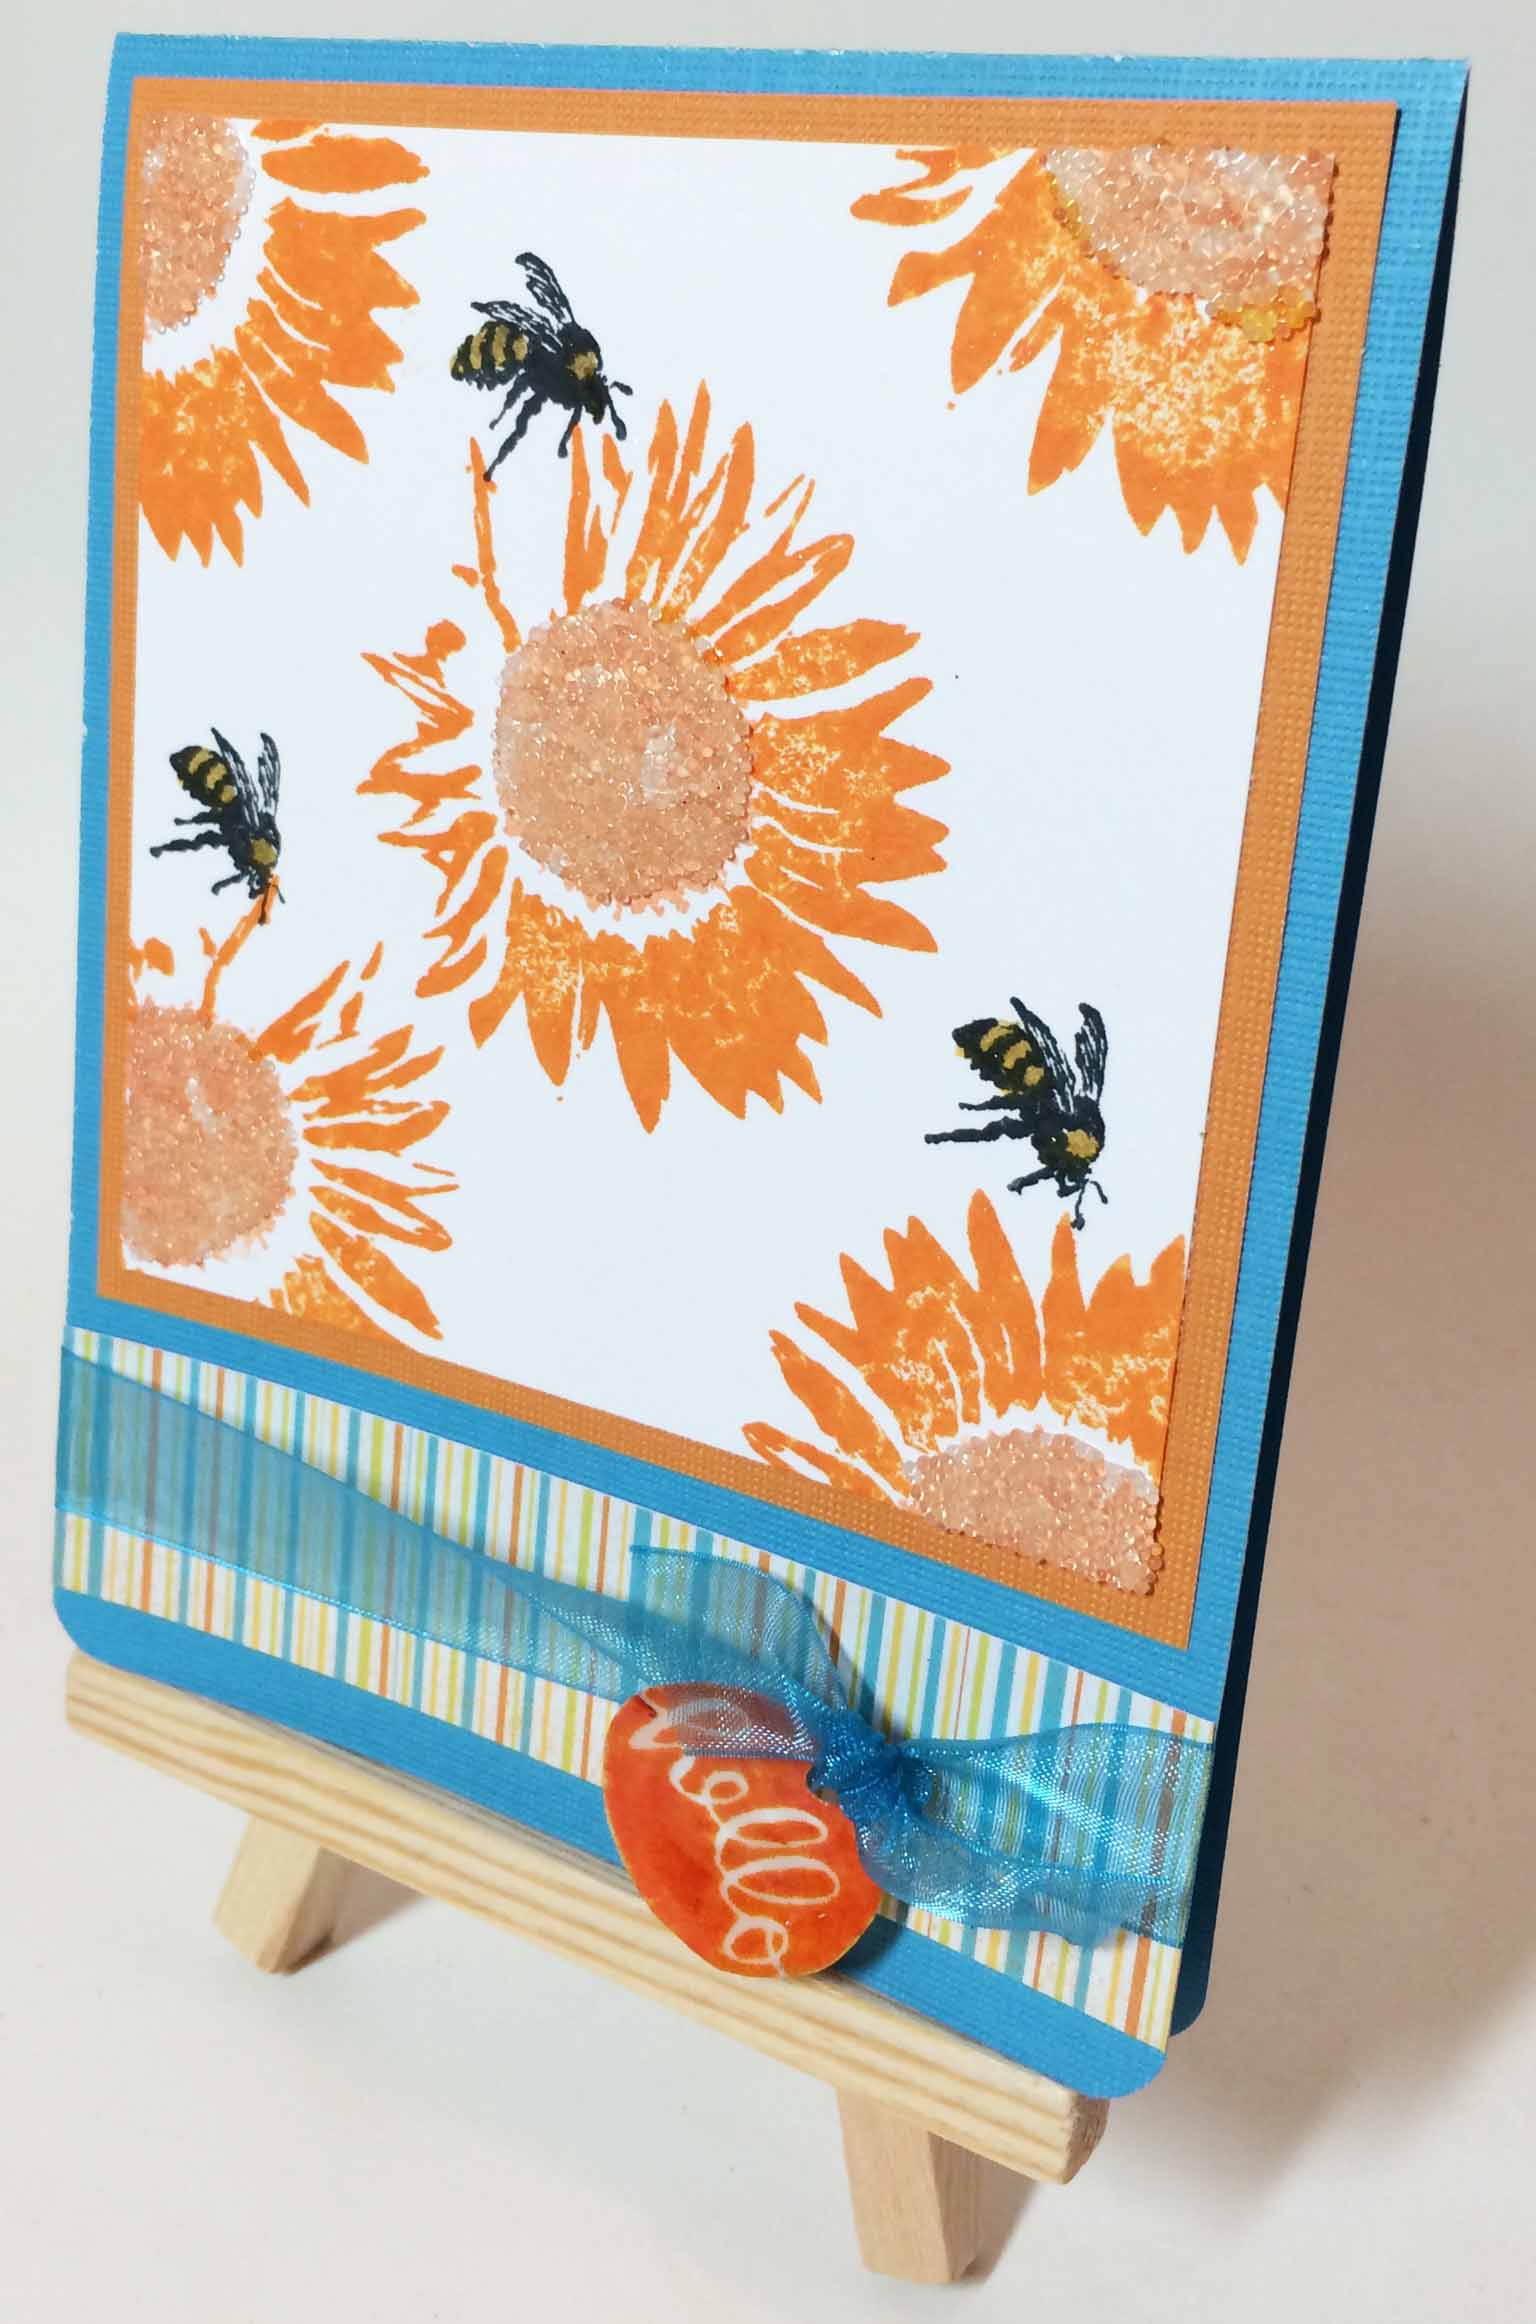
Card #17 – Valentine’s Card #2
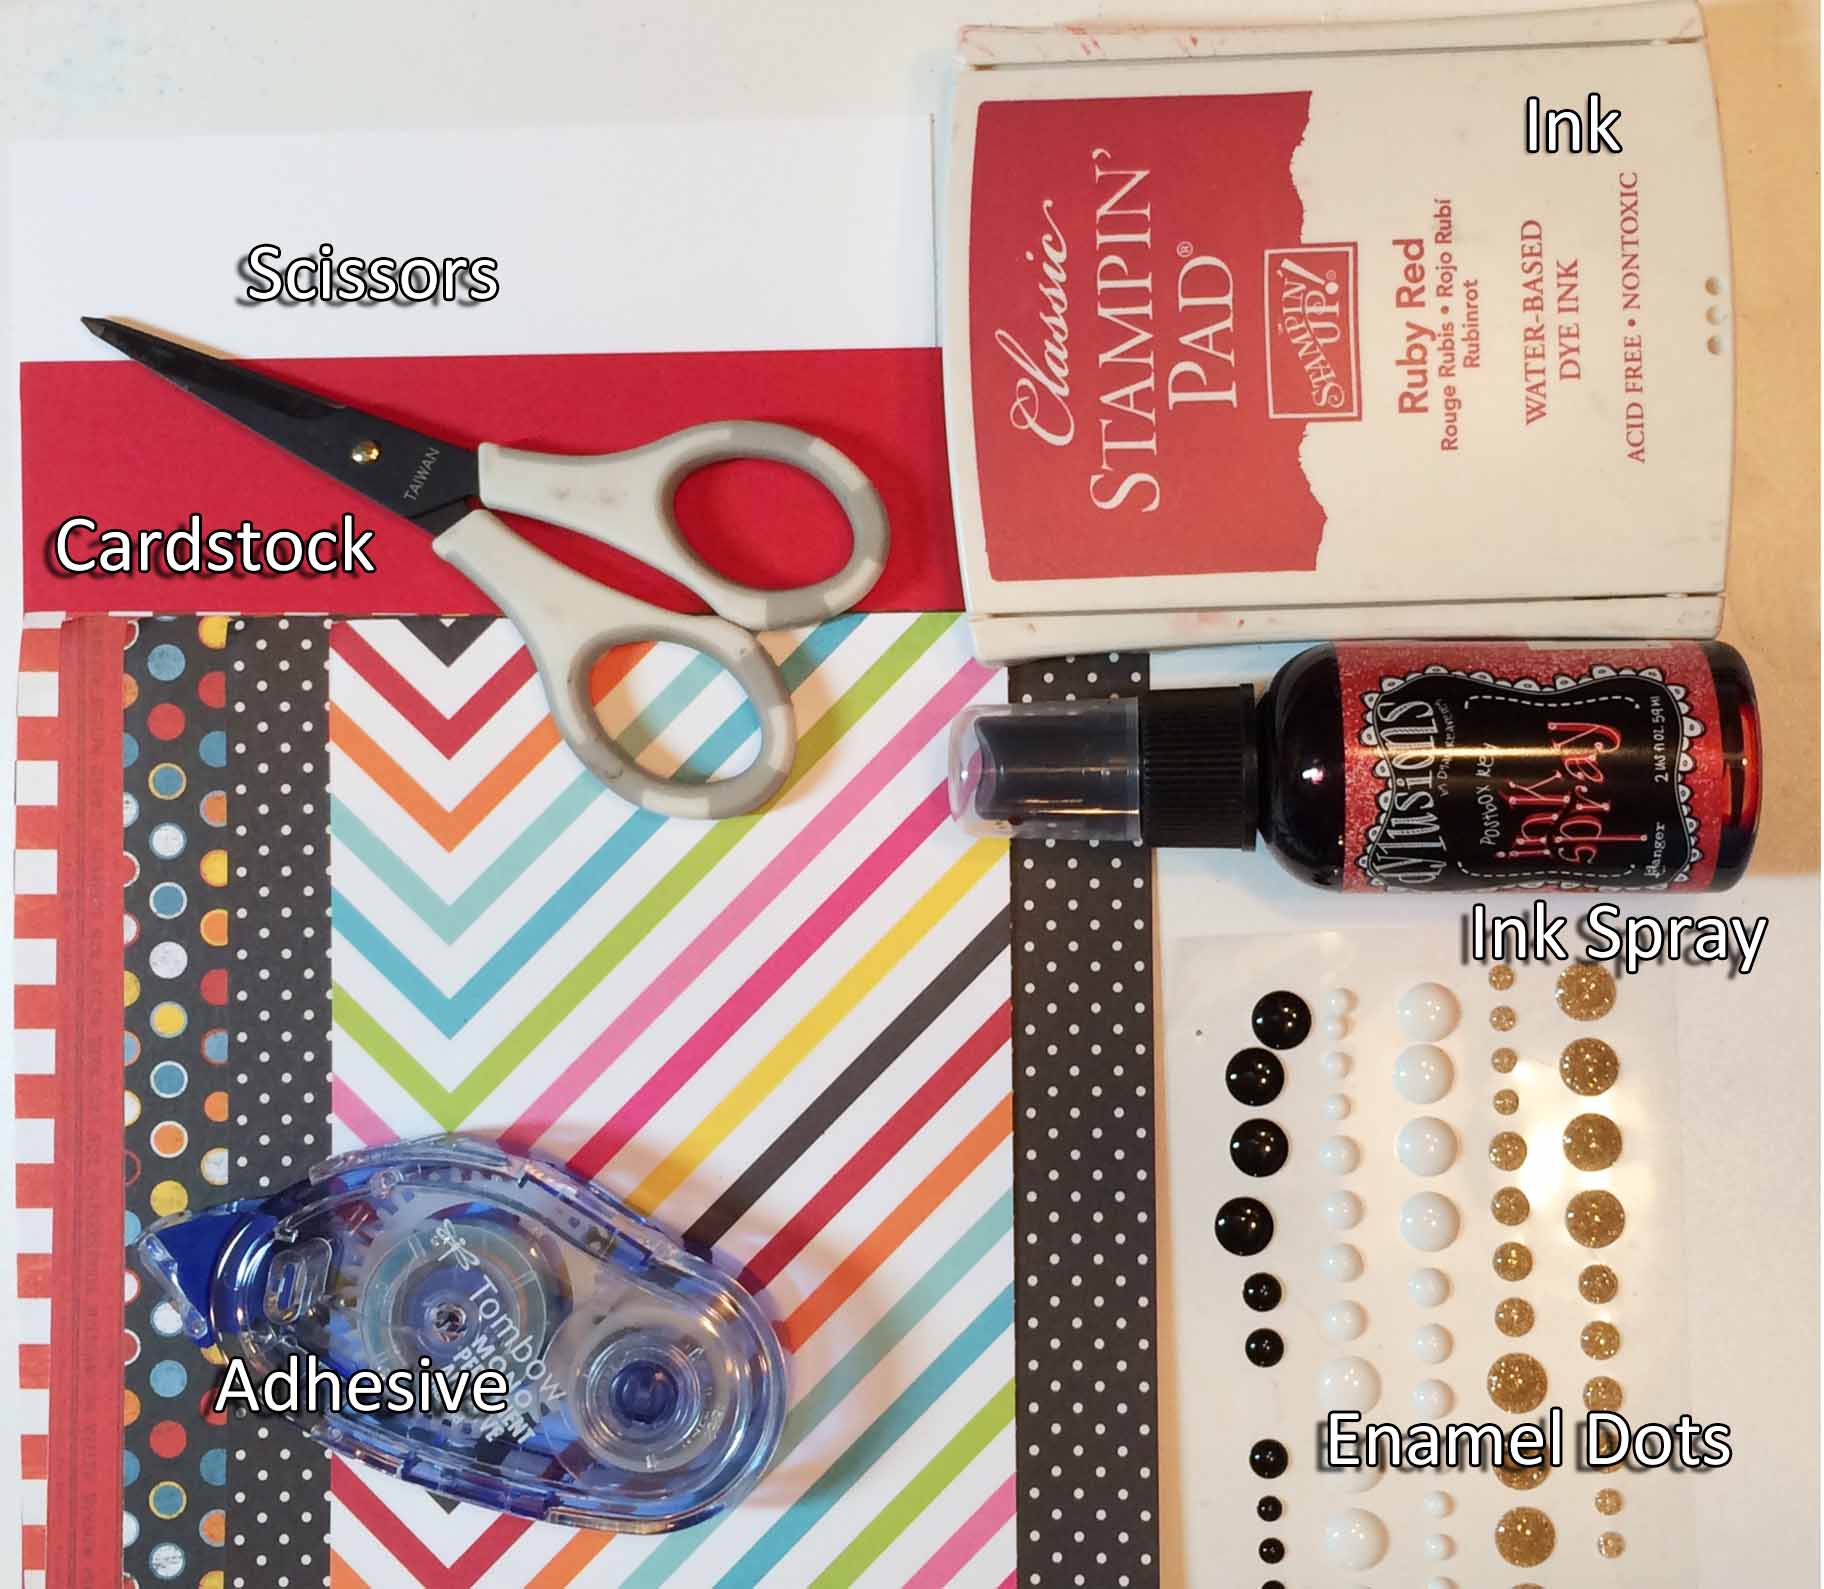
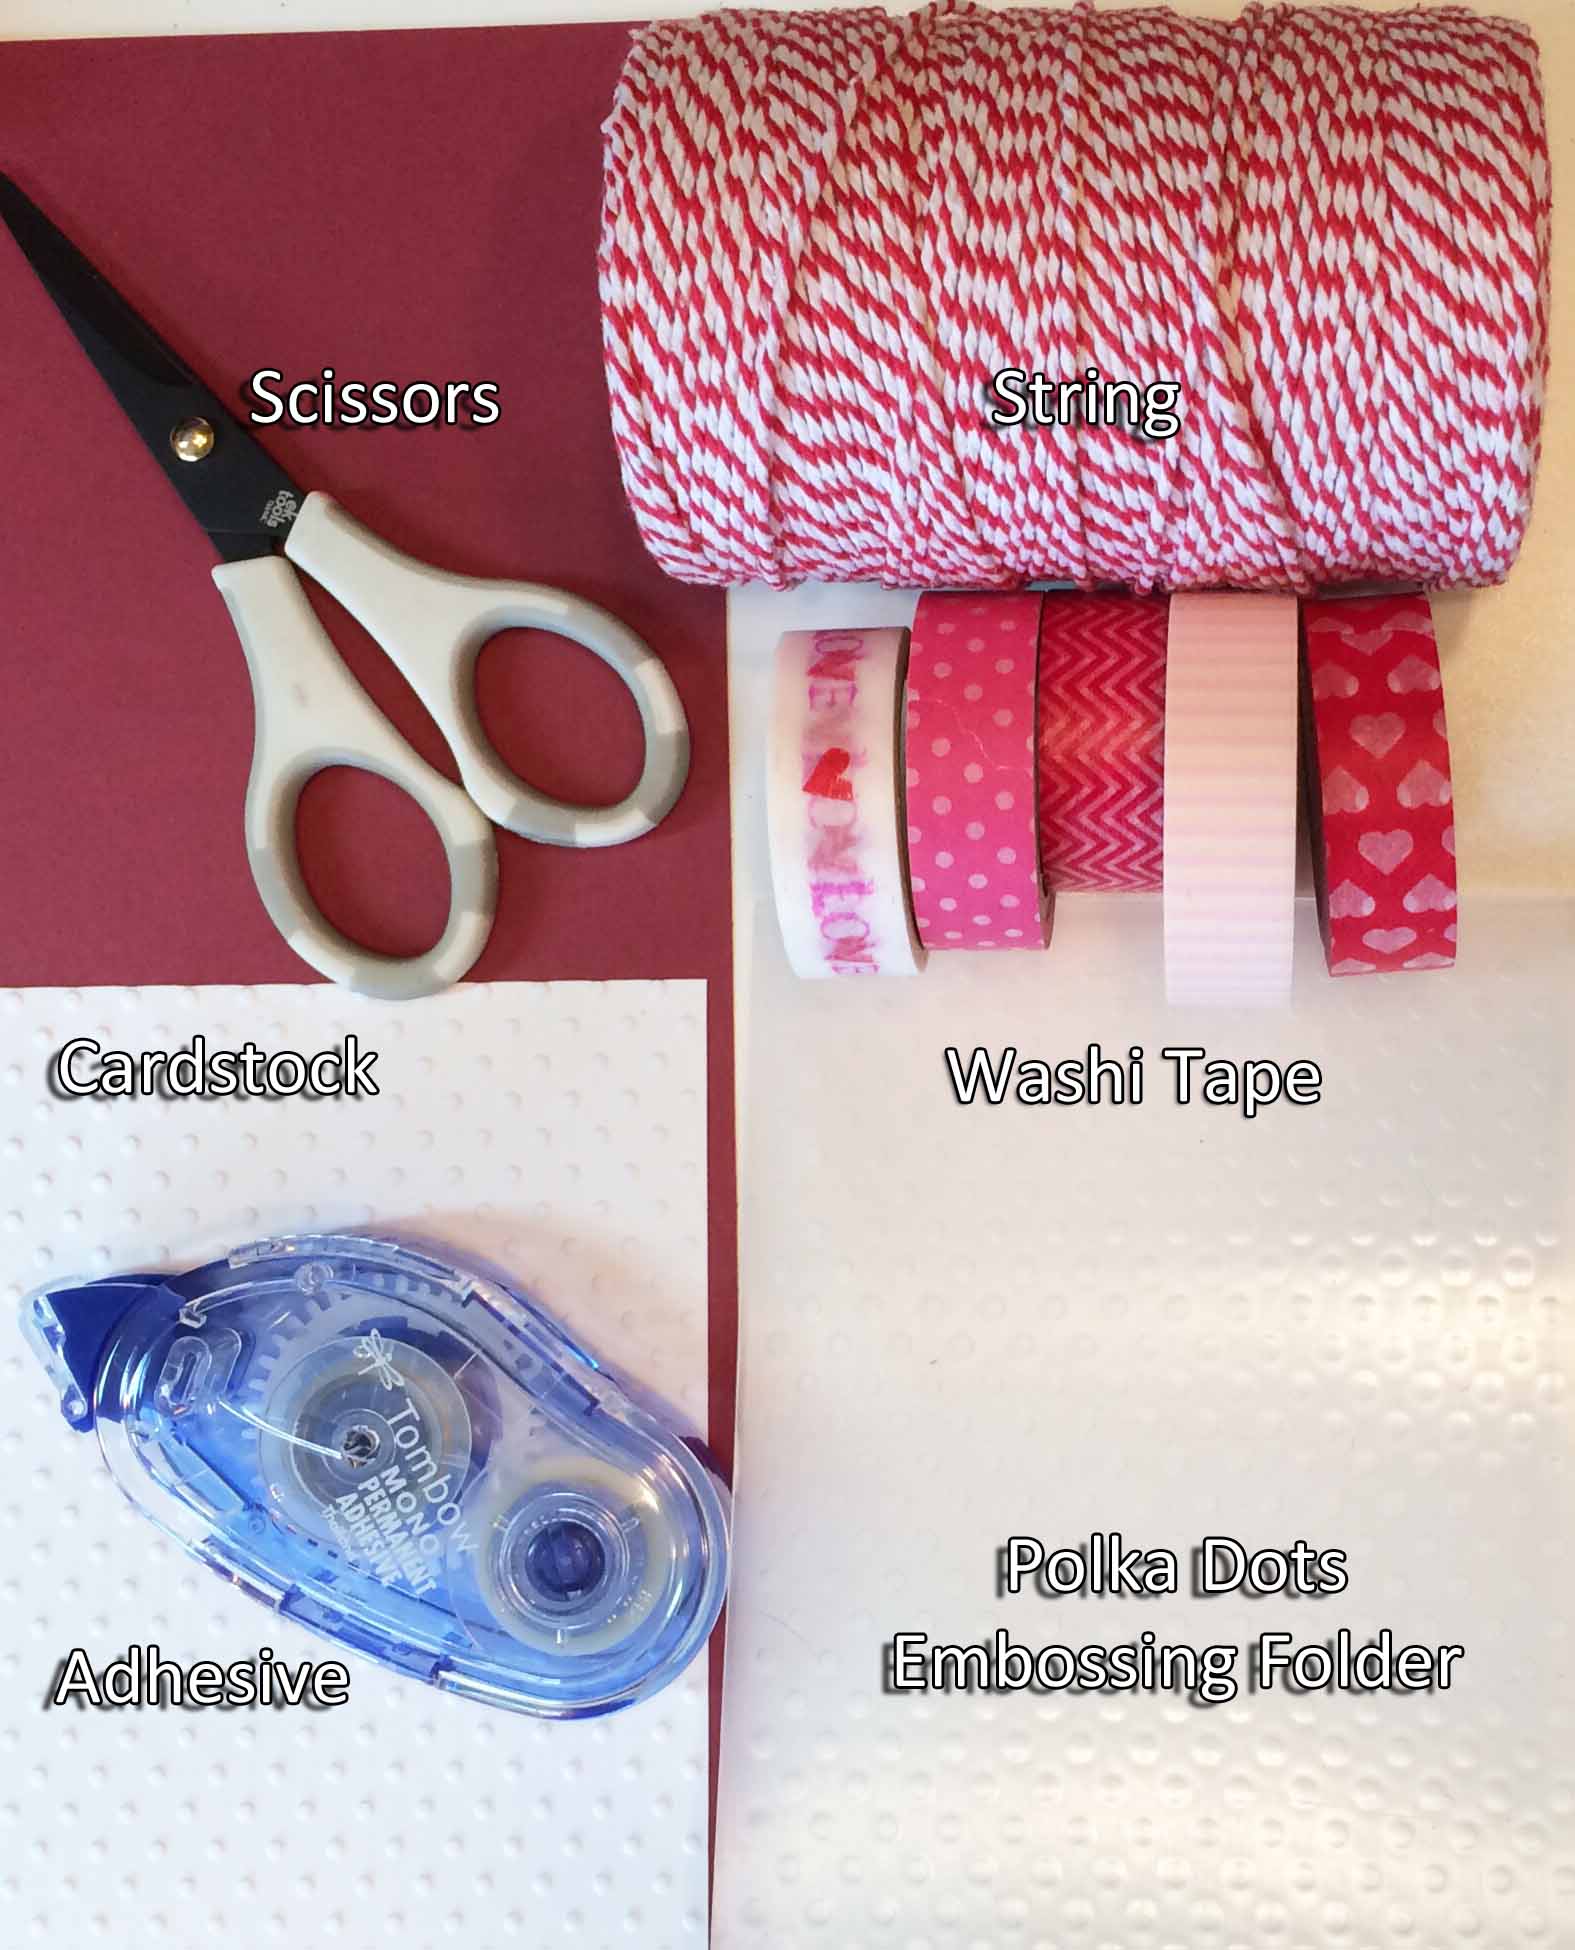
I started by assembling all my supplies.
 As I mentioned in the first Valentine’s card that I made, I’ll be making a few of these during this series.
This particular card required the least amount of supplies of any card I’ve made so far. I like cards that look like you spent hours, yet, in reality, it was only a few minutes.
And this will probably be the shortest blog post of this series because the card required so few steps.
I used rose red cardstock (4 1/4″ X 11 1/2″) for my base and white cardstock (4″ X 5 1/4″) for the front panel.
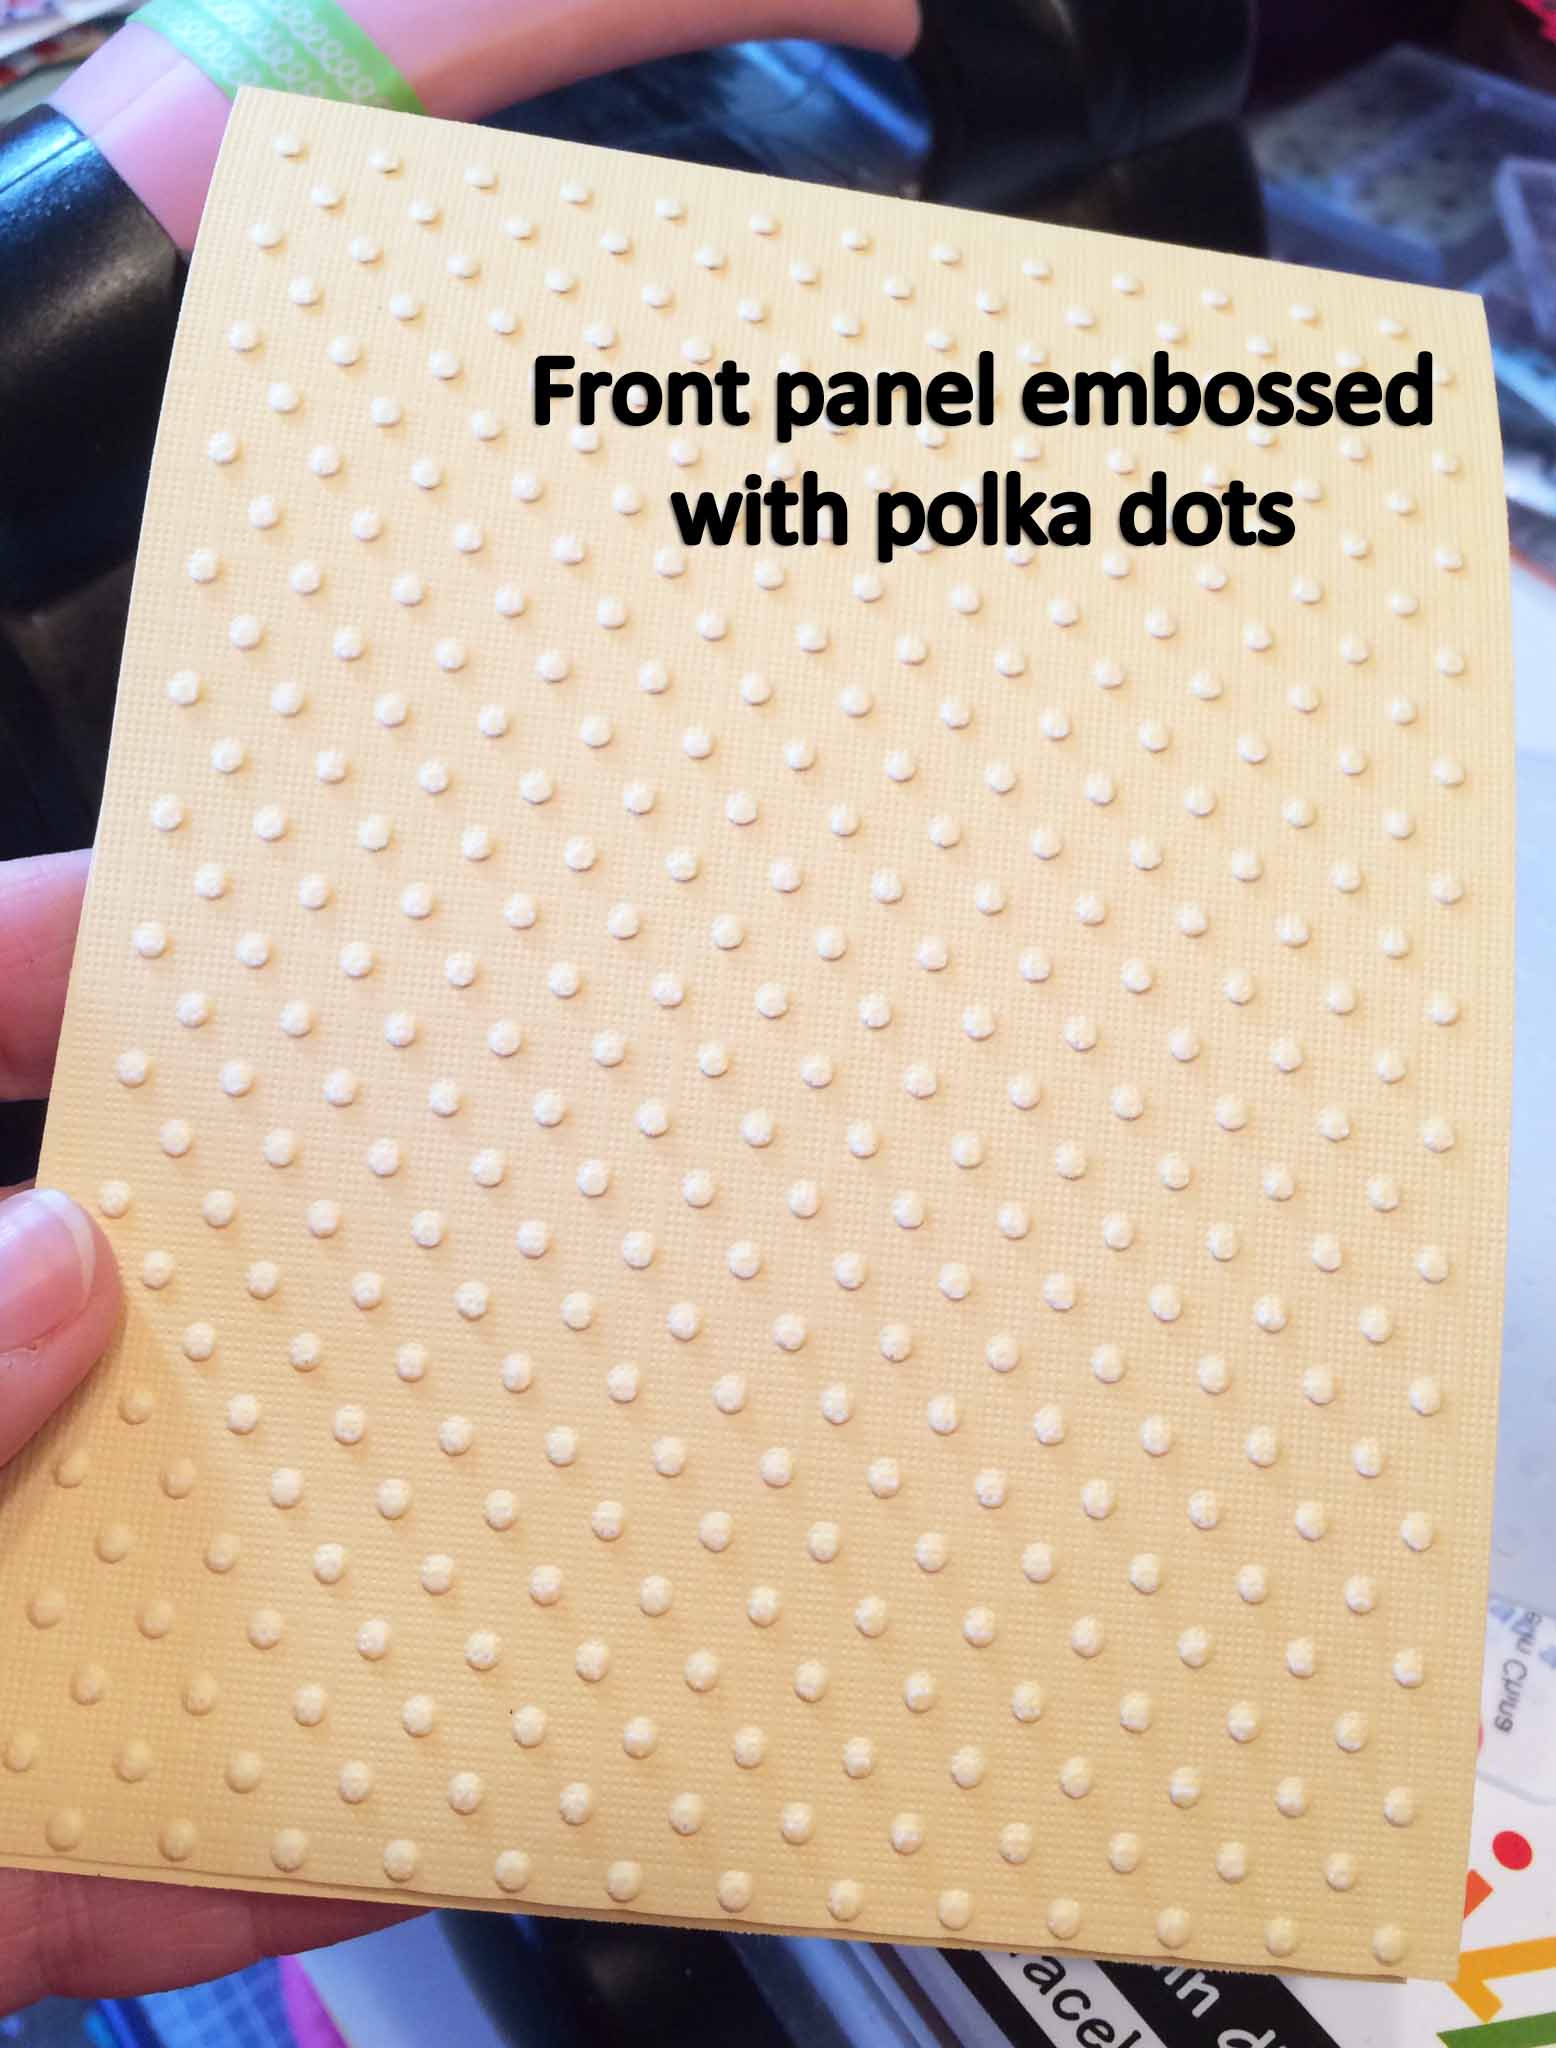
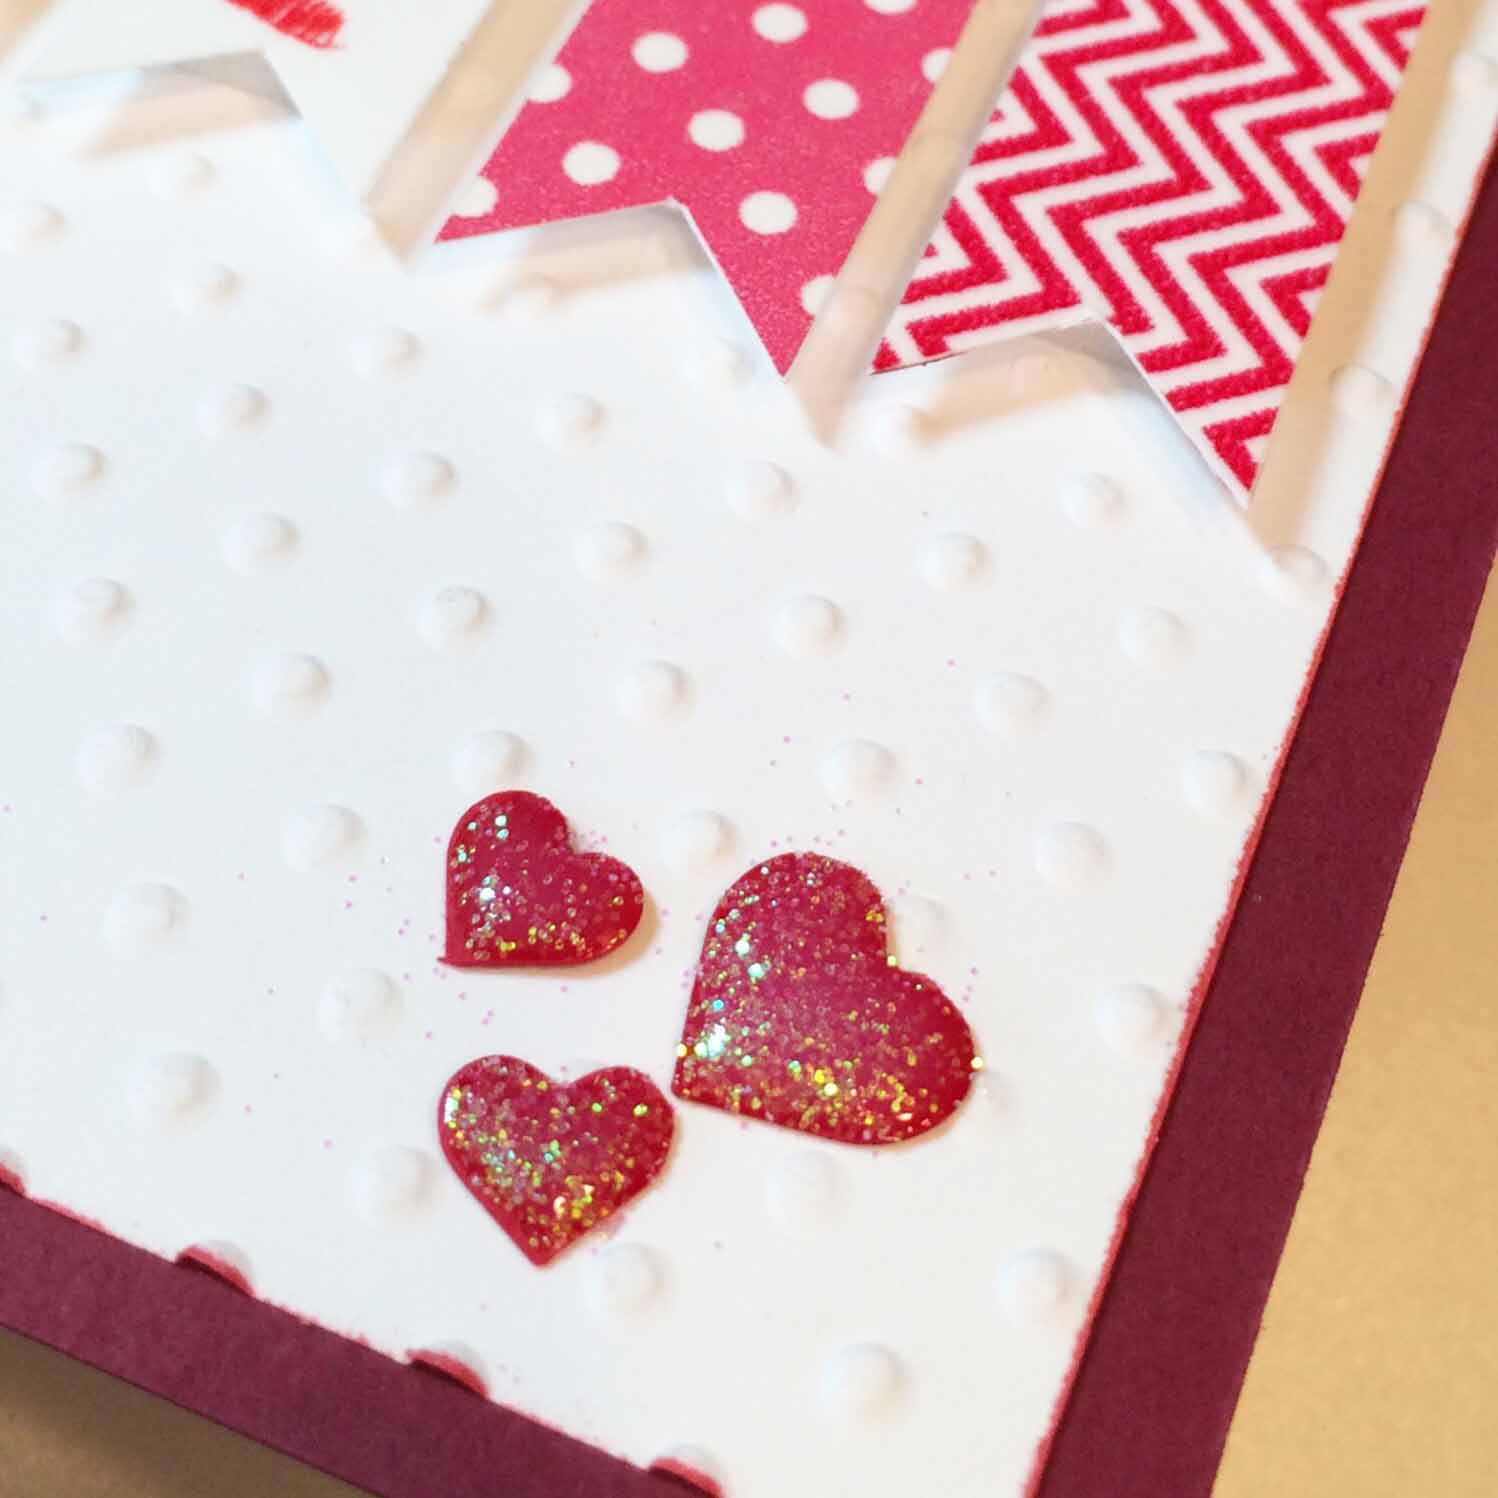
 Step 1: I embossed the white cardstock using my polka dot embossing folder.

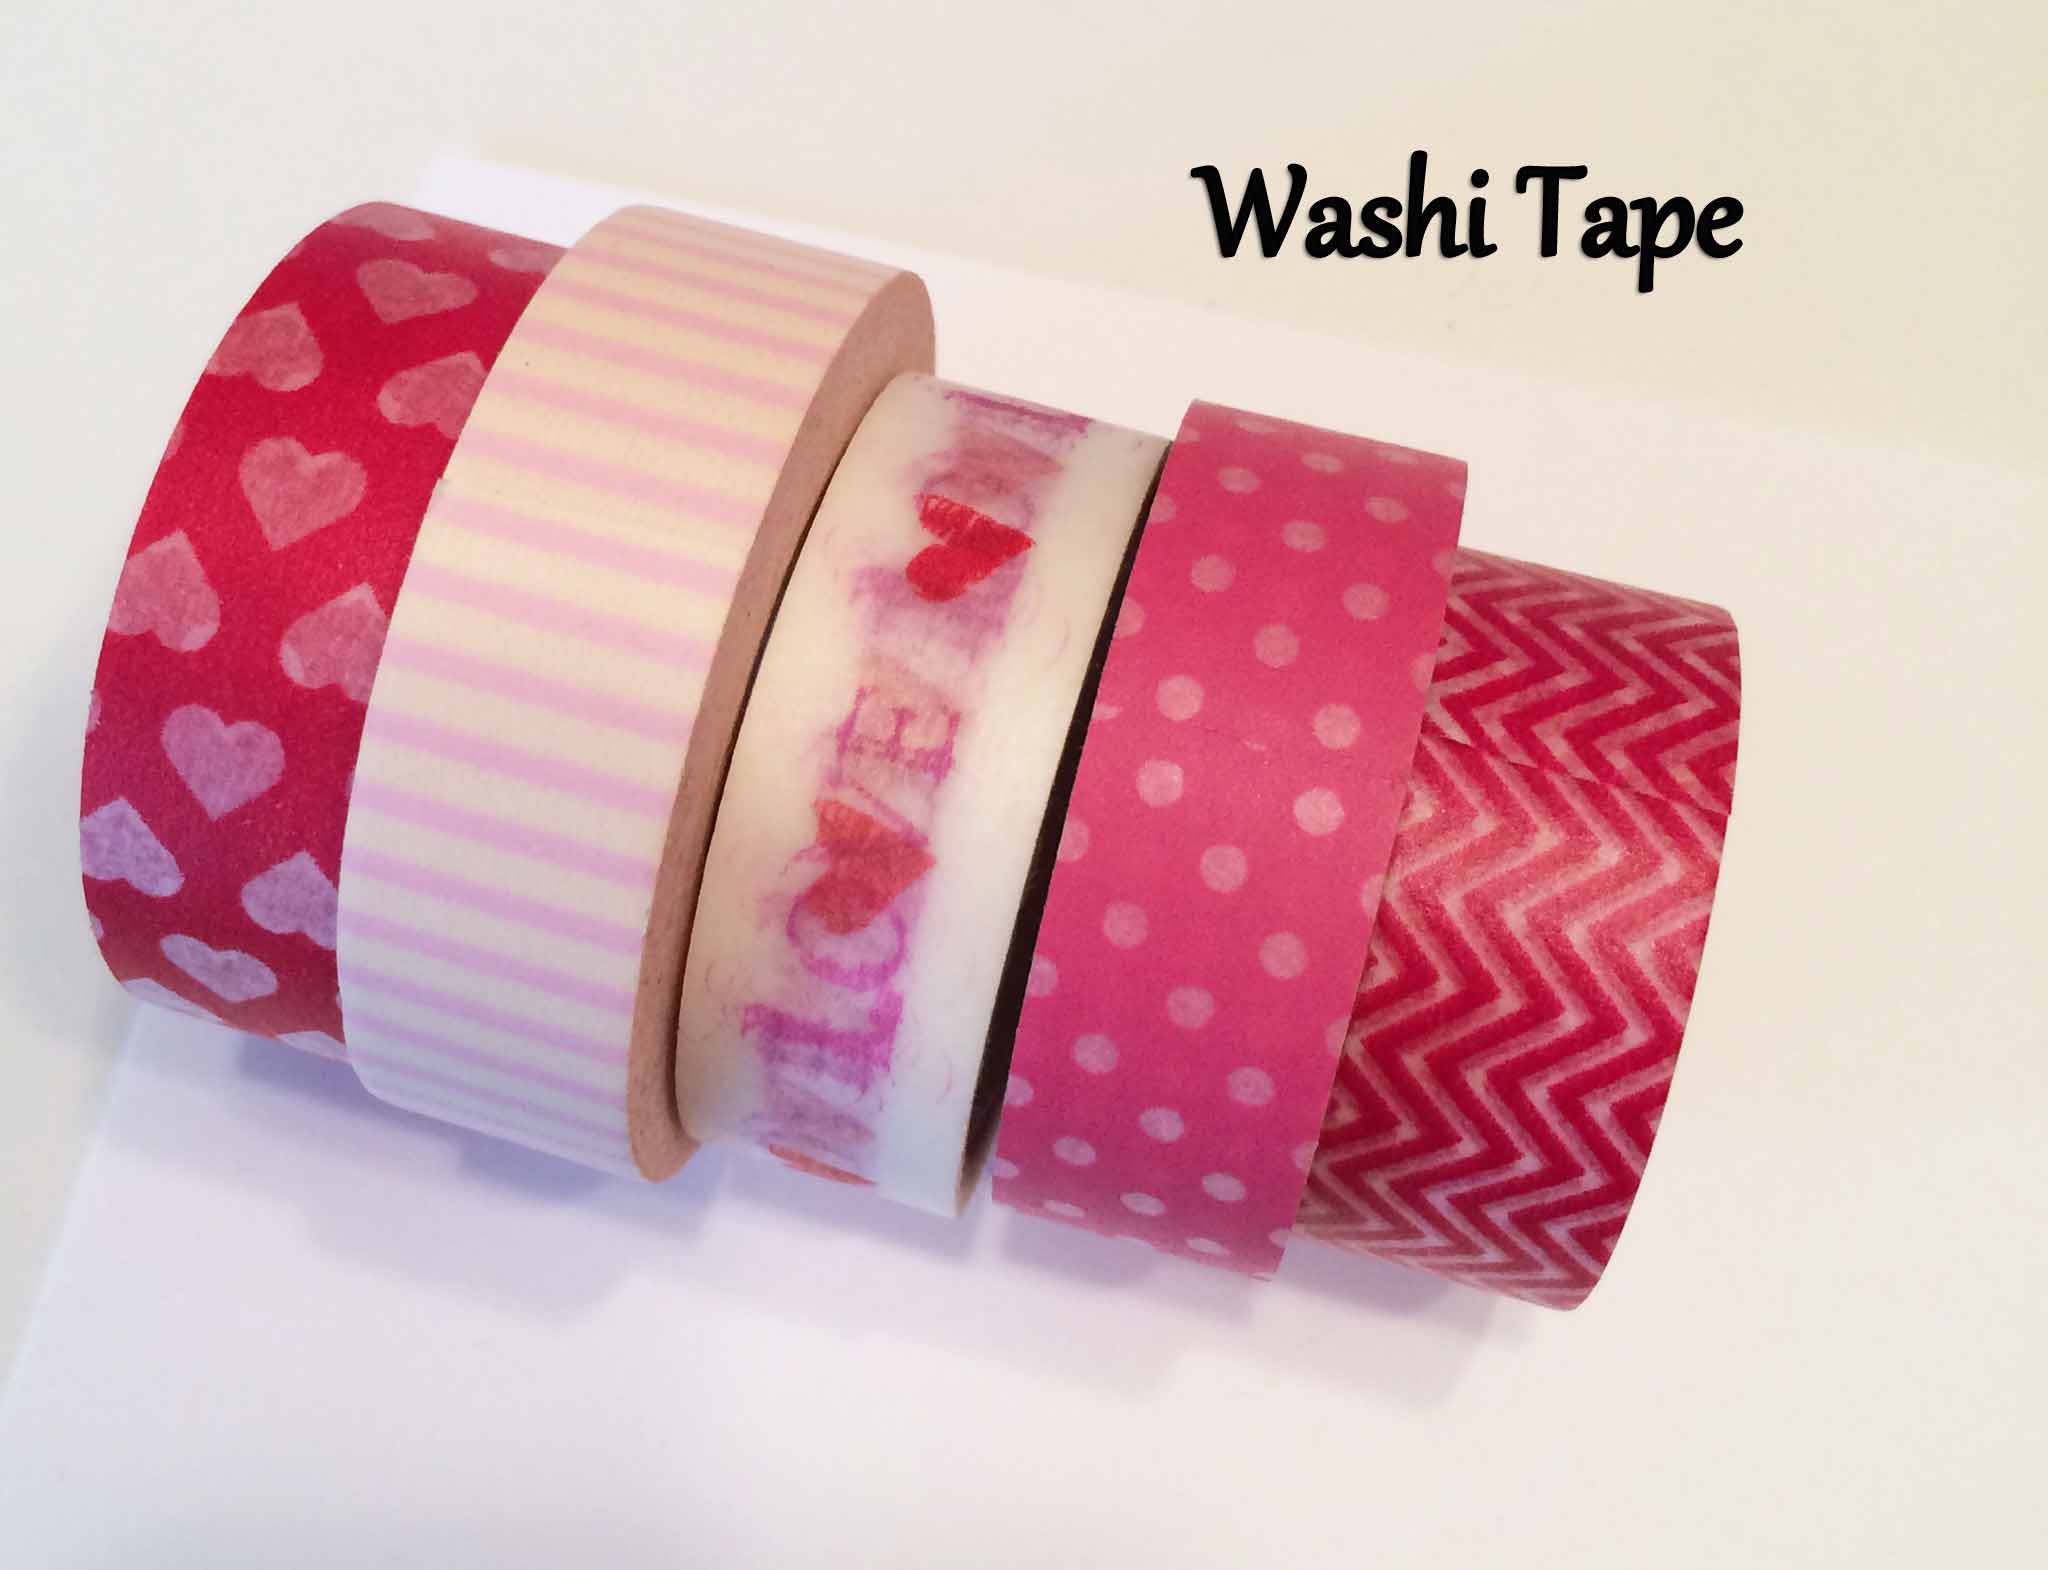
Step 2: I found some scrap white cardstock and laid down 1 1/2″ strips of washi tape to form the flags of the banner. I cut out the strips of washi tape and notched the ends.
Step 3: Using foam adhesive I stuck the banners on the card.
Step 4: I attached the string using double sided tape on the back of the panel.
 Step 5: I glued the front panel to the rose red base cardstock.
Step 6: I punched mini hearts out of the same rose red cardstock and glued them to the card front.
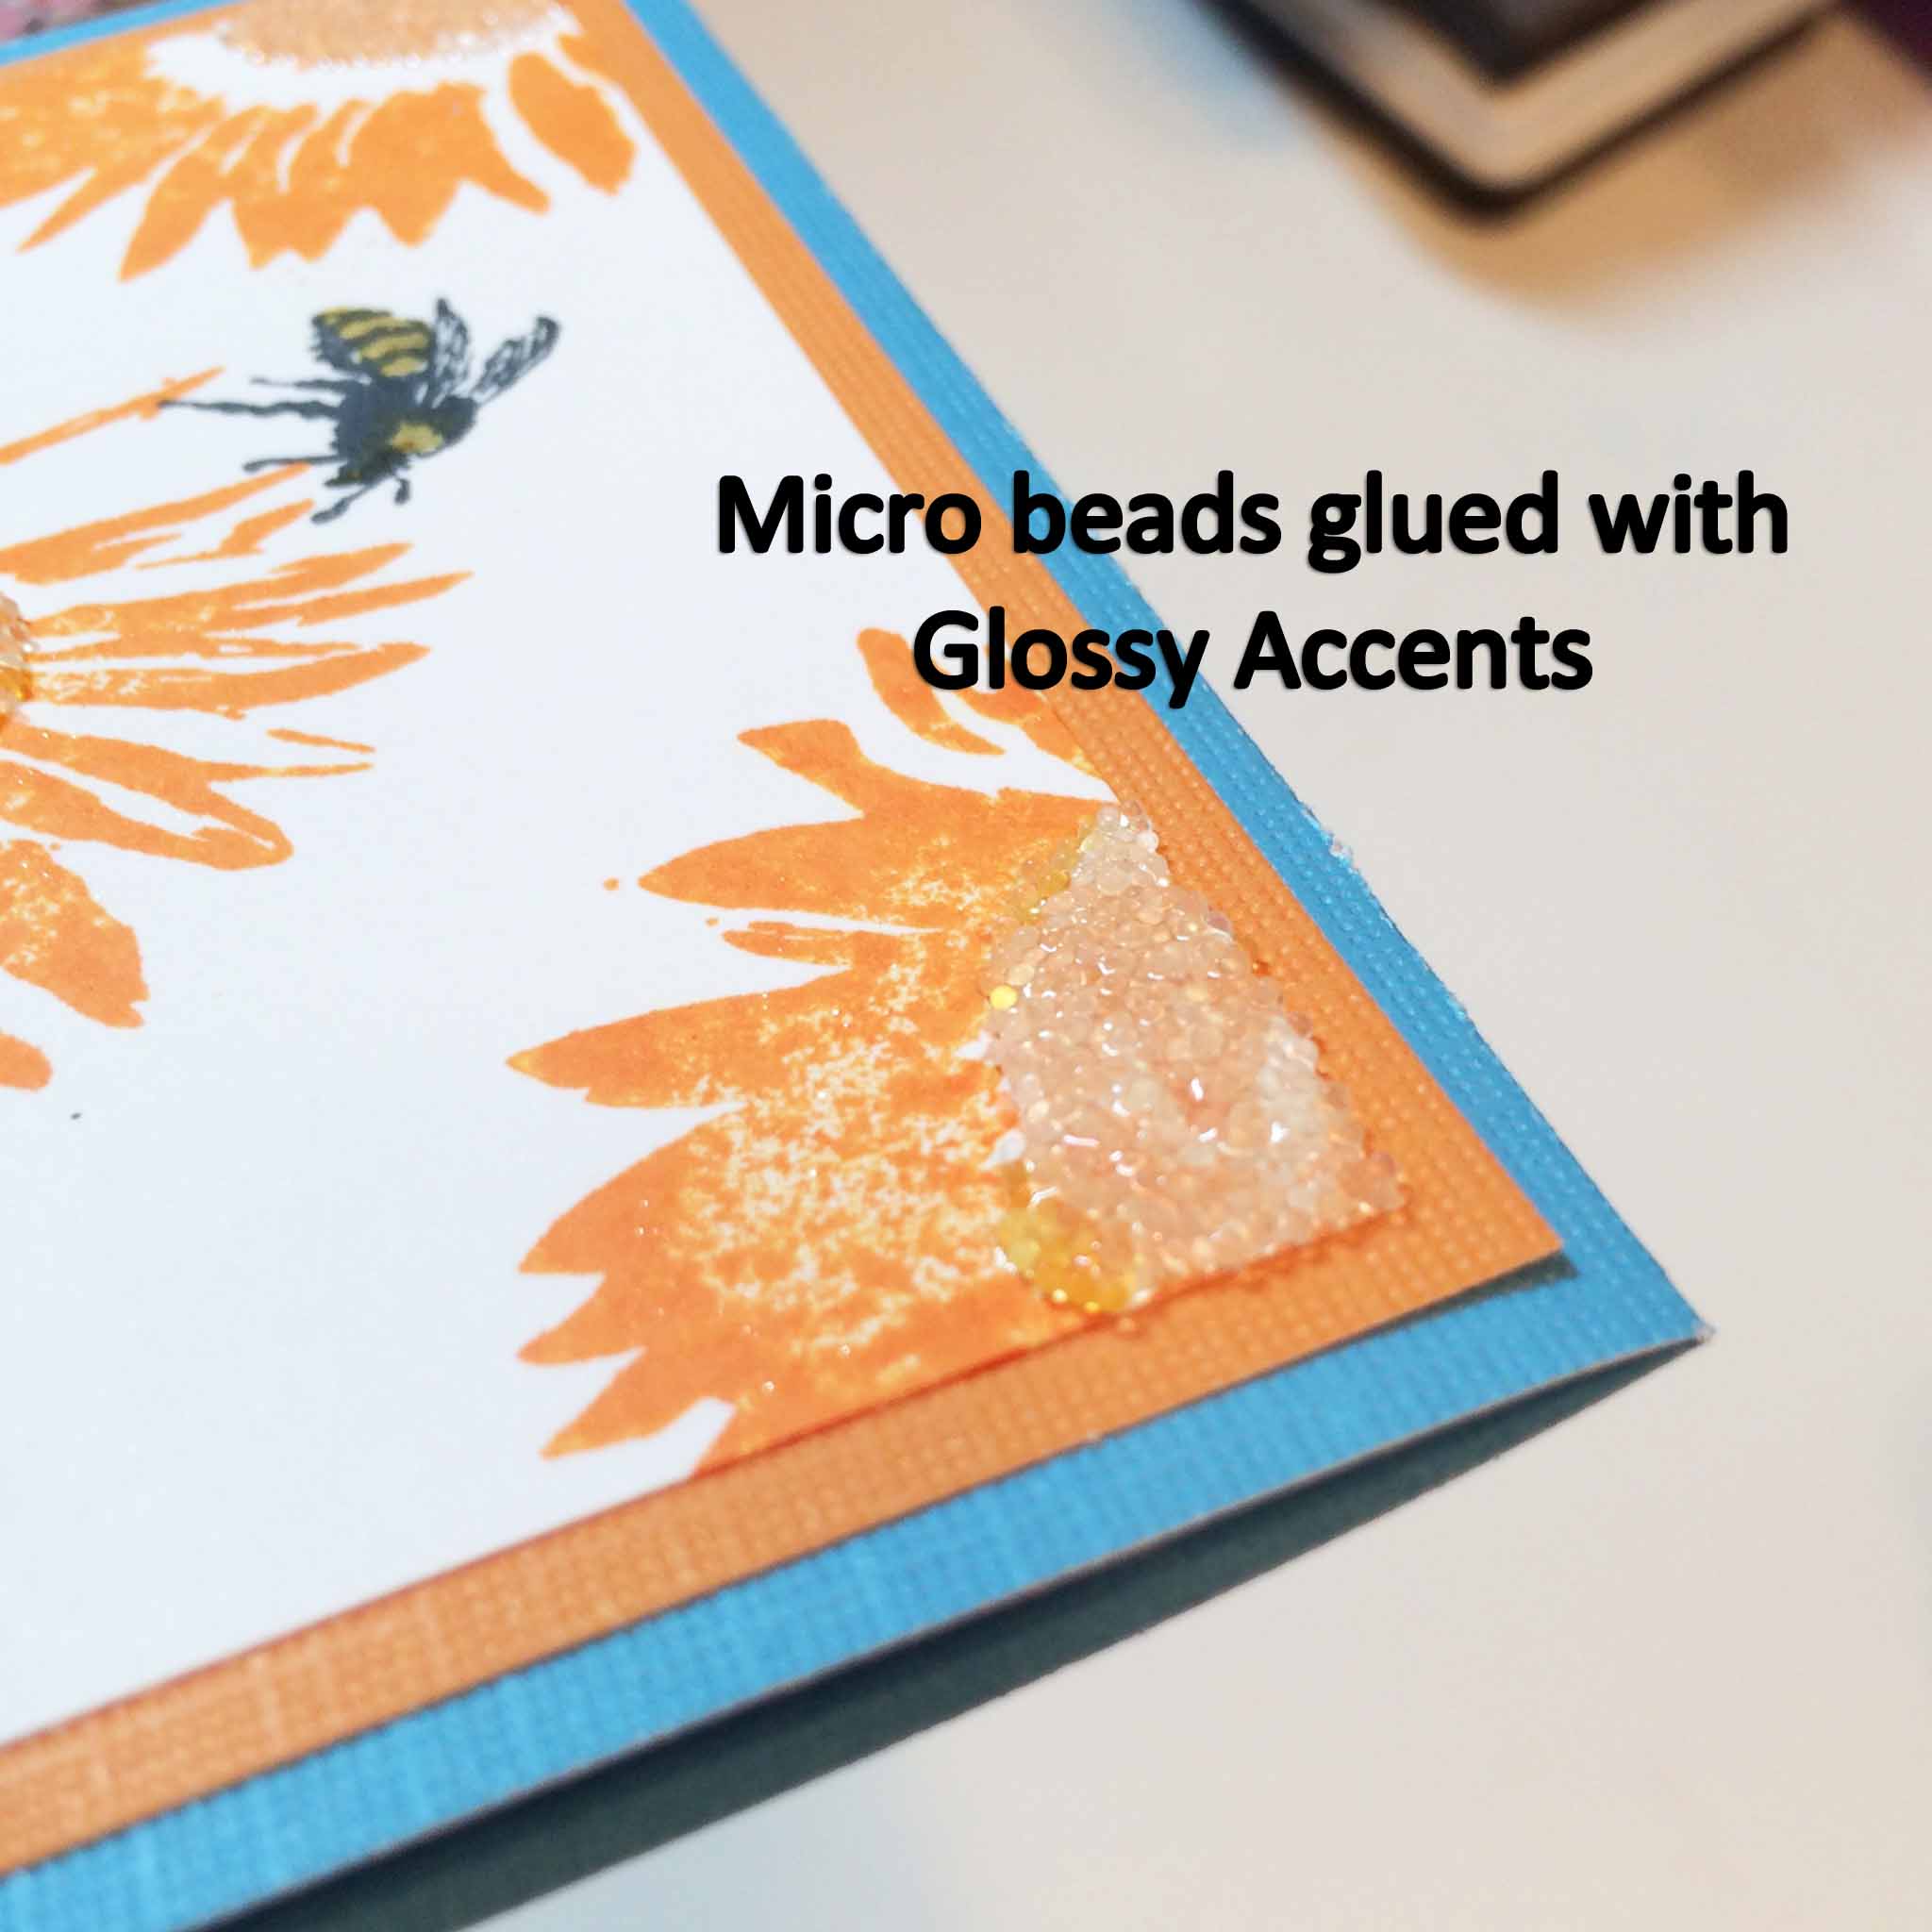
Step 7: I applied Glossy Accents Dimensional adhesive to the hearts and sprinkled them with glitter.
Voila! Done!
Here is the finished card.


Remember to leave a comment below and be entered to win this card today and possibly the Grand Giveaway of all 31 cards on February 1, 2015.
Until tomorrow,


I like when your blog posts are short. It means more time for walking and snuggling.