

Day 11 – Mod Melts
 When I embellish cards or scrapbook pages, I’m always drawn to buttons and button-type decorations. When I discovered Mod Melts in my local Michaels, I was excited to see if they would work out as handmade embellishments. Mod Melts are manufactured by the same company that makes Mod Podge, the decoupage glue.
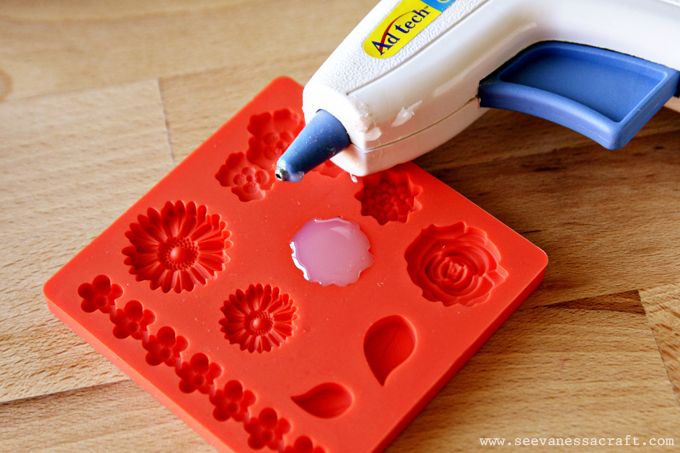
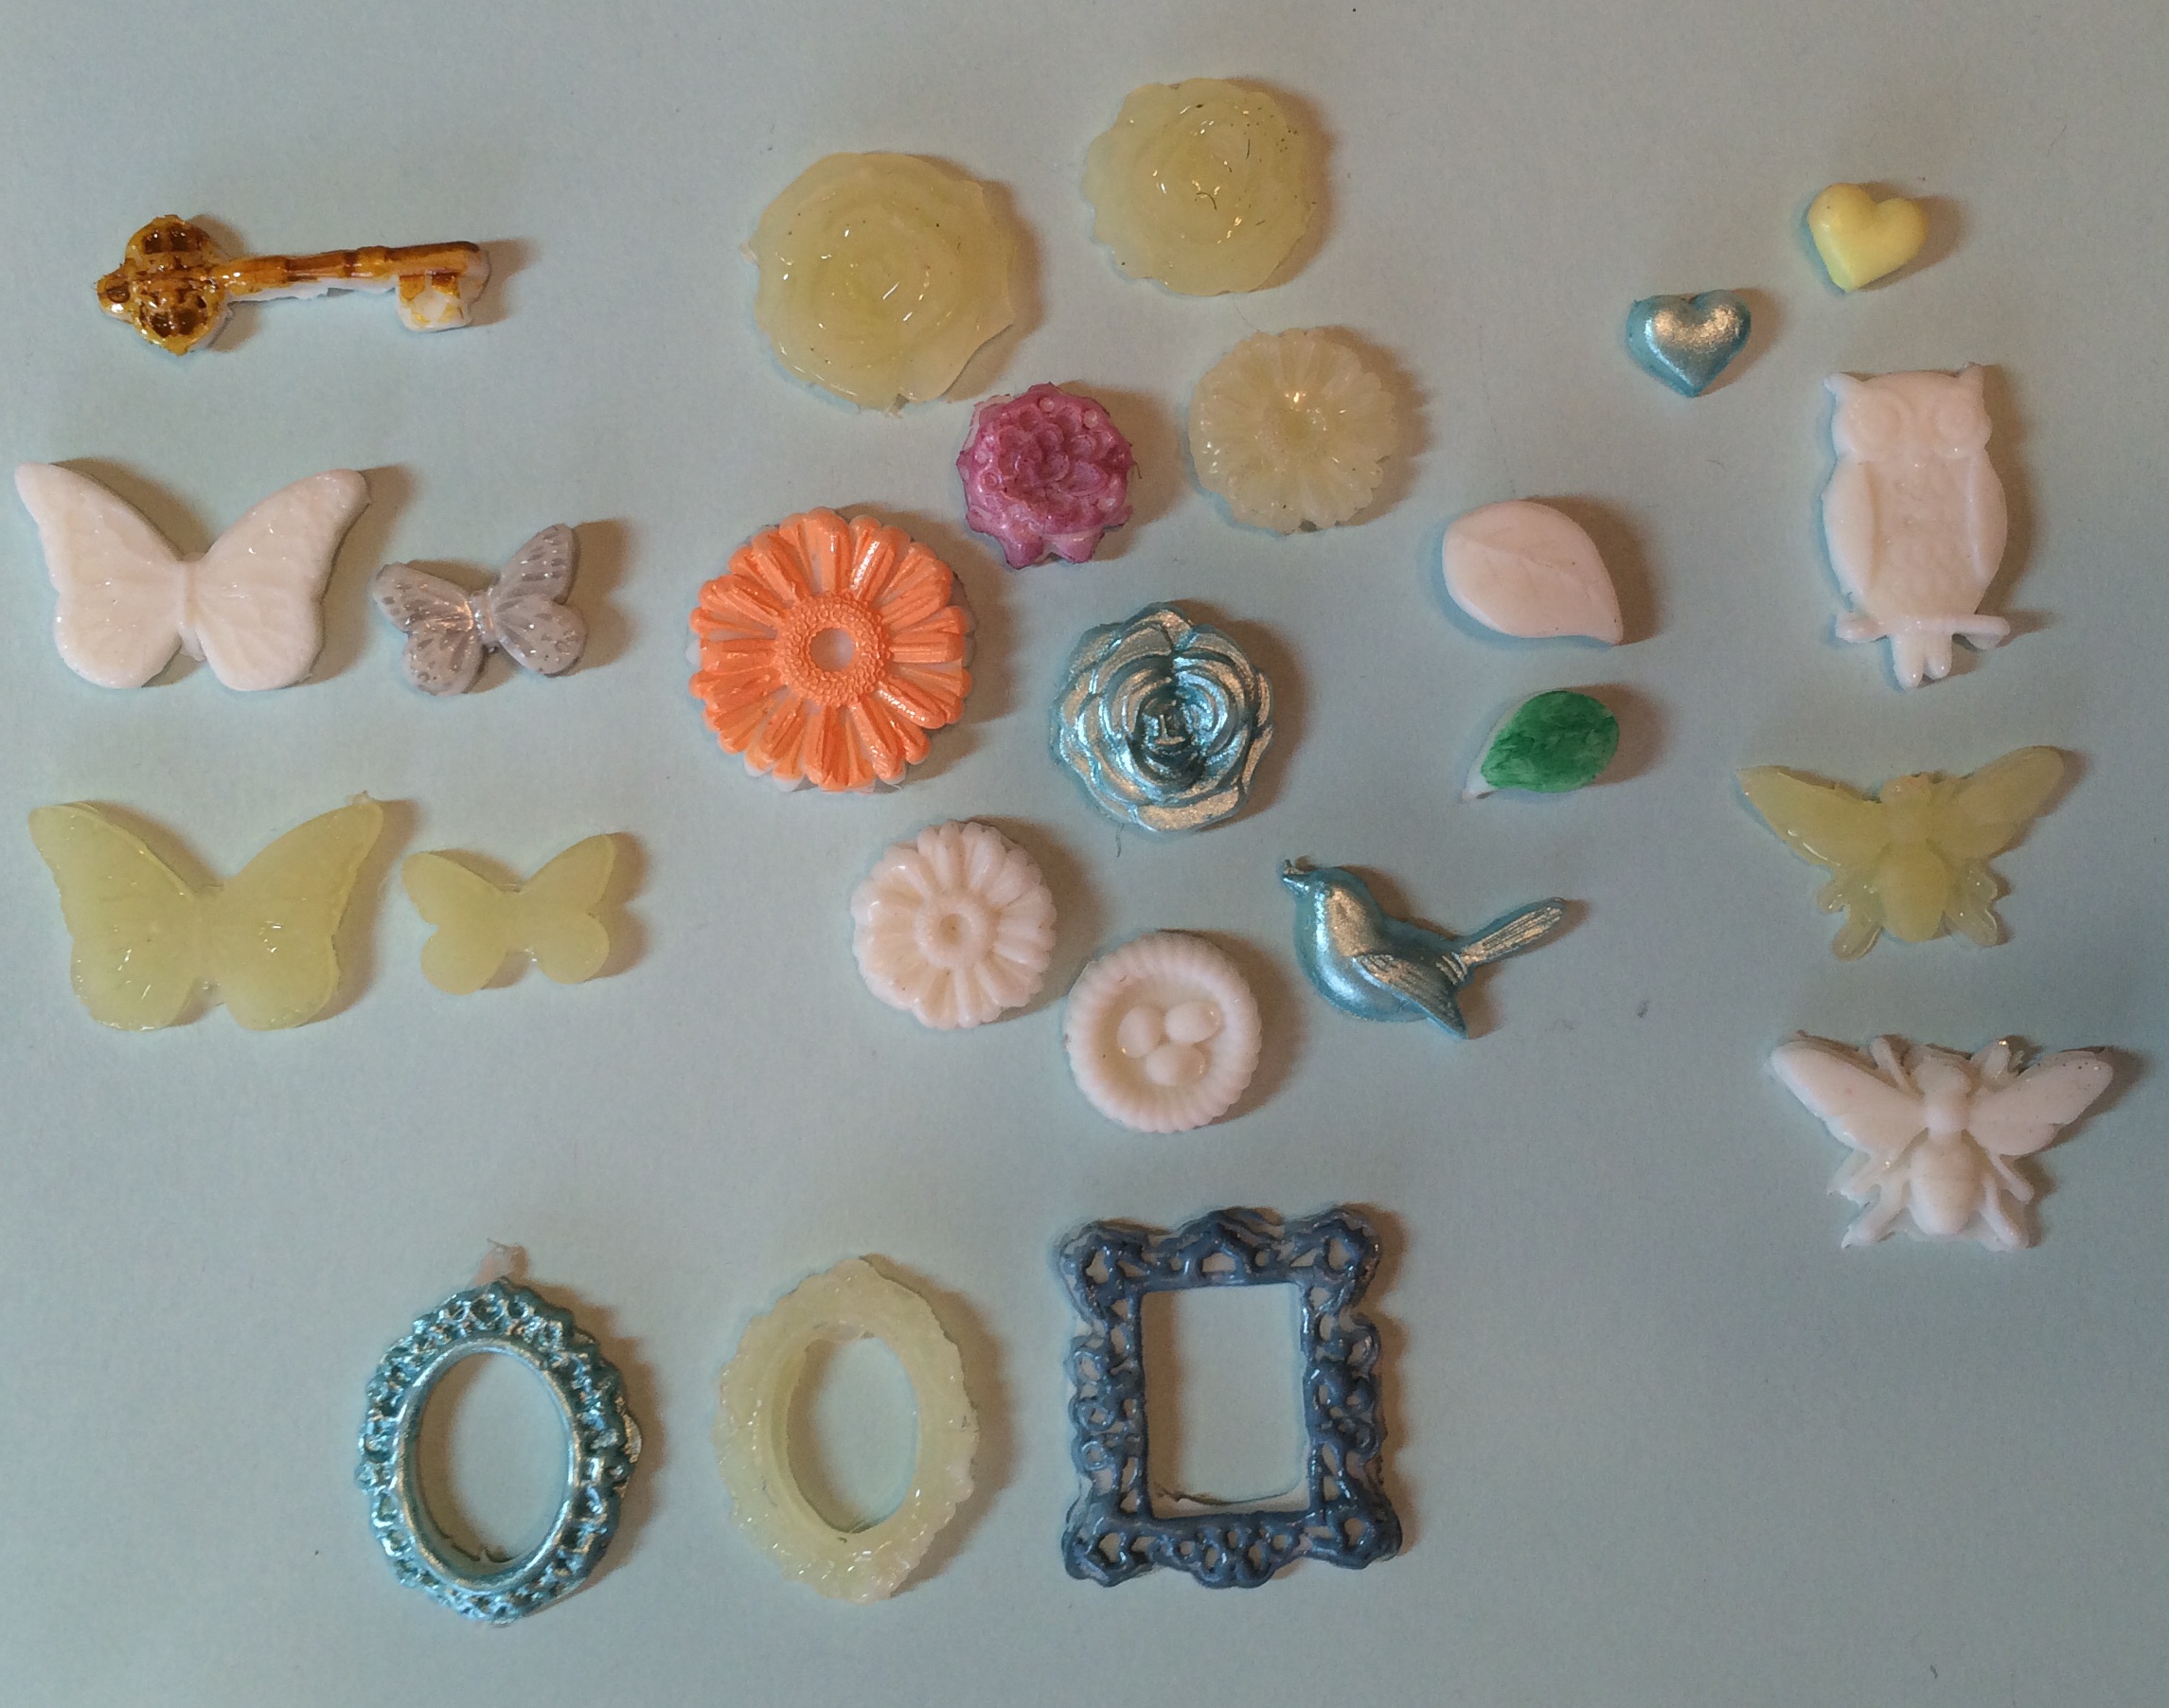
 All you need is a high temp glue gun, the specially designed glue sticks and the molds. There are many choices of molds – the ones I have are flowers, butterflies, frames and ephemera.
At first blush, this would seem incredibly simple and it was to a certain degree. I filled the molds with the melted stick and within minutes out popped the embellishment. That part worked out great.
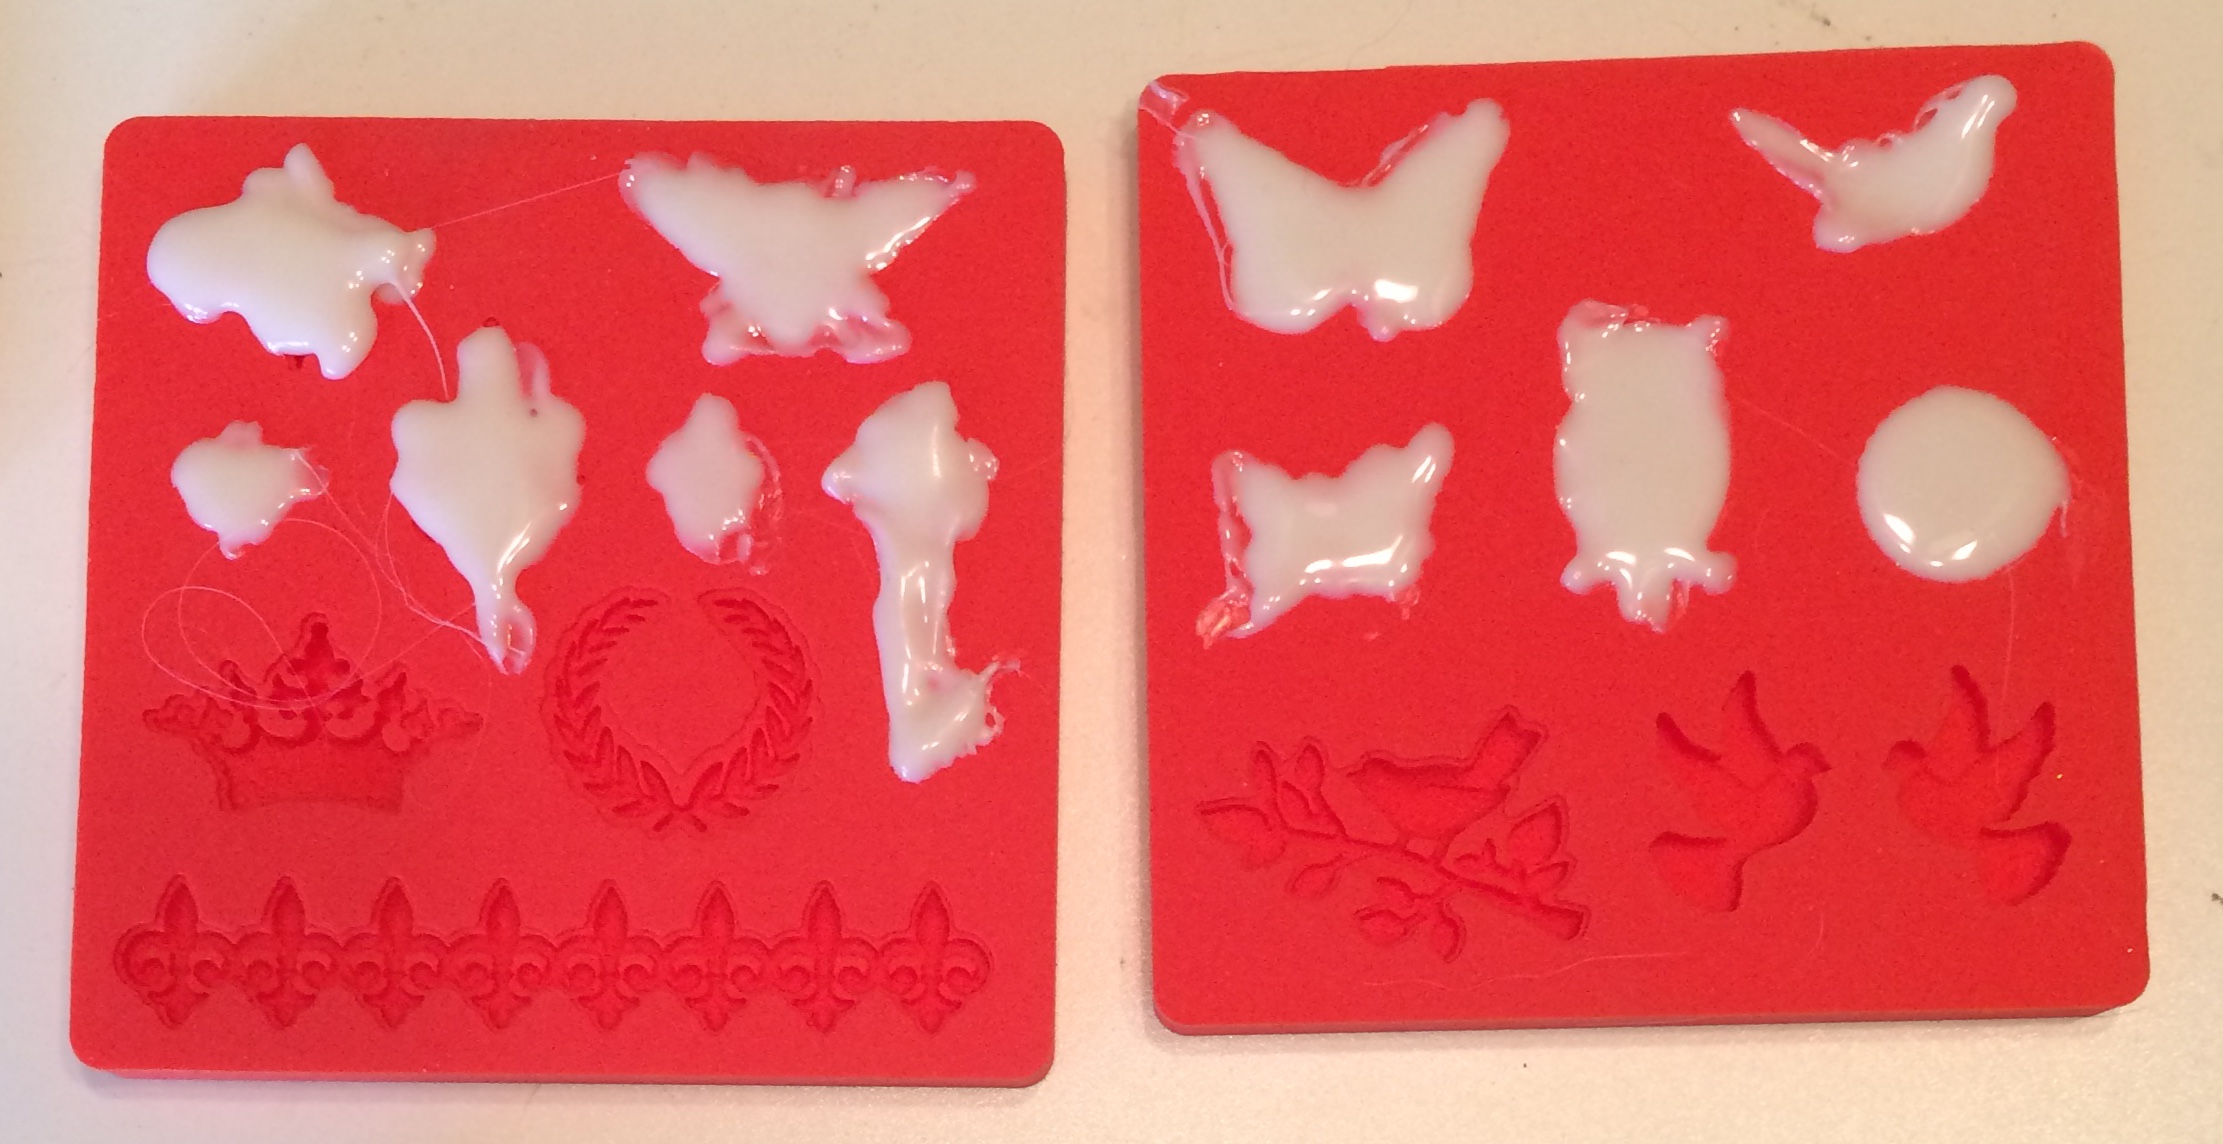
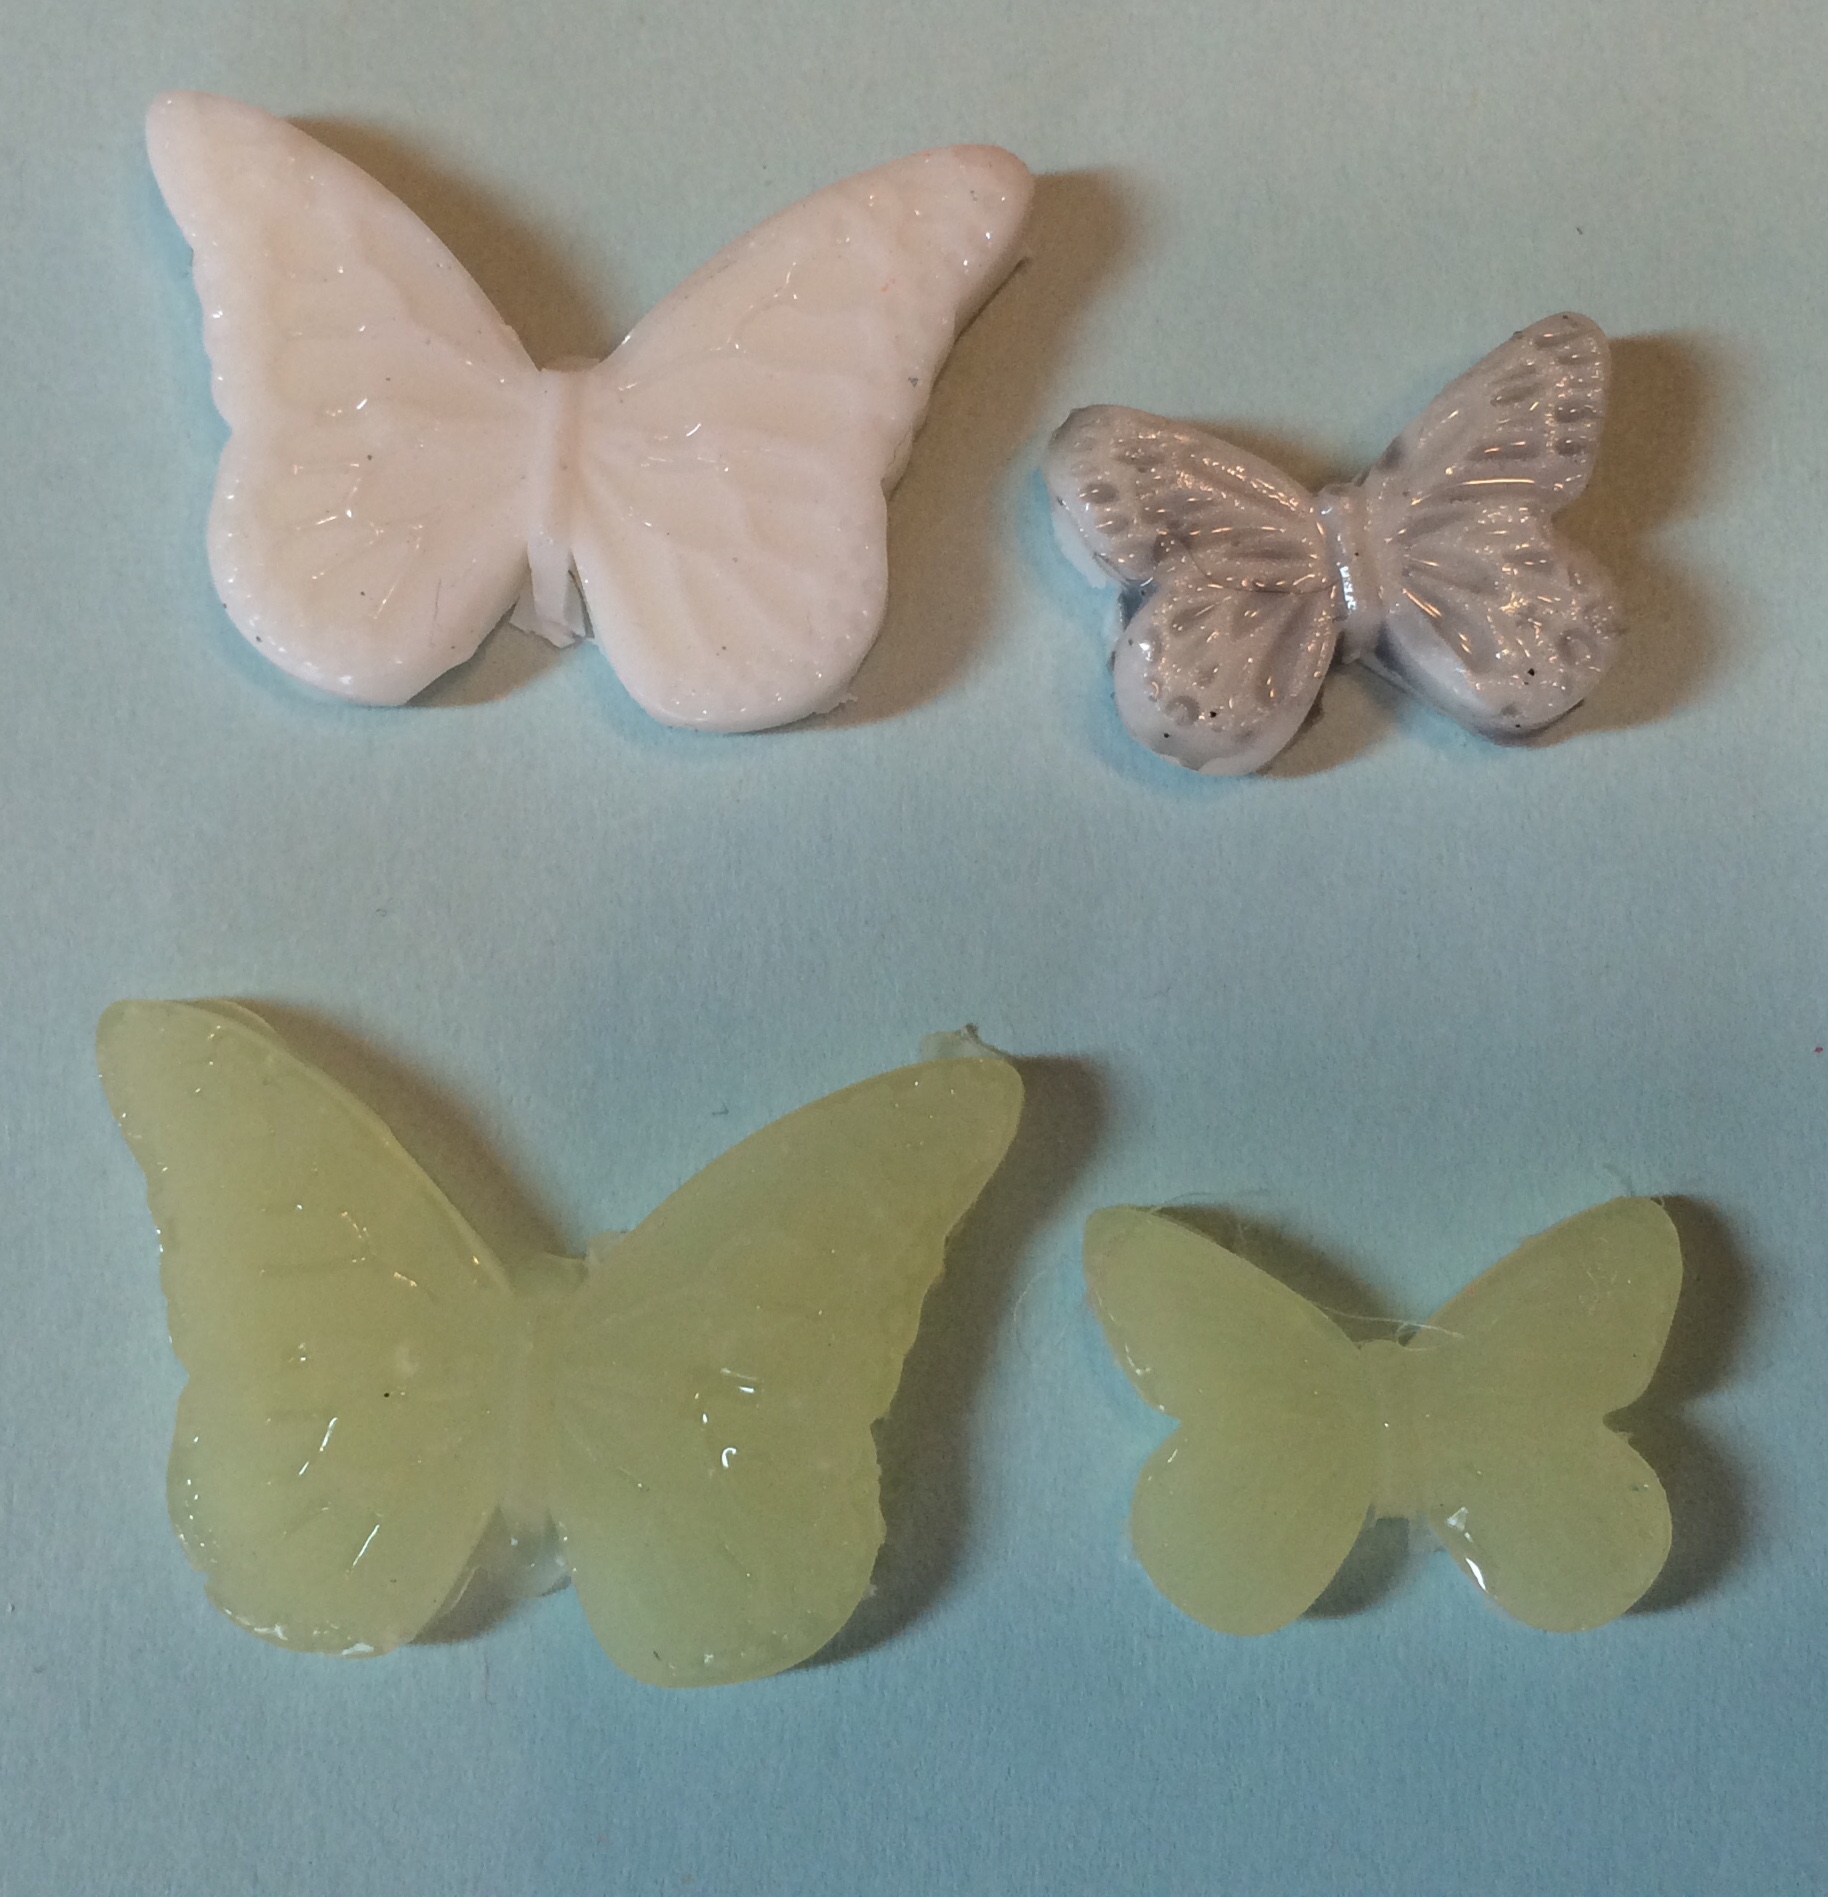
 If you want to try this craft, you’re going to want to over-fill the molds. Don’t! This does create a beautiful, detailed embellishment, but it also creates an ugly edging that you need to cut away with an Exacto knife. For the molds that have straight edges it works pretty well, but for any that are highly detailed with curved edges – it doesn’t look so good.
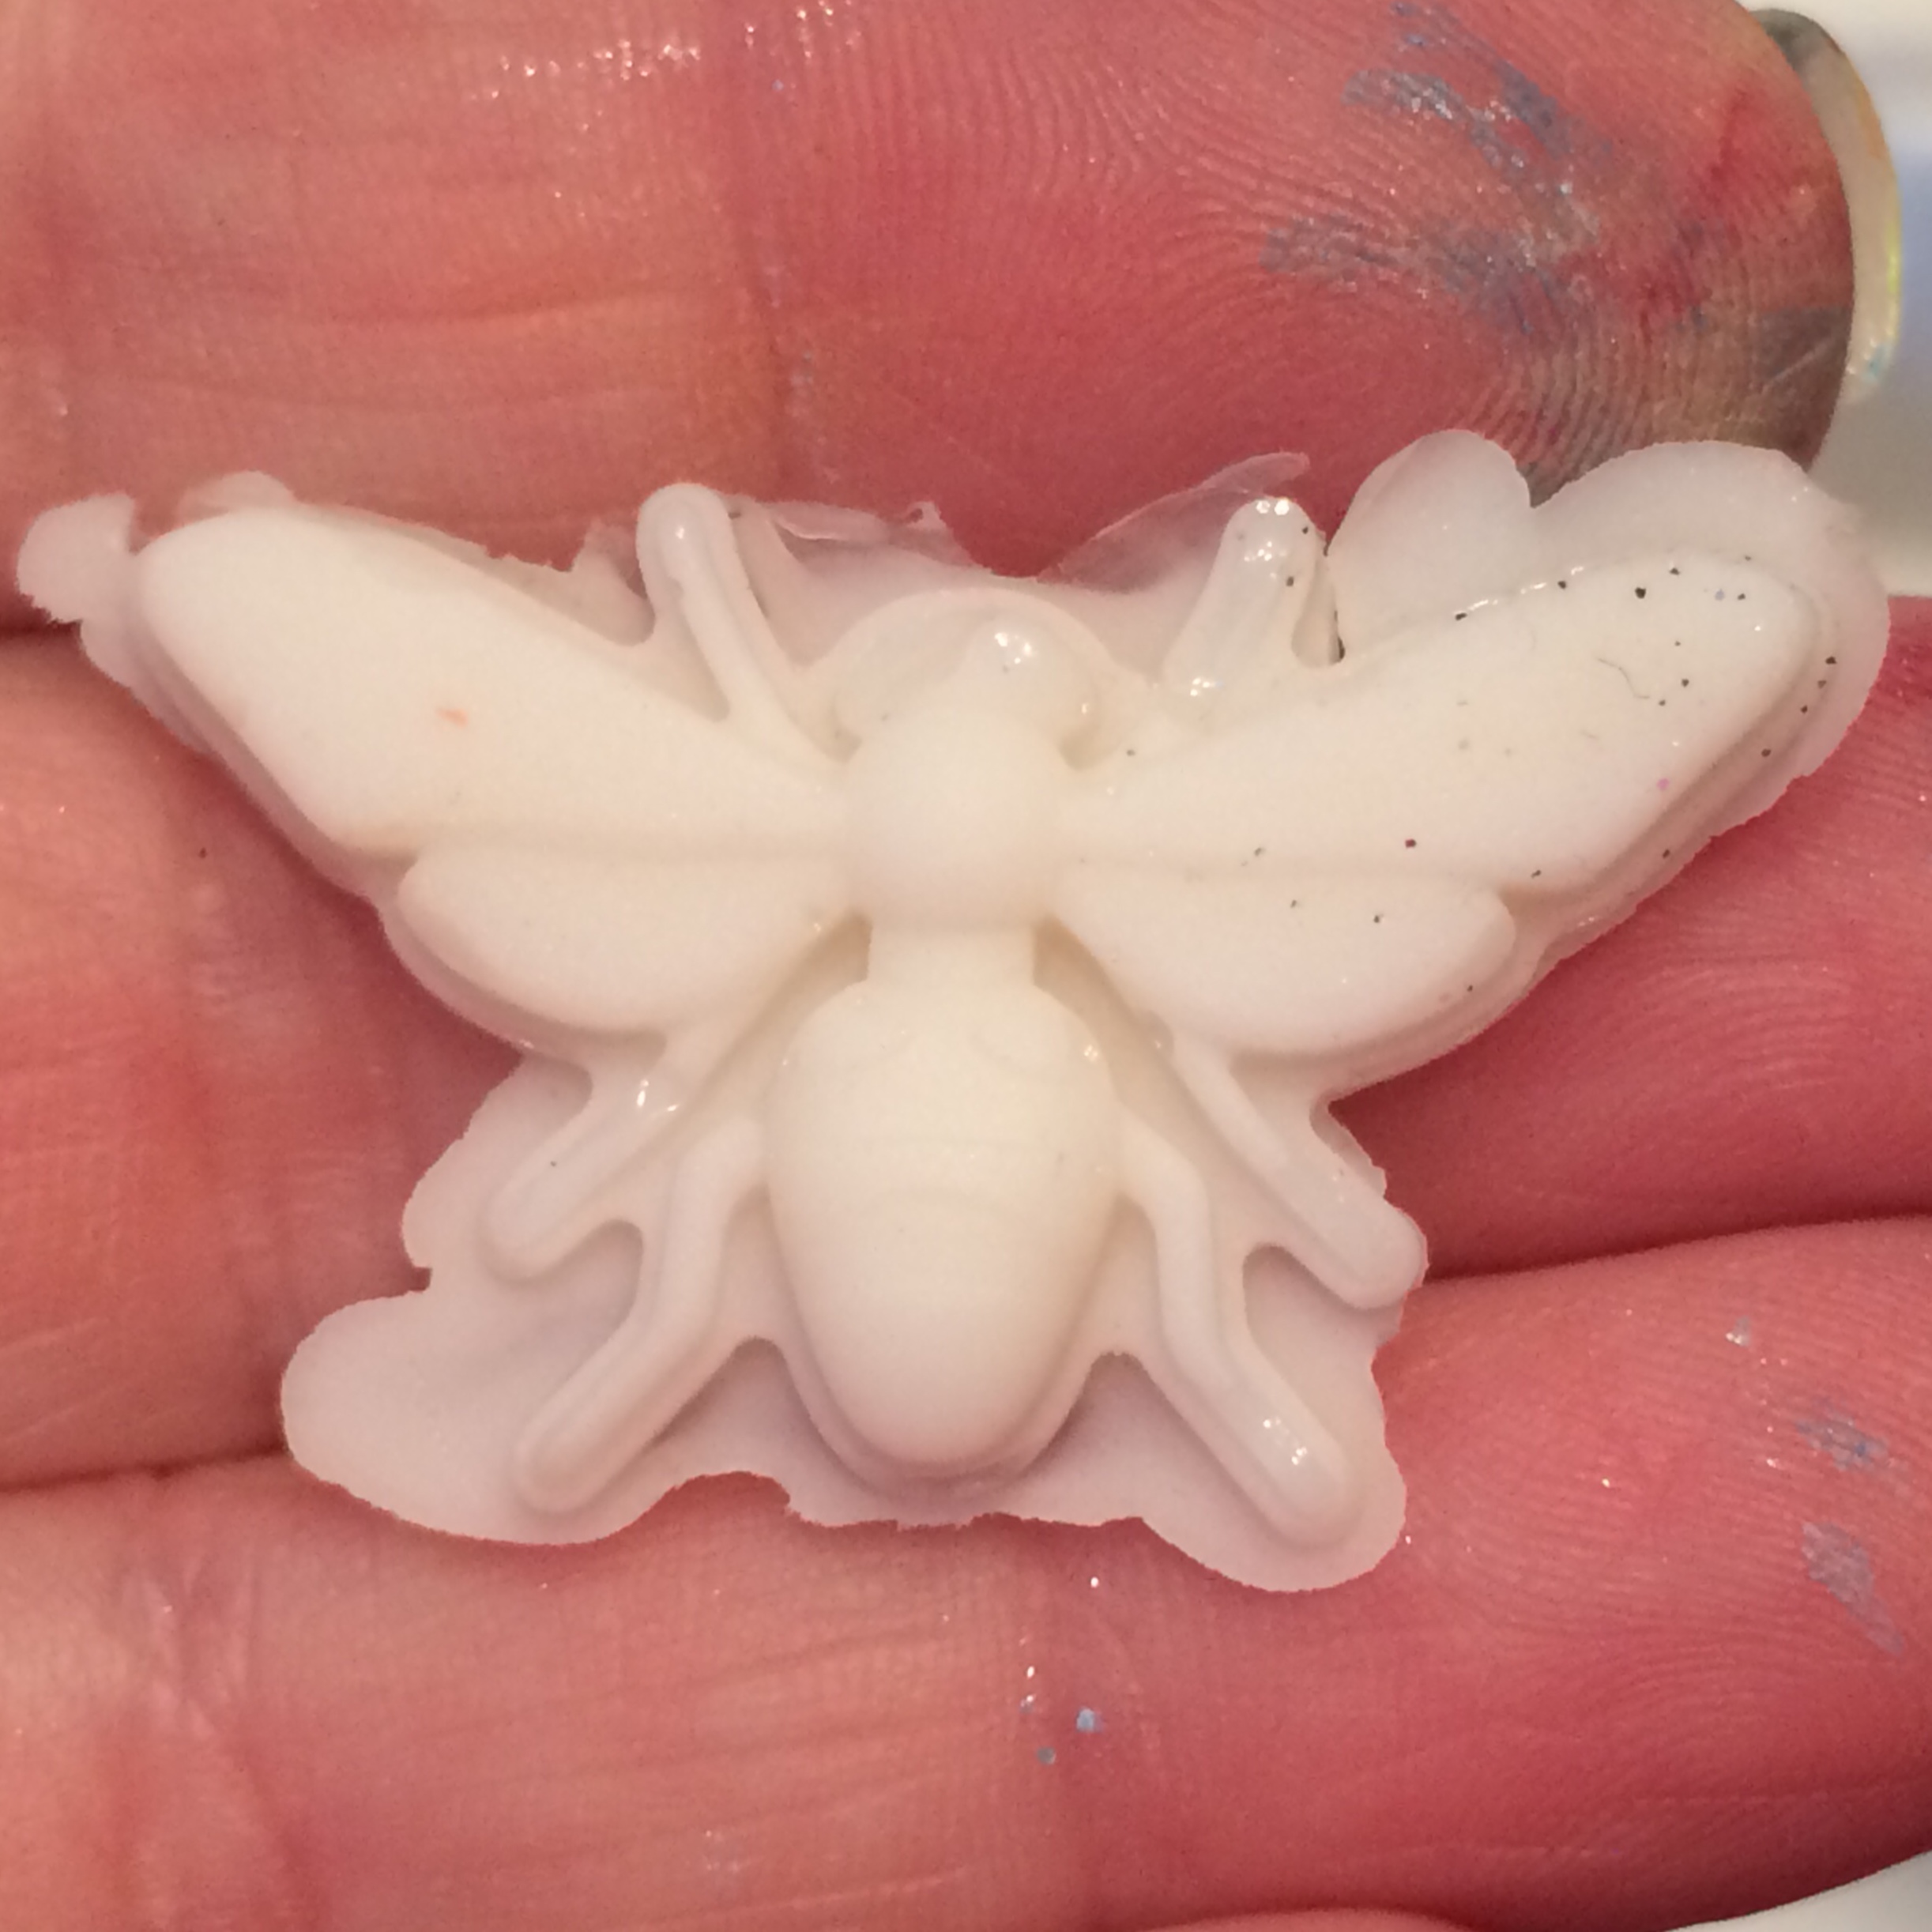
After a few failed tries, I filled the mold to right below the edge and these pieces turned out great. The sticks come in two varieties: opaque white and clear. I’ve had these a while so the clear had turned a bit yellow. Don’t wait to use these like I did. The nice part is that the pieces can be painted so it doesn’t really matter which stick you use. If you do, however, want the sea glass look, don’t let them sit.
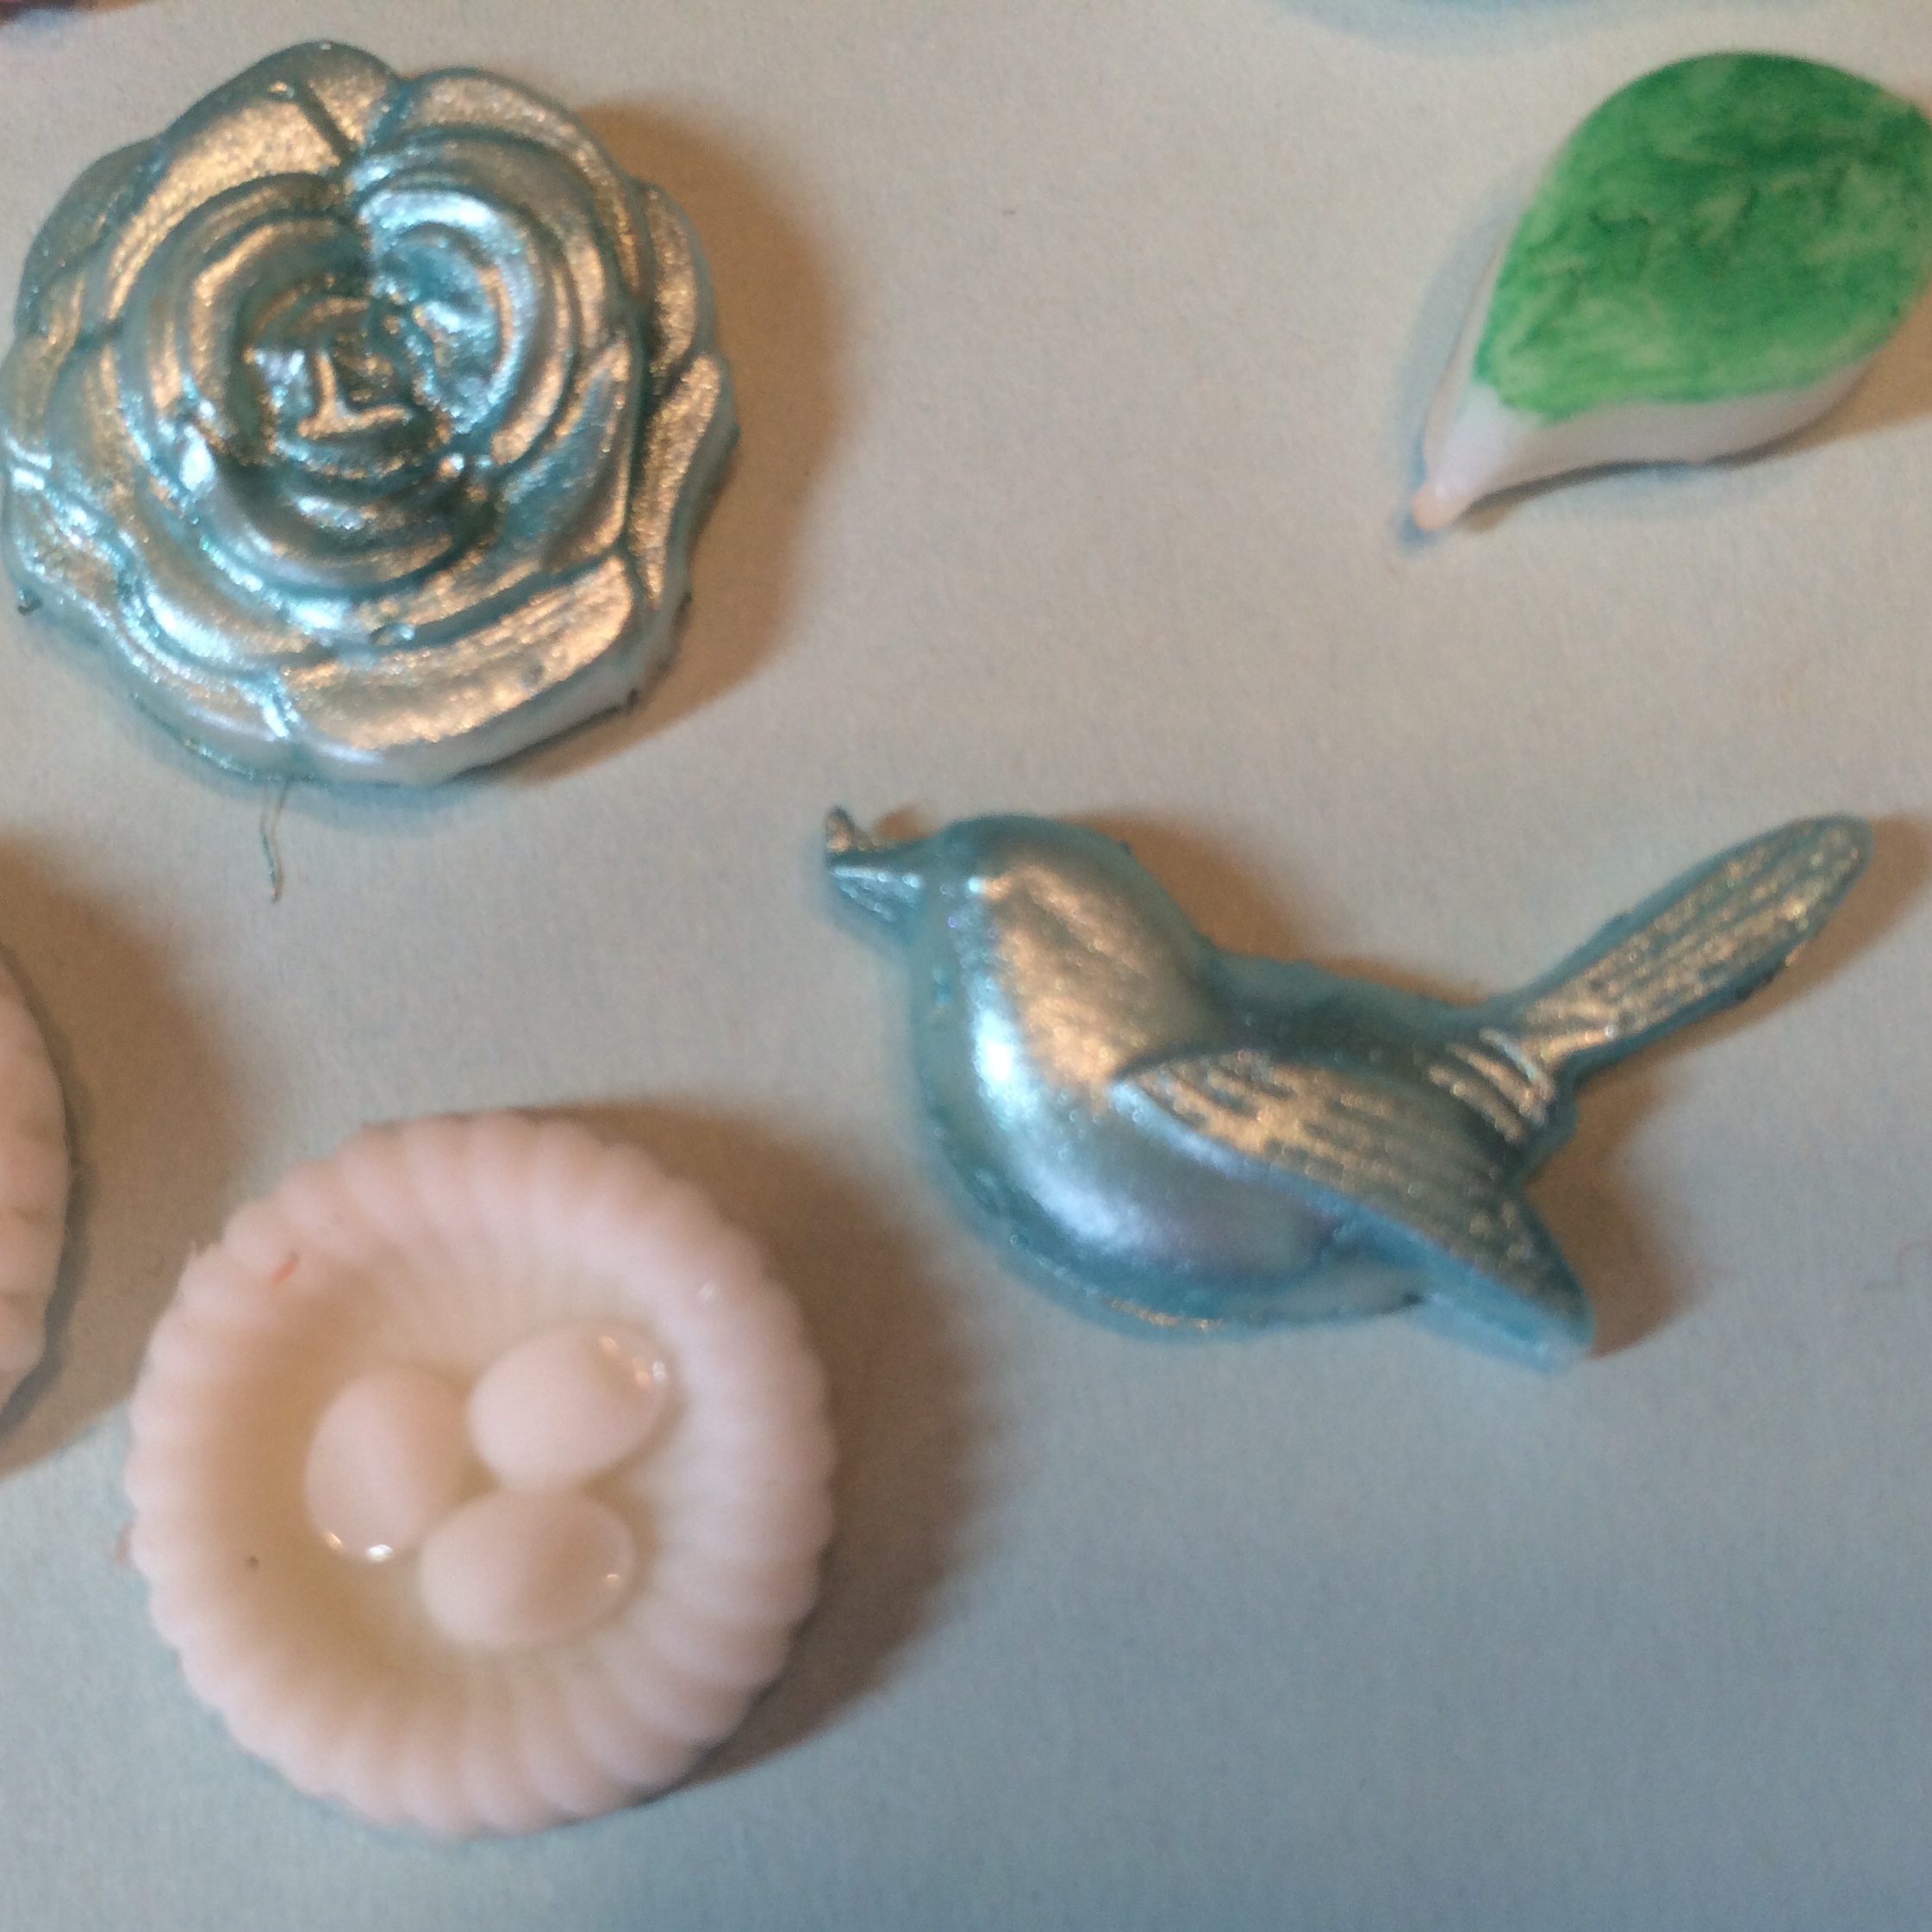
 I painted a few with a pearlized acrylic, some with a chalk ink and left the others alone. I’ve heard that alcohol inks work really well on these, but I ran out of time to try. Next time.
I’ll definitely try this again, but this is one of those projects that falls into the category of “better in my head than in reality”.
Until tomorrow,


Those look awesome mom, but I didn’t notice any paws or bones. Do they not make molds with those essential dog shapes? They must not because I know it would have been the first mold you would have bought.
