

Day 15 – English Paper Piecing
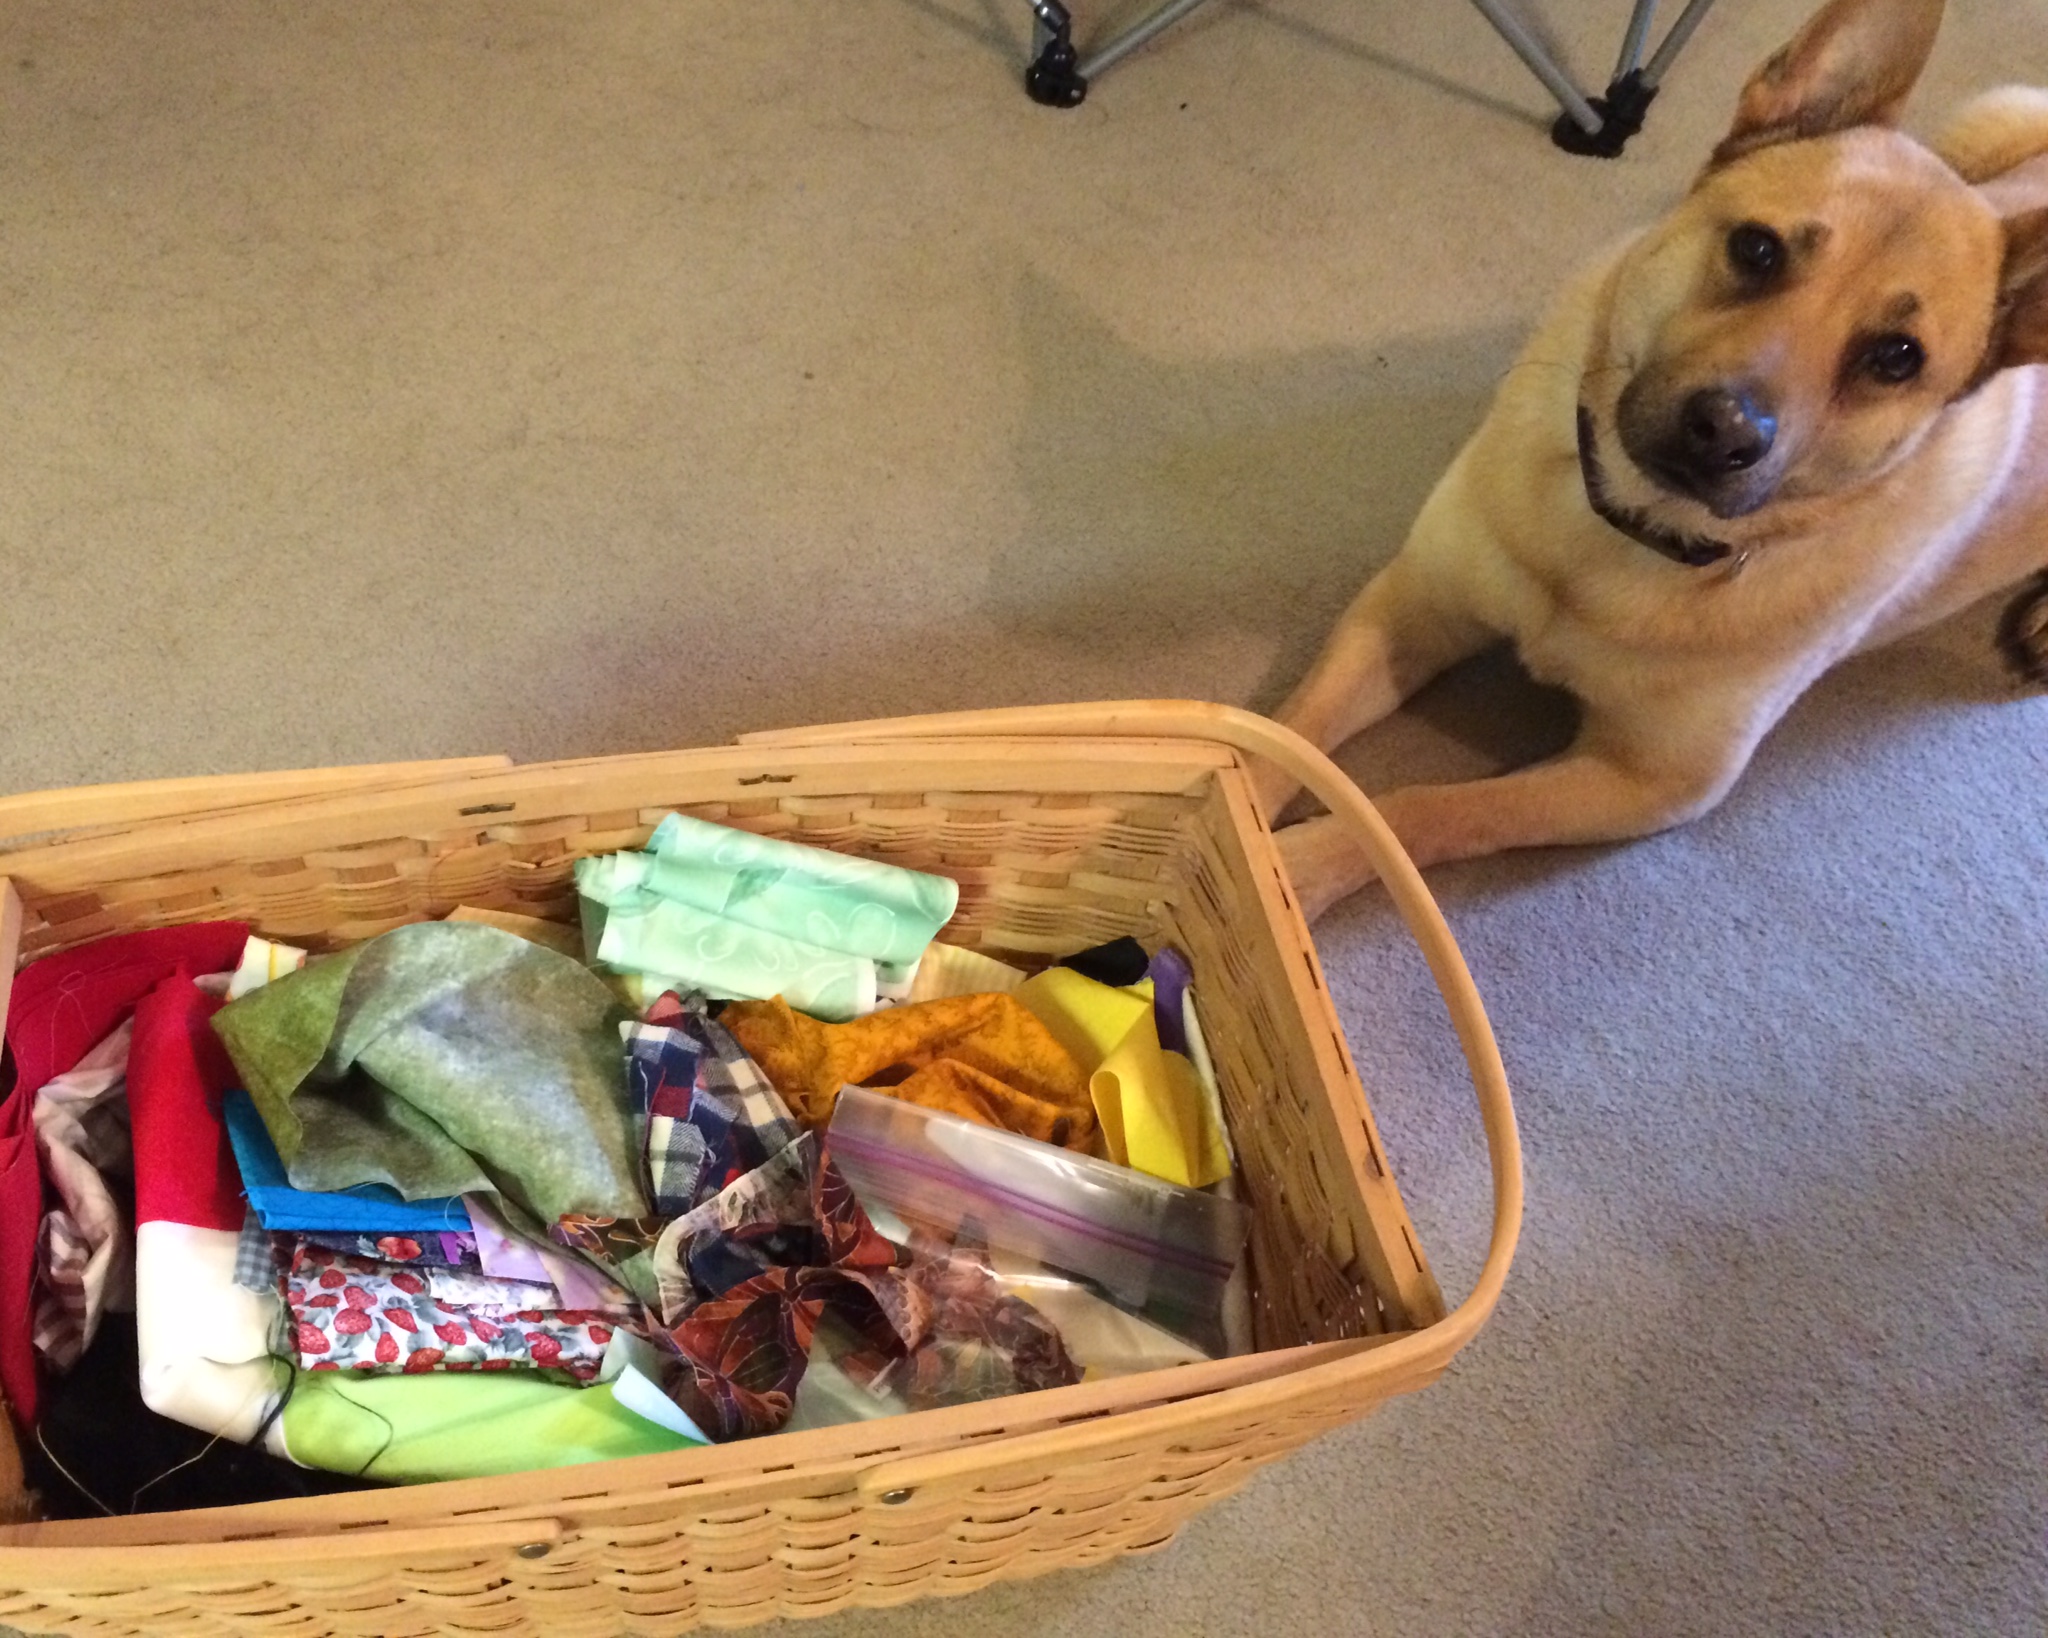 Well, I definitely think I’ve developed a “hexie habit”. This was a blast and terribly easy. And as an added bonus, I dragged out my fabric scrap basket and was able to use scrap pieces to make these hexagons. I really hate waste and feel incredibly gratified that I could use the bits and pieces of fabric I’ve been saving for ages.
I used three different tutorials because not all gave me the information I needed. The first tutorial was from Wild Olive. Mollie did a beautiful job of describing how to cut the hexagon paper pieces (she even provided a downloadable template), cut the fabric, and paper piece the hexagons. I’m so new to this that I needed to know what kind of paper to use. Apparently there are many options as I found out from the second tutorial from Craftsy. Of all the options I chose freezer paper. The third tutorial from Bee In My Bonnet did a beautiful job of showing me how to sew the individual pieces together.
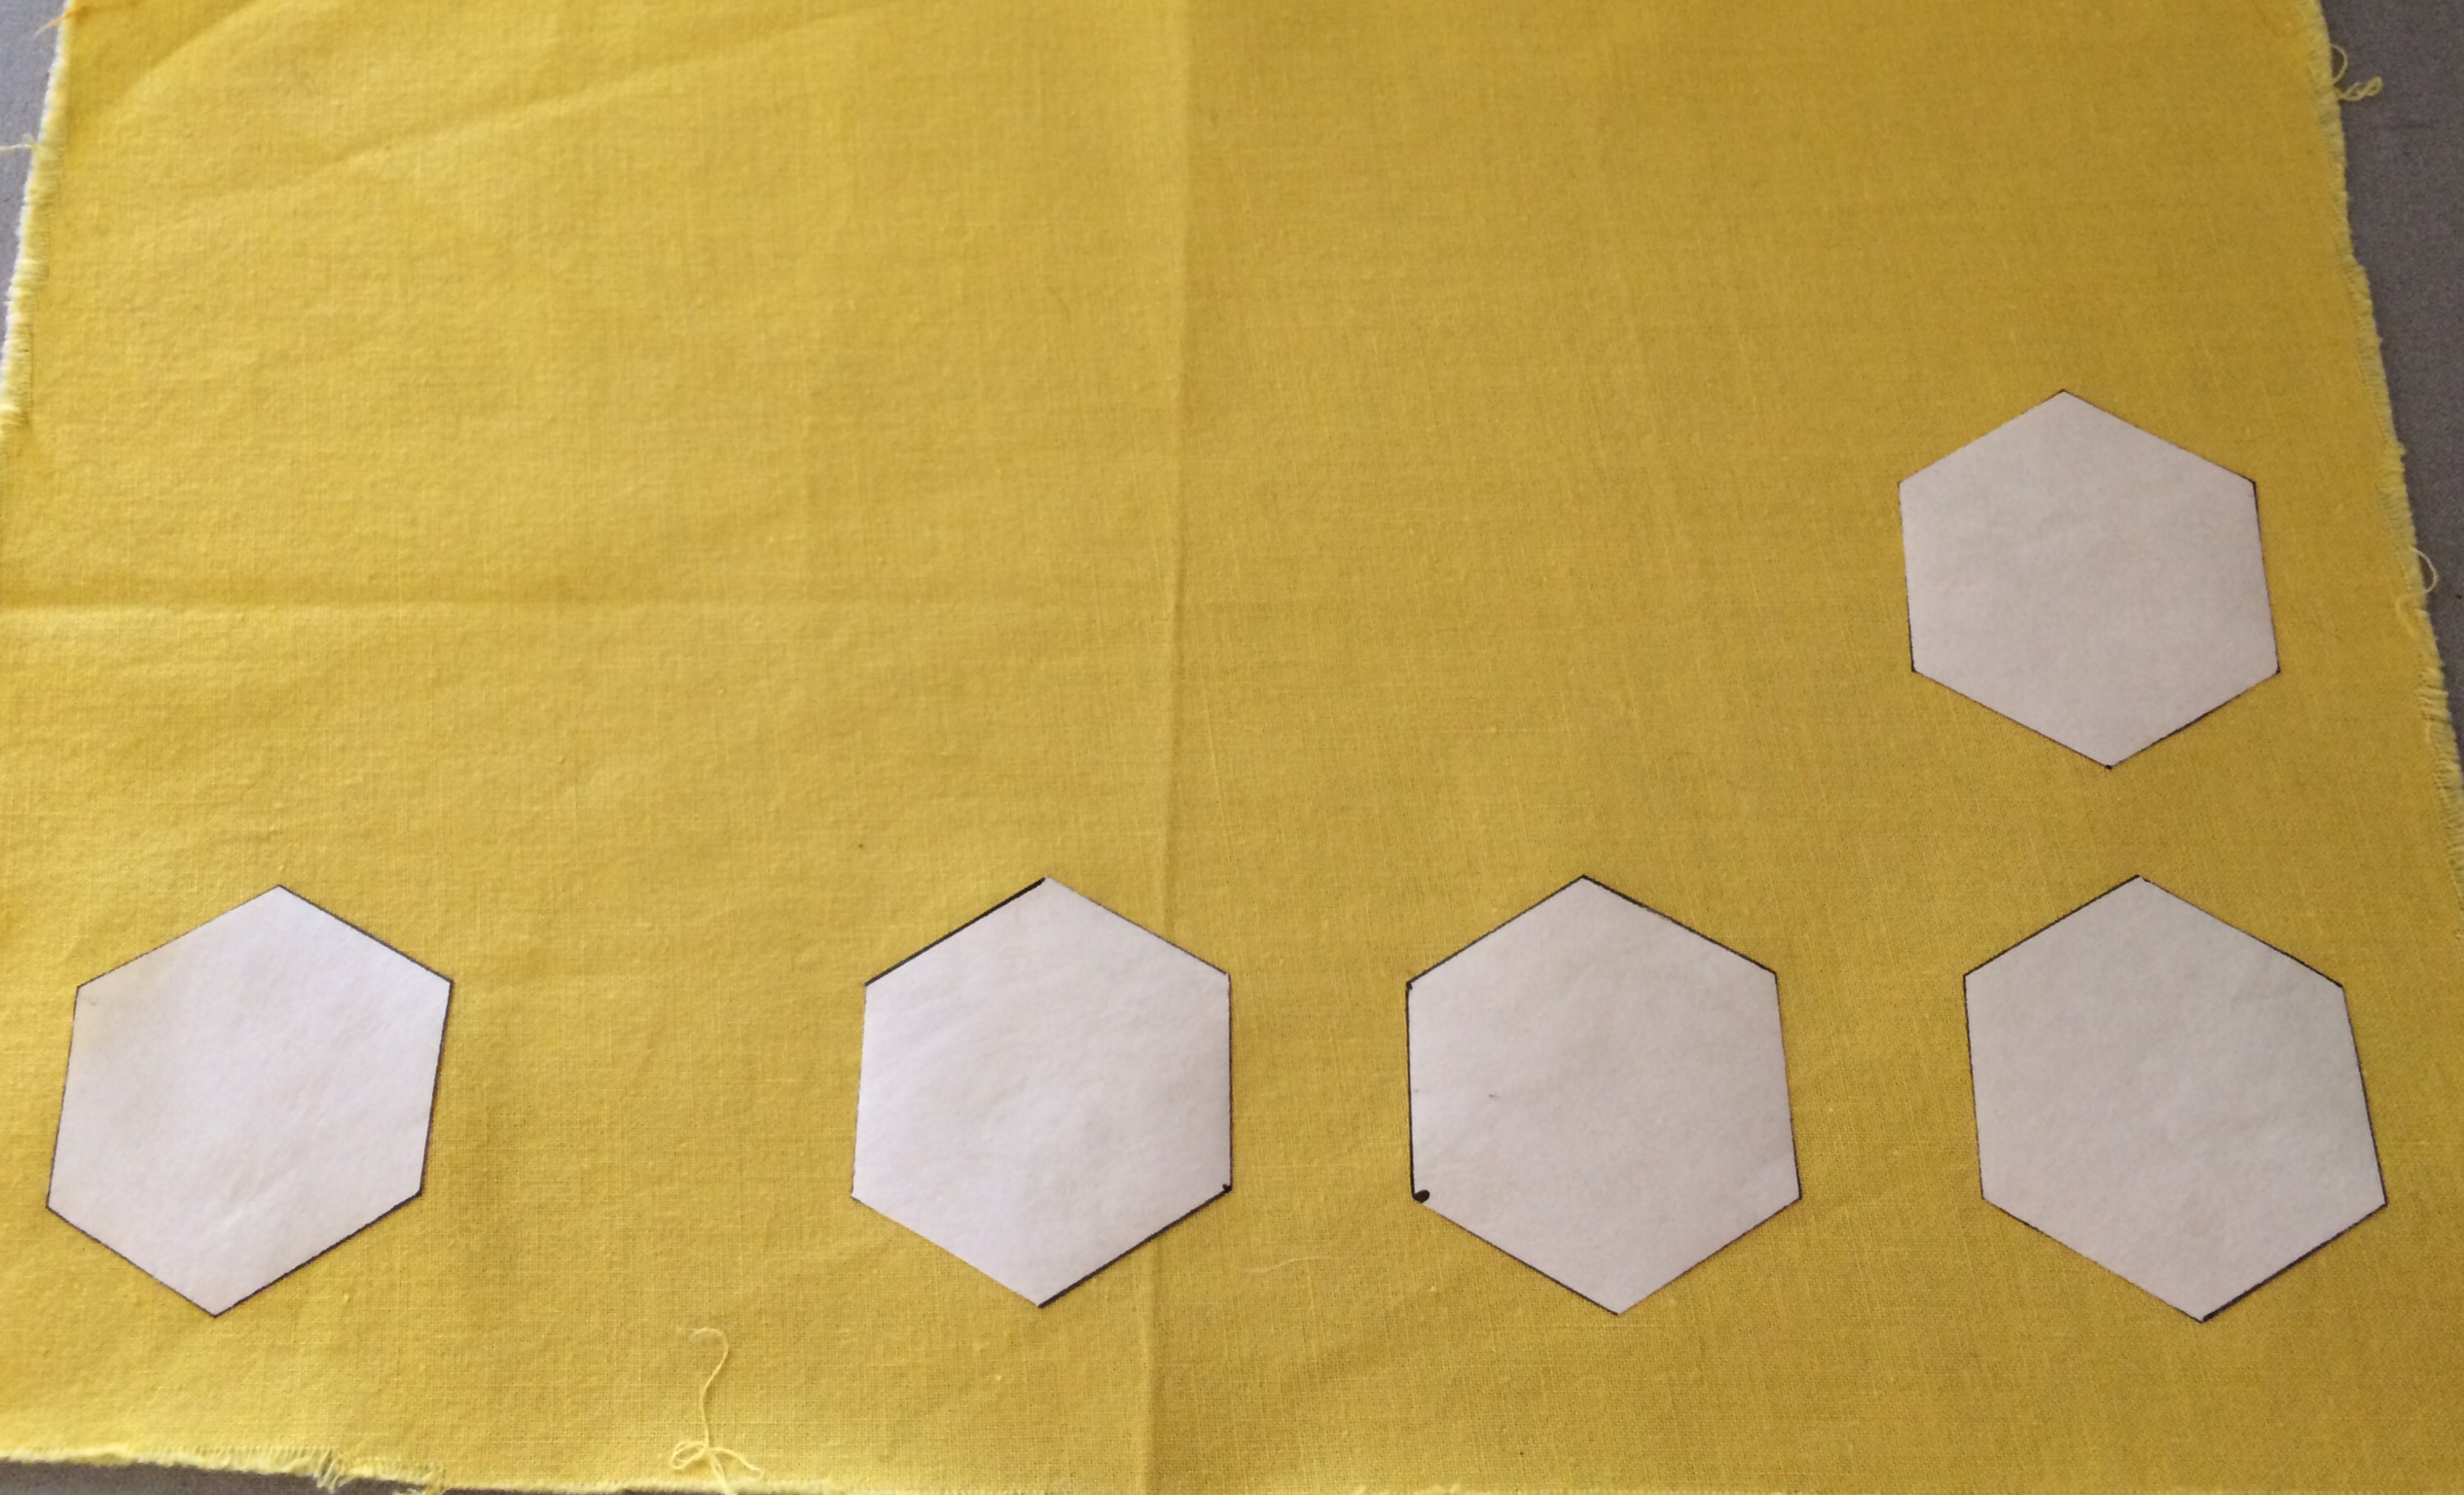
 I started by printing the template from Wild Olive. I traced the hexagons onto the non-shiny side of the freezer paper and cut them out. I then ironed them onto my fabric, shiny shine down with the wrong side of the fabric facing me. After ironing the hexagon templates, I cut around the paper with a 1/4″ seam allowance to give me a stack of fabric hexagons.

 From there I started folding the seams over and stitched them down based on the instructions from the tutorials. It was a bit slow going at first because it’s been a while since I hand sewed anything, but by the last hexie I was flying. I kept the paper inside the sewn hexie until the entire flower was complete. Some of the tutorials recommended using a straight pin to keep the paper from
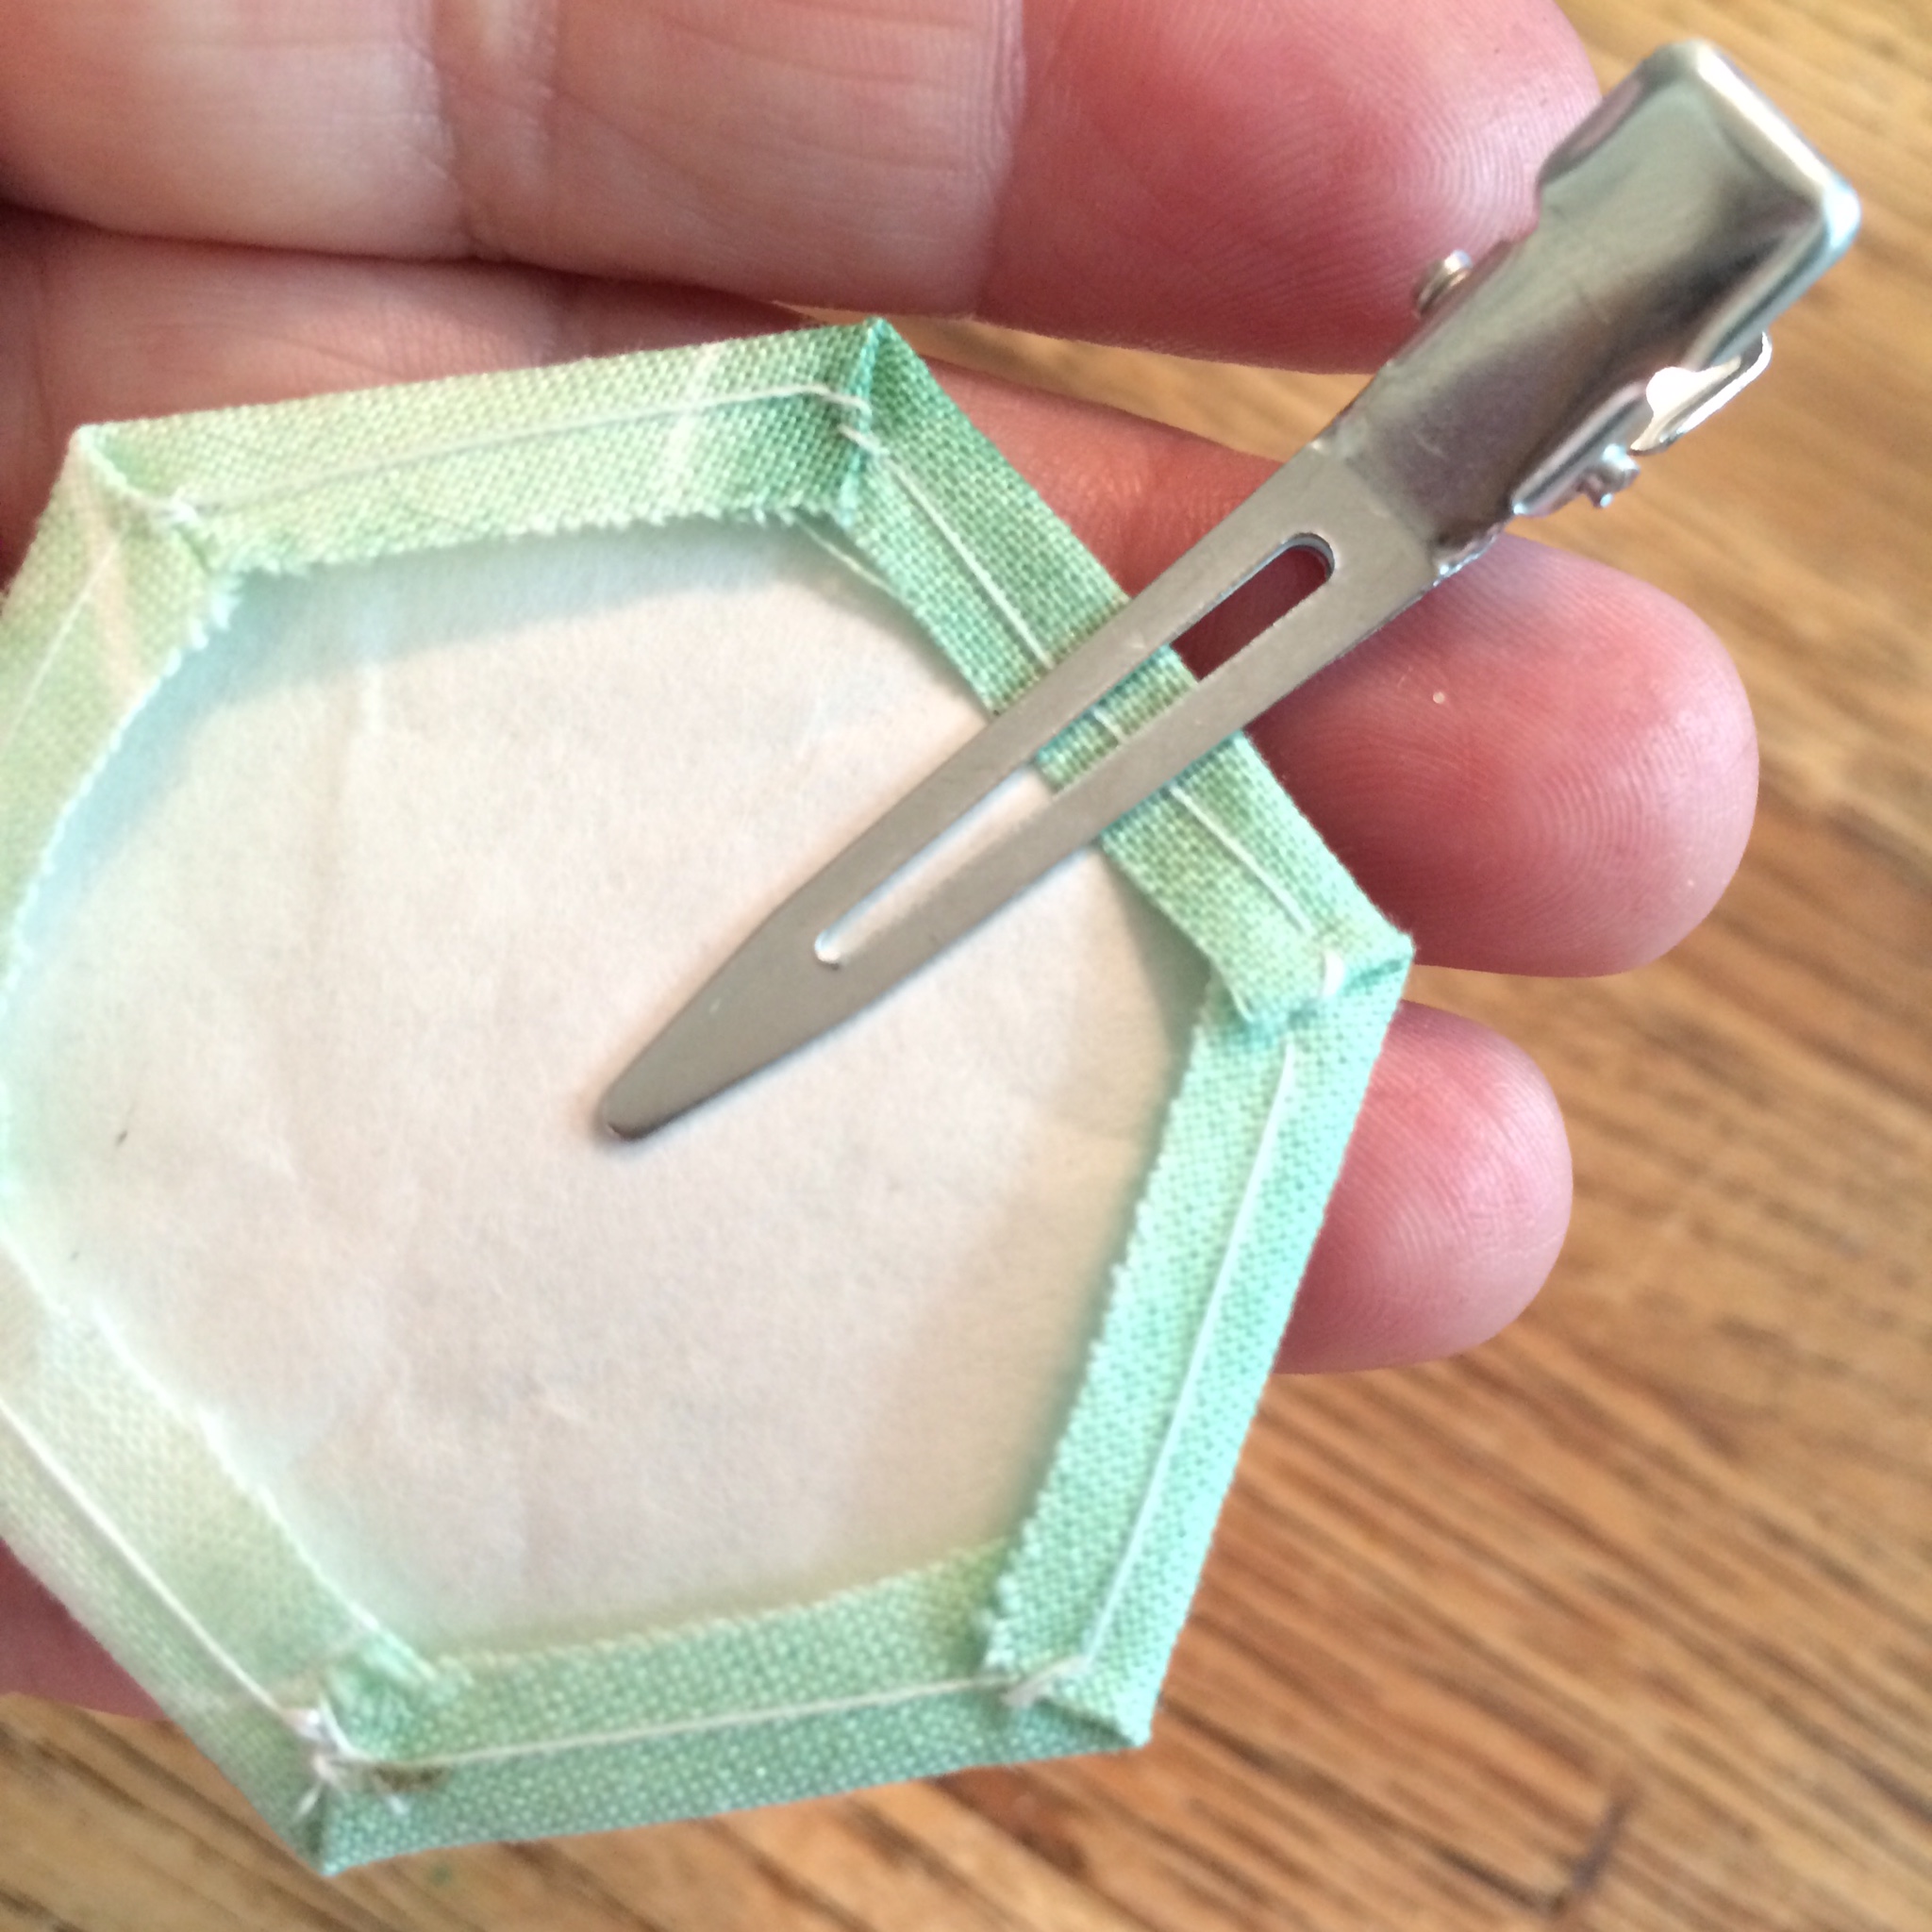 shifting under the fabric, but by using freezer paper and ironing with the shiny side down, the fabric adheres enough to keep it from shifting.
 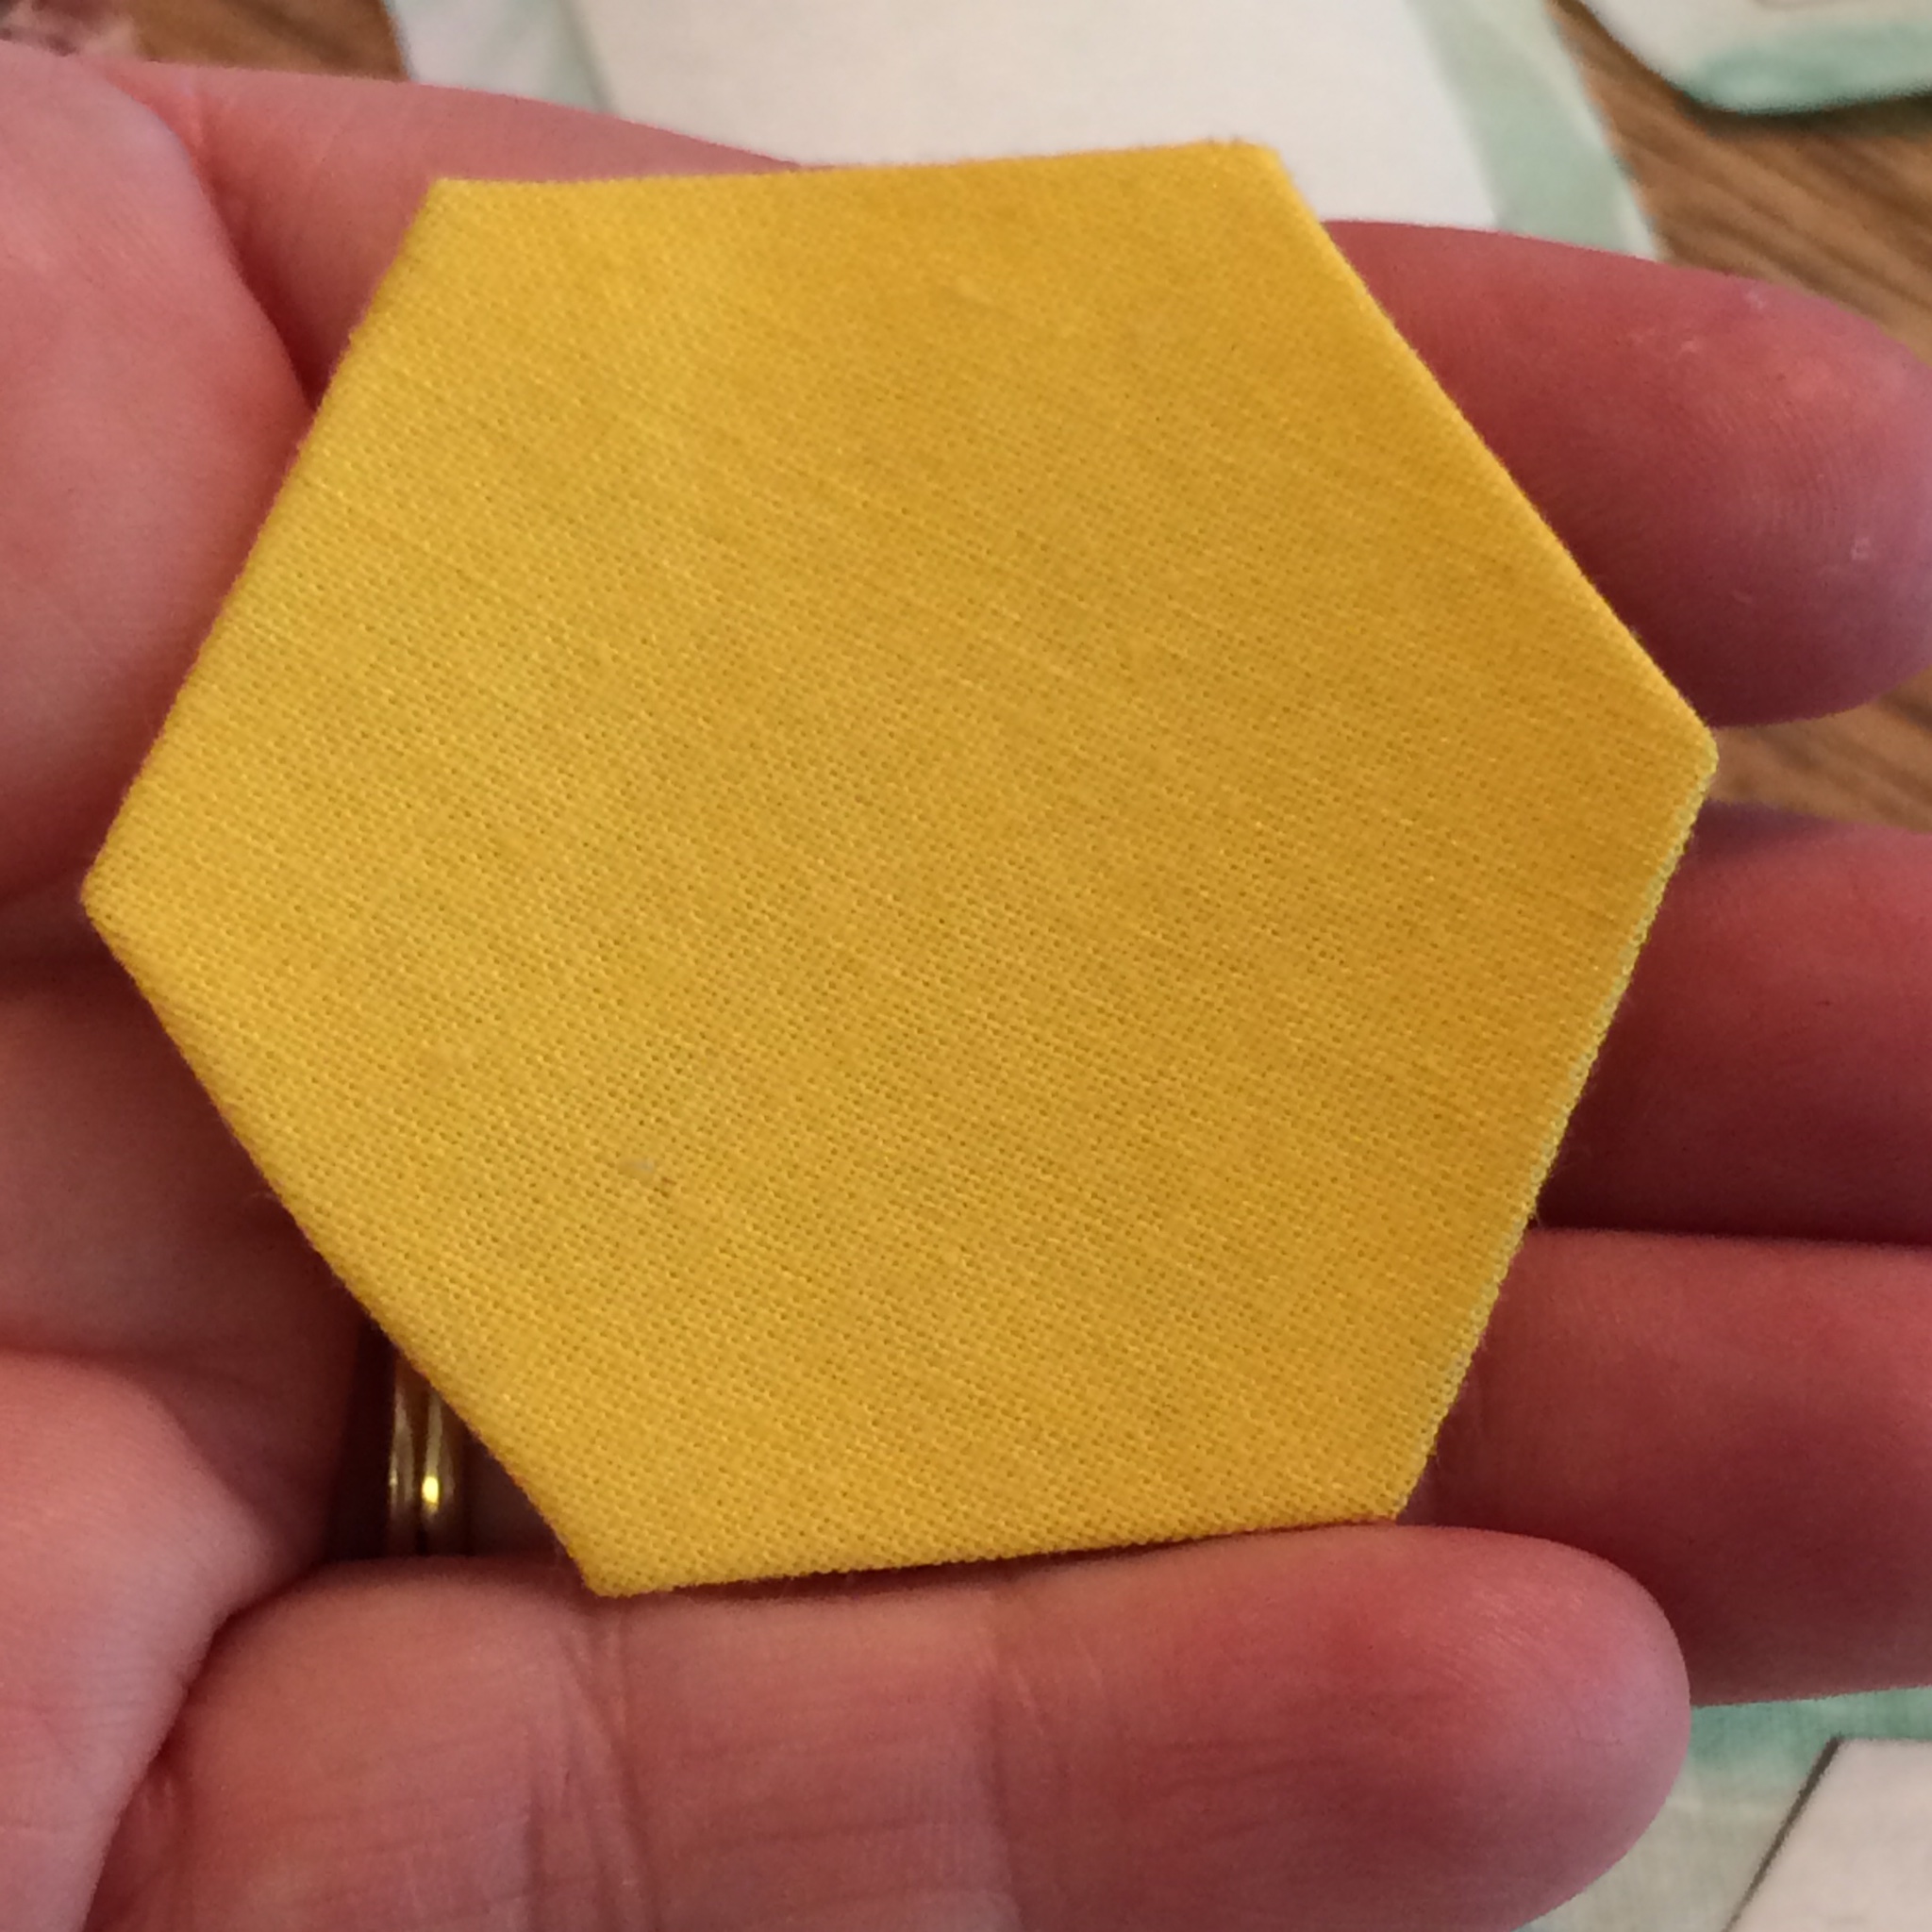 Other tutorials suggested using a paper clip to fold down 1/4″ seam and I did try that except I kept snagging the paper clip on the fabric as I tried to move it from section to section. I ended up using hair clips that I actually purchased for sewing projects. These worked beautifully.

 After I sewed down the seams on all the hexies, I started to sew each individual hexie together using a whip stitch. The third tutorial from Bee In My Bonnet had incredibly pictures to show each step of this process. I sewed the six flower “petals” together and then finished the flower with the middle, yellow hexie.


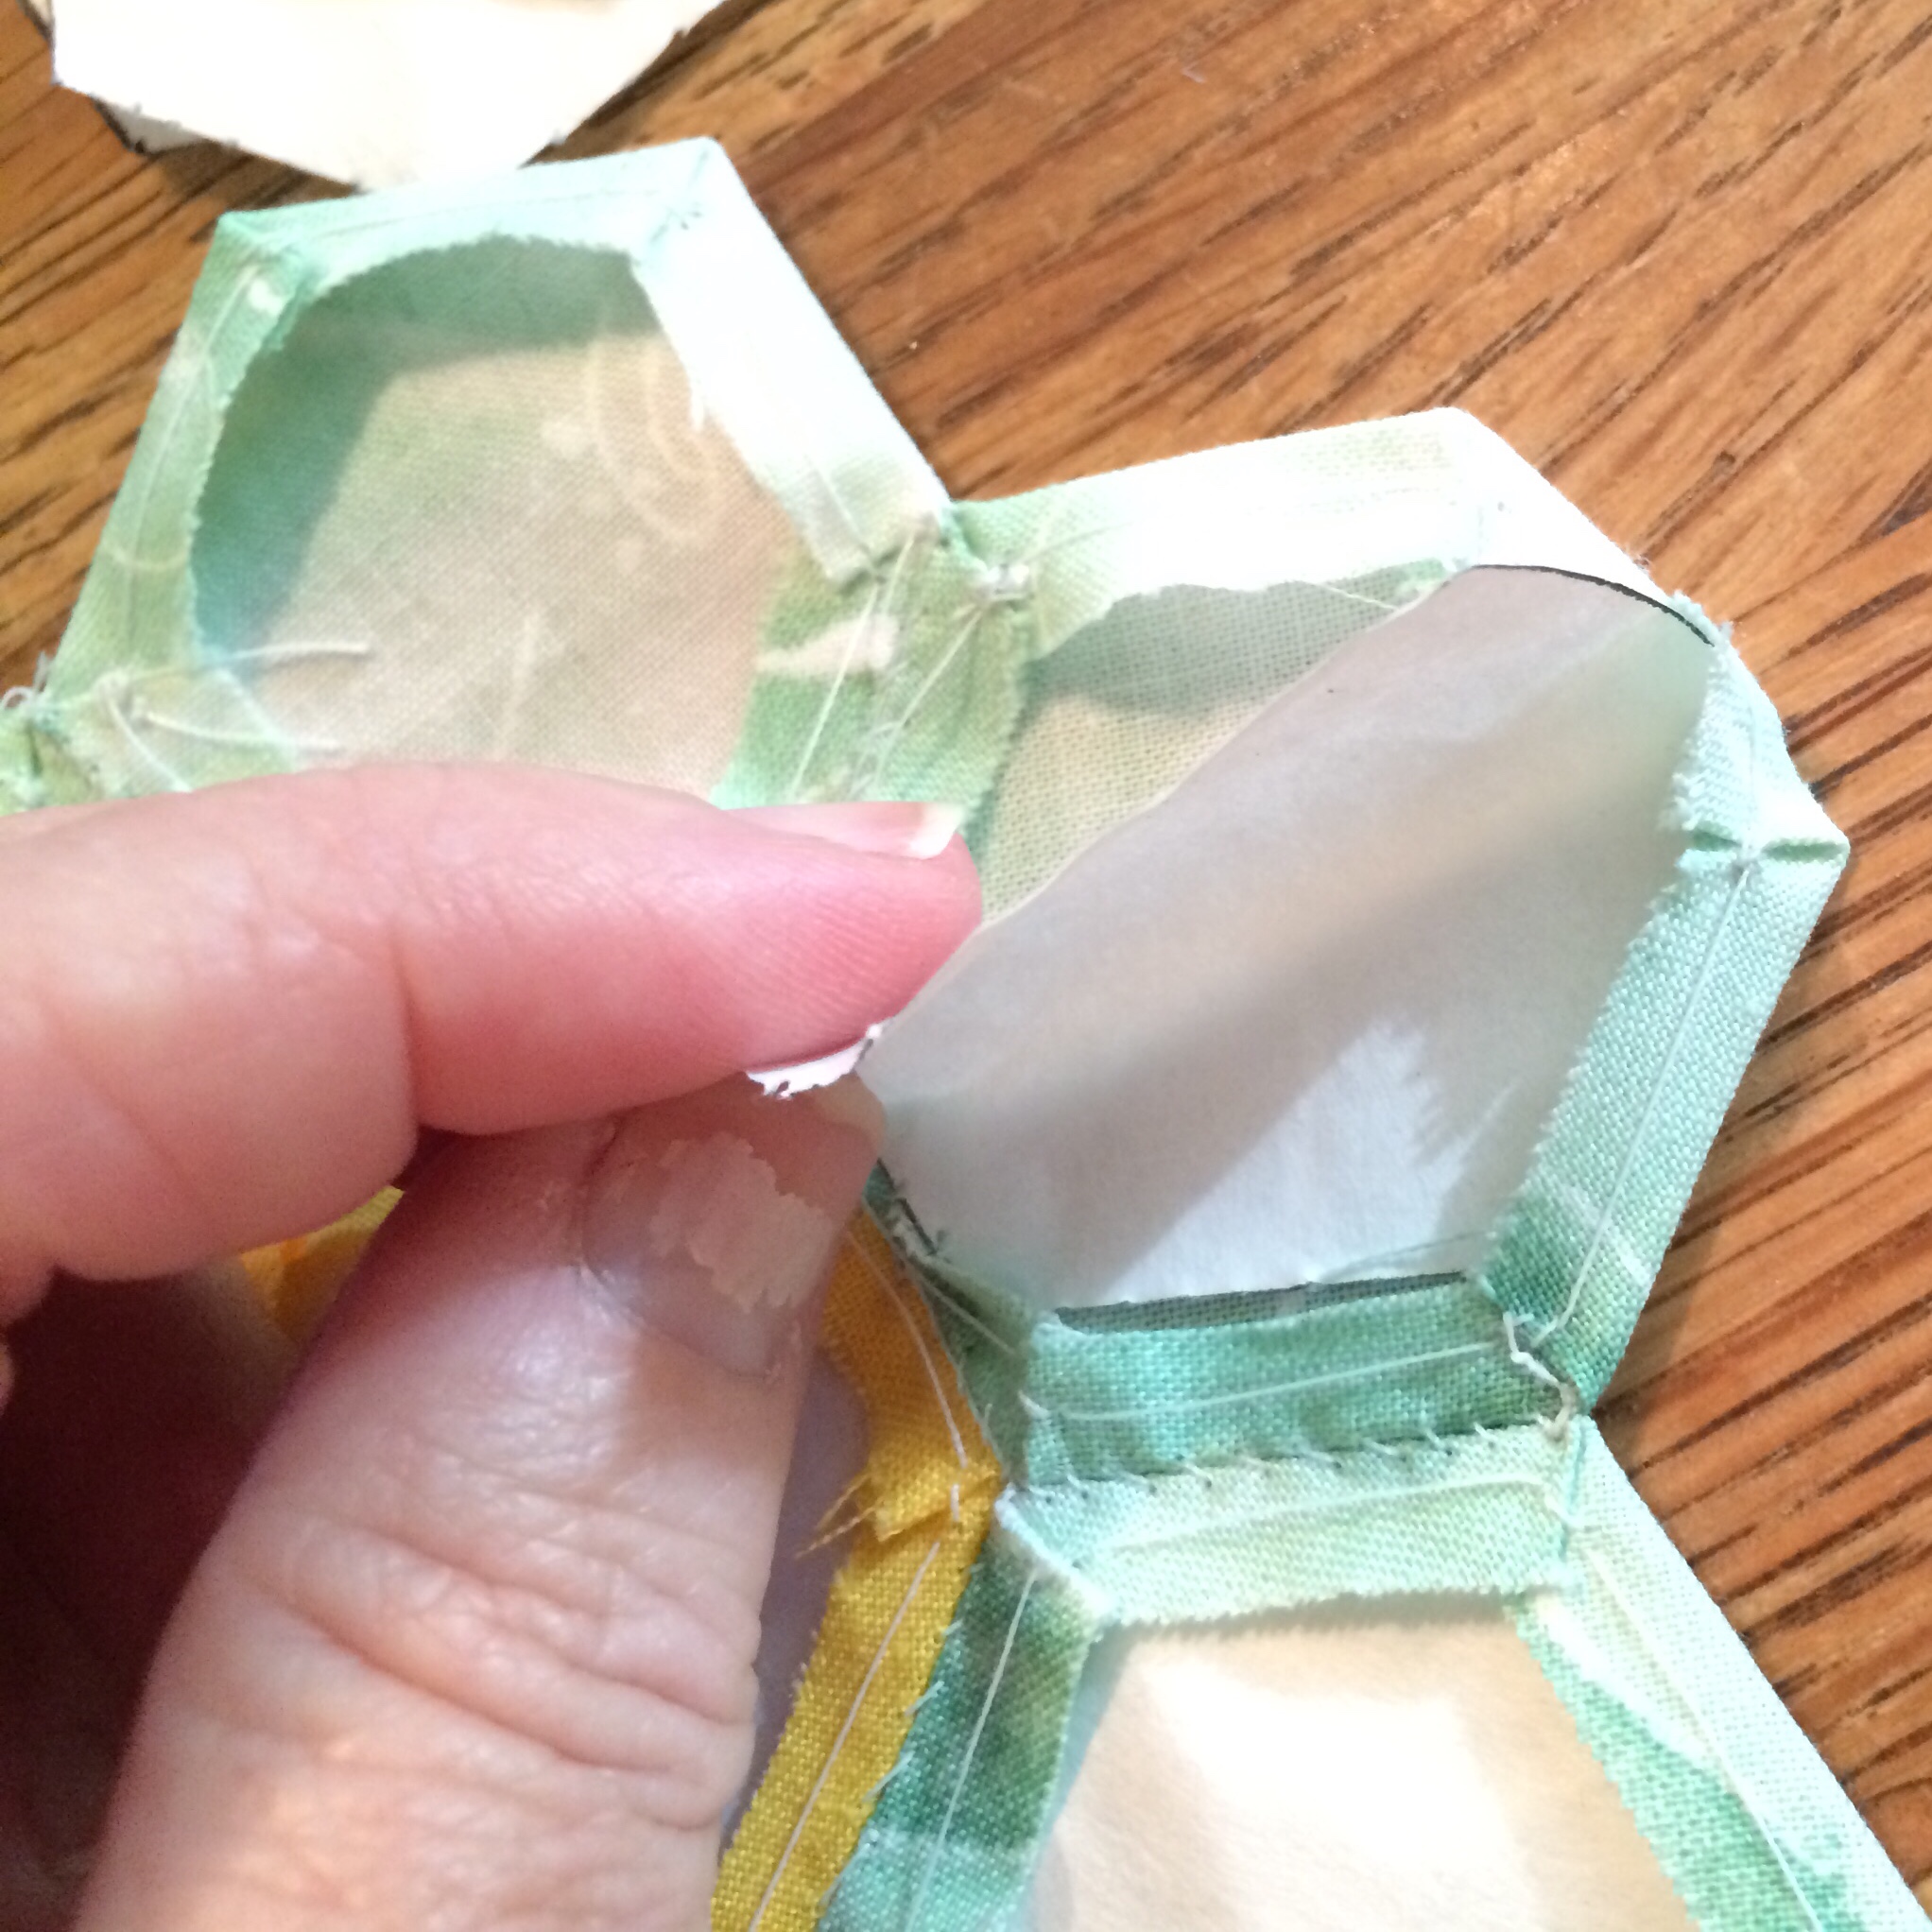
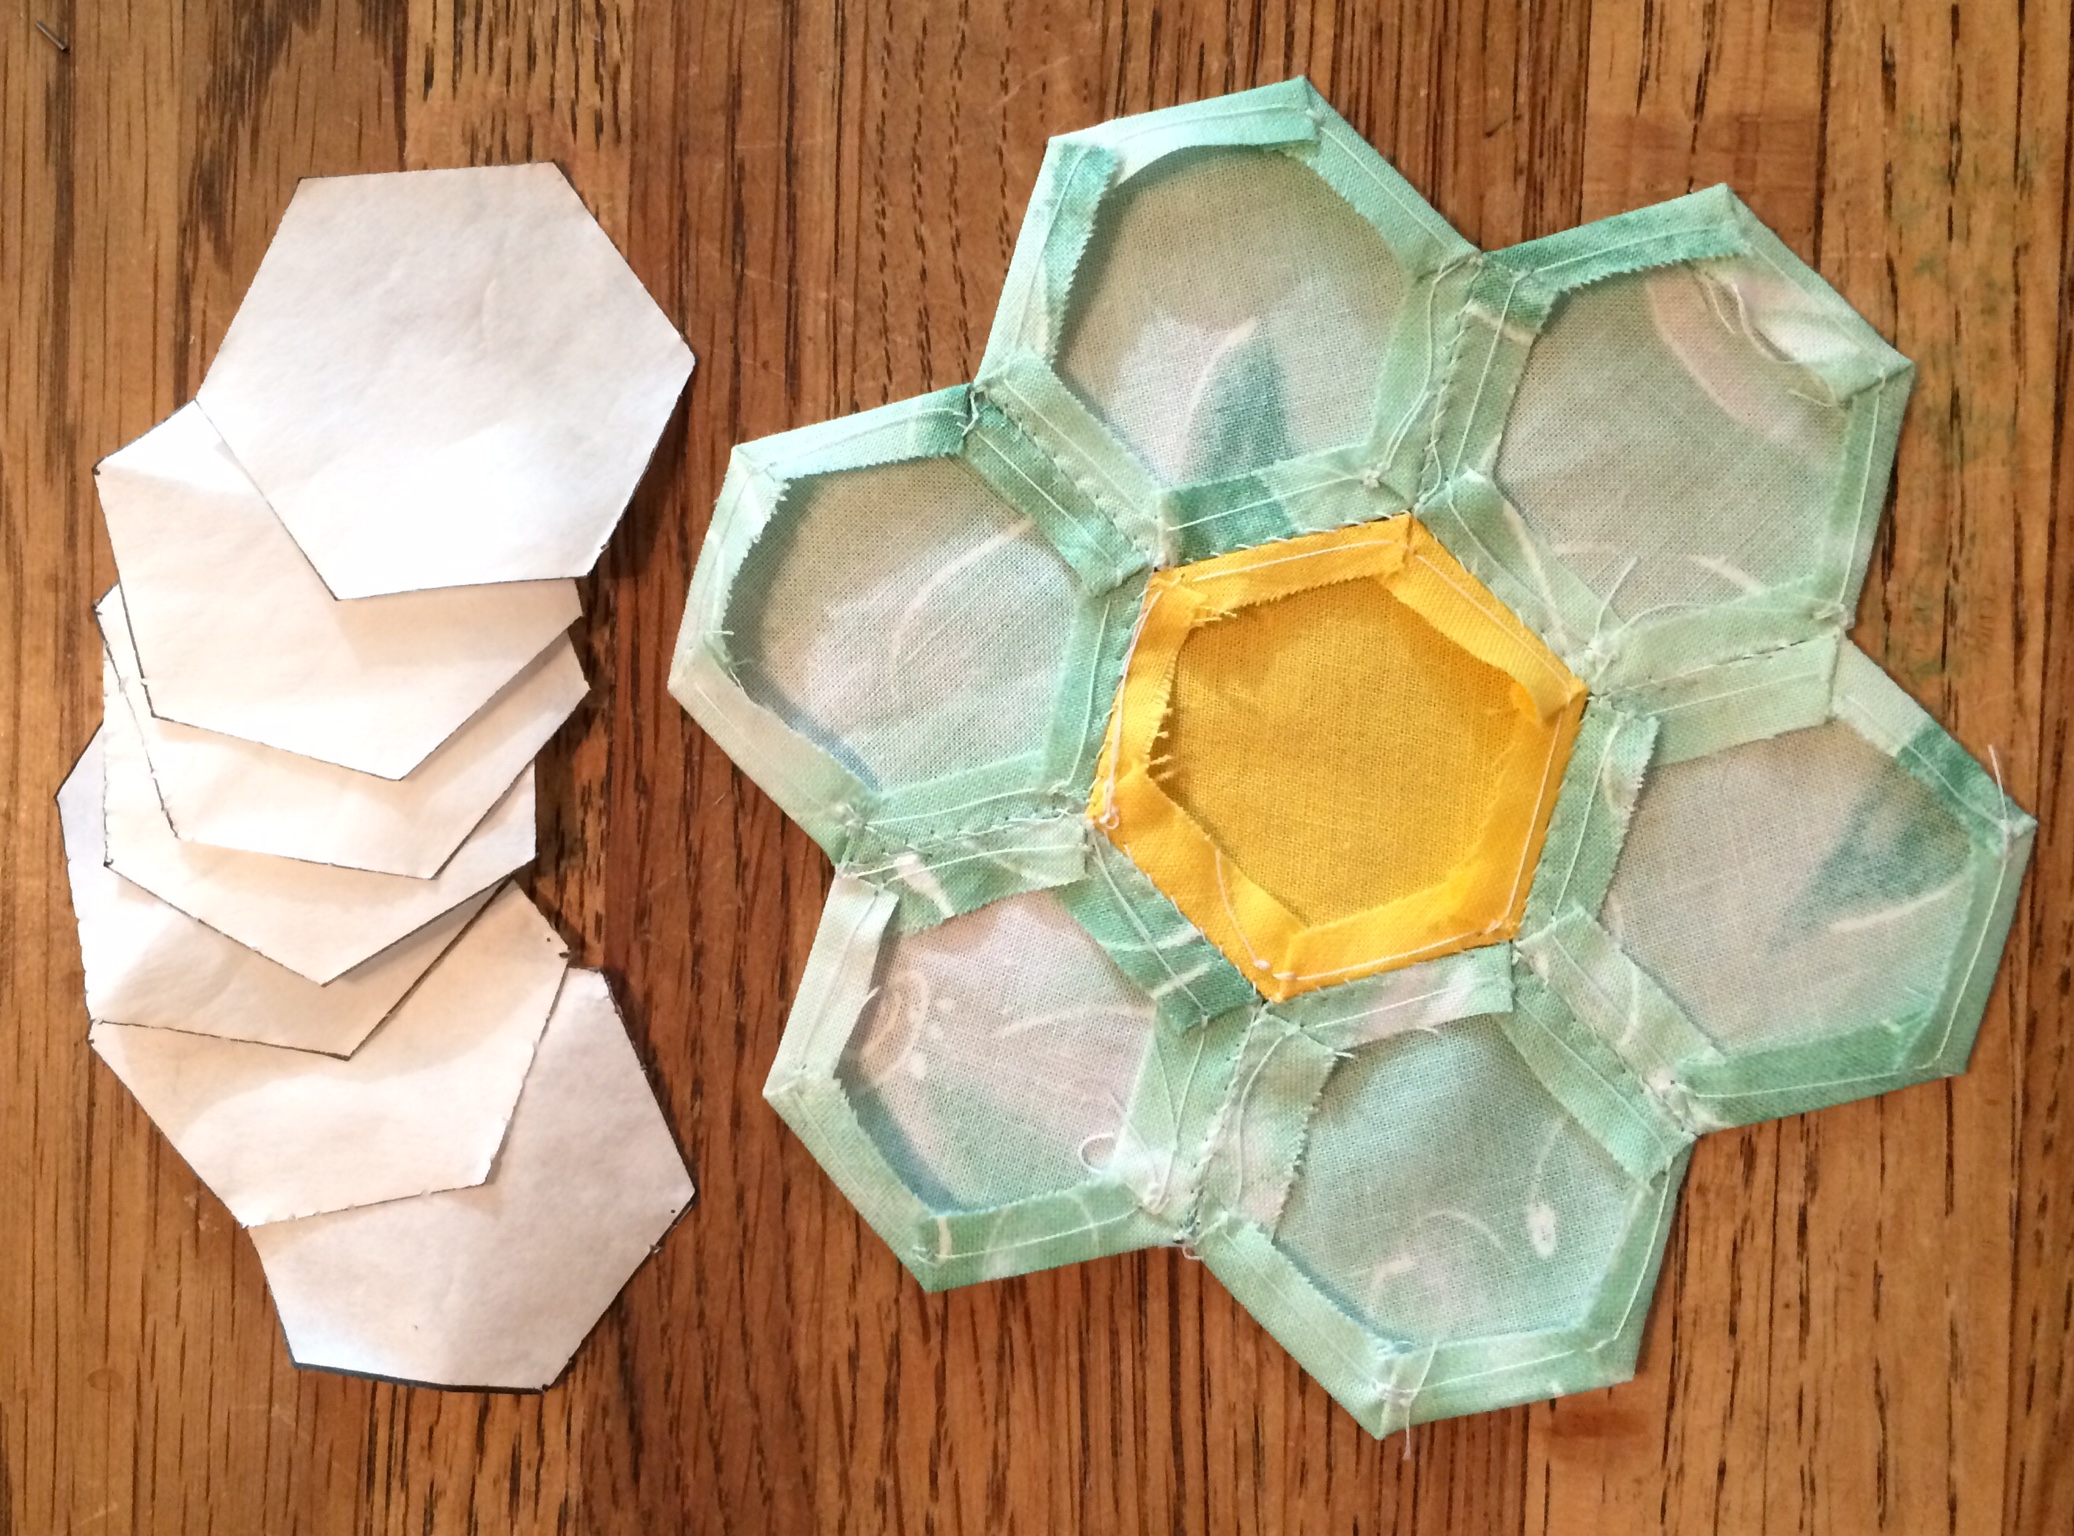 I ironed the whole piece and then removed the paper from each hexie. I’ll save these pieces for the future.
I’m so glad I tackled this project. English Paper Piecing is one of those techniques that I’ve always been a little intimidated by, but much like my irrational fear of bow-making, I’m really pleased I decided to just give it a go.
Until tomorrow,


That’s awesome mom. Could you put those hexies together to form a paw? I’ll bet you could.

Beautiful! More of these would make a gorgeous quilt! 🙂
Thank you. I agree. I think I’ll slowly assemble flowers and one day put them all together.