

Day 9 – DIY Washi Tape
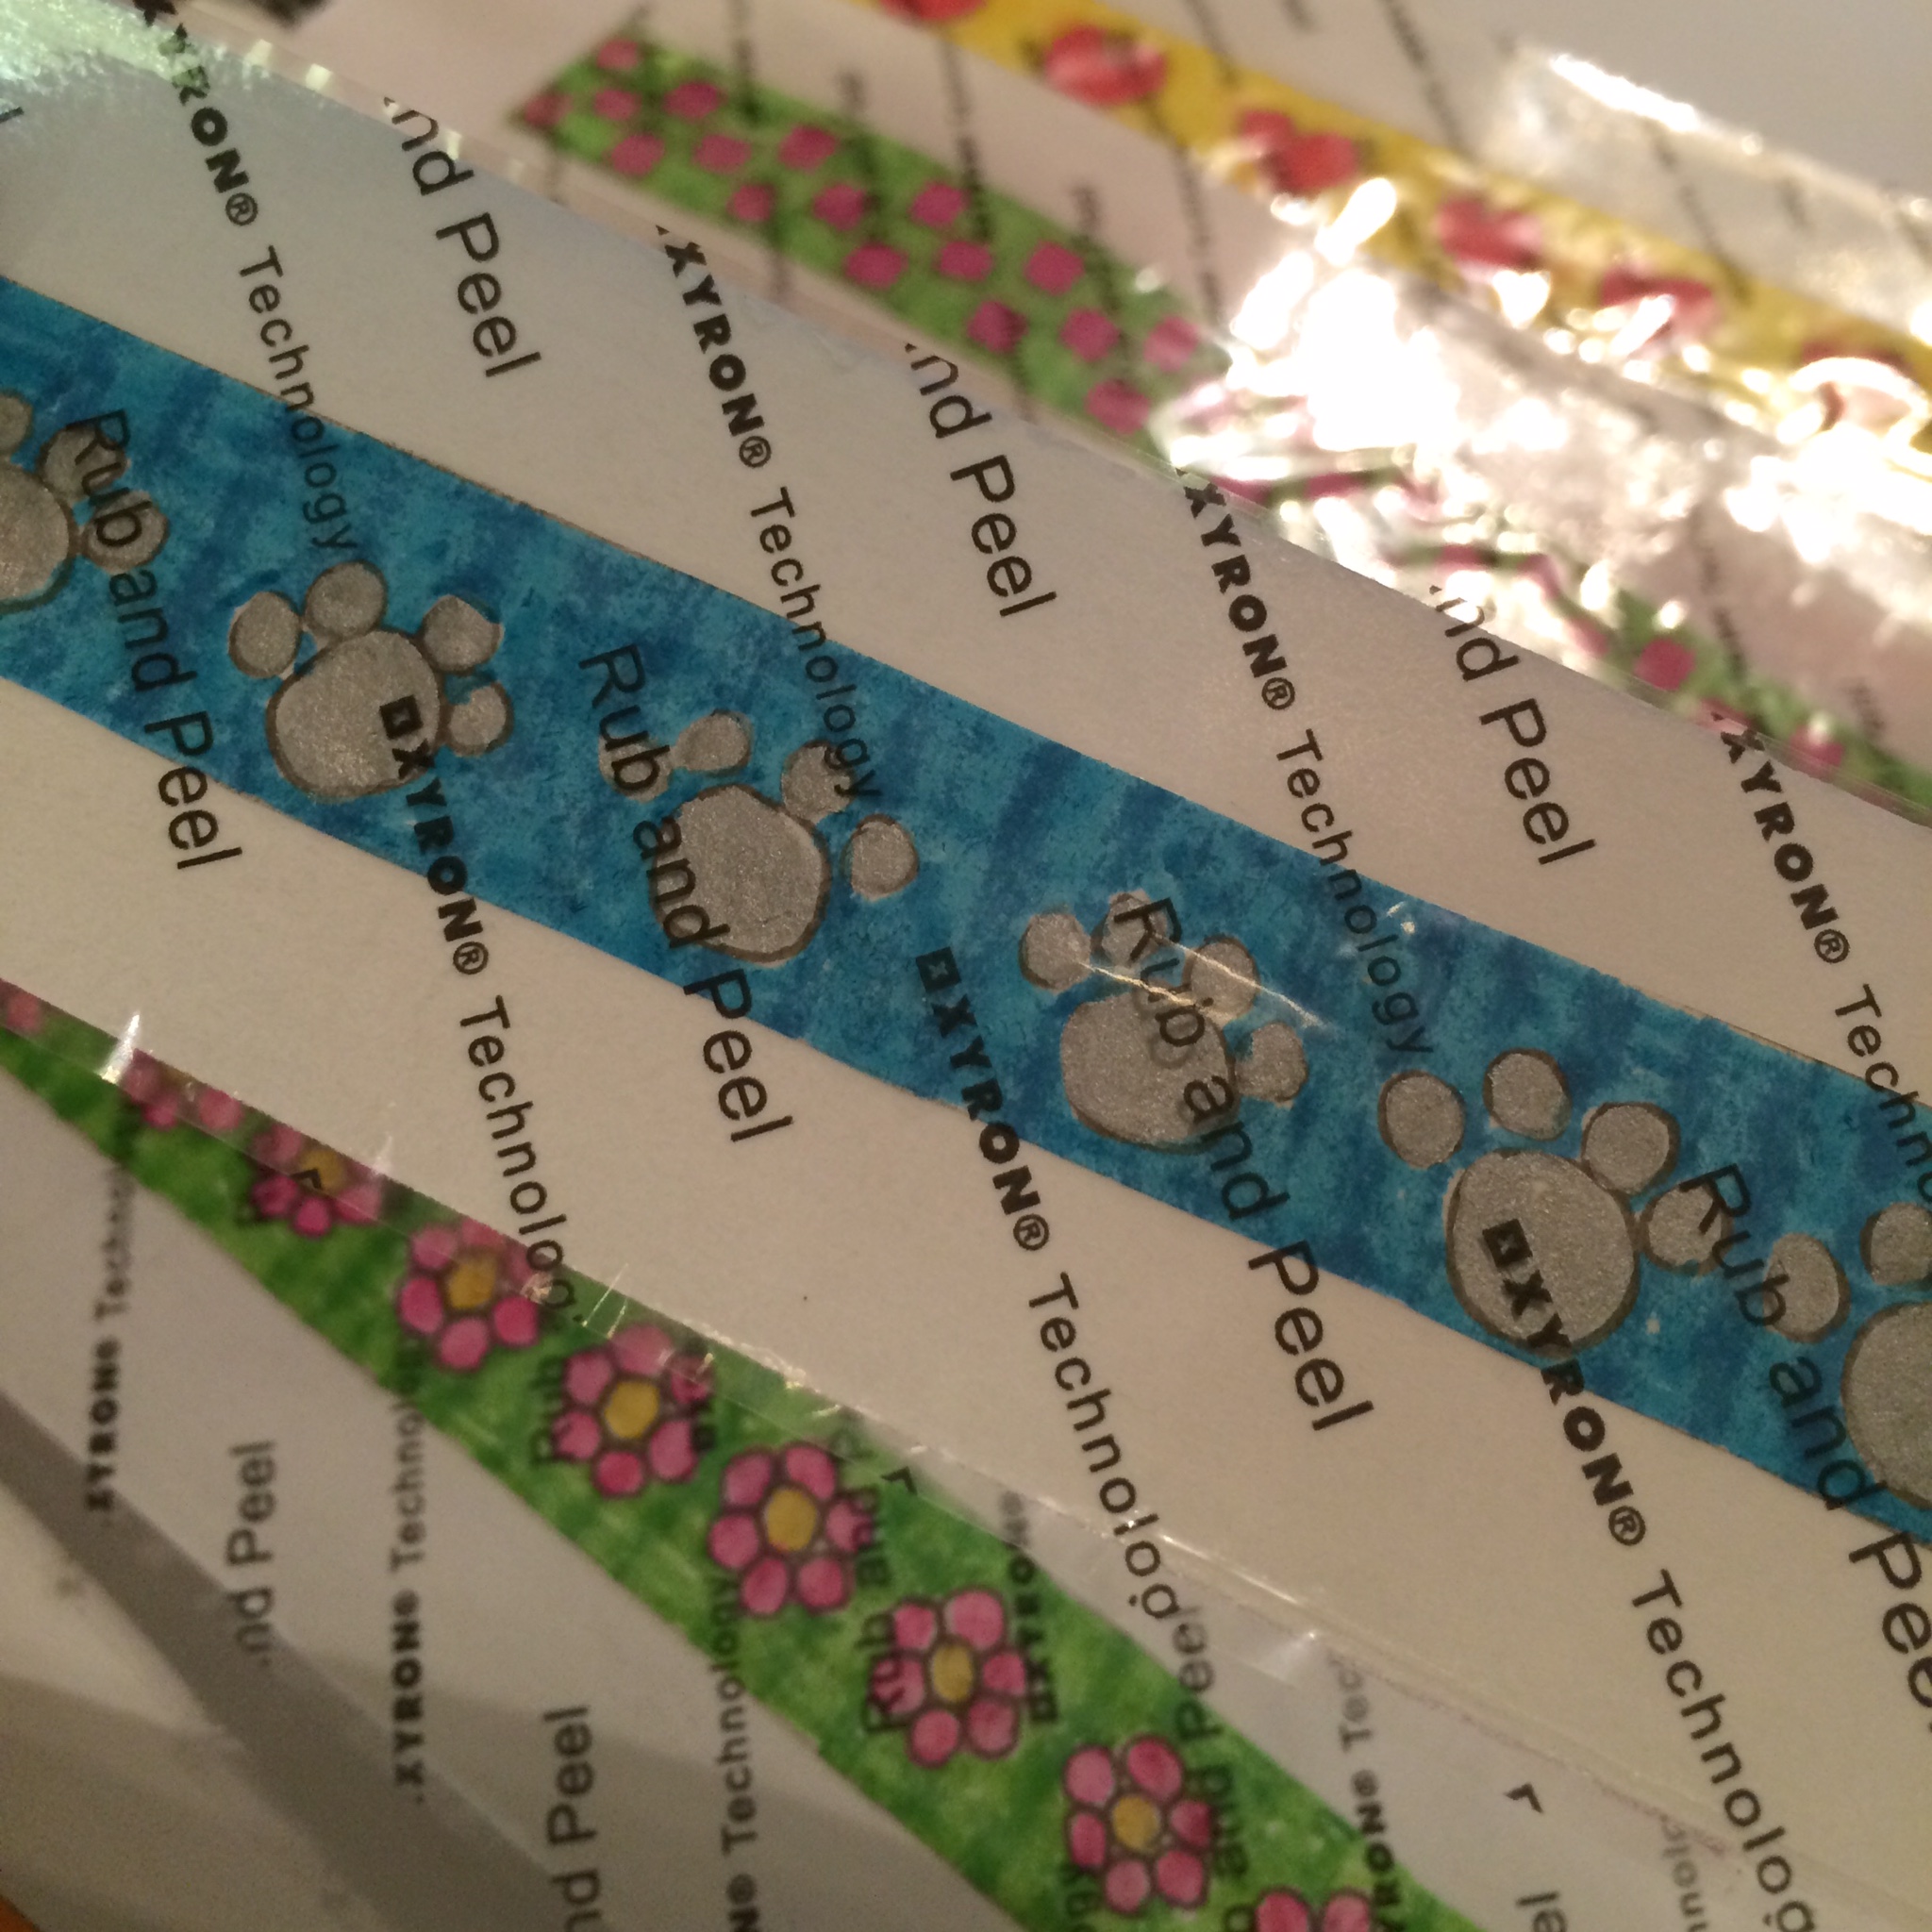
Today’s project was a lot of fun and the tutorial was excellent. I used deli paper (the same stuff sandwiches are wrapped in), sharpie pens and a Xyron sticker maker to add adhesive to the back of the tape strips.
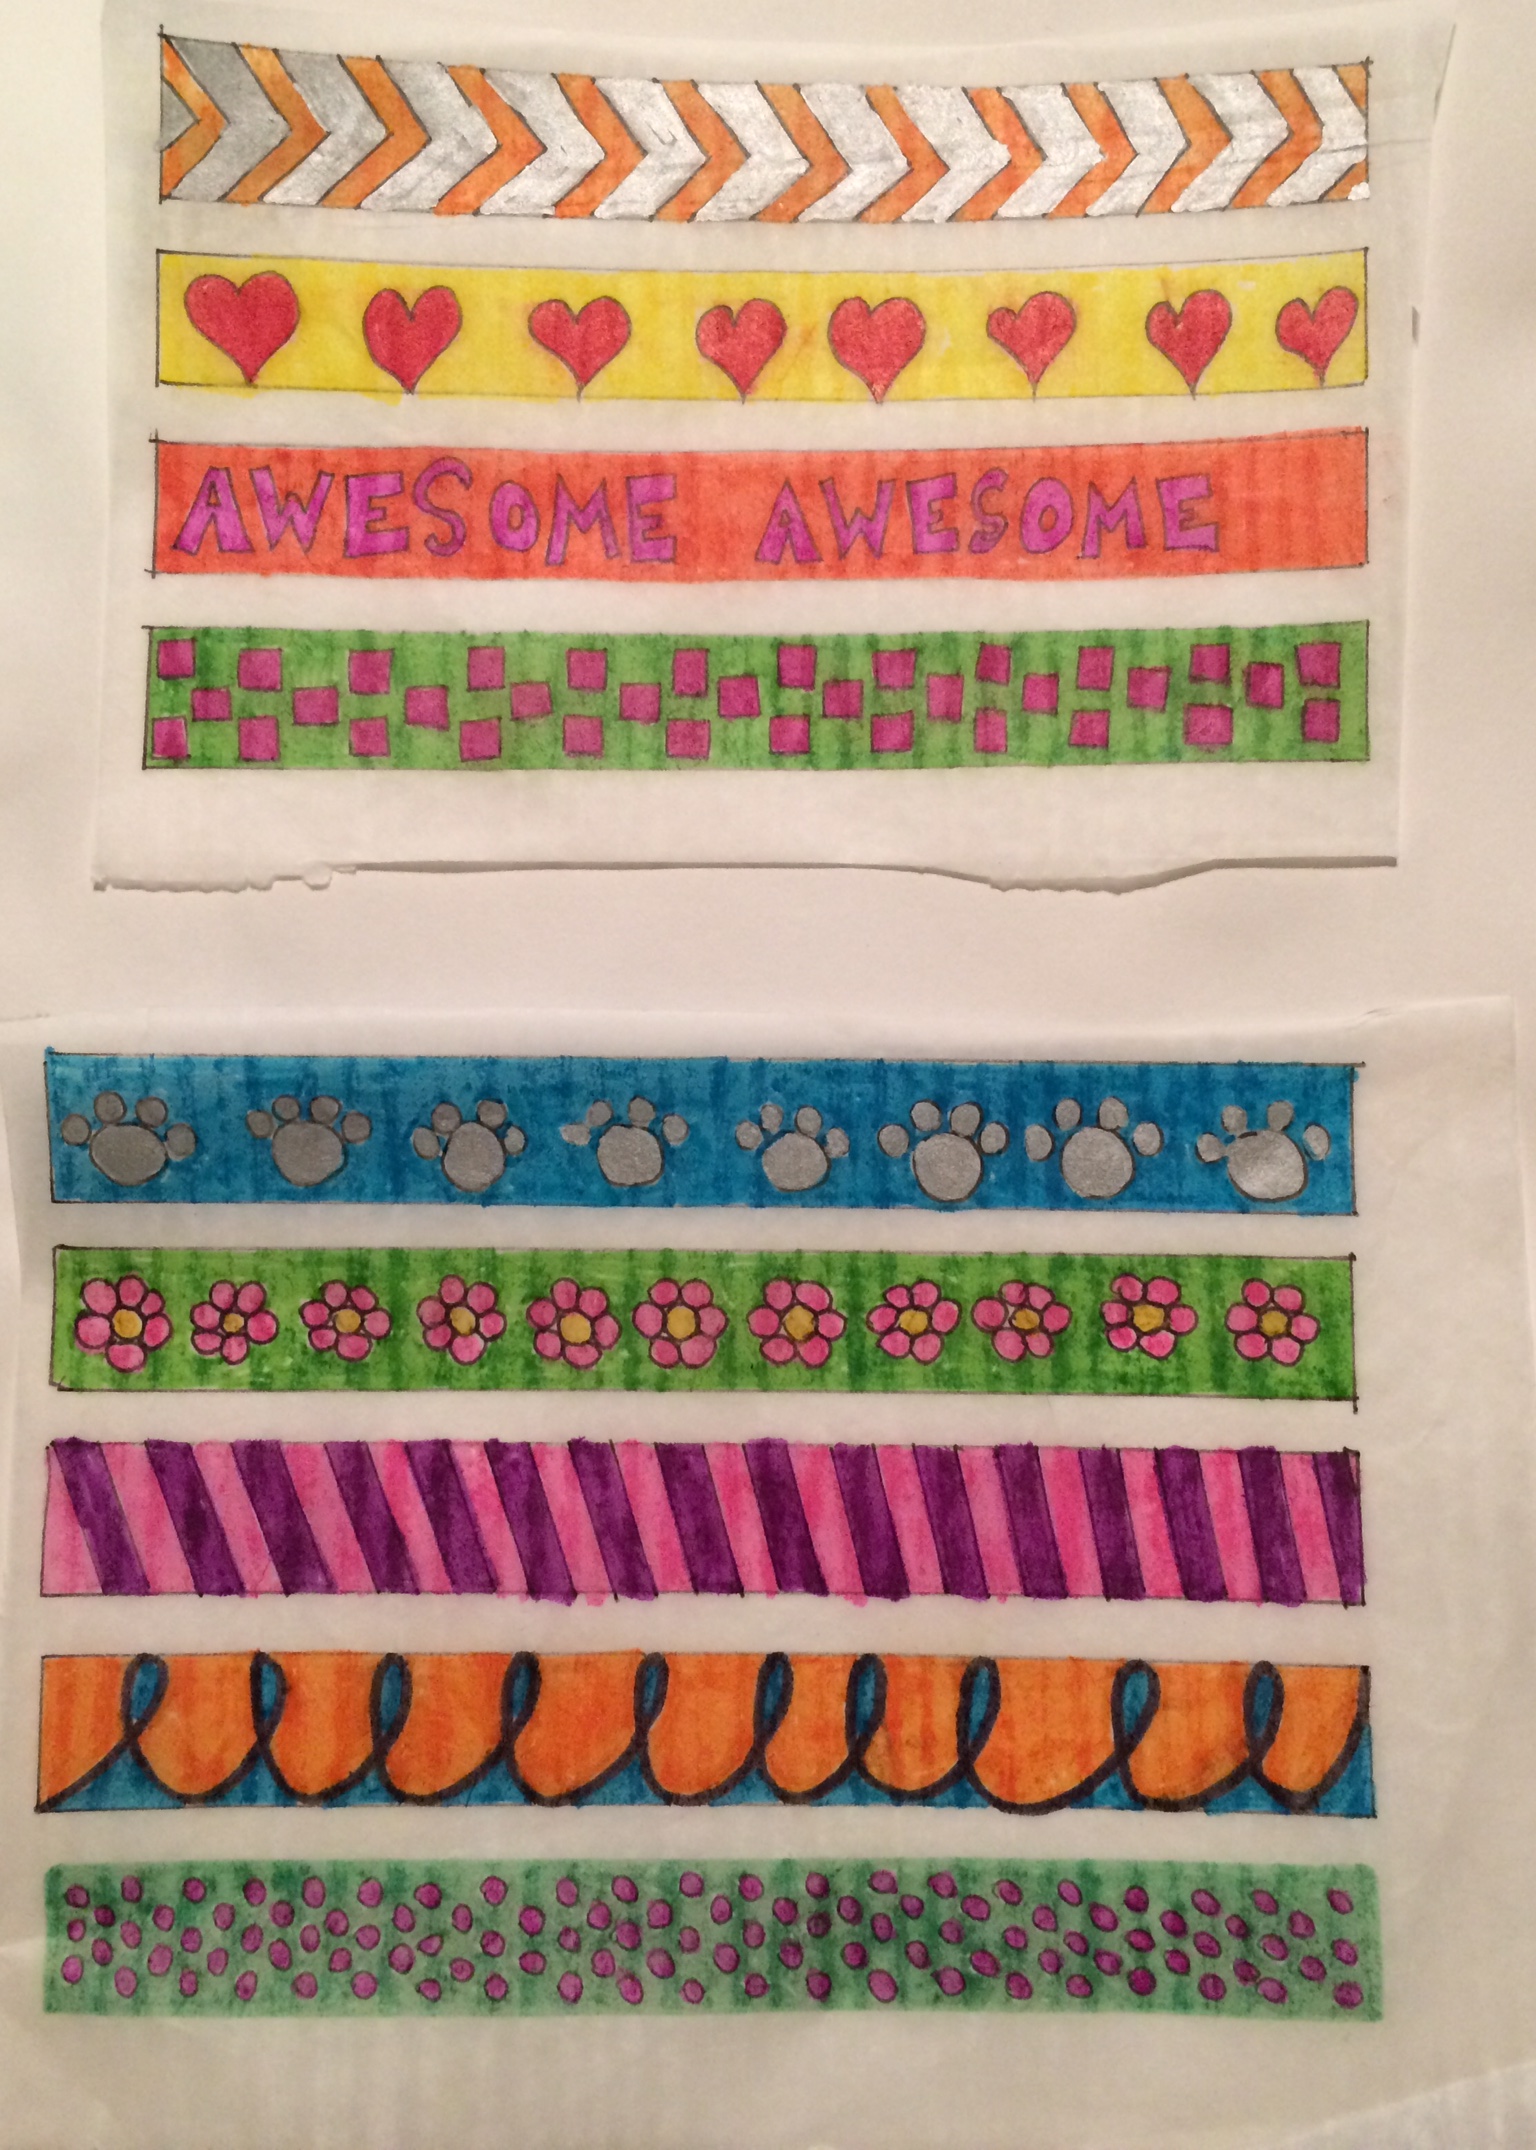

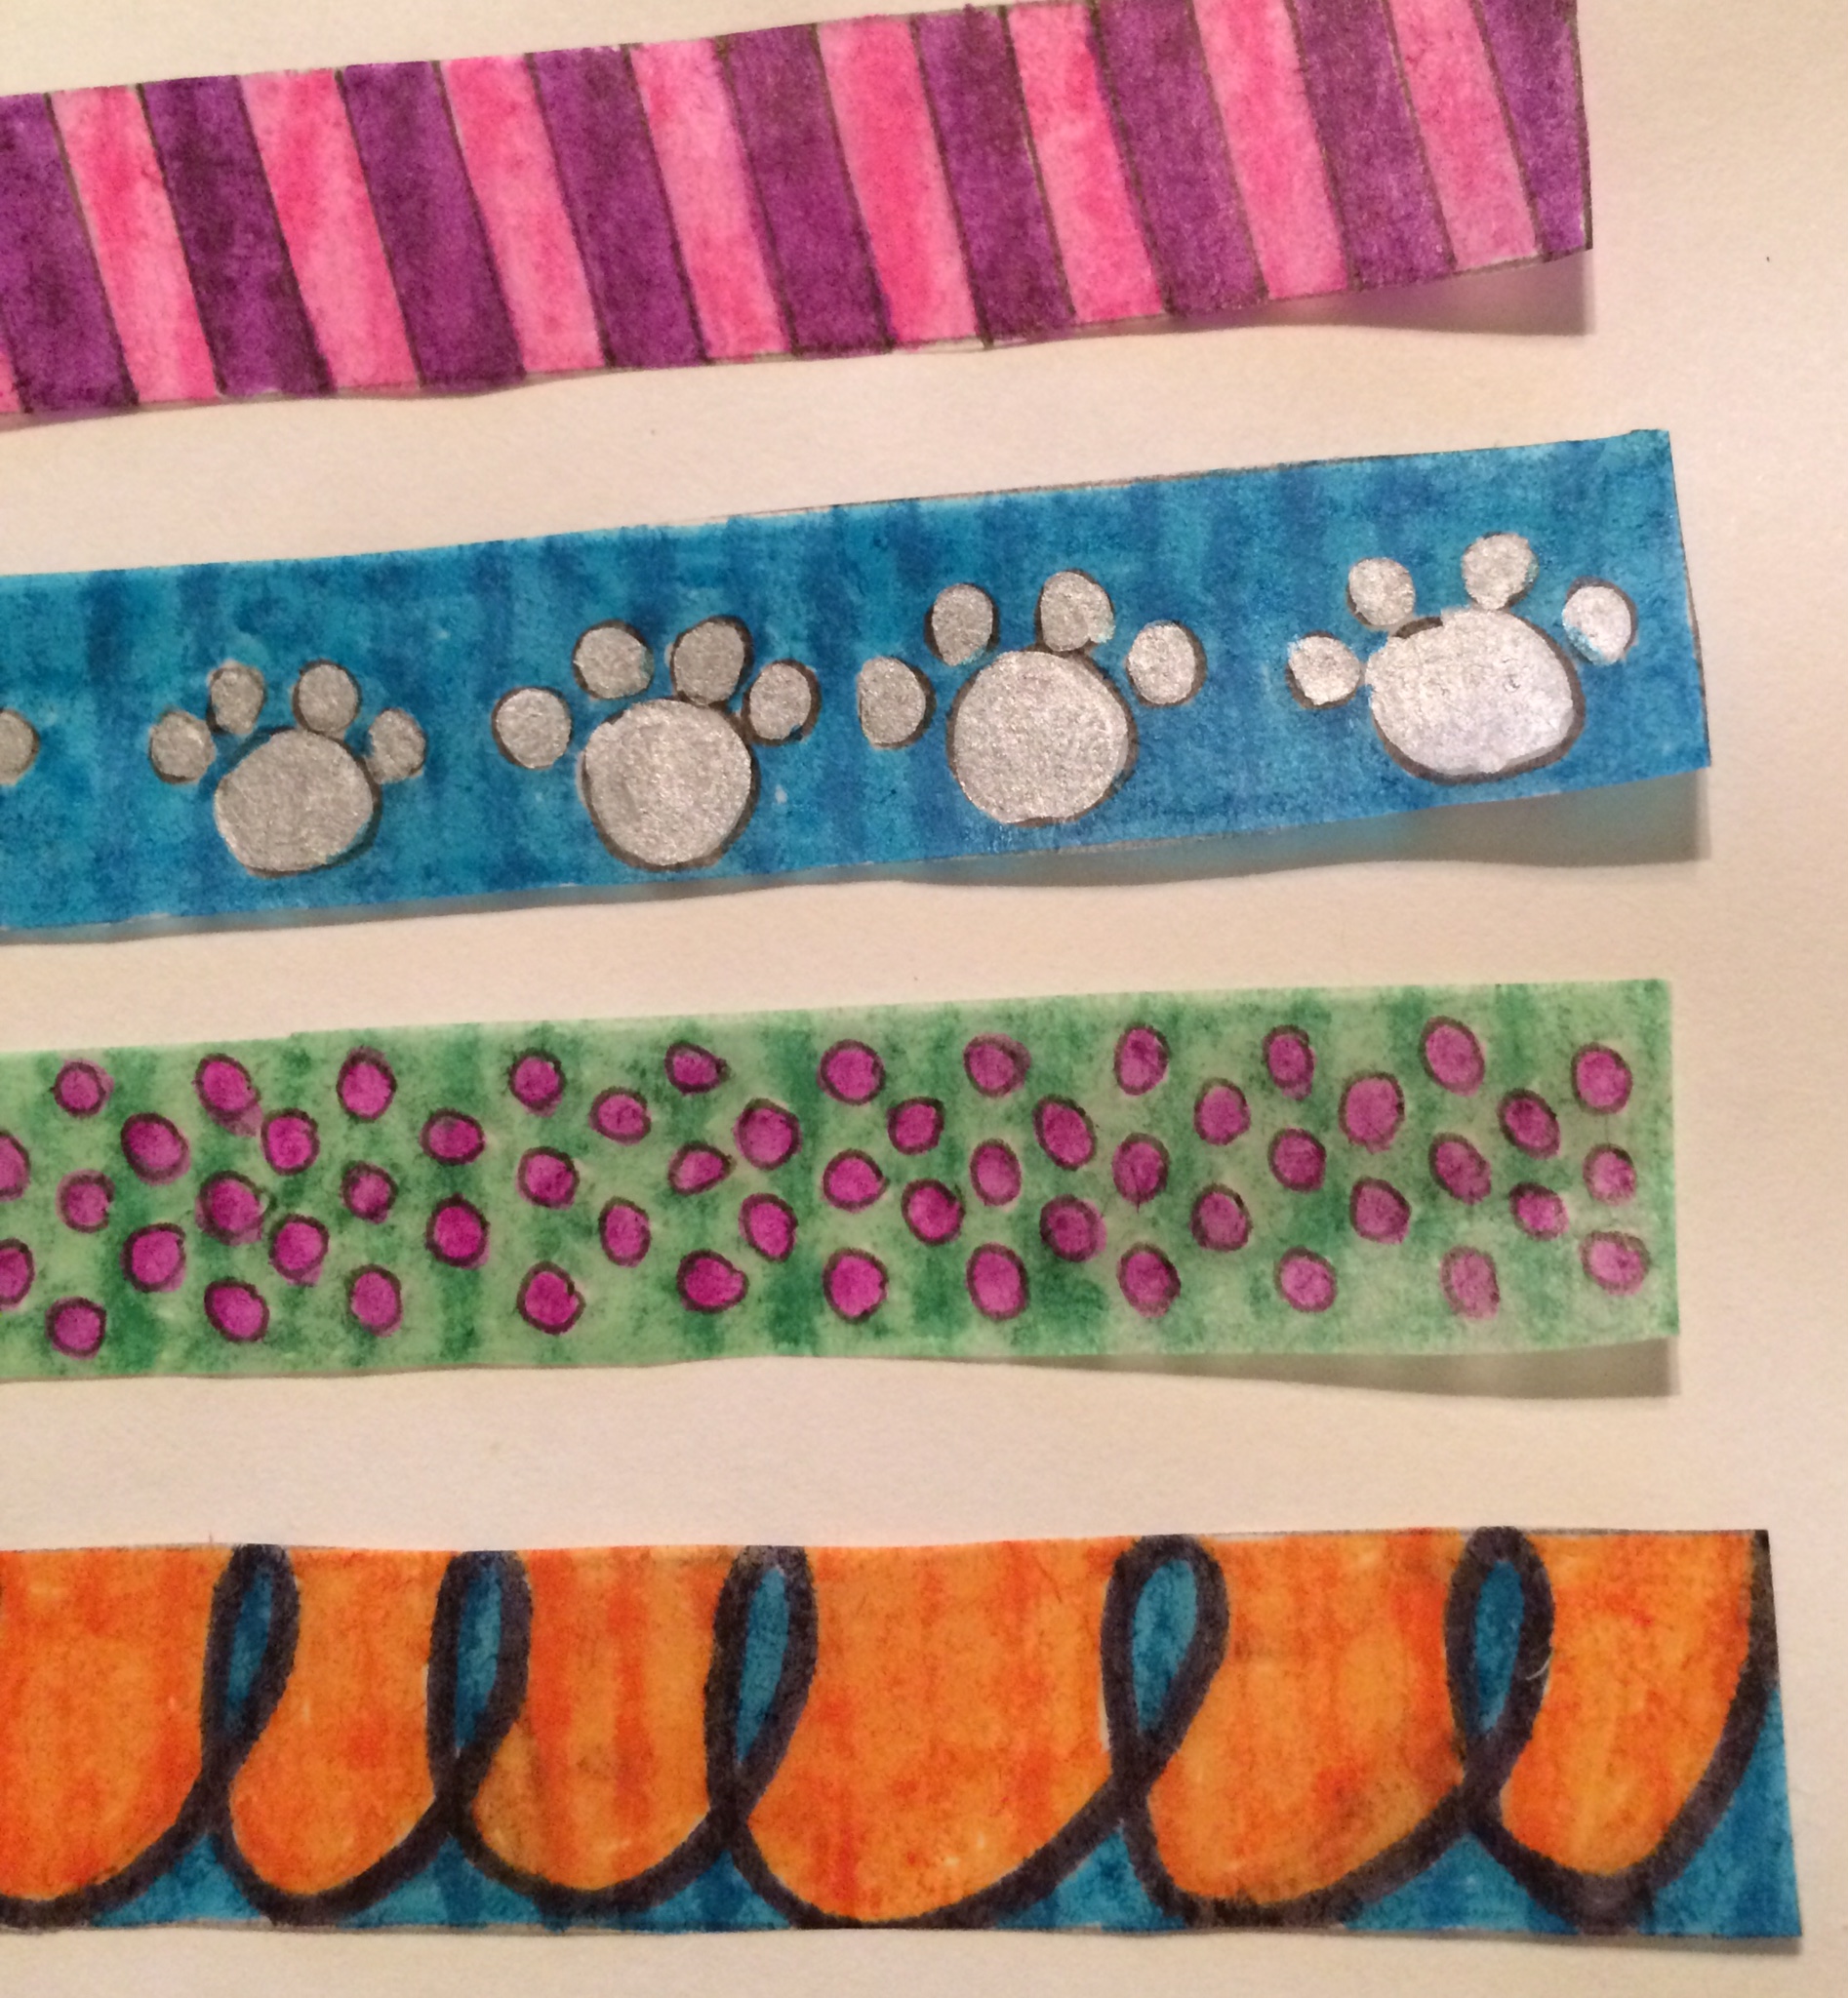

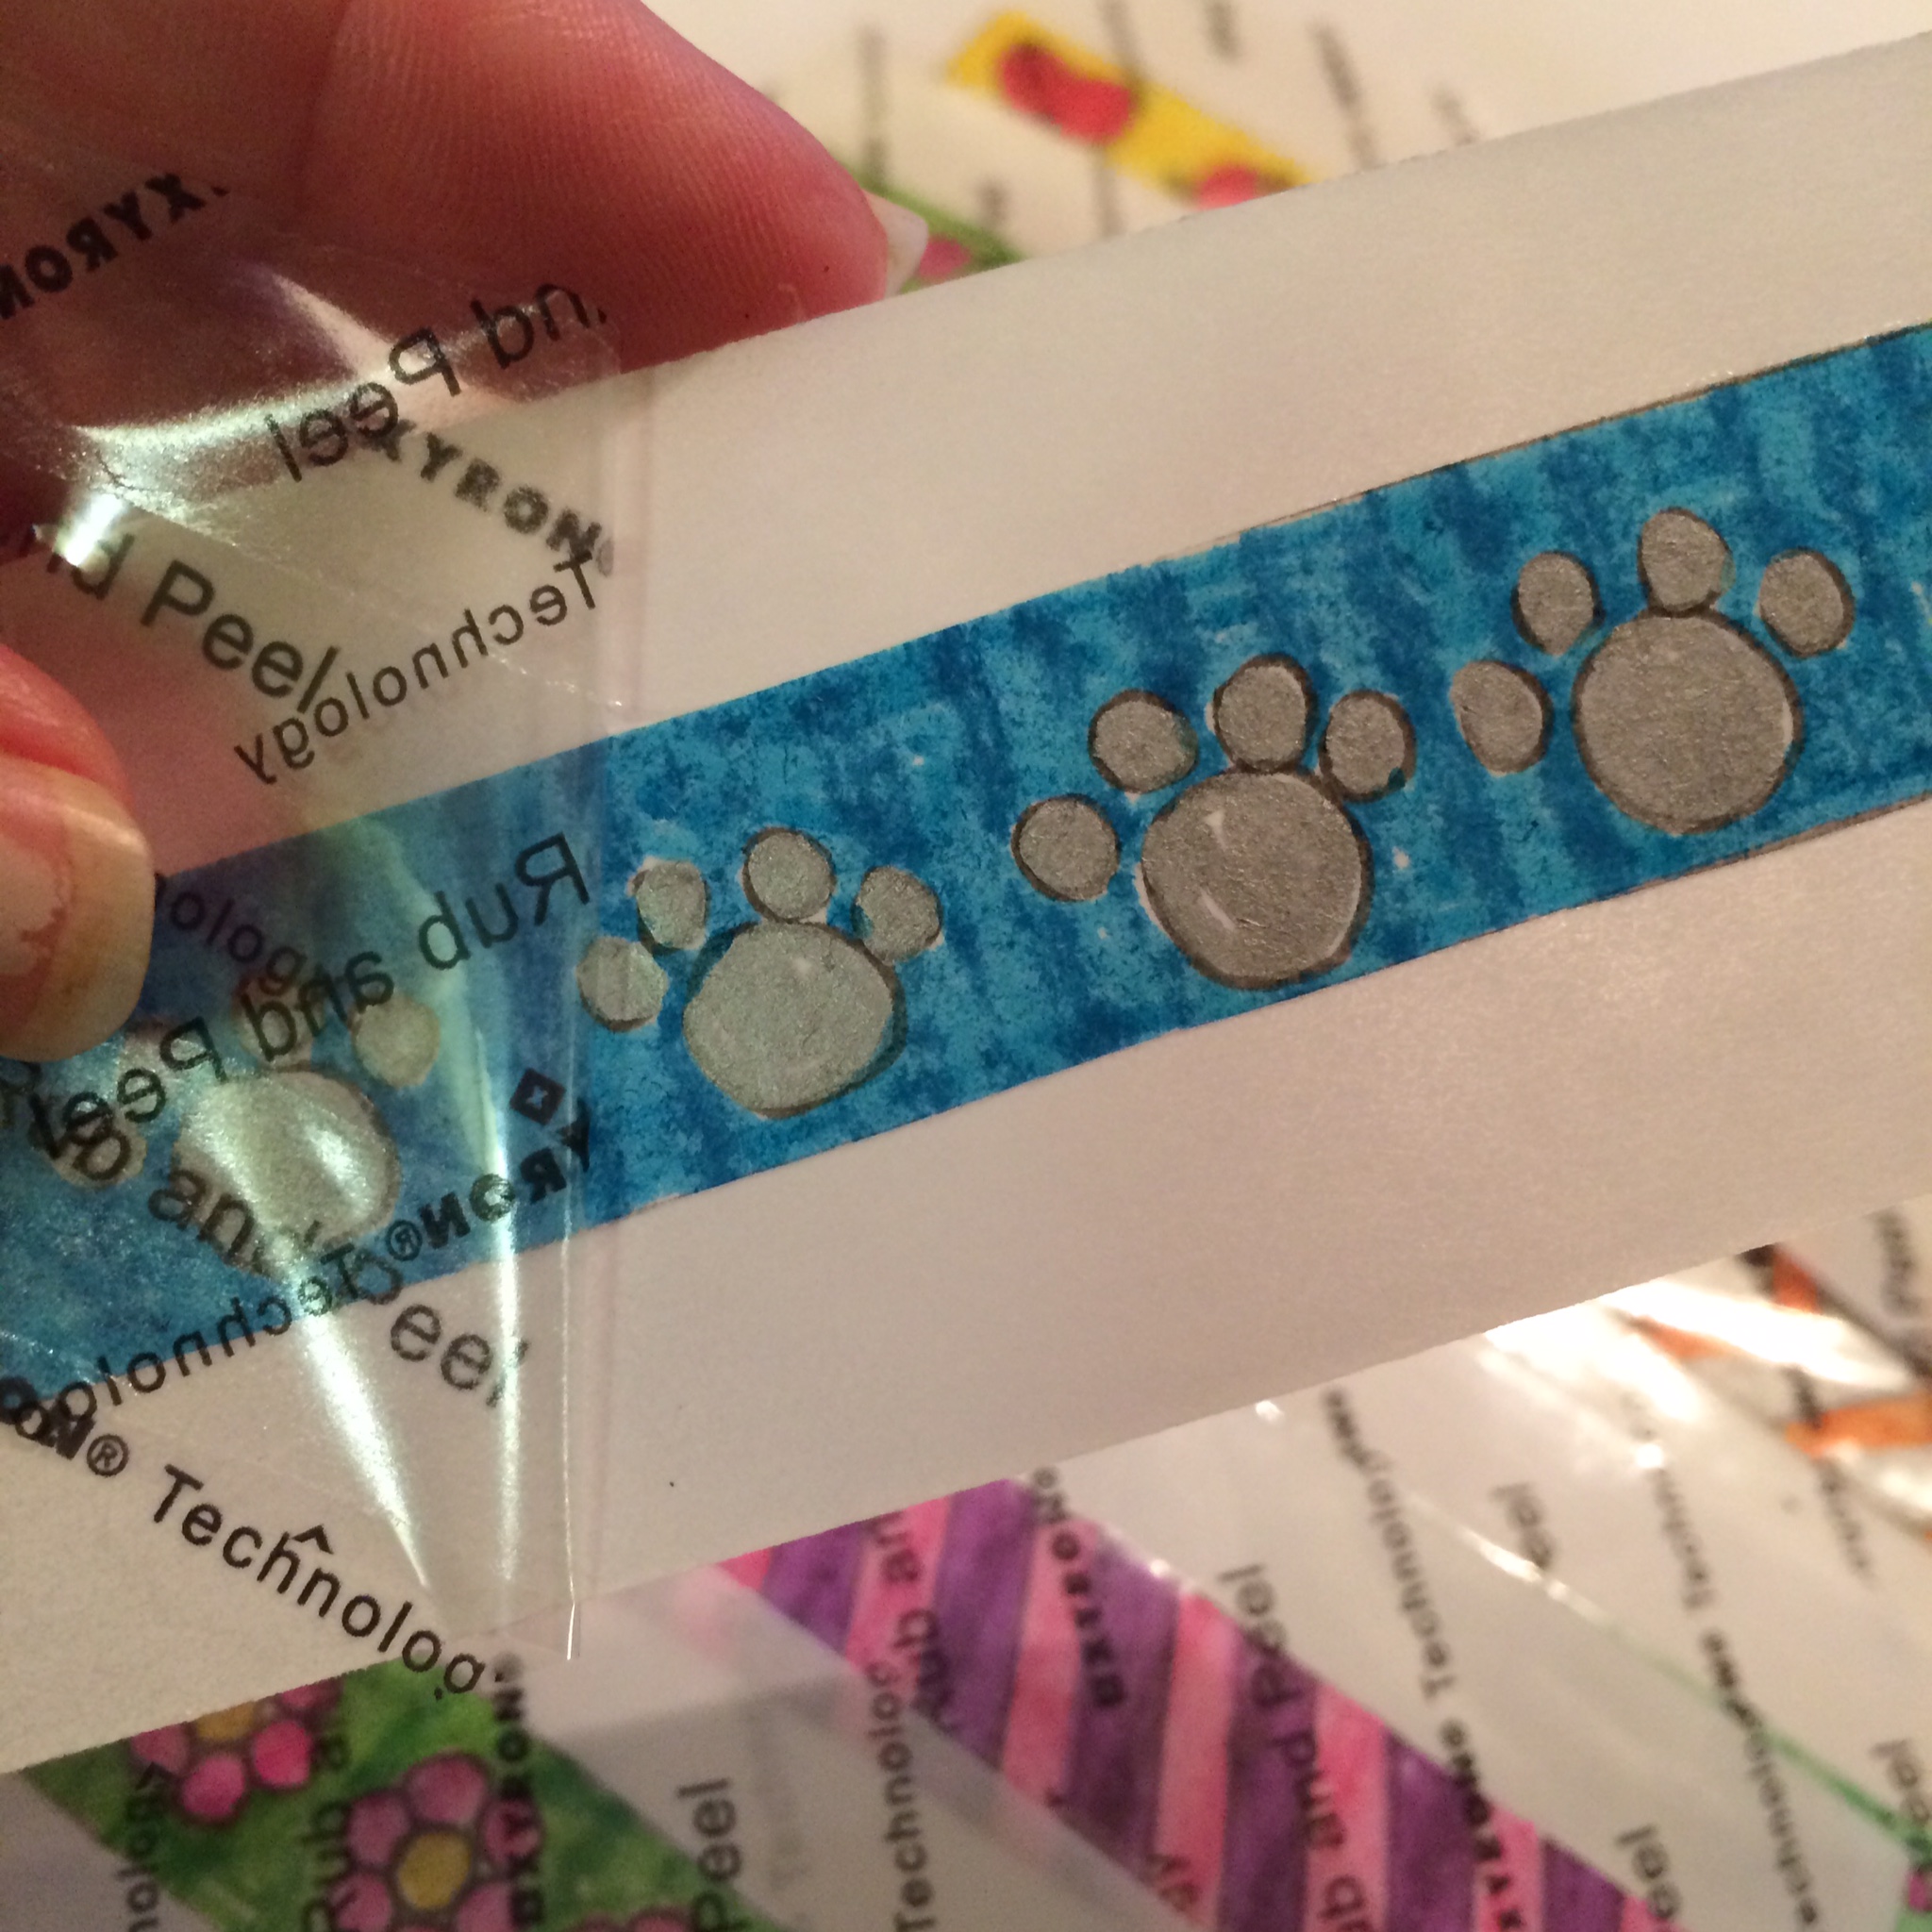
I made 1/2″ strips on the deli paper and colored them in a variety of colors and styles. Washi tape is know for being translucent and the deli paper provided the translucent look and feel. After finishing the strips, I cut them out and ran them through my sticker maker.

While this was relaxing and cool, it was time consuming and probably expensive compared to just buying a roll of Washi tape. That being said, the nice part about this technique is that I can make the strips as wide as I want and create any manner of design or wording (although my block lettering needs practice). I’m still glad I made these strips of ‘washi tape’. I’ll definitely use them in future projects.
Until tomorrow,

Hey I noticed some dog paws. Are those for Woody’s present?
